The Not Pink, Toddler Girl Bedroom Part 2: The Swing
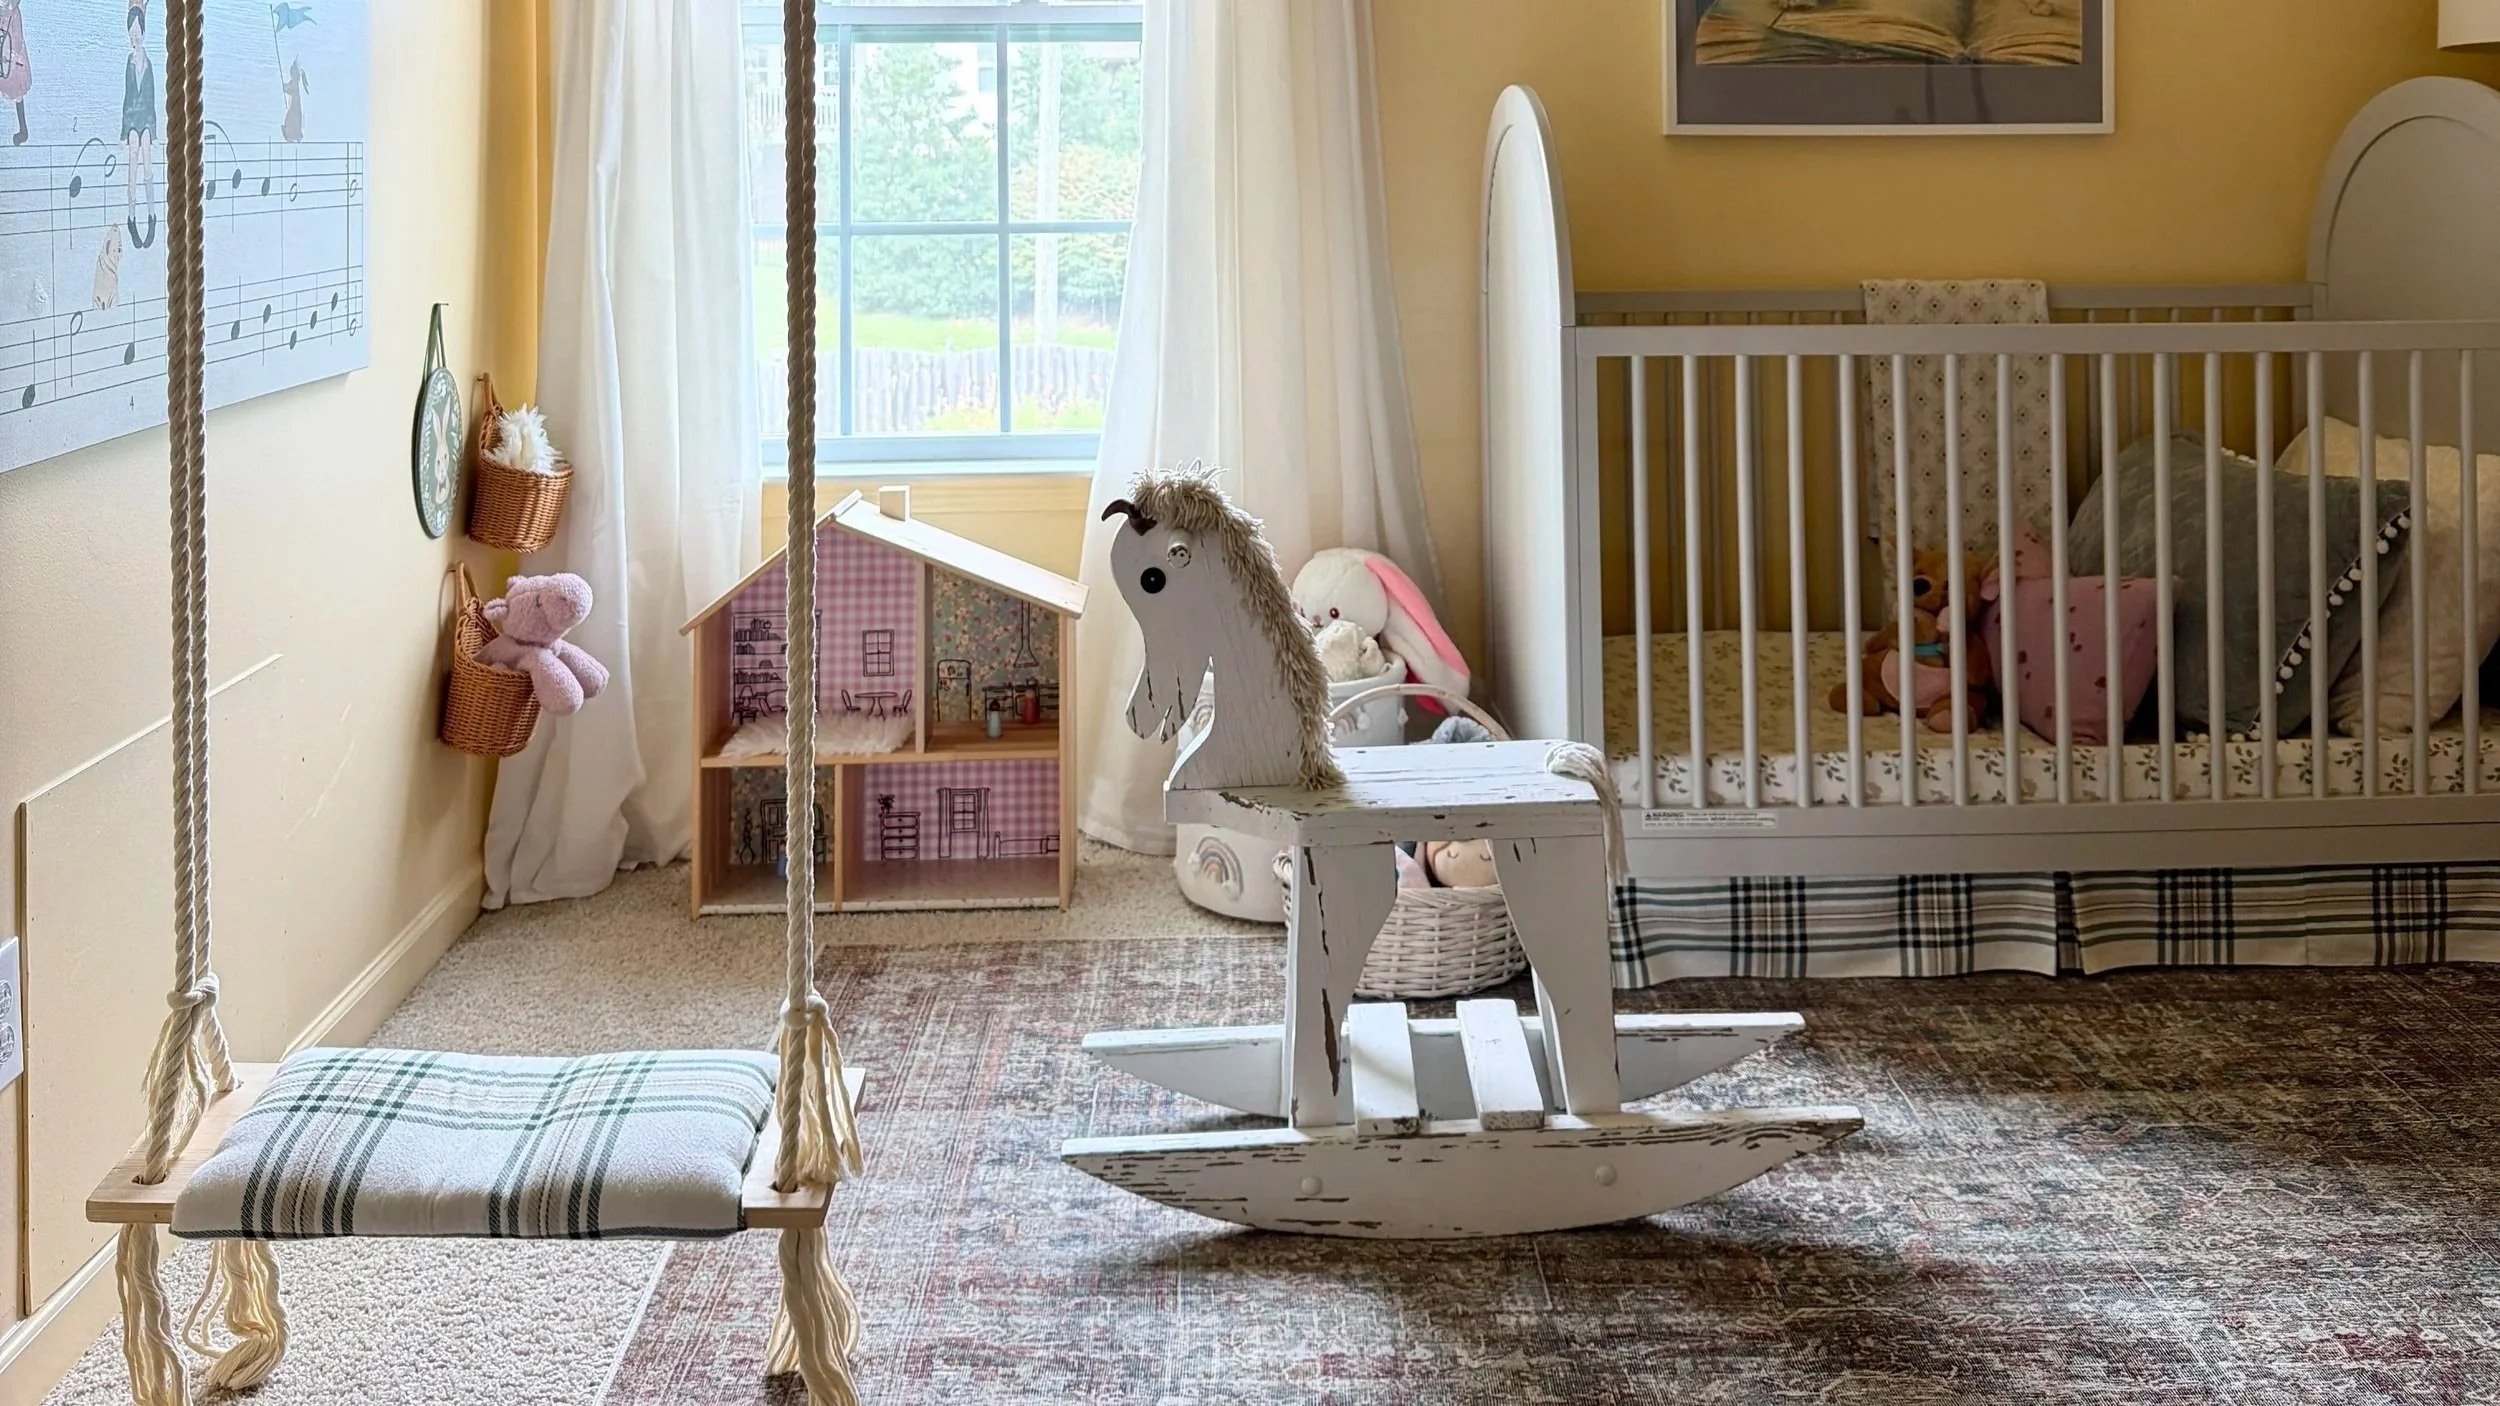
A cozy, bright toddler bedroom full of DIY projects to keep the cost down.
The Indoor DIY Swing
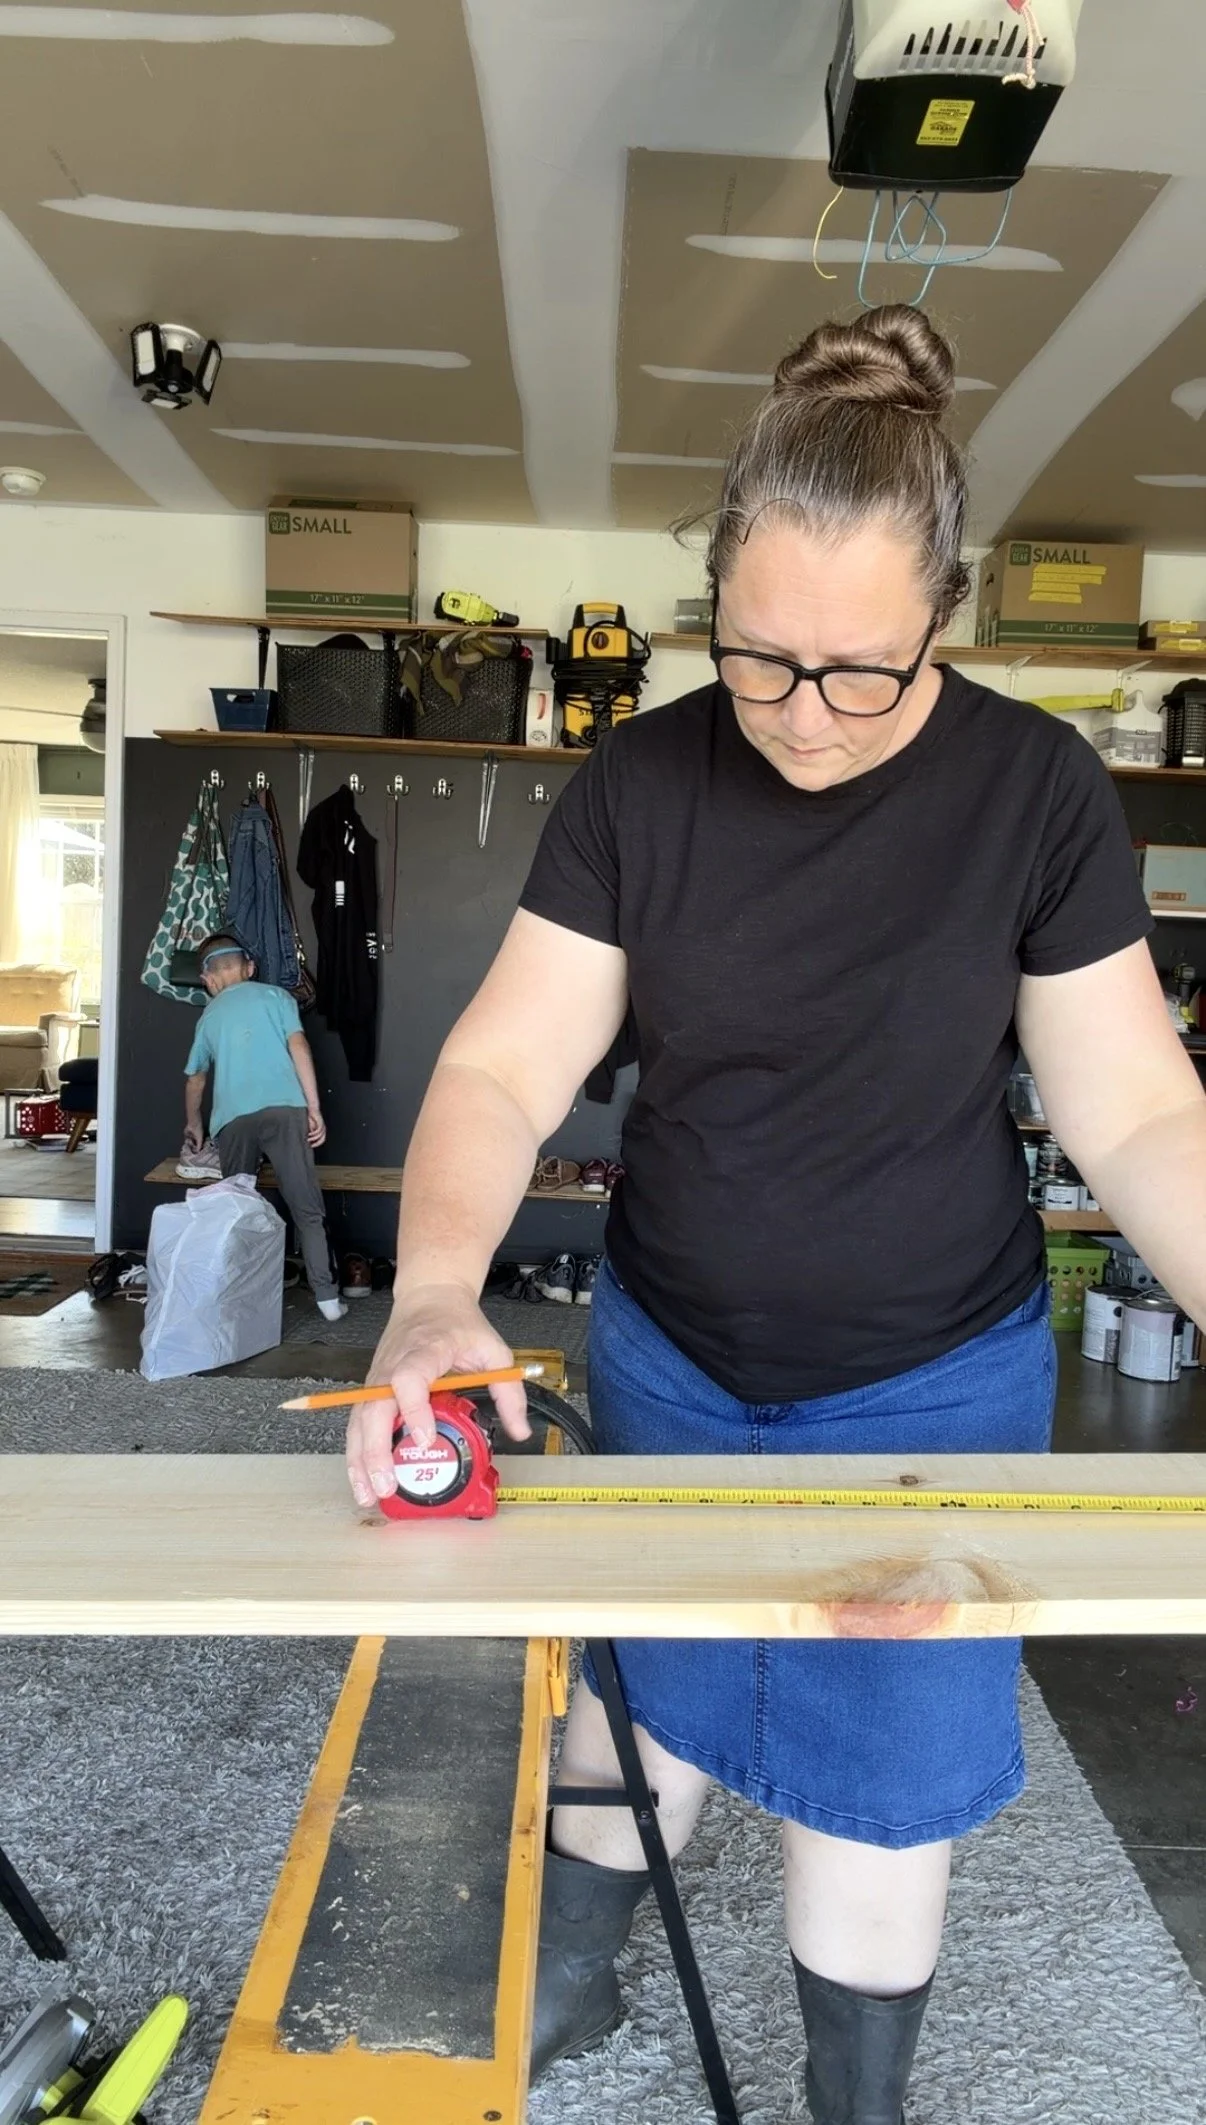
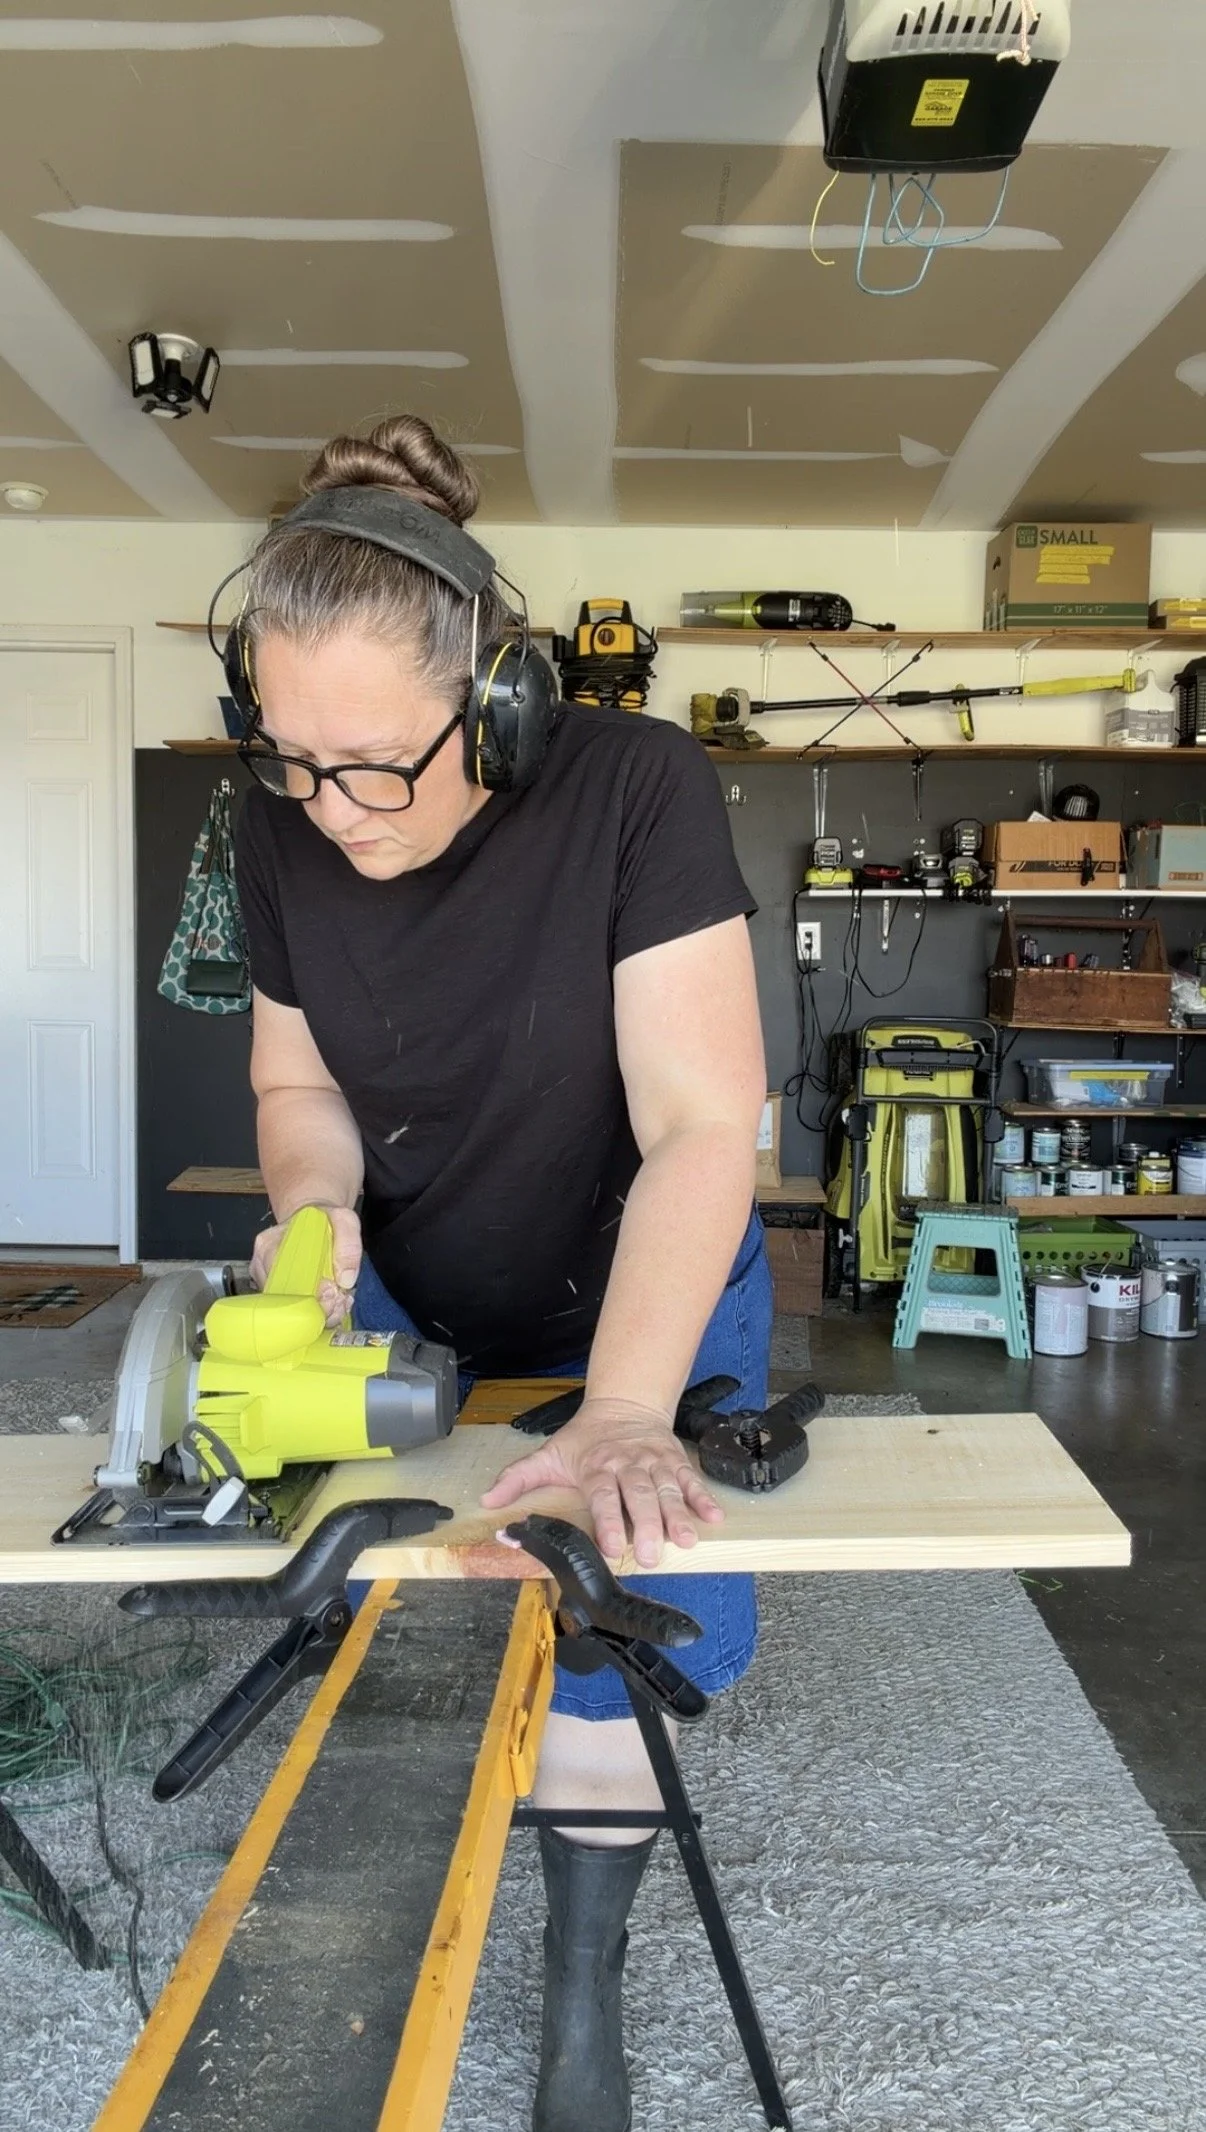
This is the second time I’ve made a wooden swing from scratch, and it’s just as easy the second time. I bought a board, and cut it down myself, but you can also have the store cut it down if you don’t have a saw. Let’s go over the supply list.
Wooden board, I use a 1×10
A paddle bit for your drill to get the right sized hole for the rope.
Cotton rope, COTTON, this is important, it needs to be soft. I use ¾ Inch cotton rope
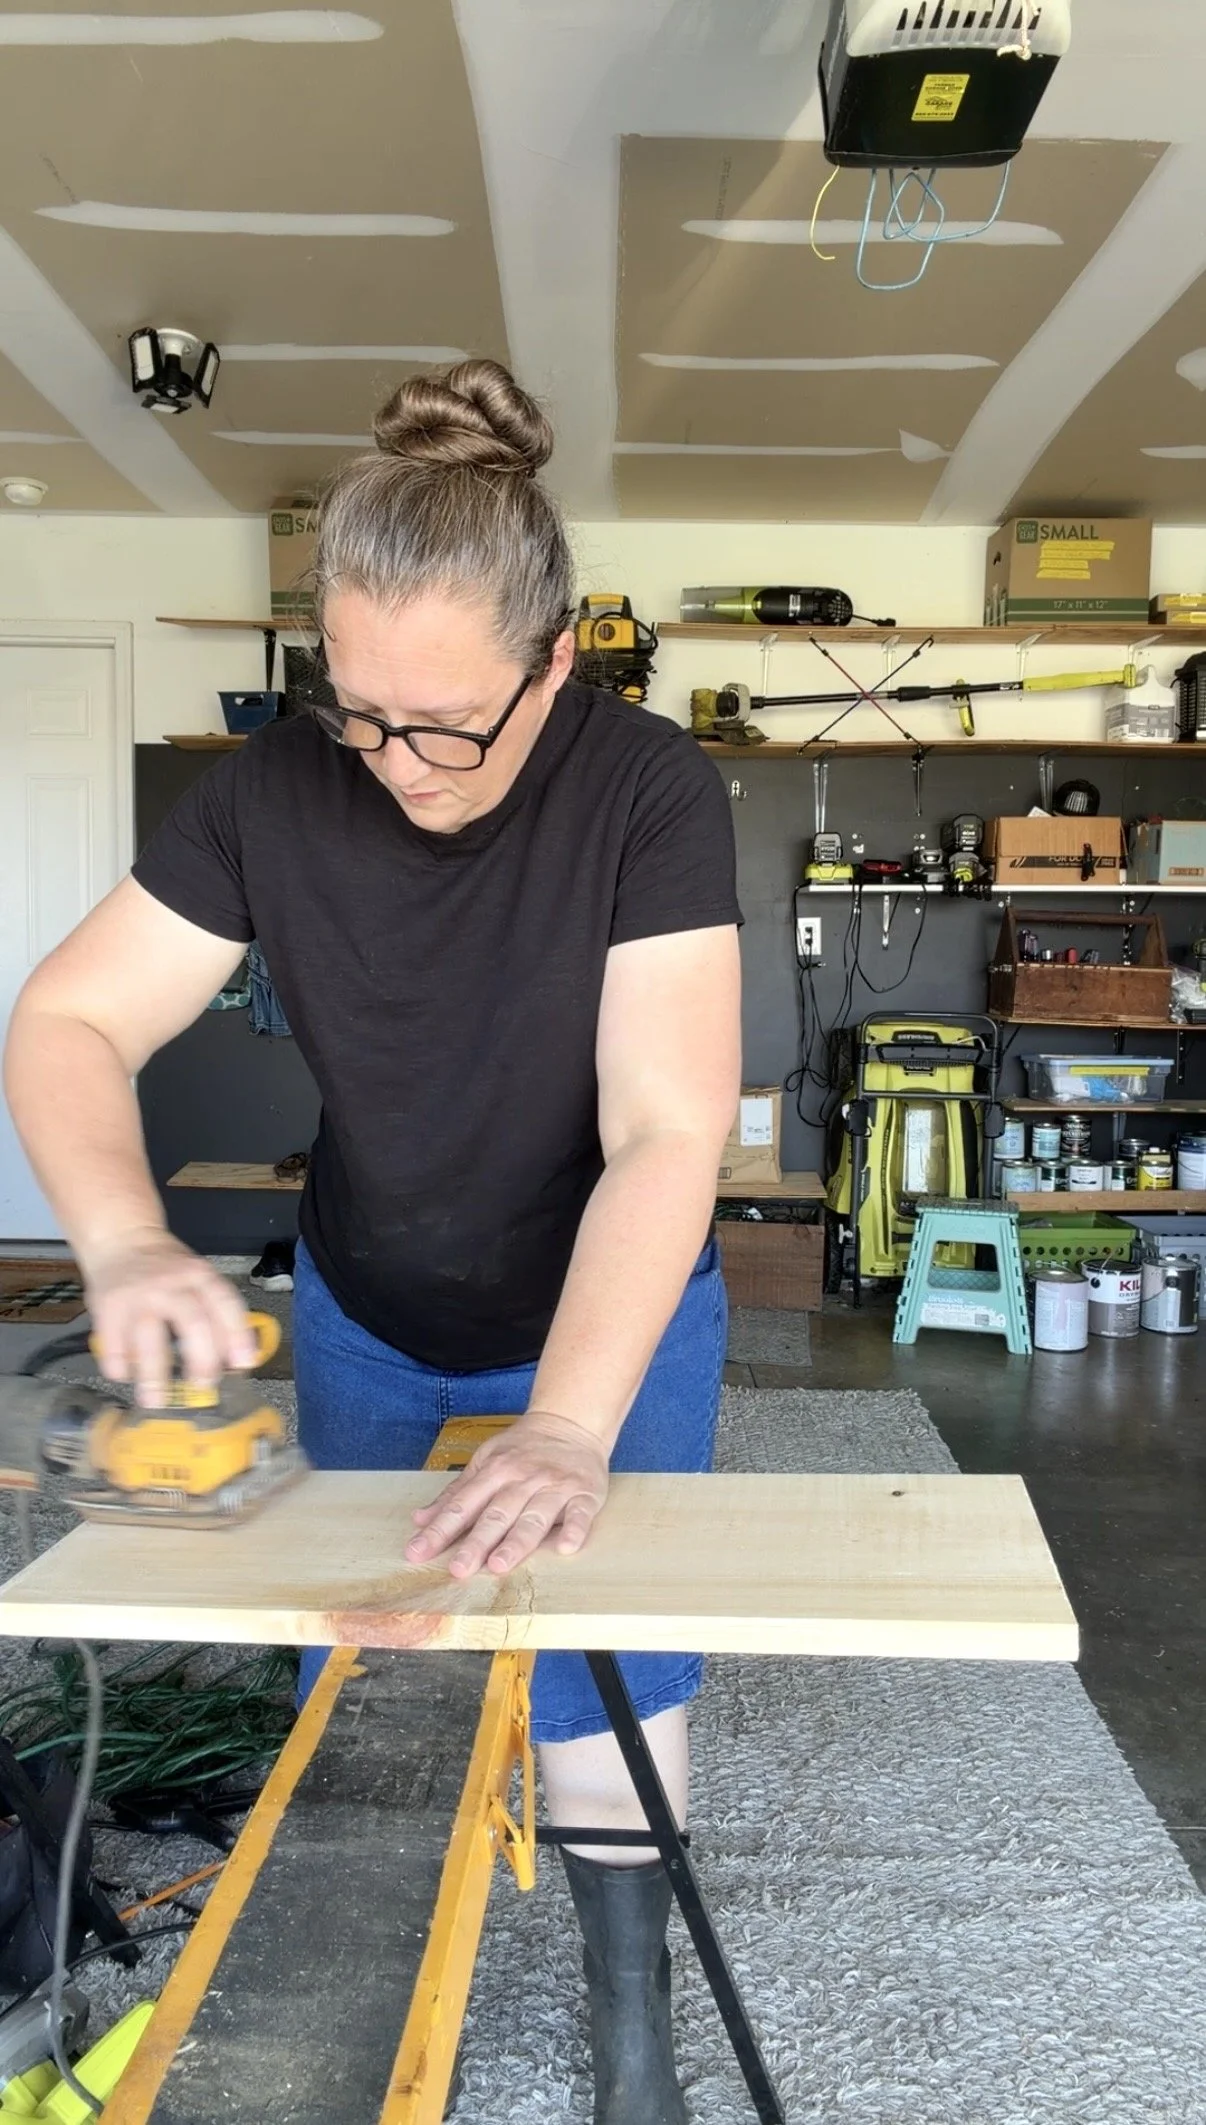
Sand paper, a low grit like 80 and a higher grit like 120 to make sure there arent any splinters.
Batting to make the seat soft, and fabric to go over the batting to coordinate with the room
Staple gun and staples, you will need staples long enough to go through the fabric and batting.
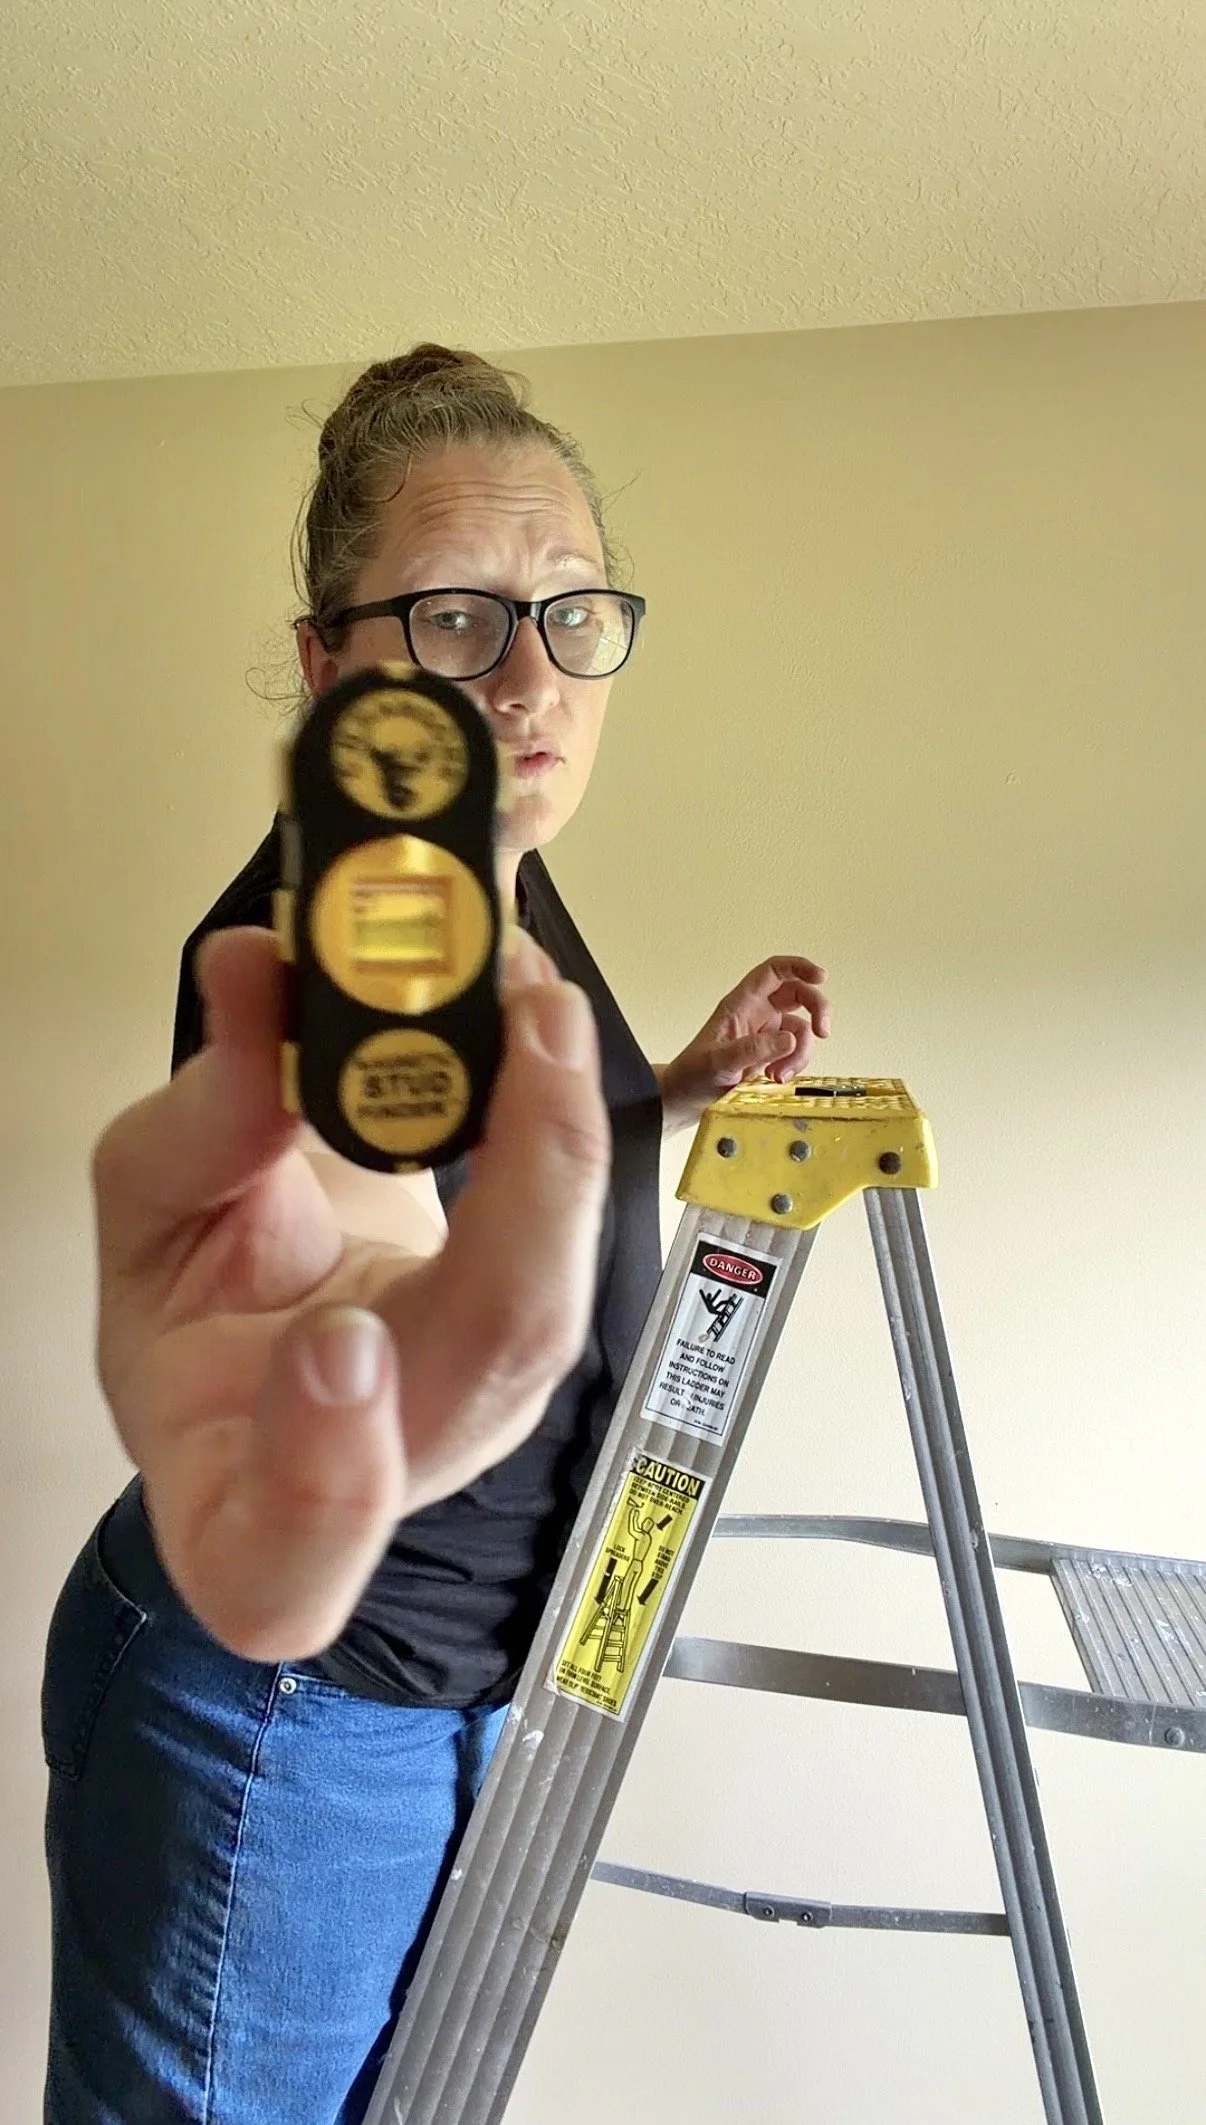
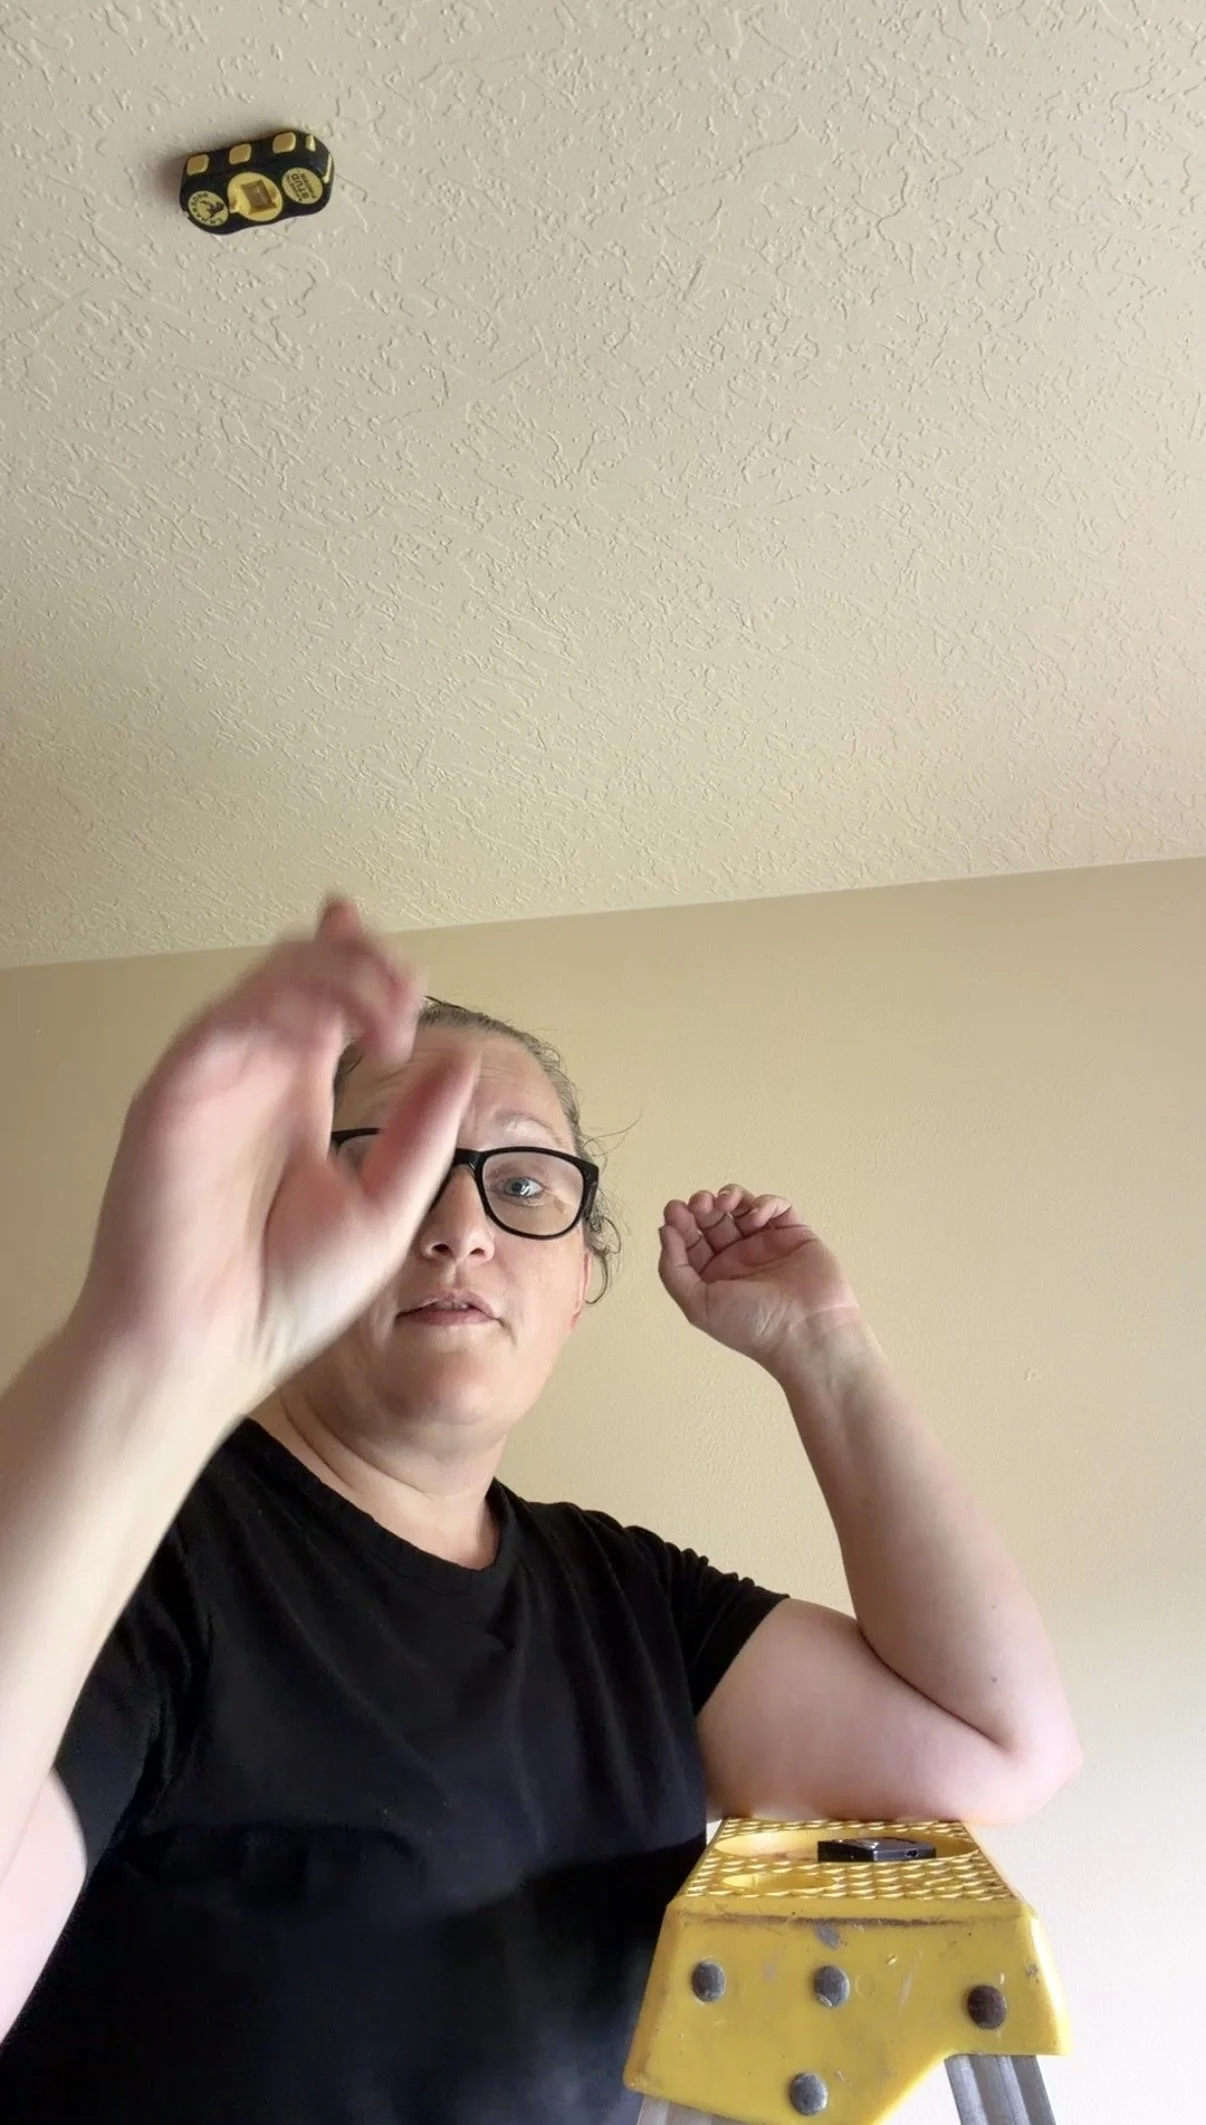
Stud finder to find the joists in the ceiling
Eye bolts with ring attached, or eye bolt and a heavy duty carabiner with a high weight capacity
Drill bit slighty smaller than your eye bolt to pre-drill the holes in the joists
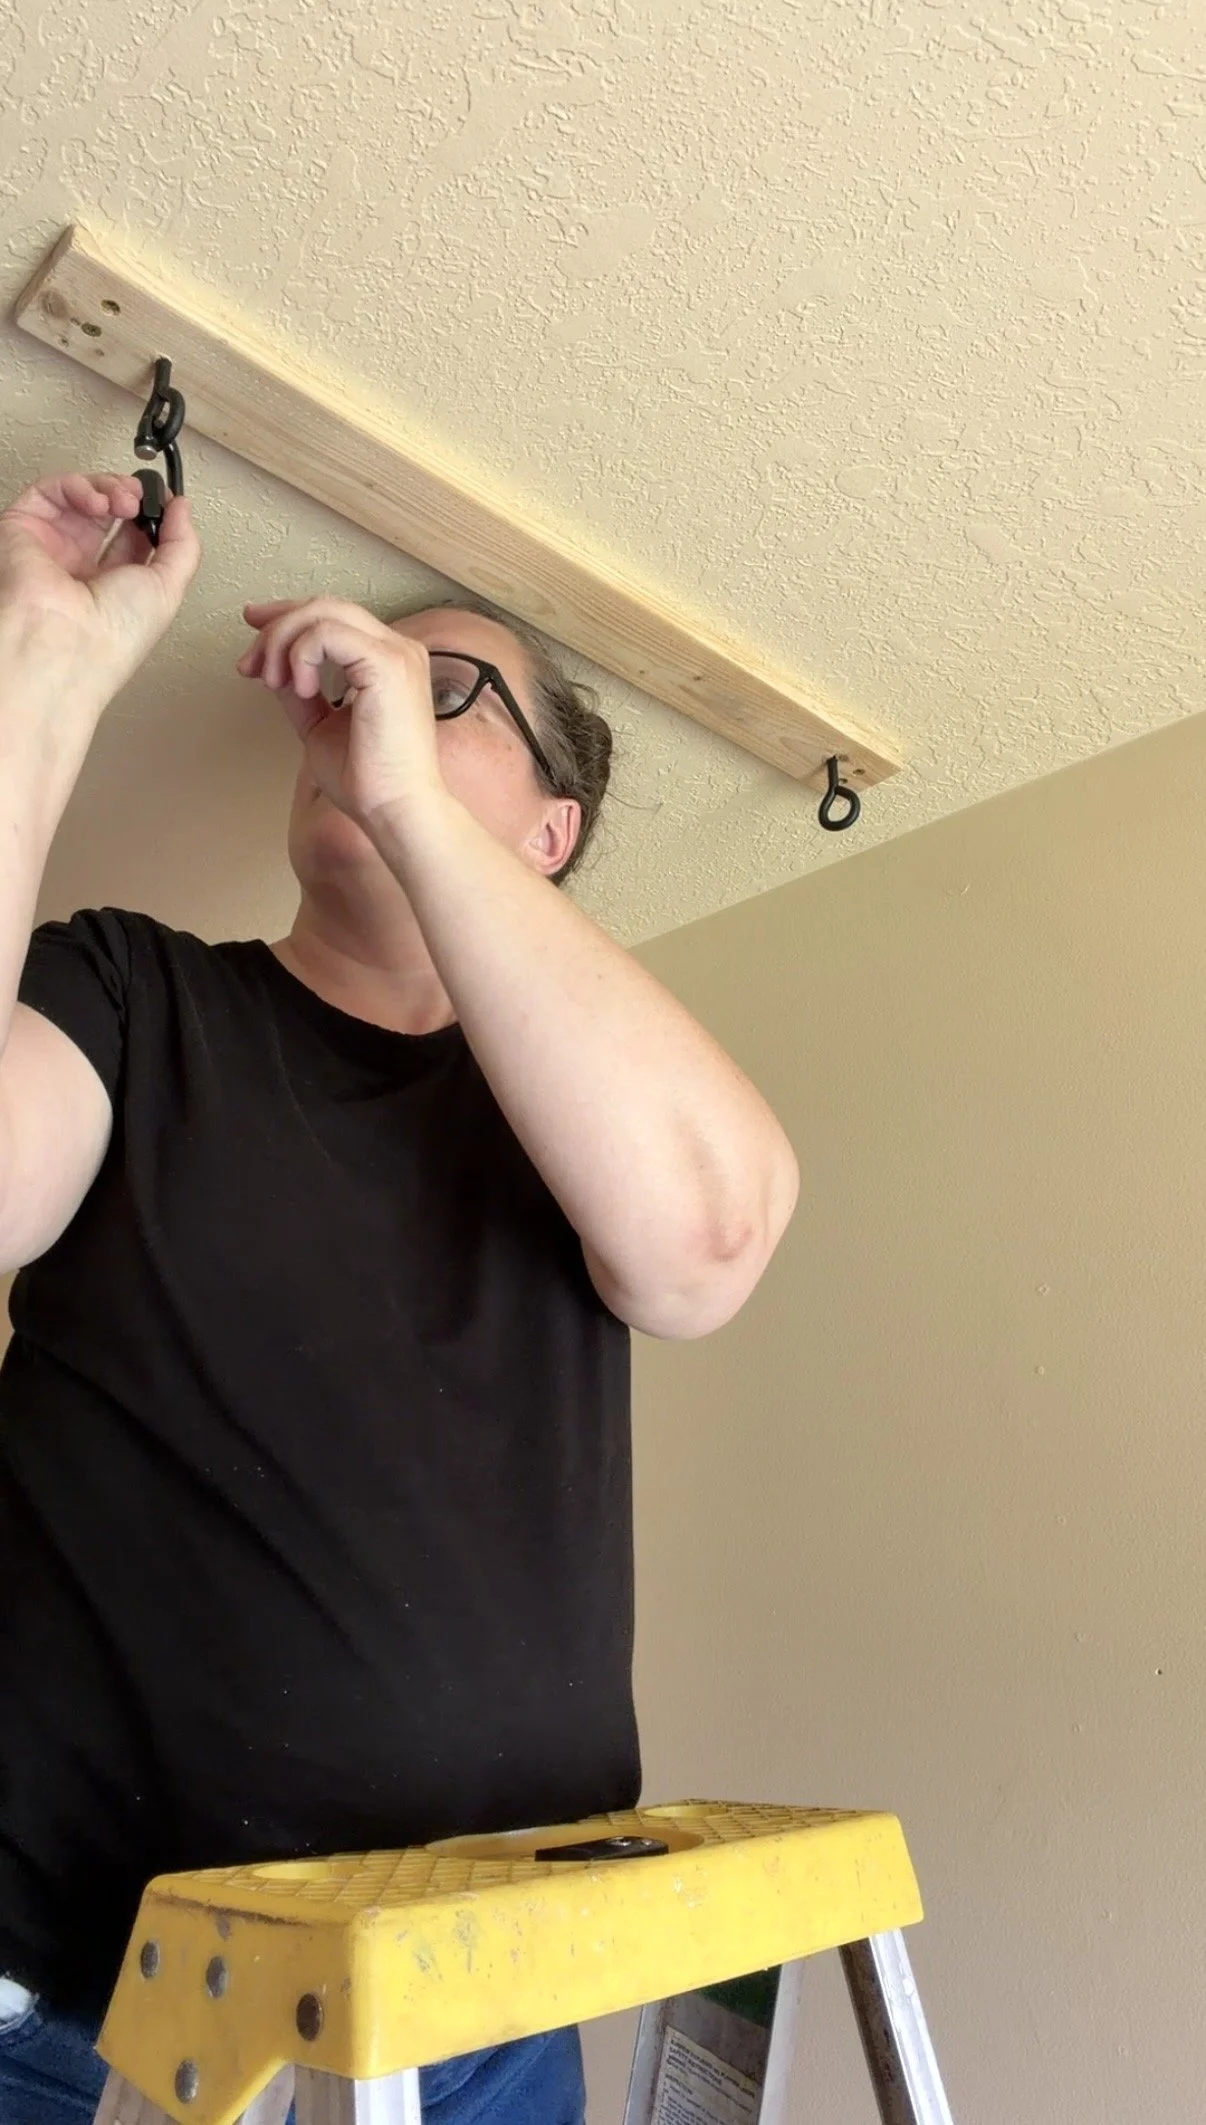
If your joists are going the wrong direction, like mine, you need a brace board. Whatever board you have around is fine as long as it’s sturdy. You locate the joists, cut the brace board to length to go from joist to joist and secure it with 4 long screws into the joists, 2 on each end. Then you secure your eye bolts to the brace board.
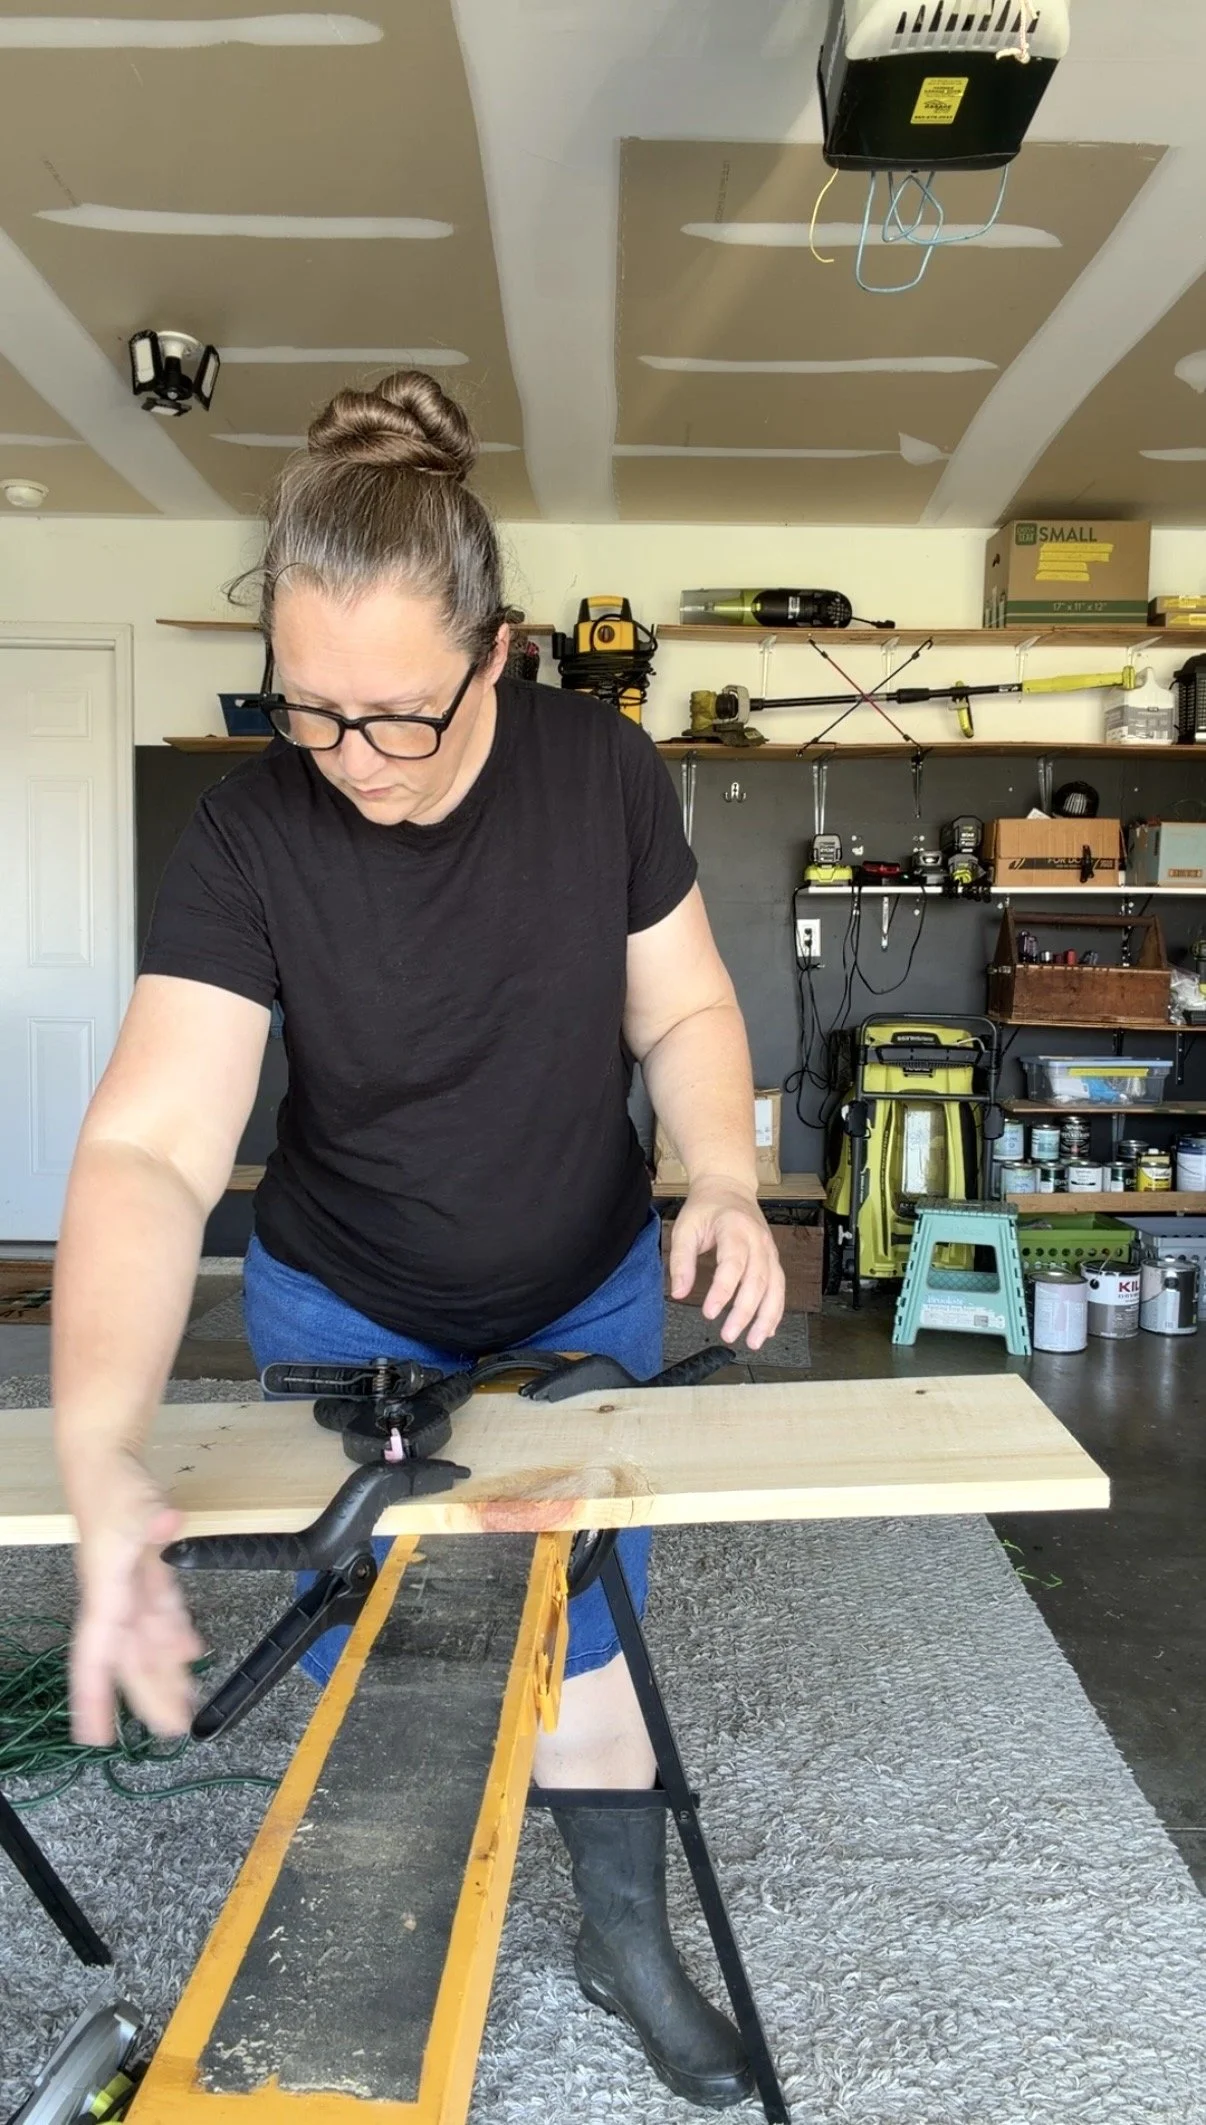
First We Cut the Seat
You don’t have to cut this yourself, you can absolutely have the store cut it for you. I do a 36 inch seat personally. That gives you plenty of room to have a fully padded seat inside of the holes for the rope.
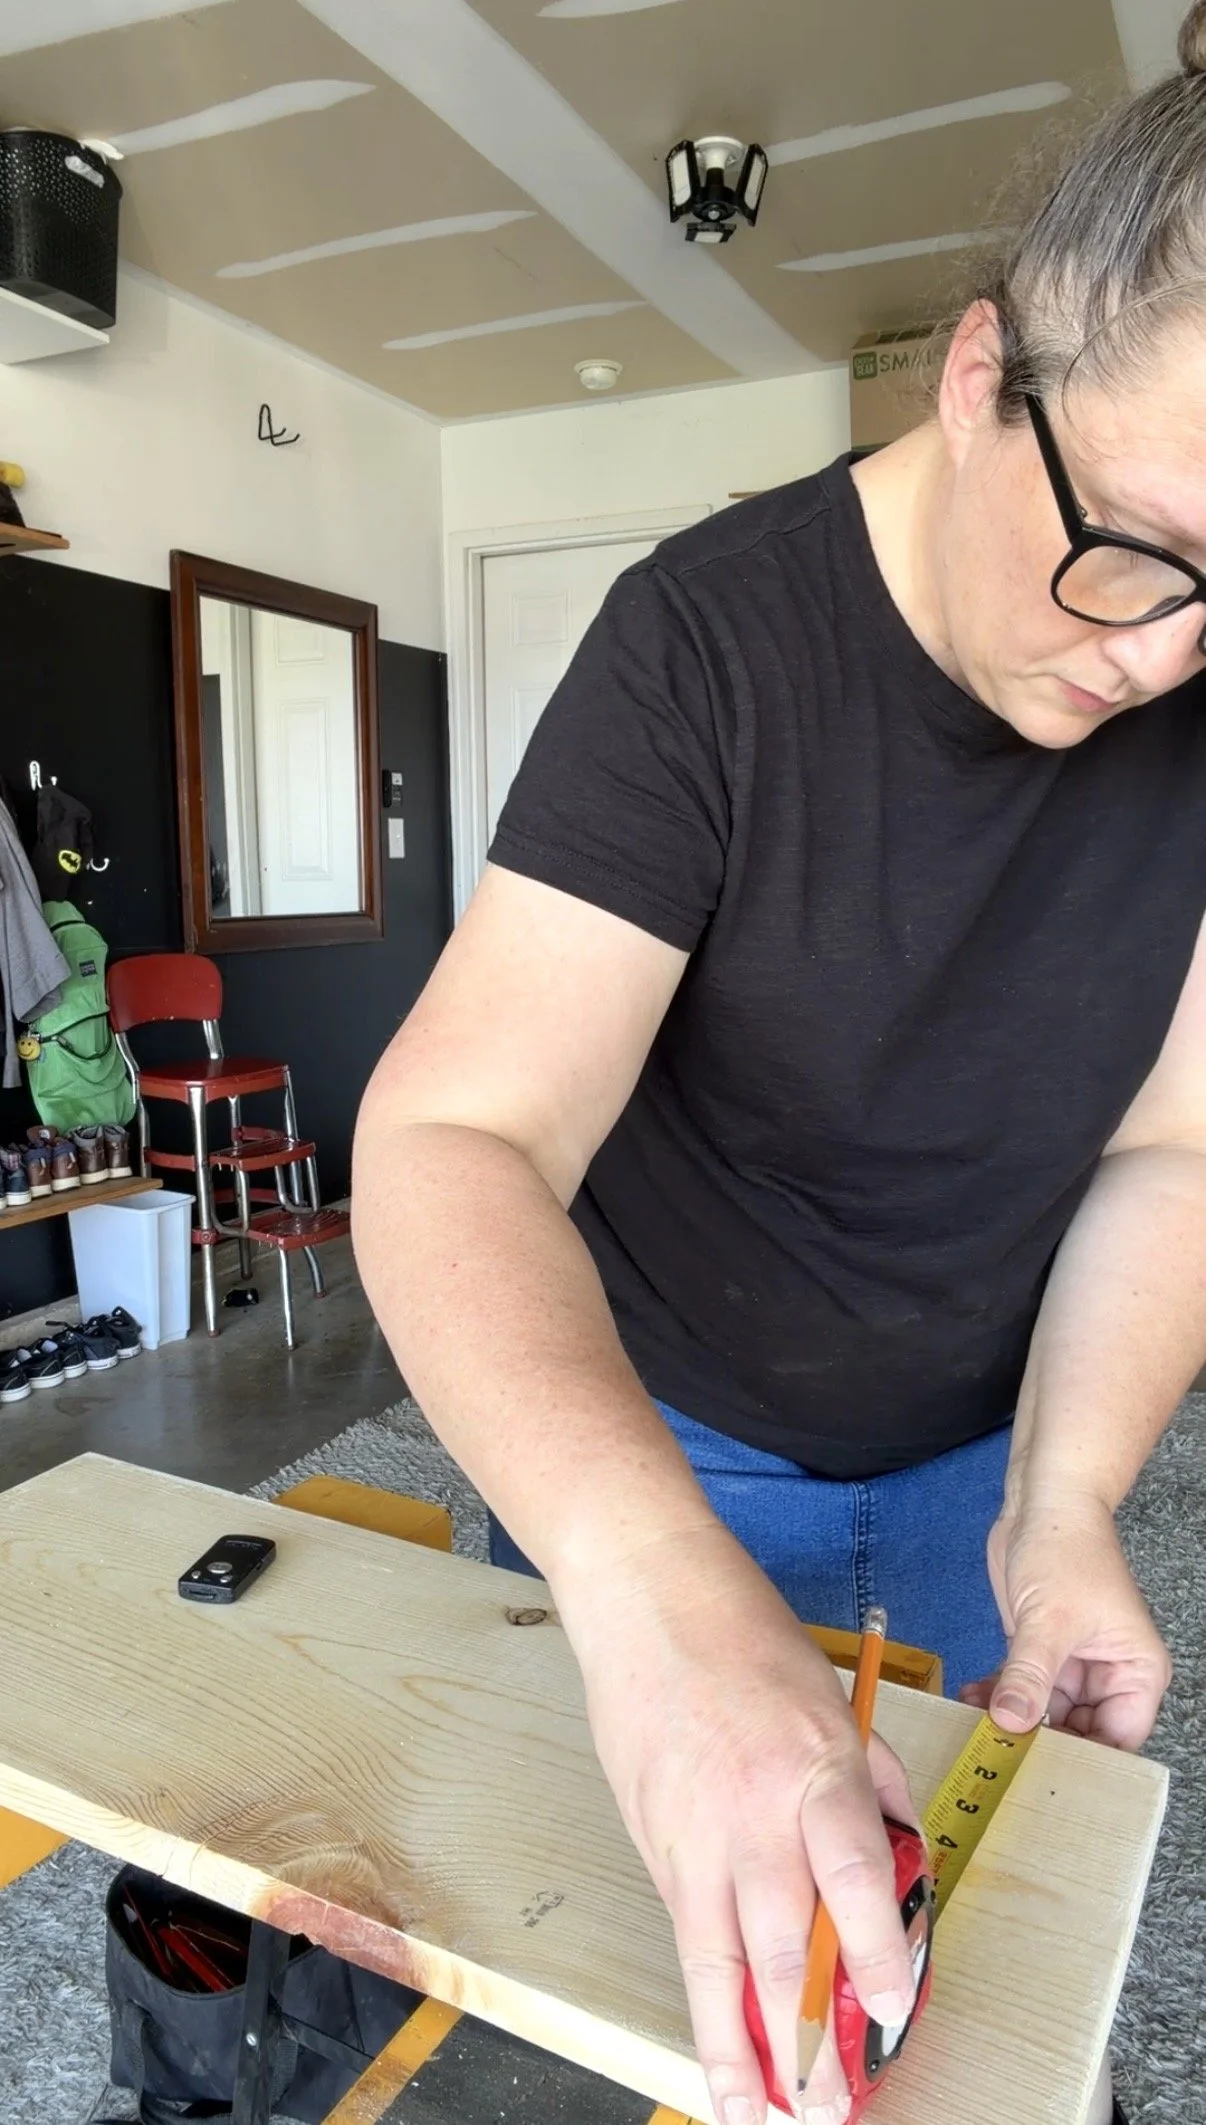
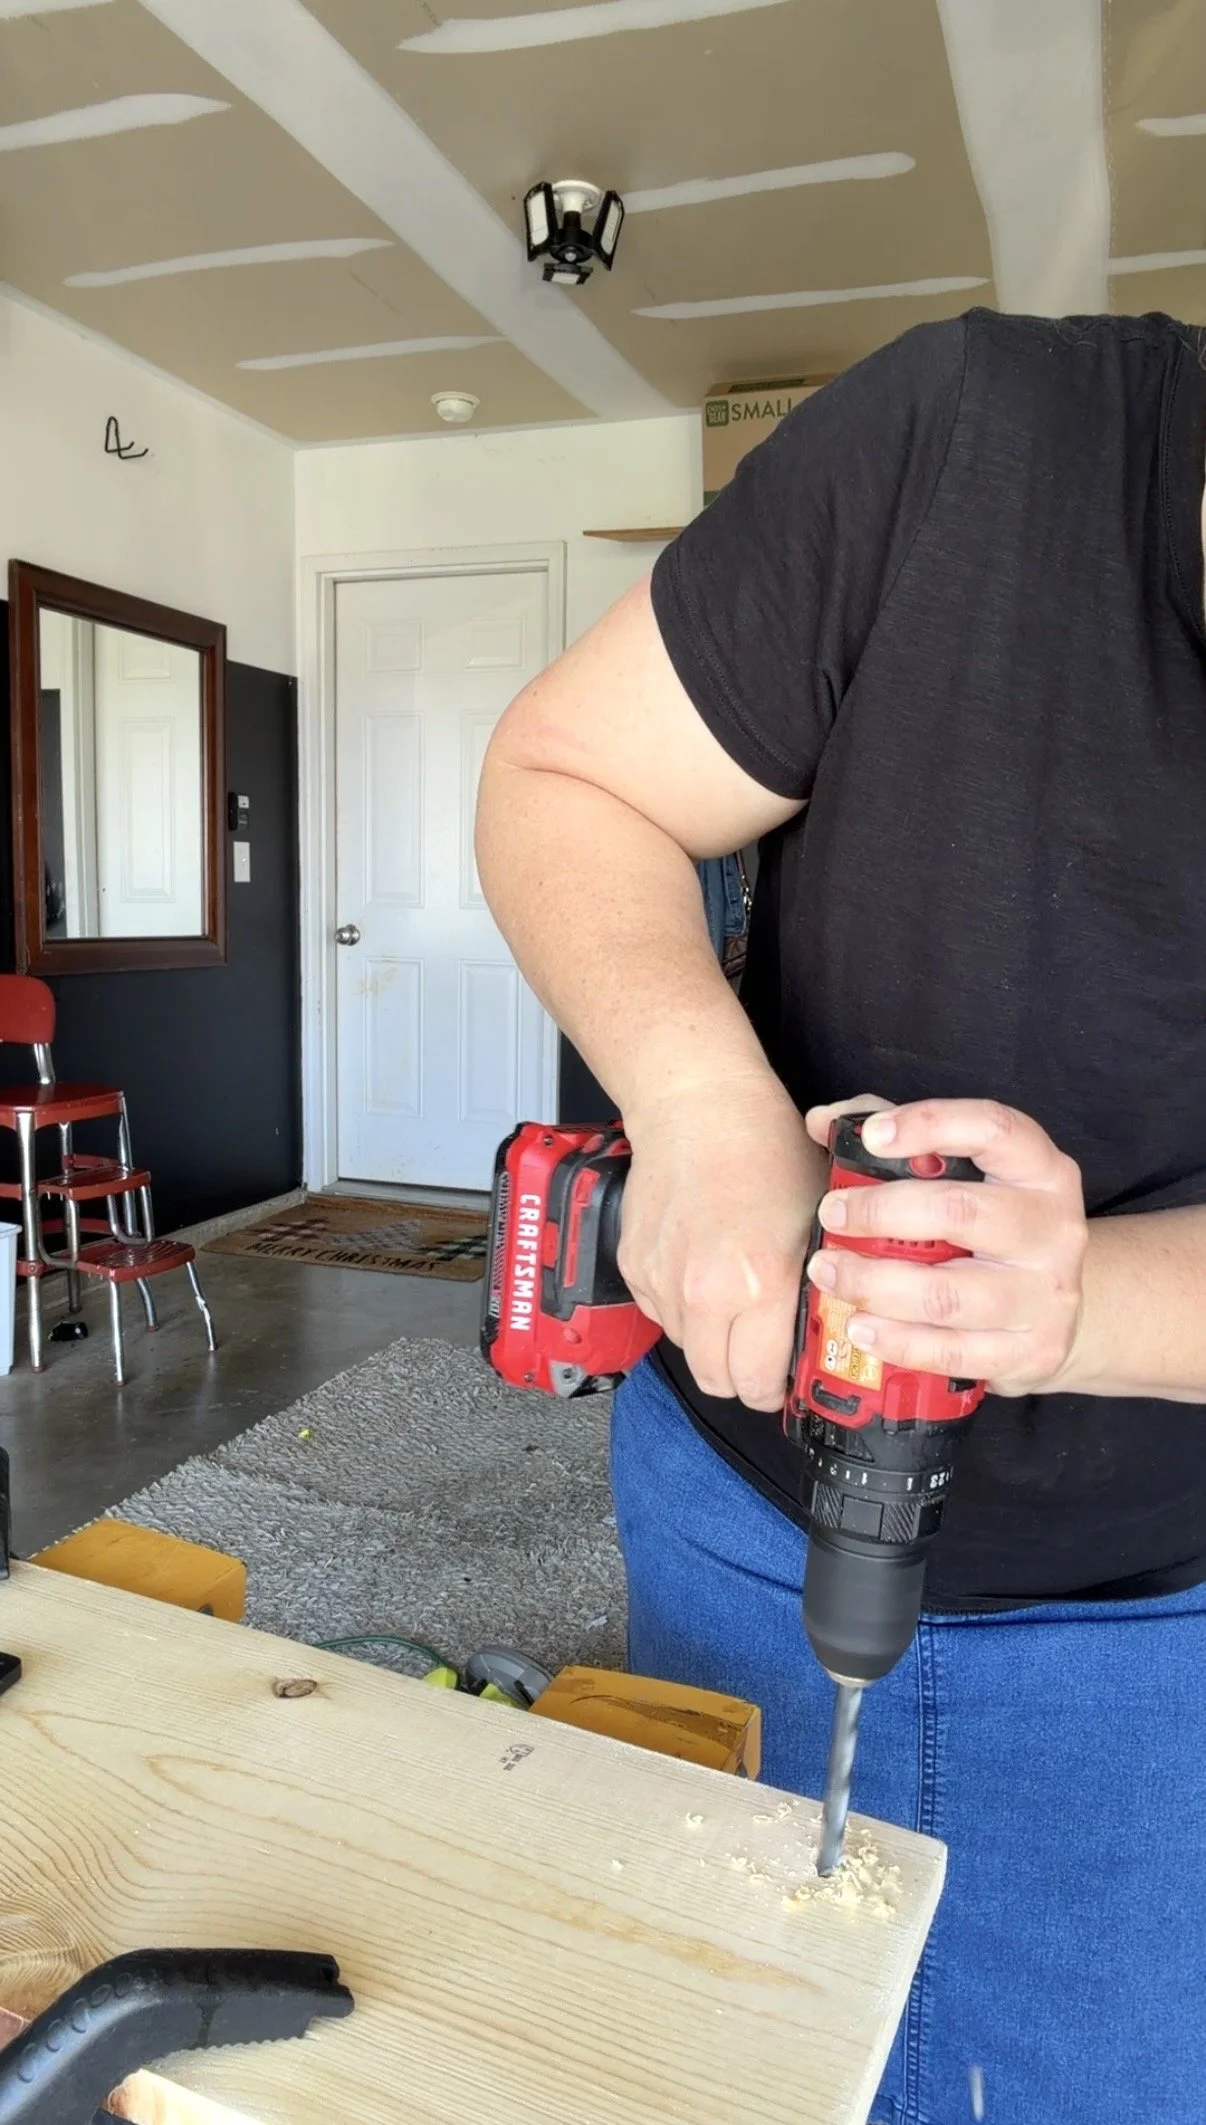
Then We Get All of the Supplies Together To Cover it
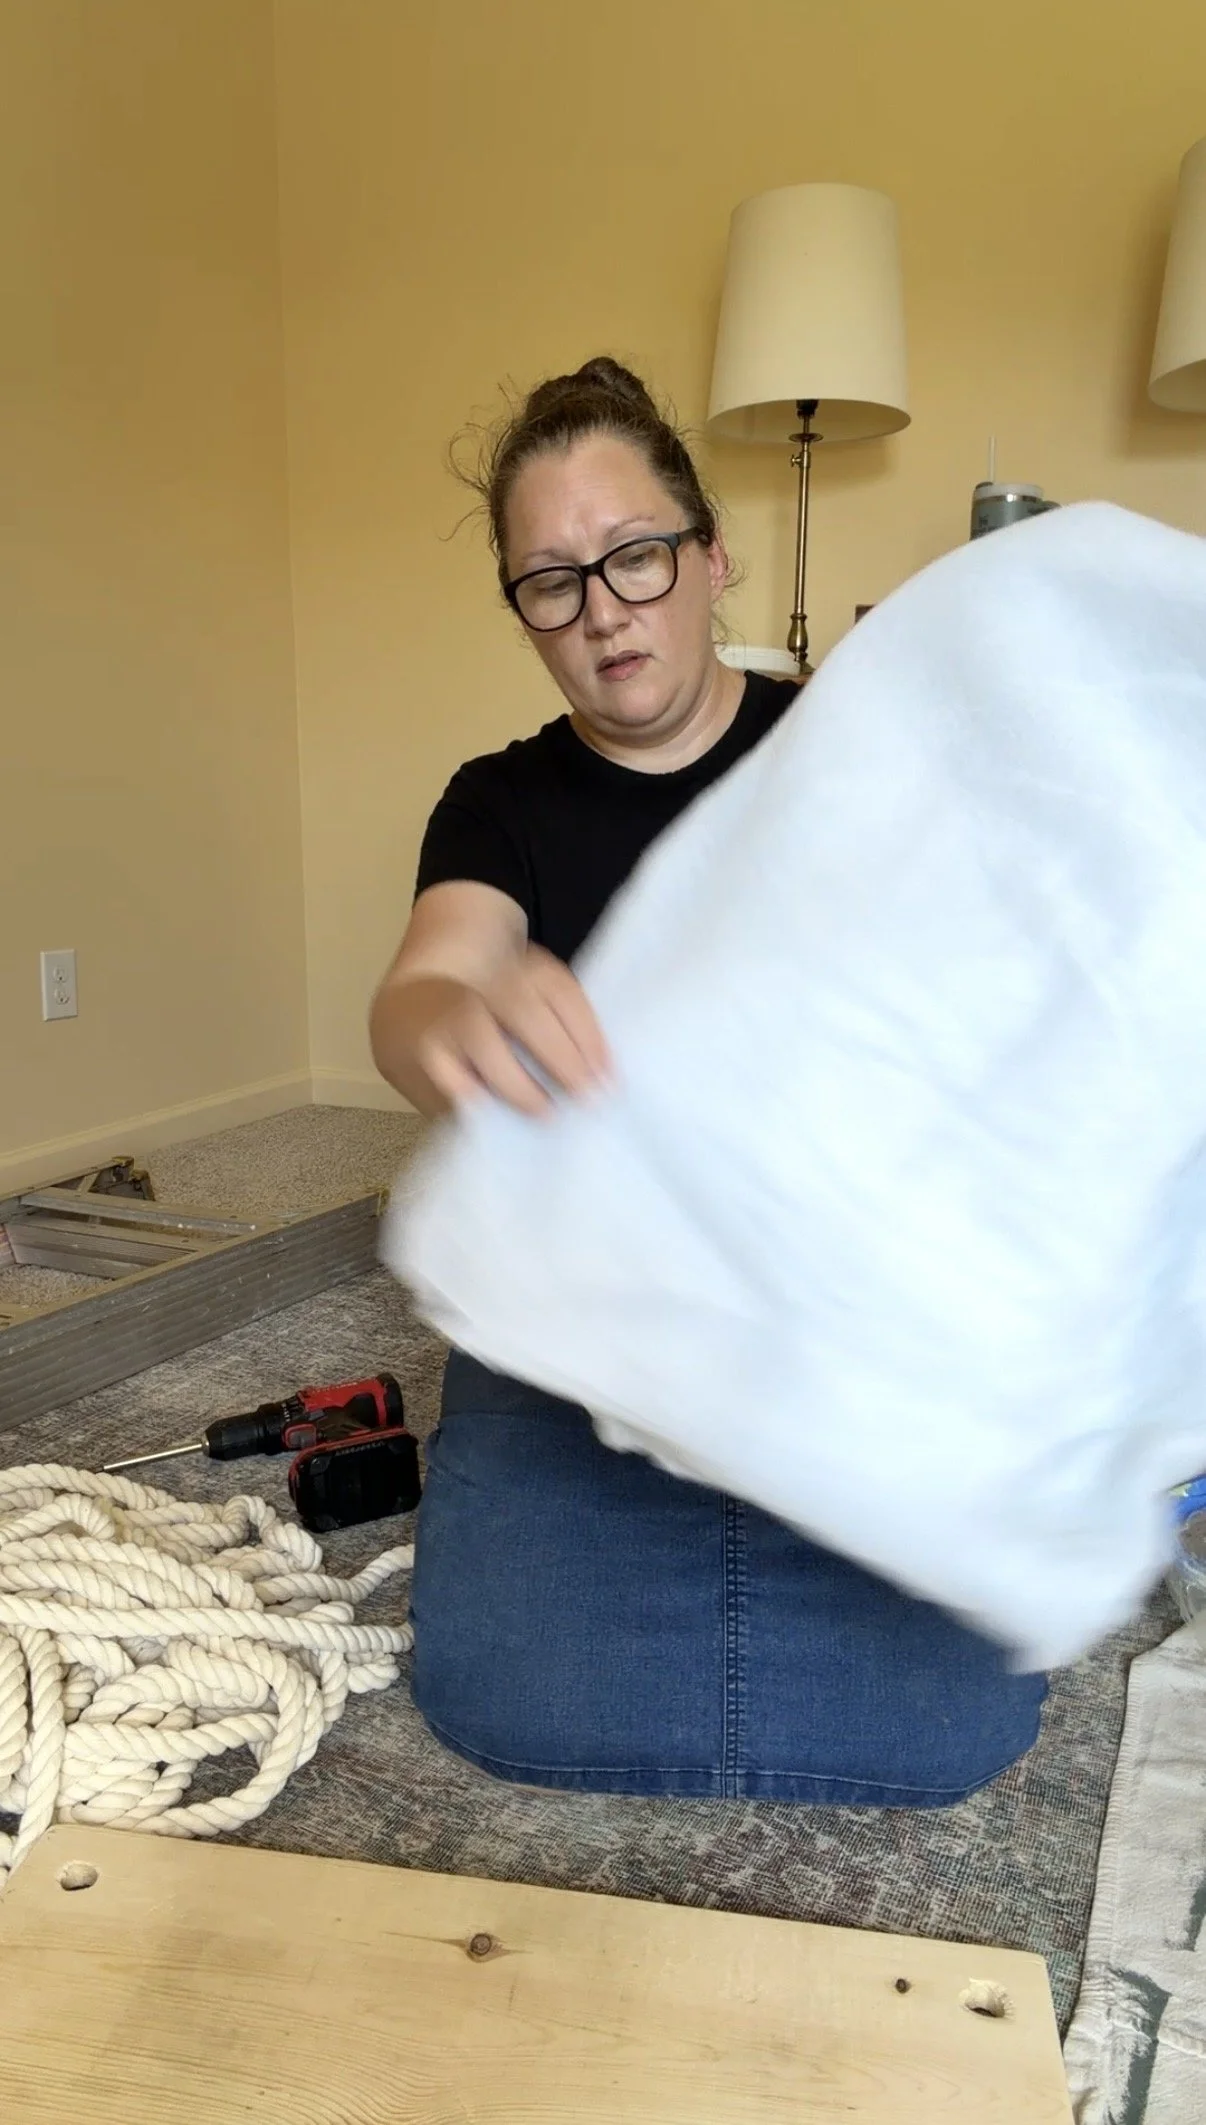
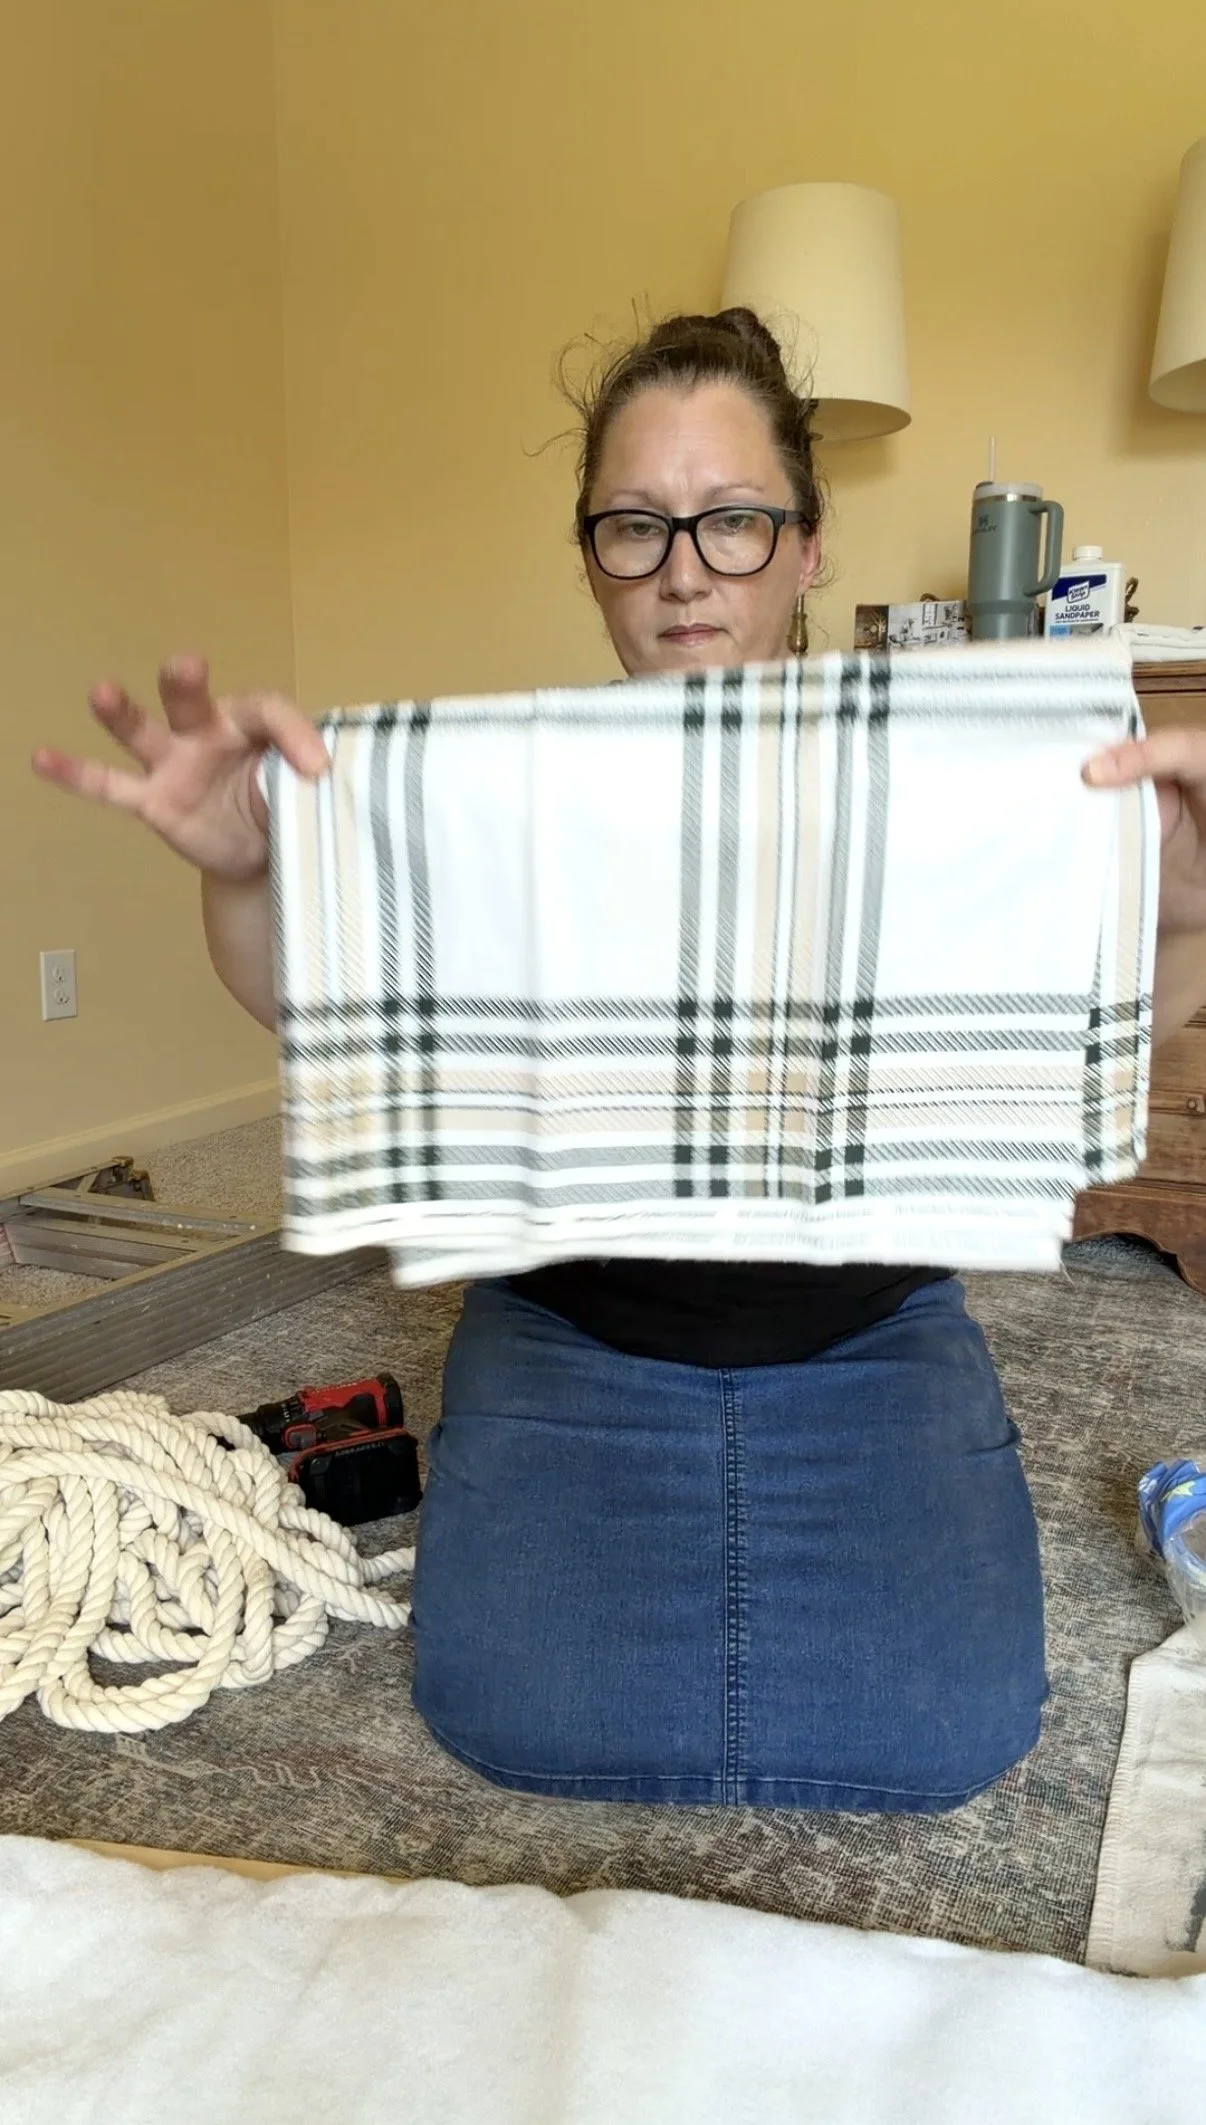
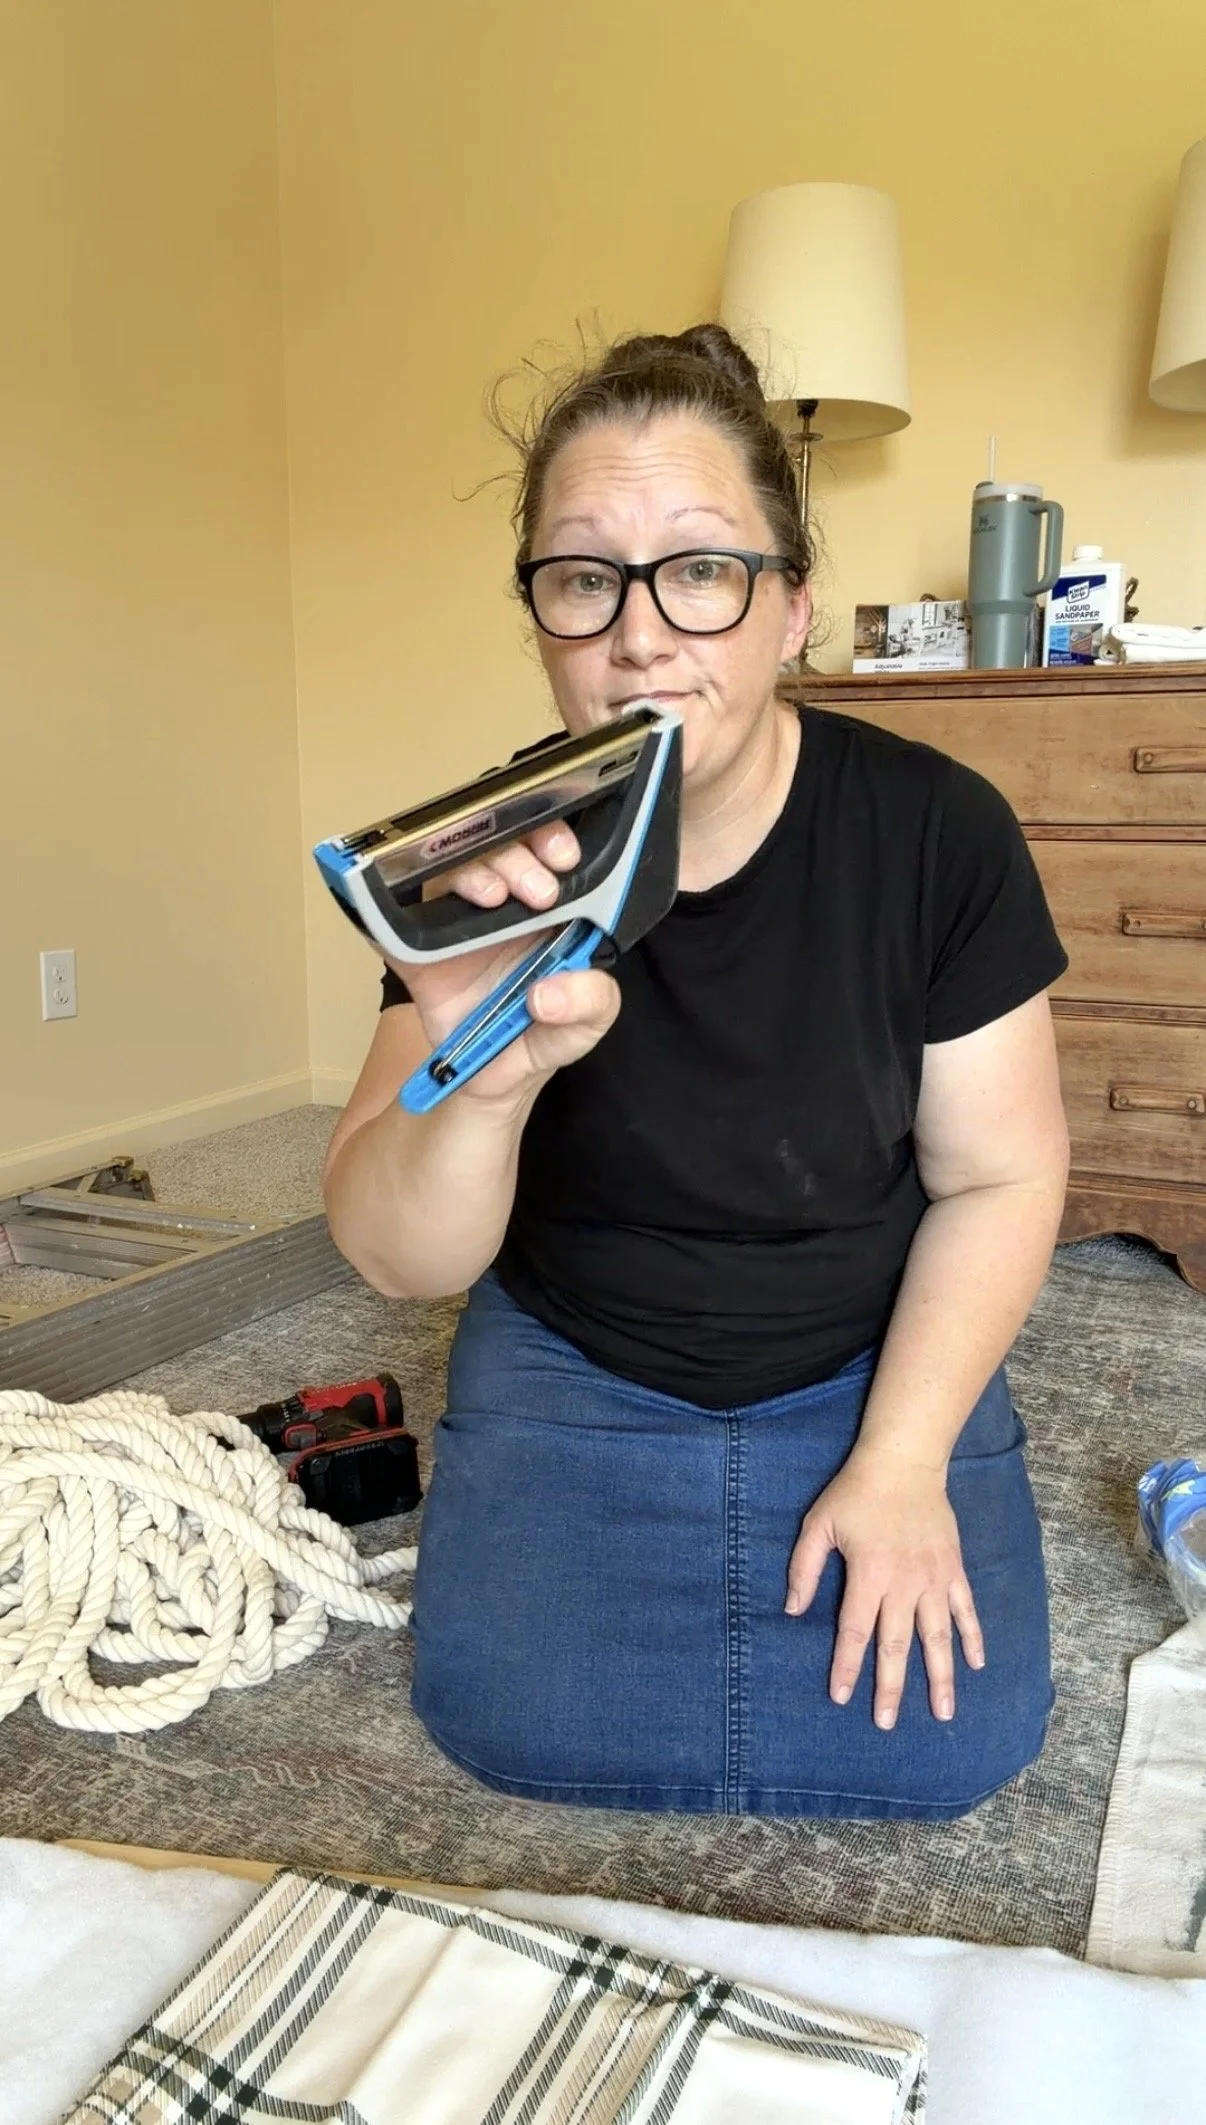
Now We Make it Soft
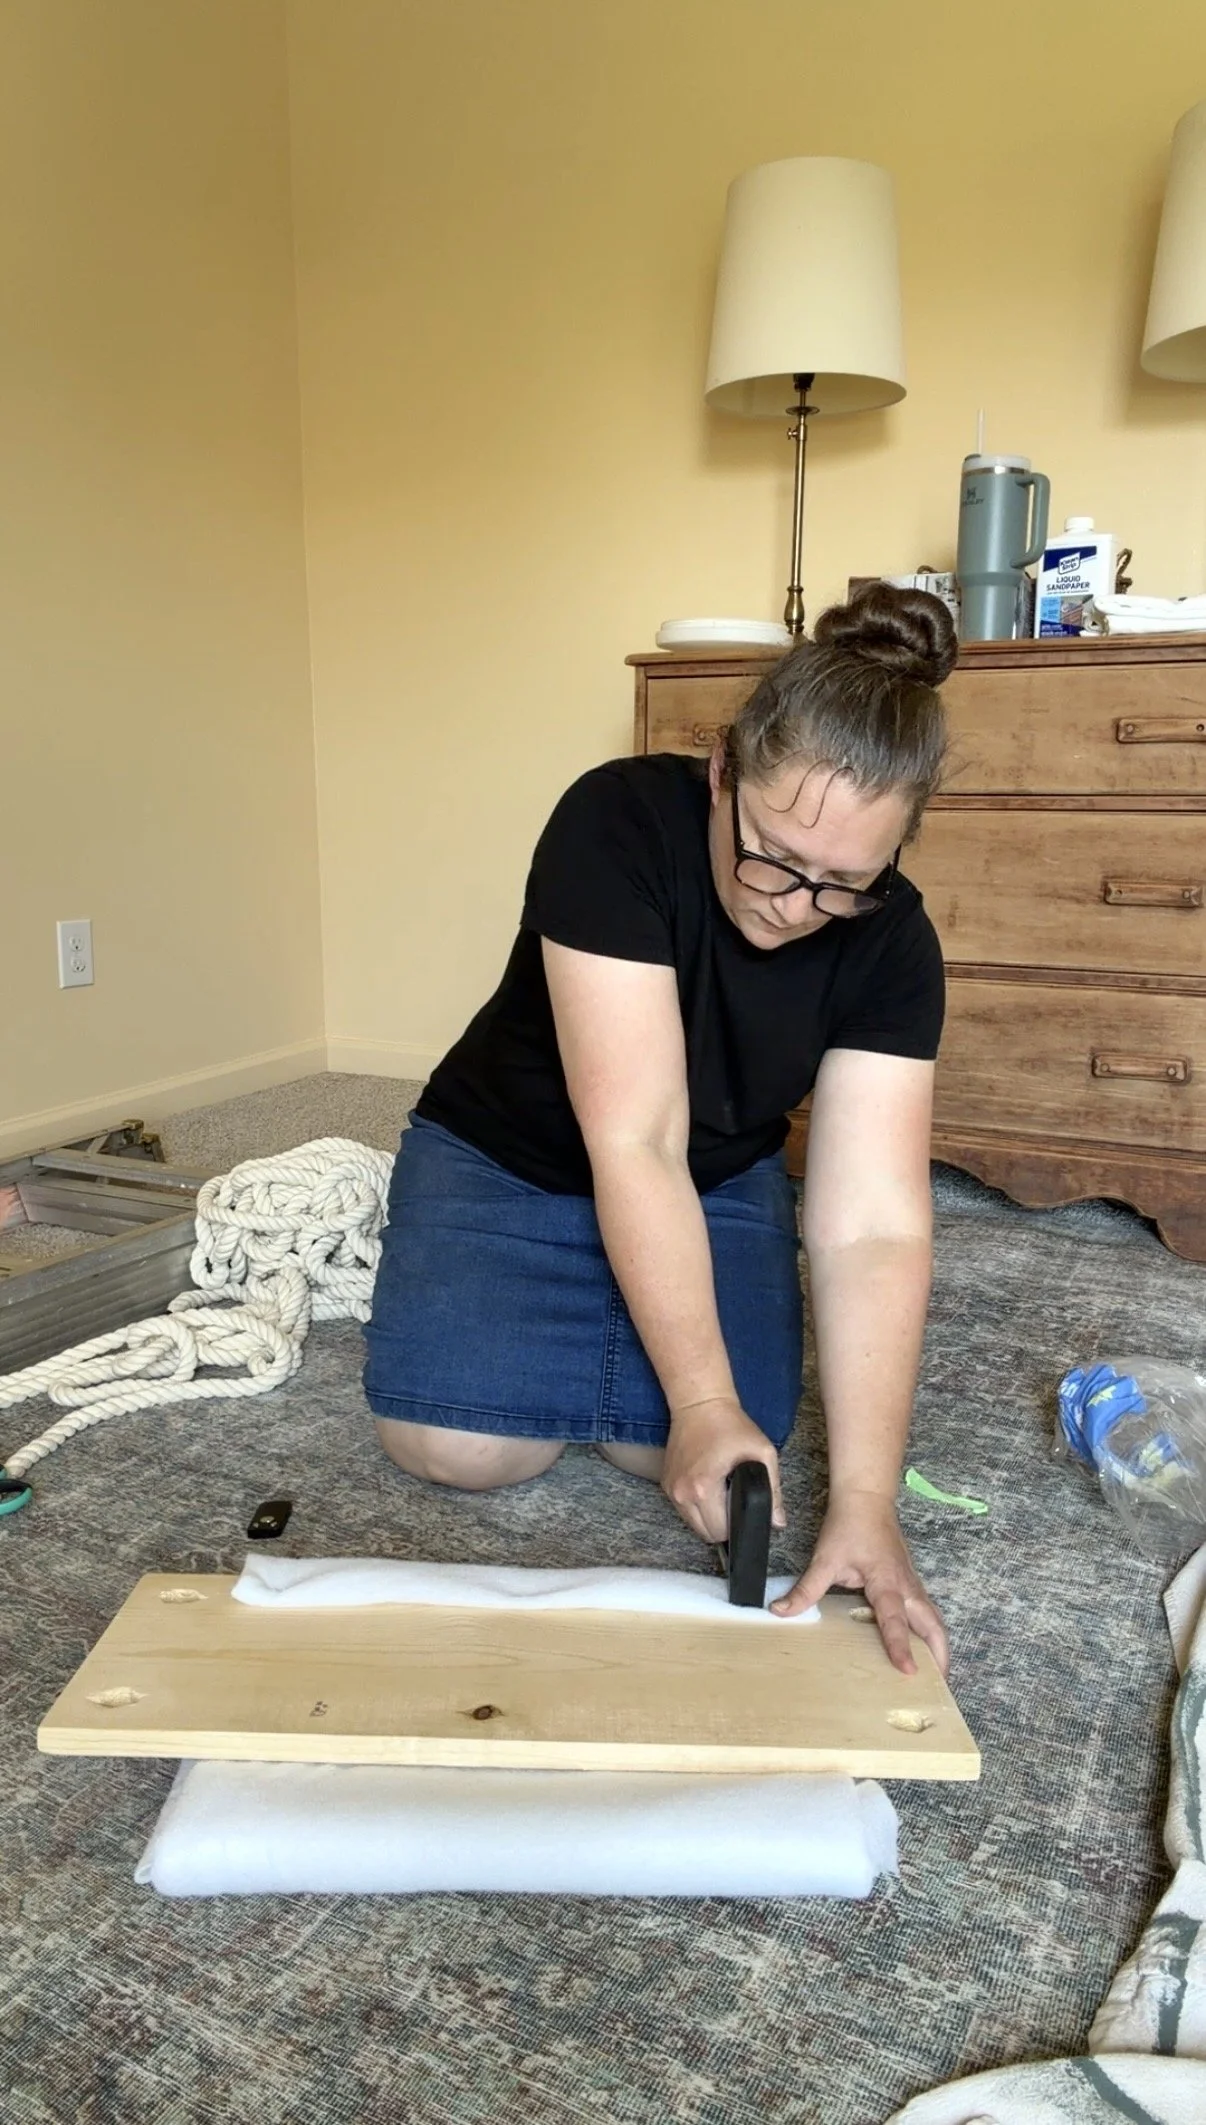
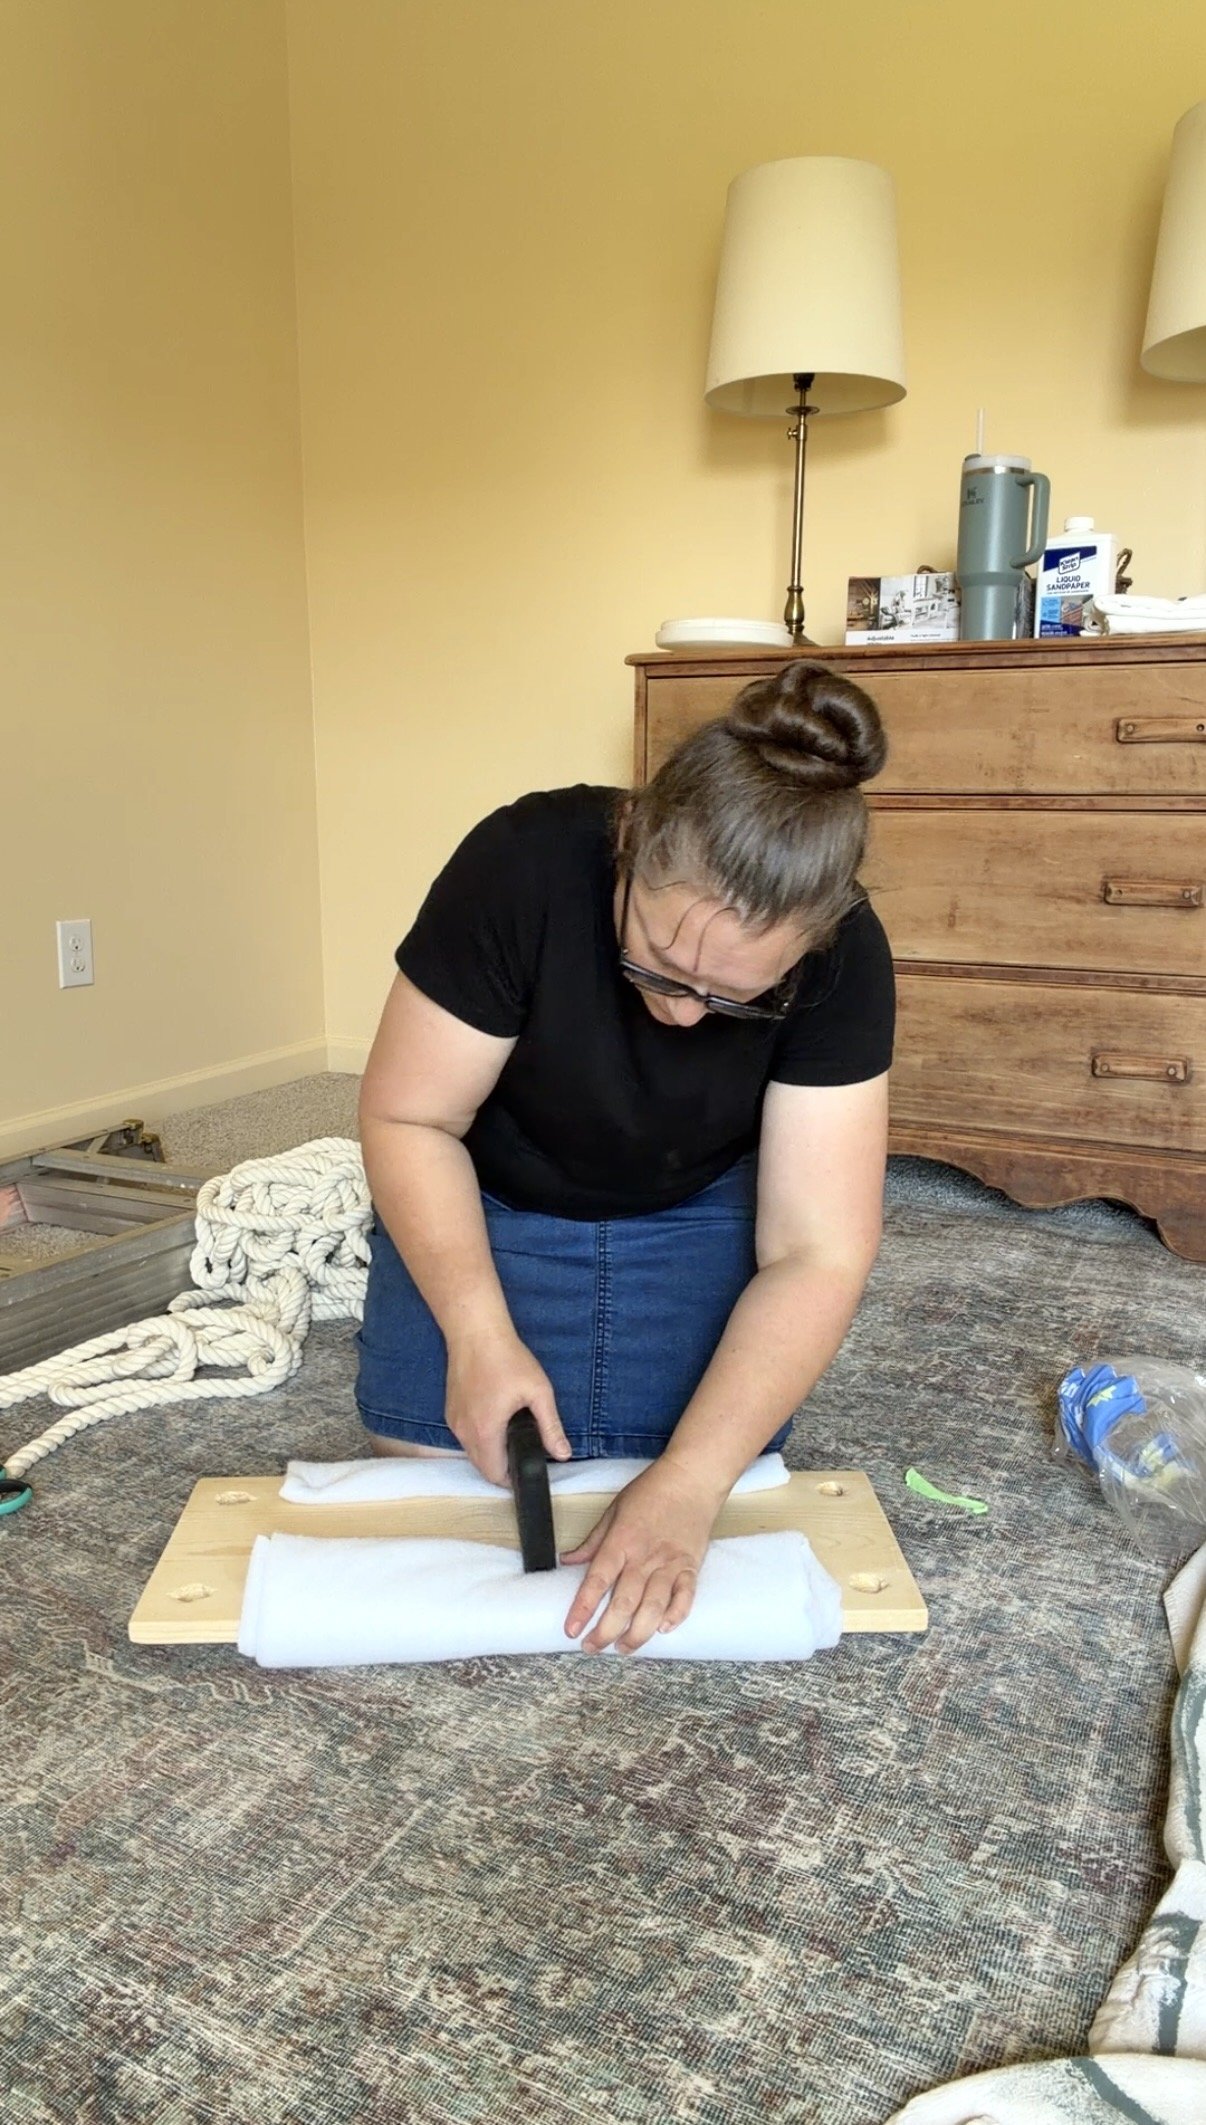
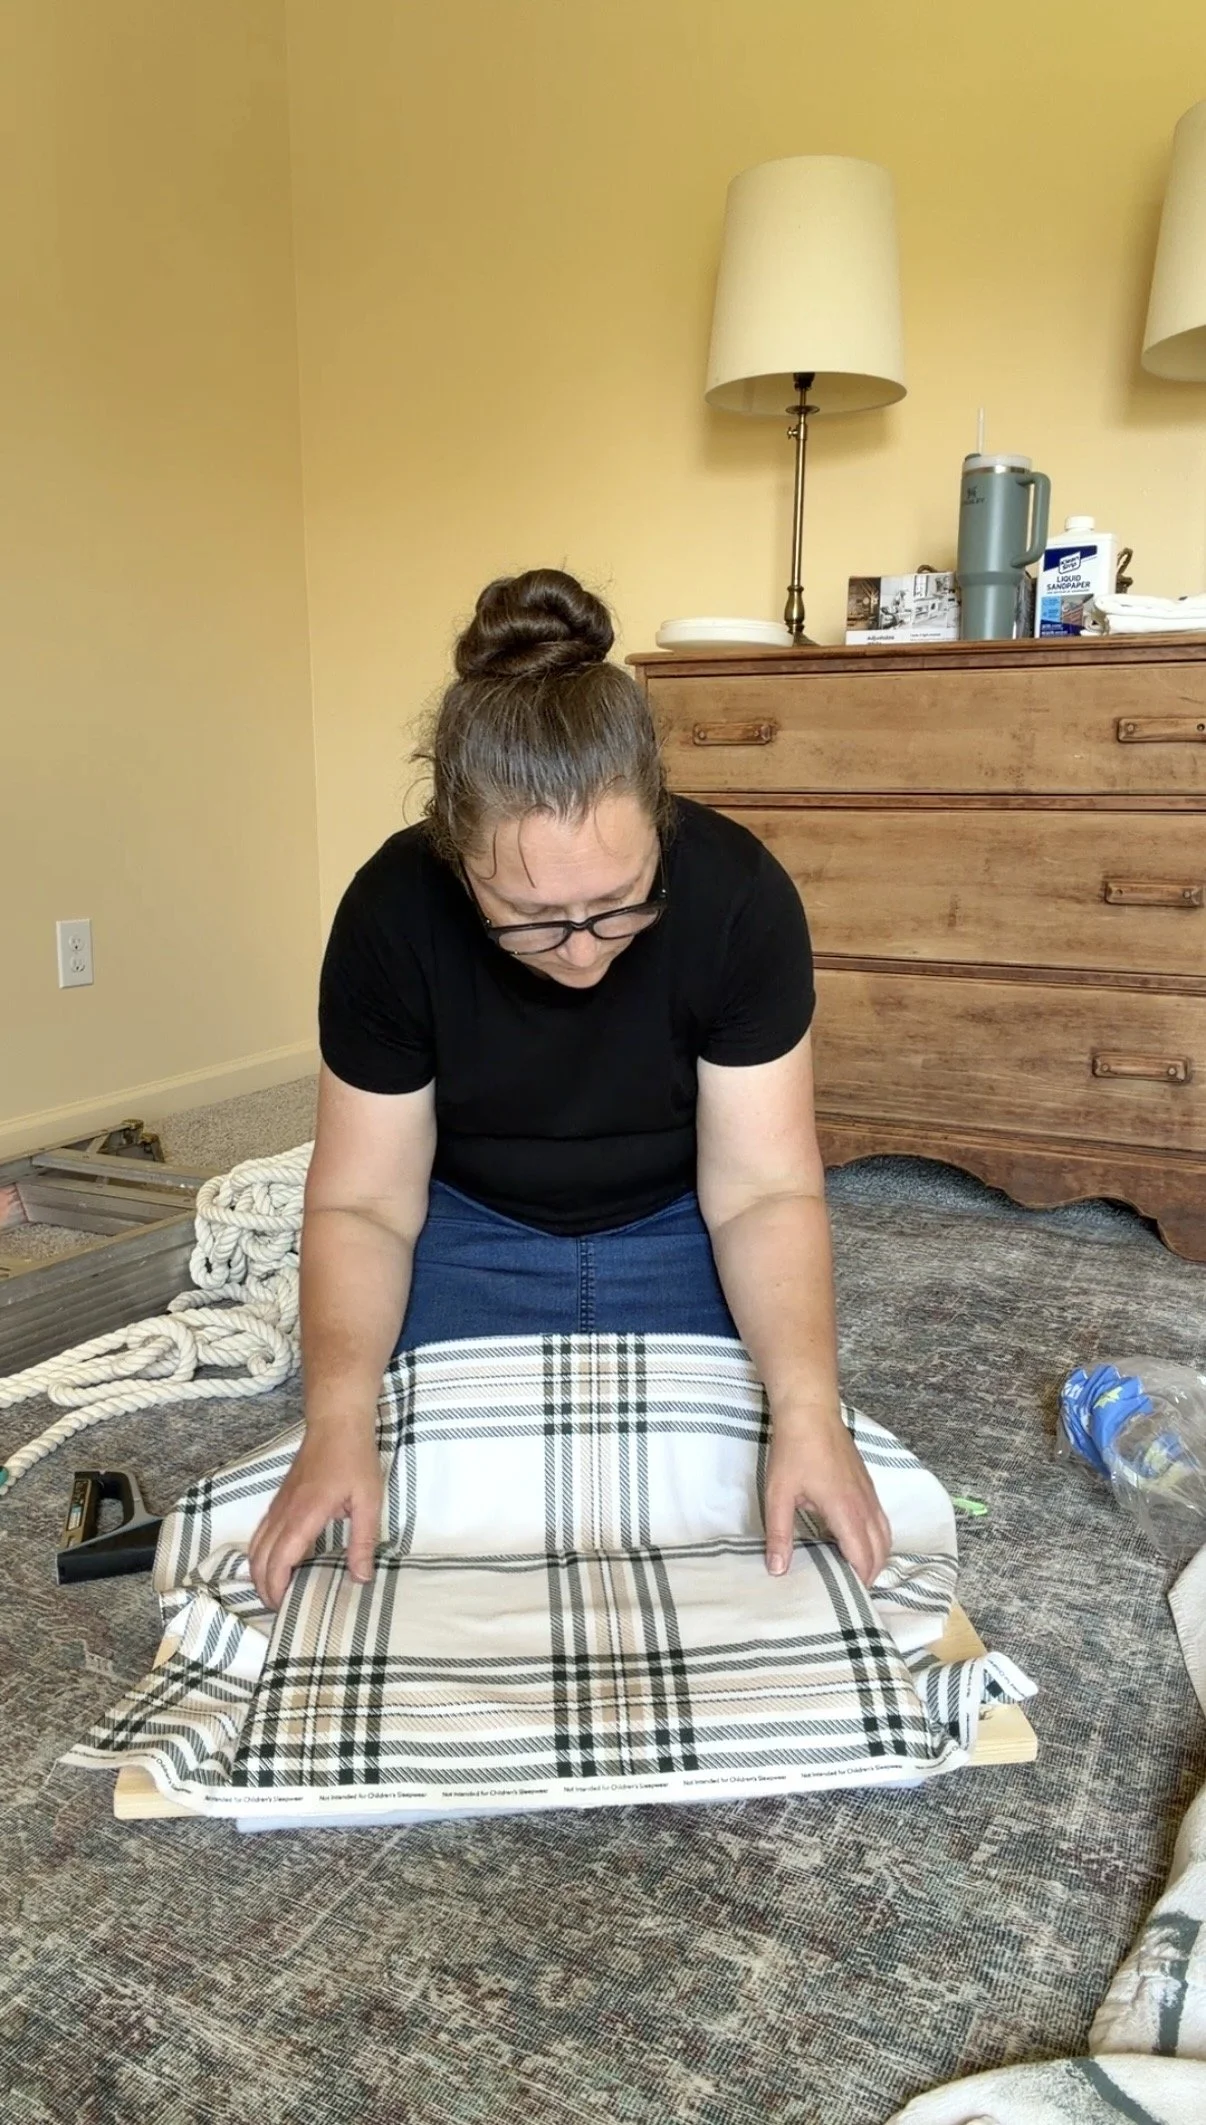
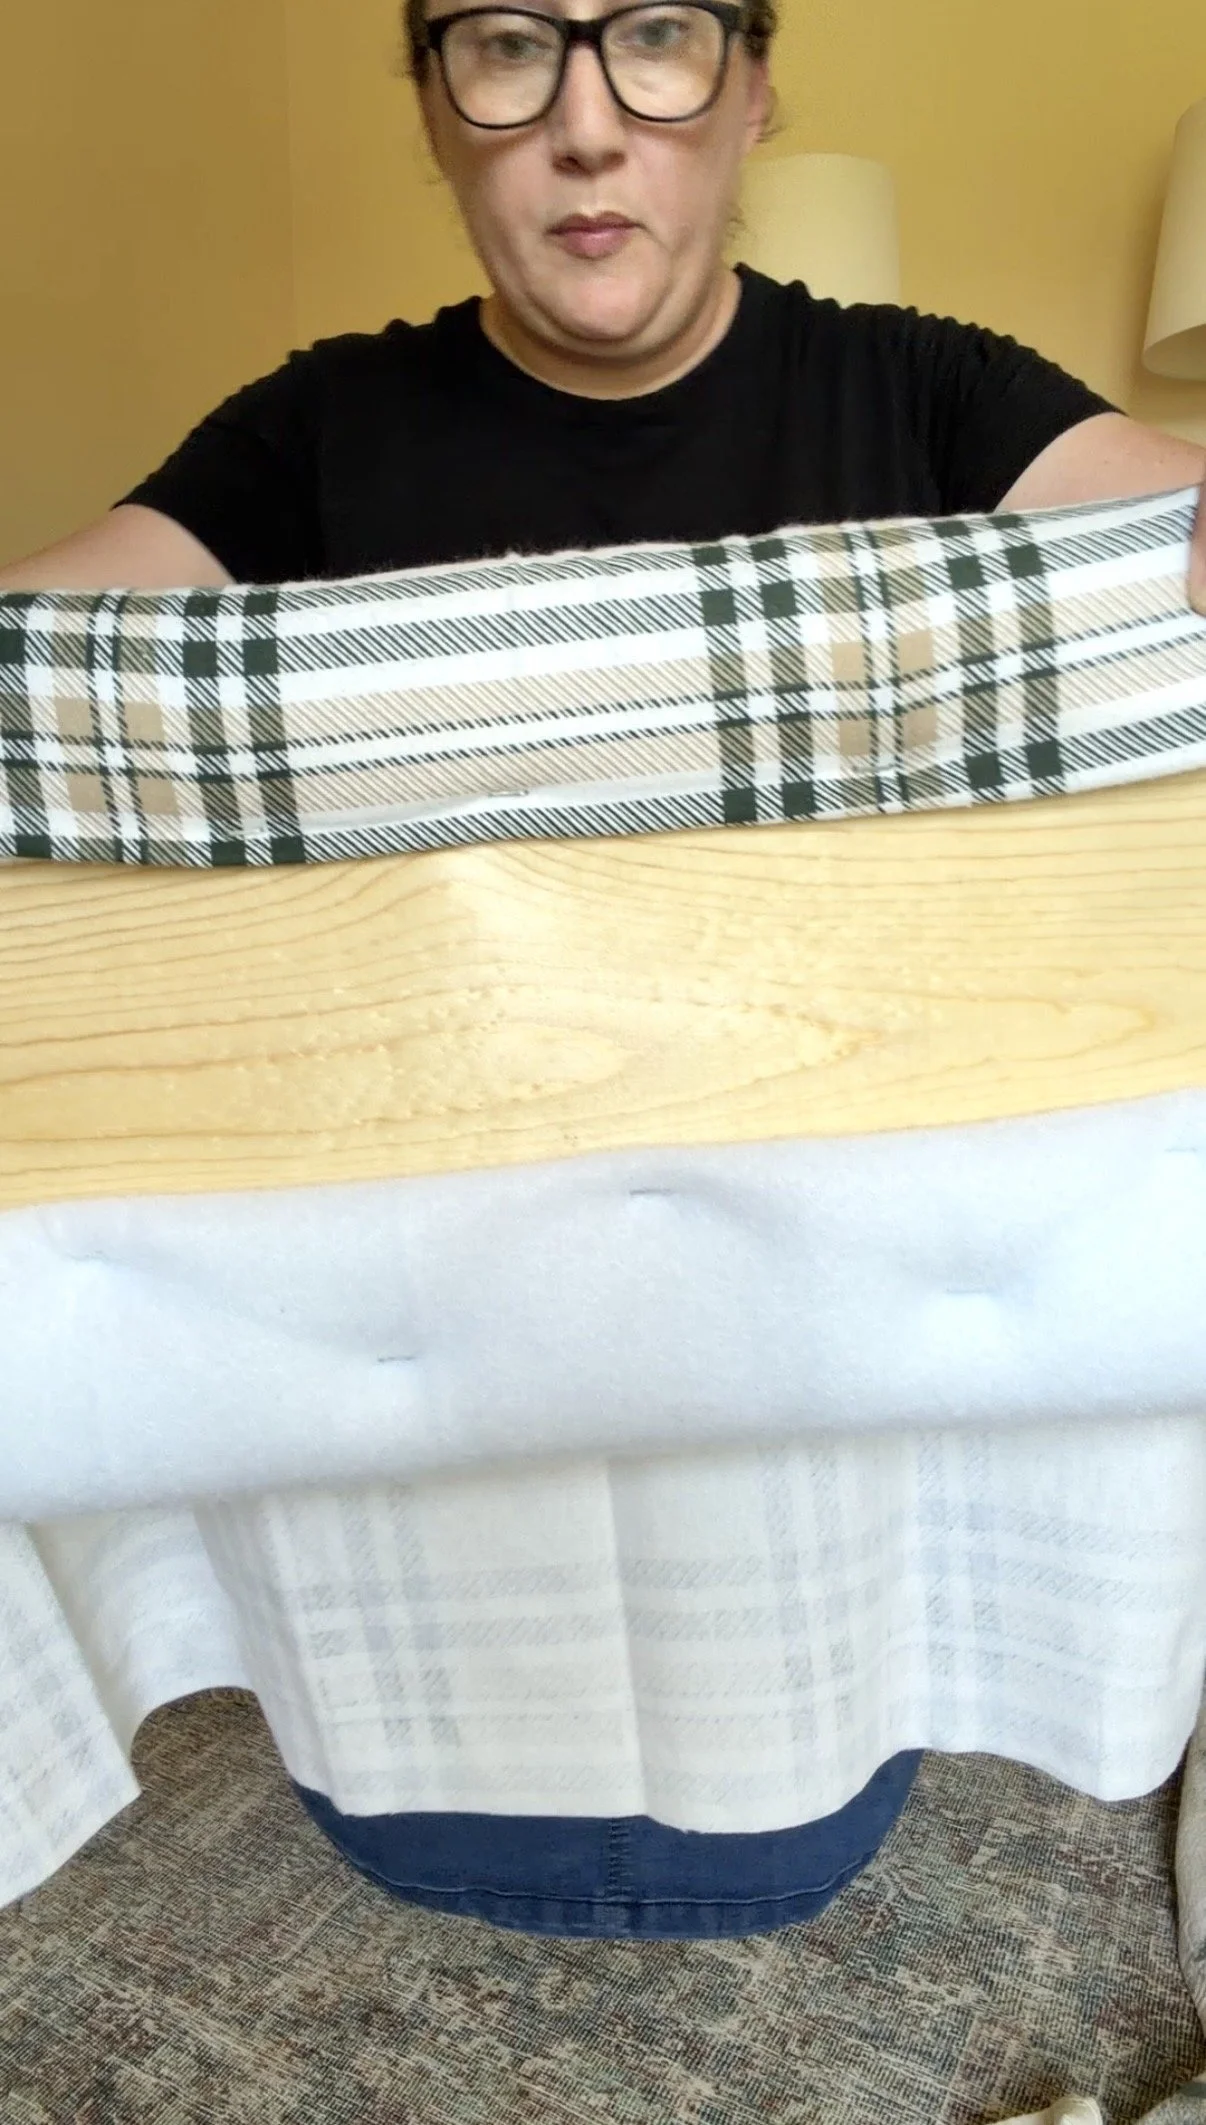
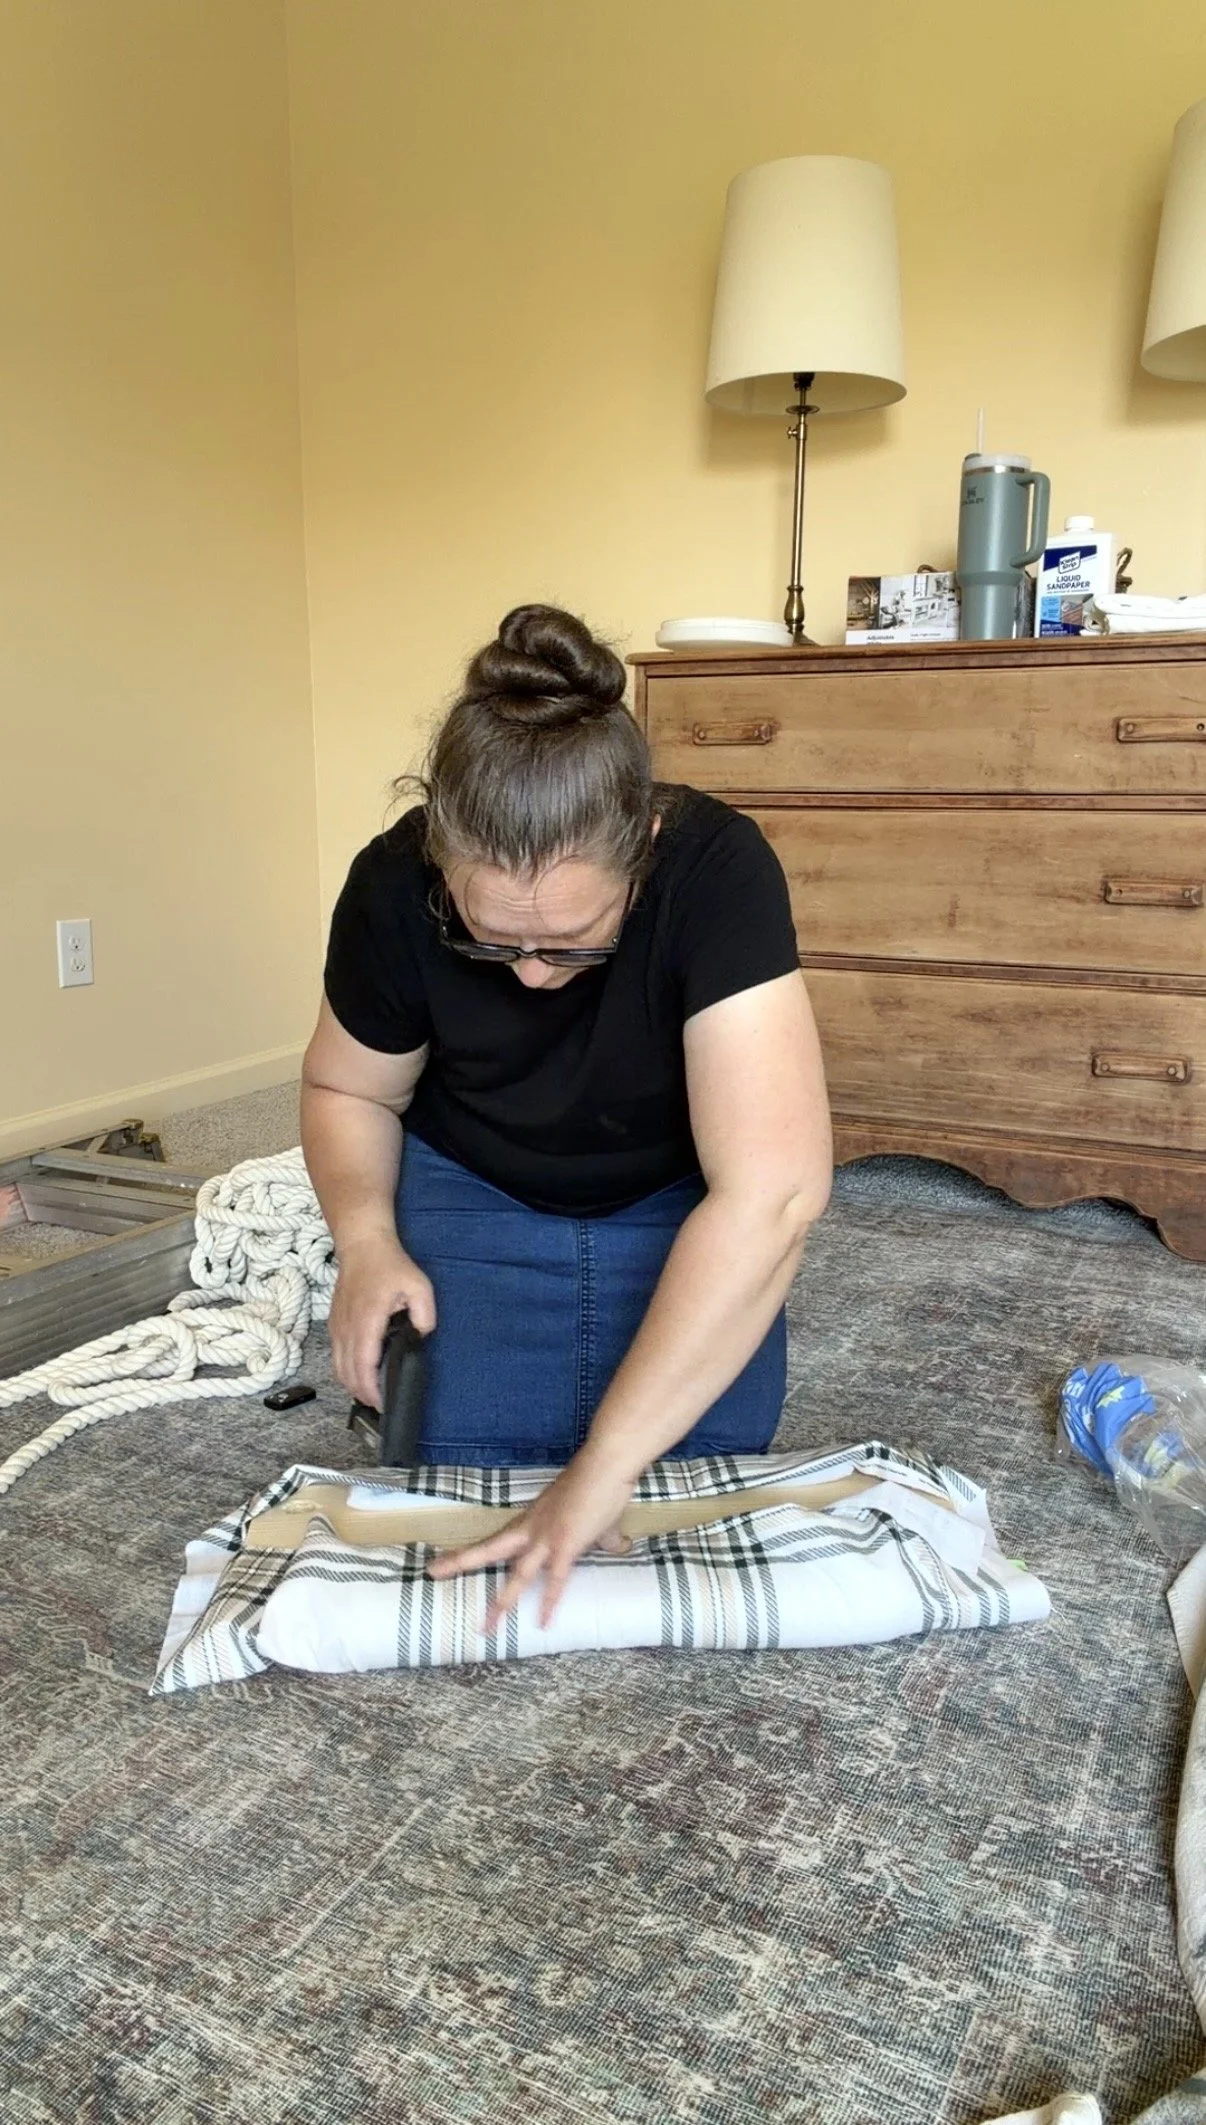
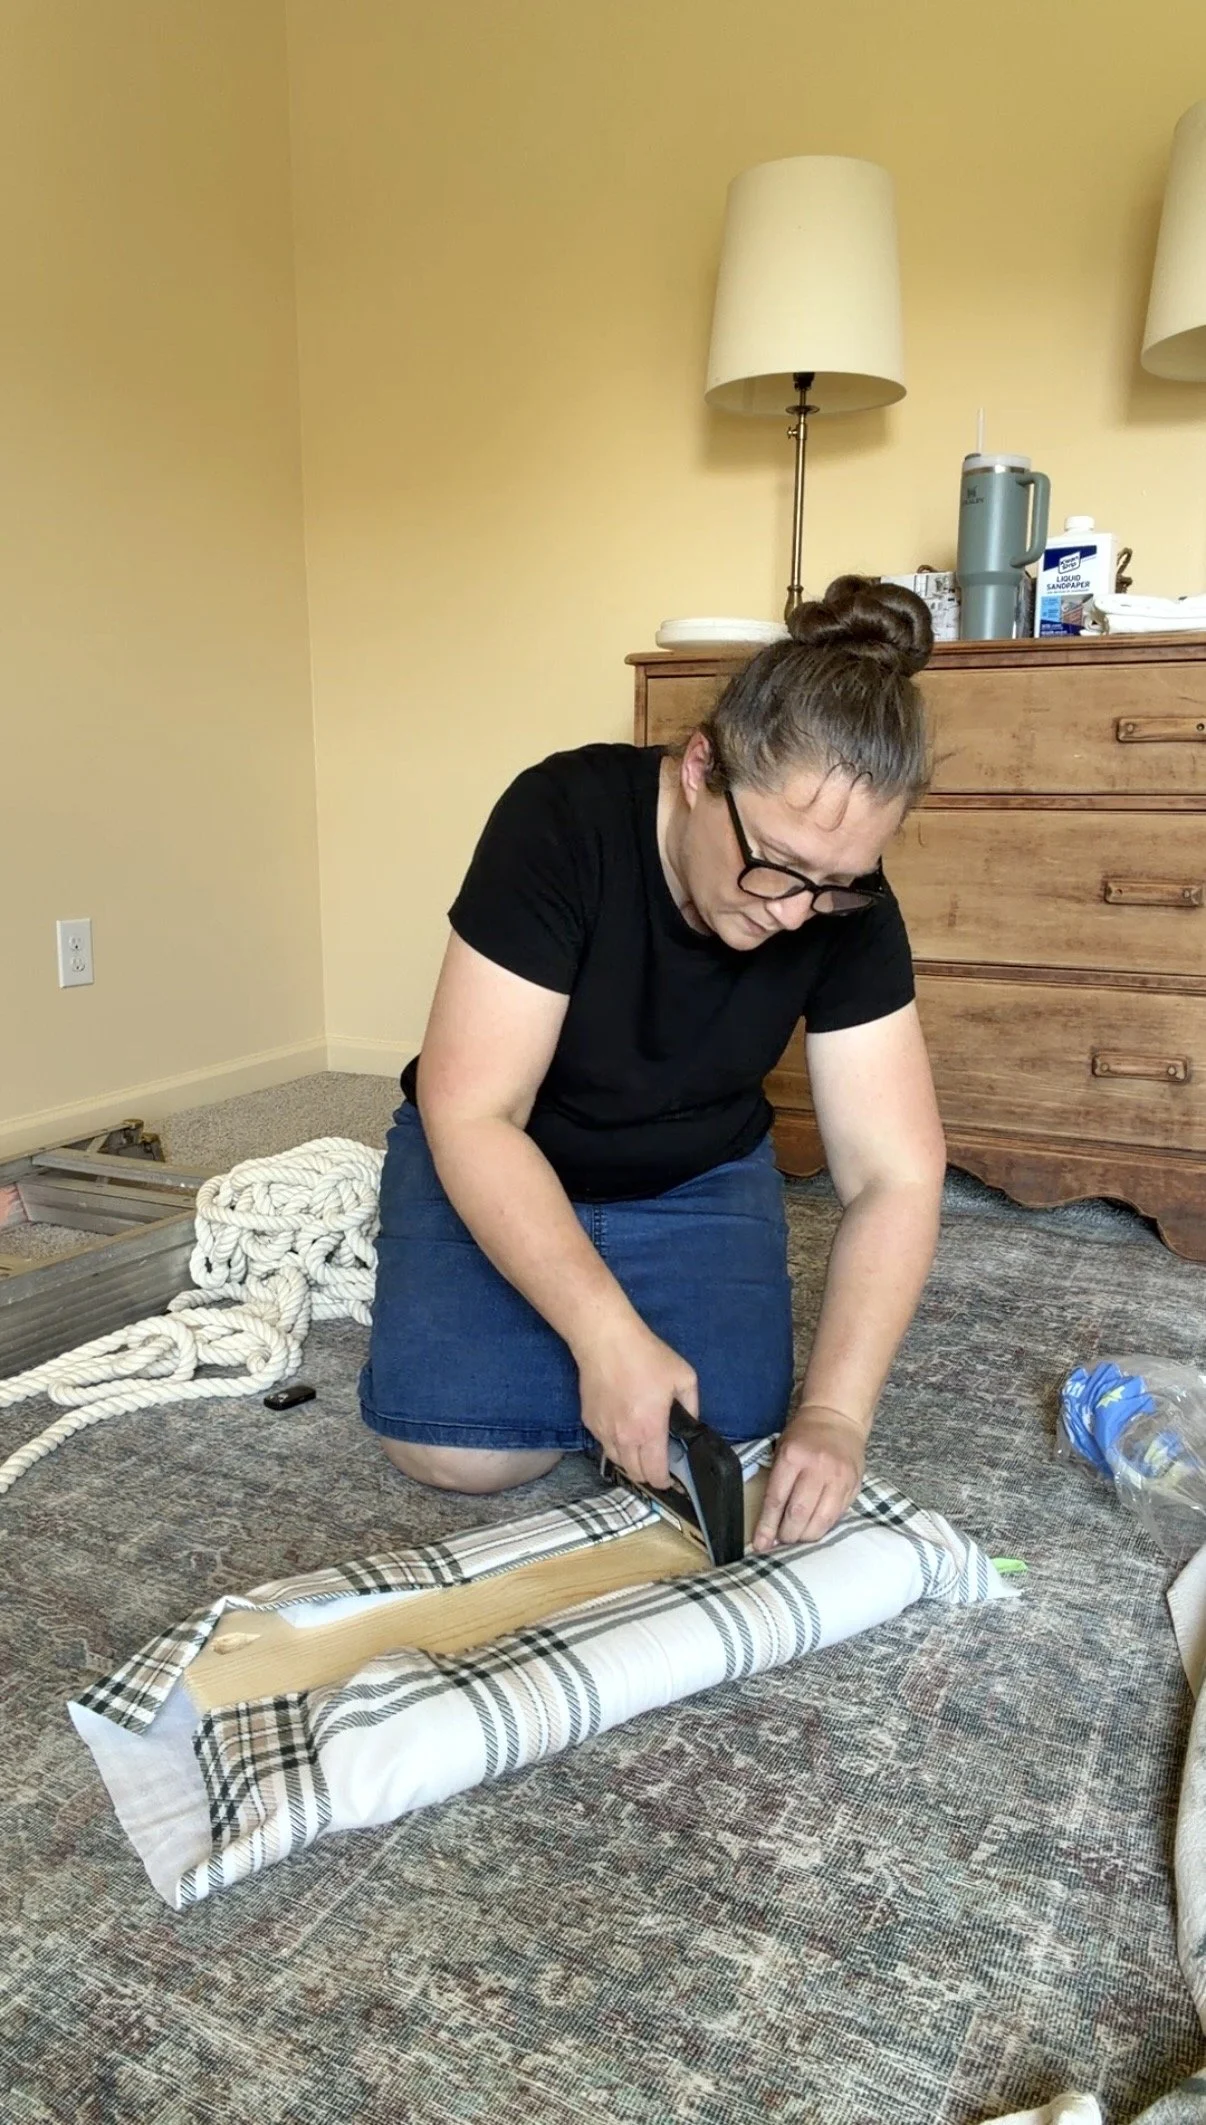
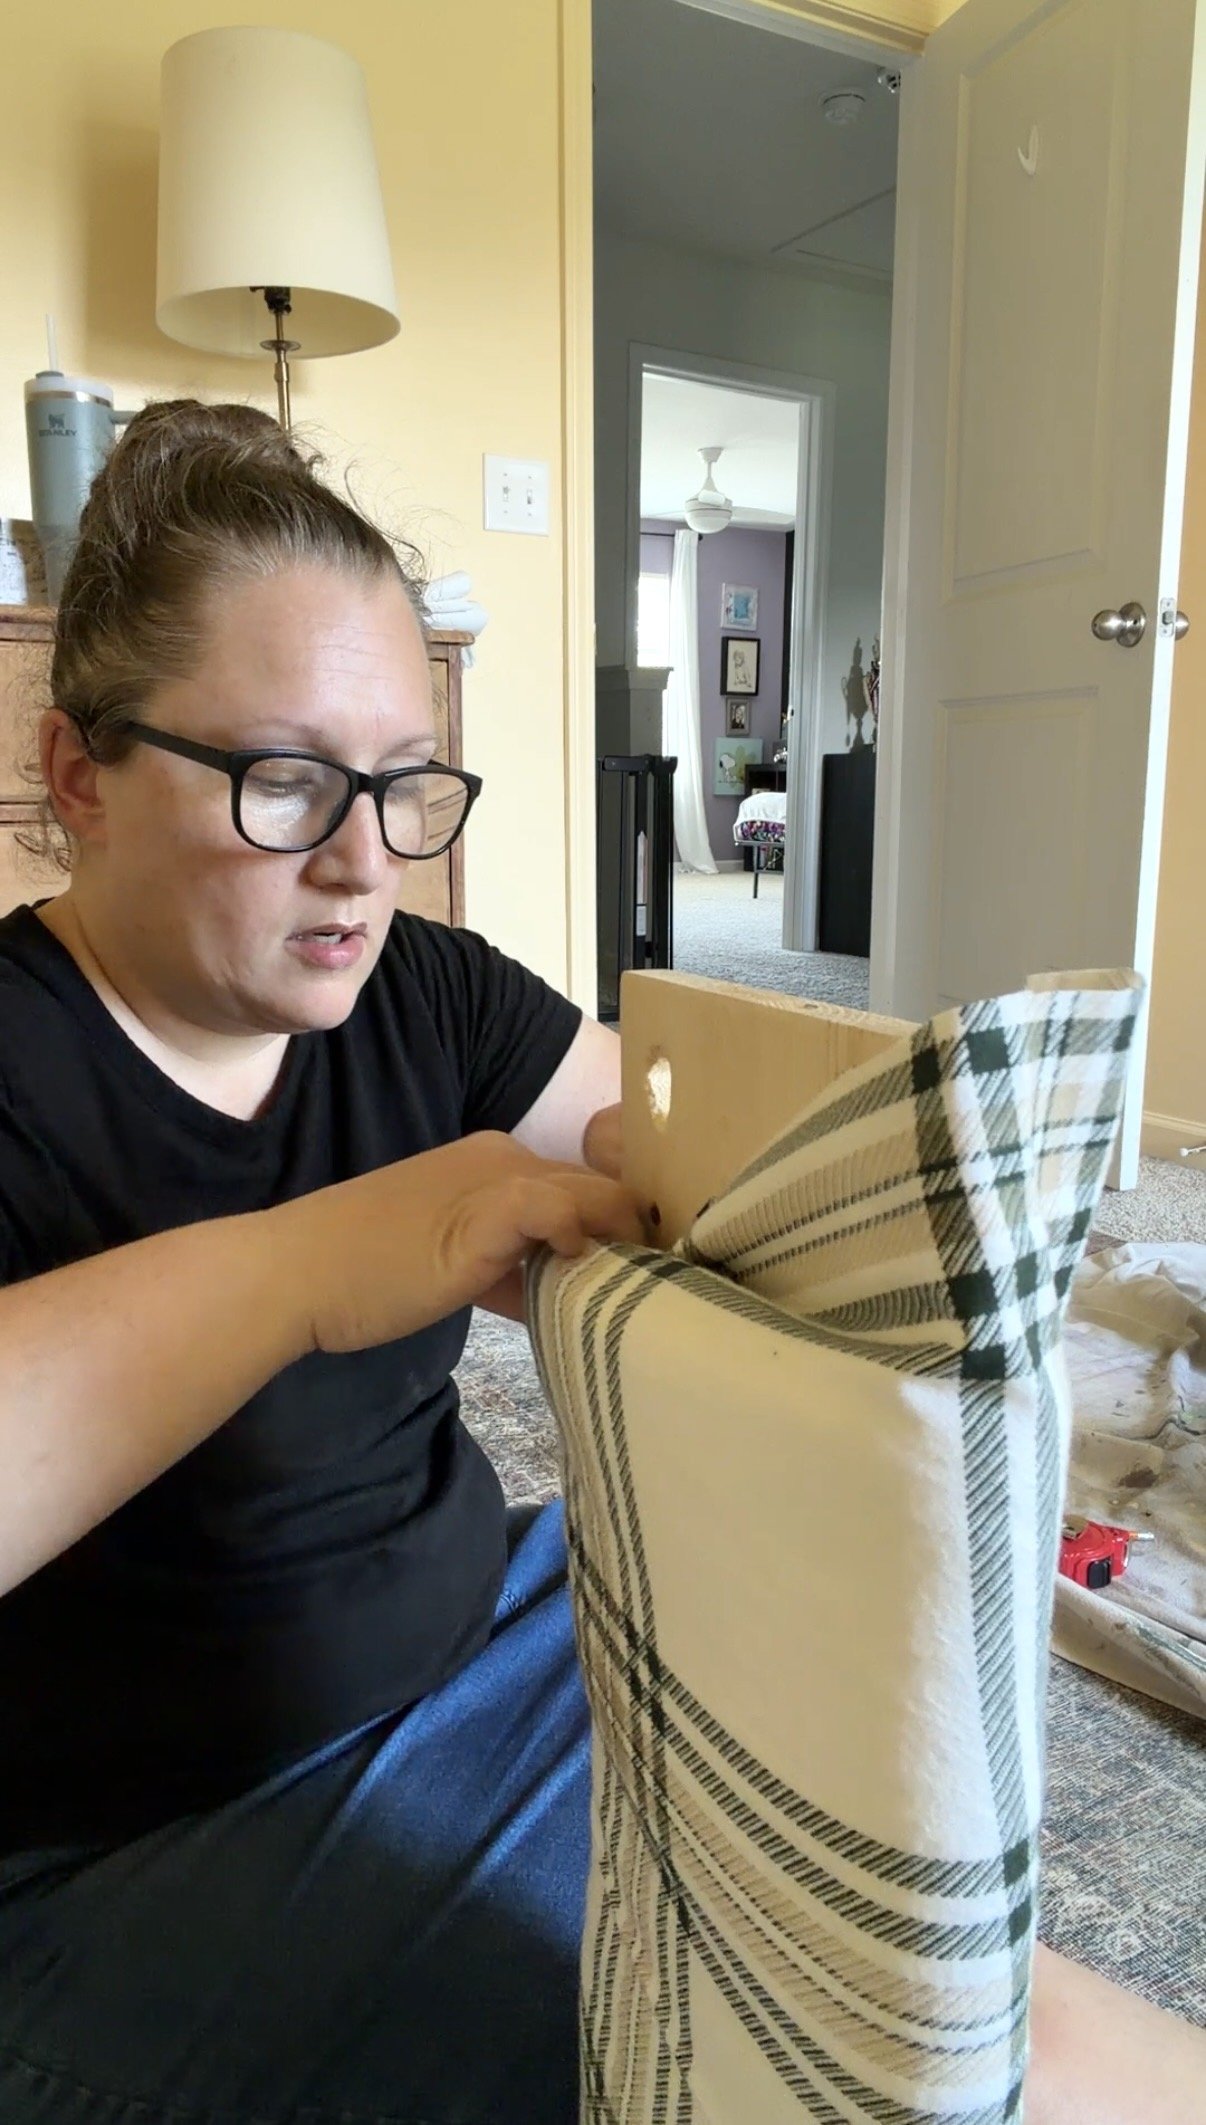
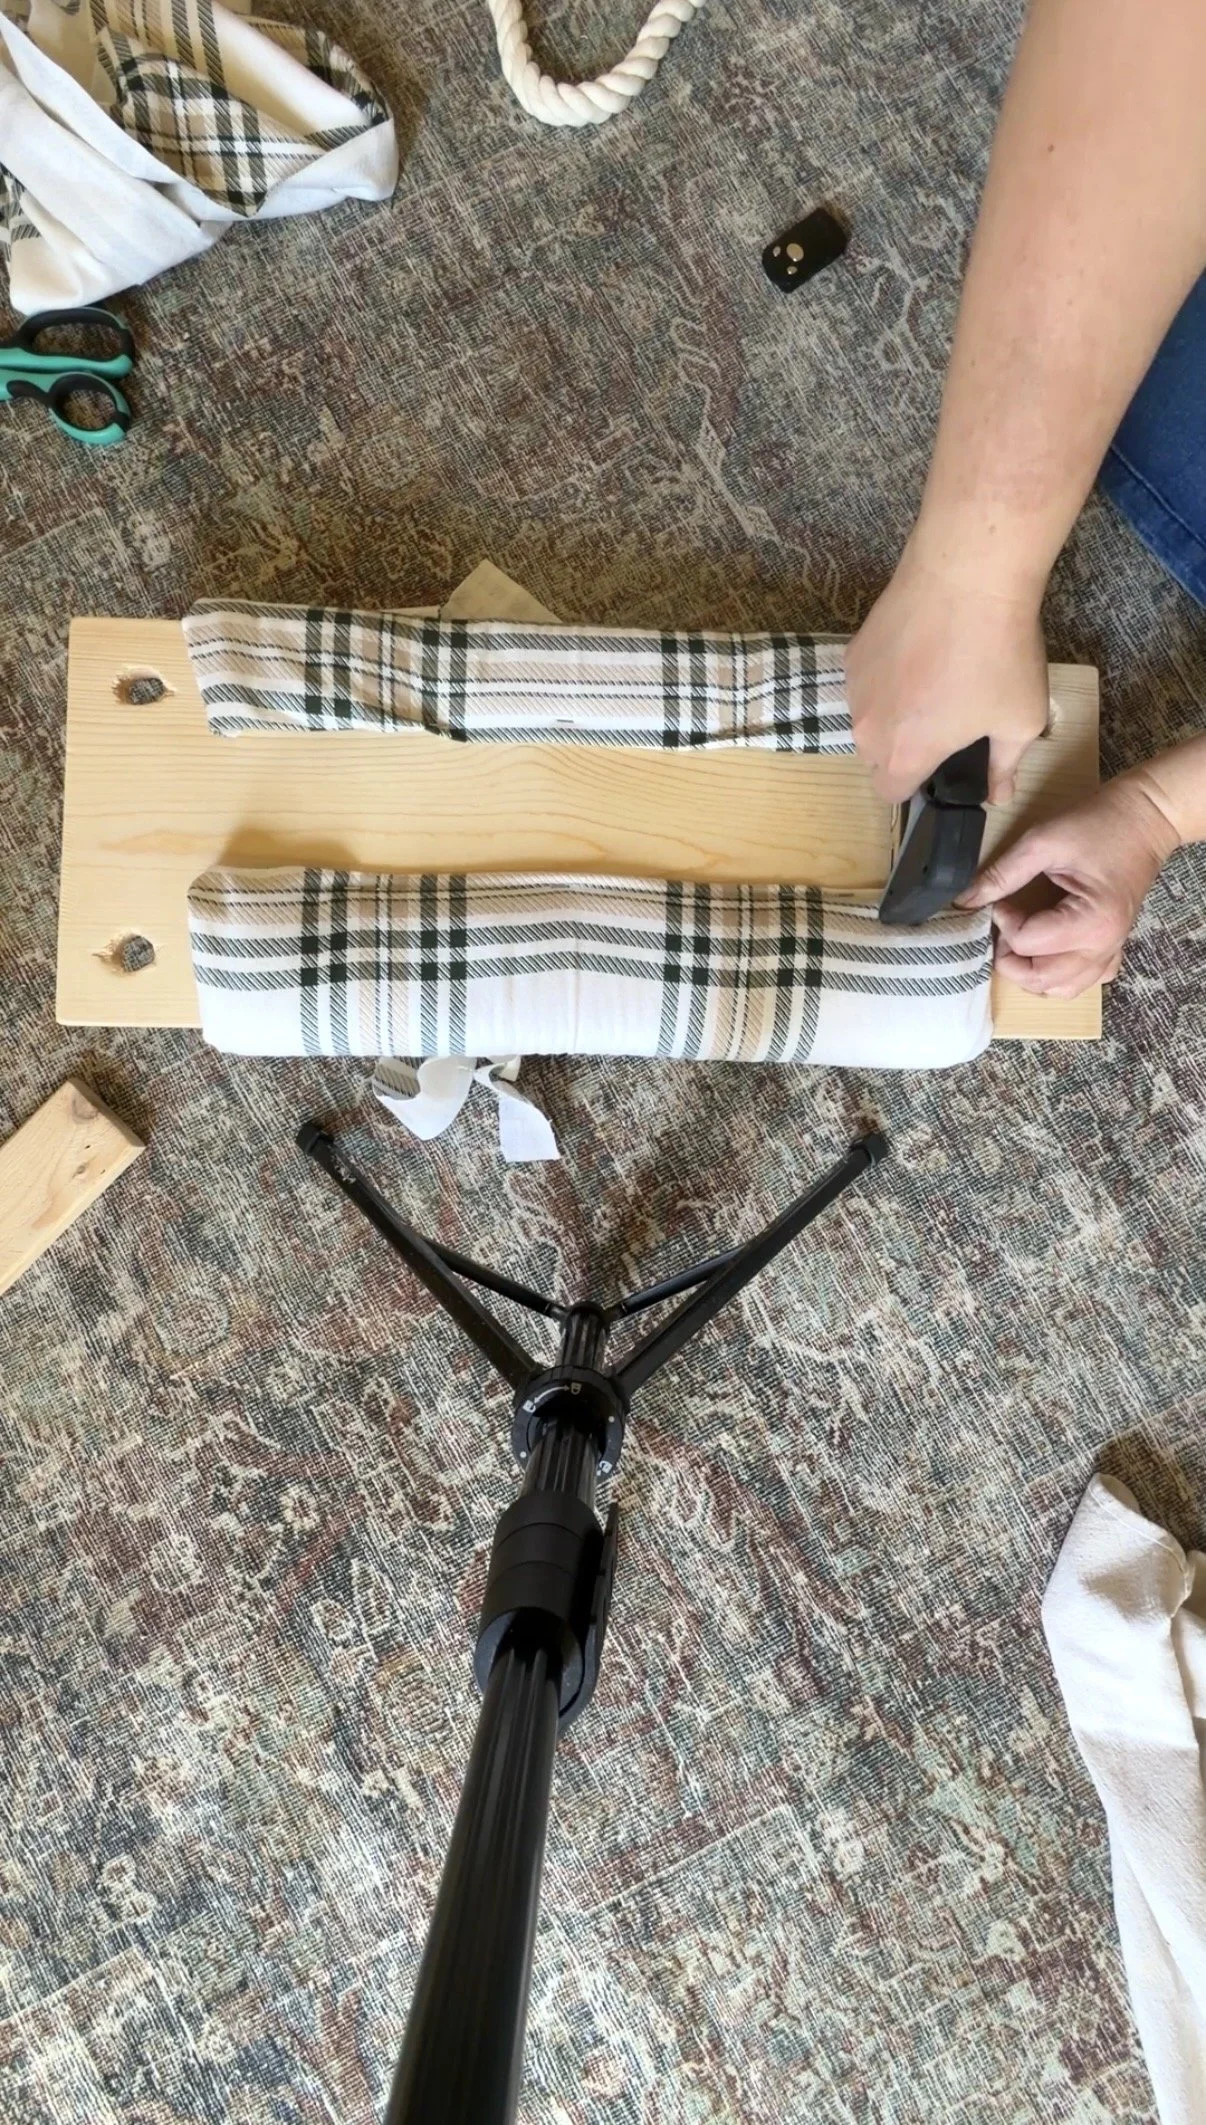
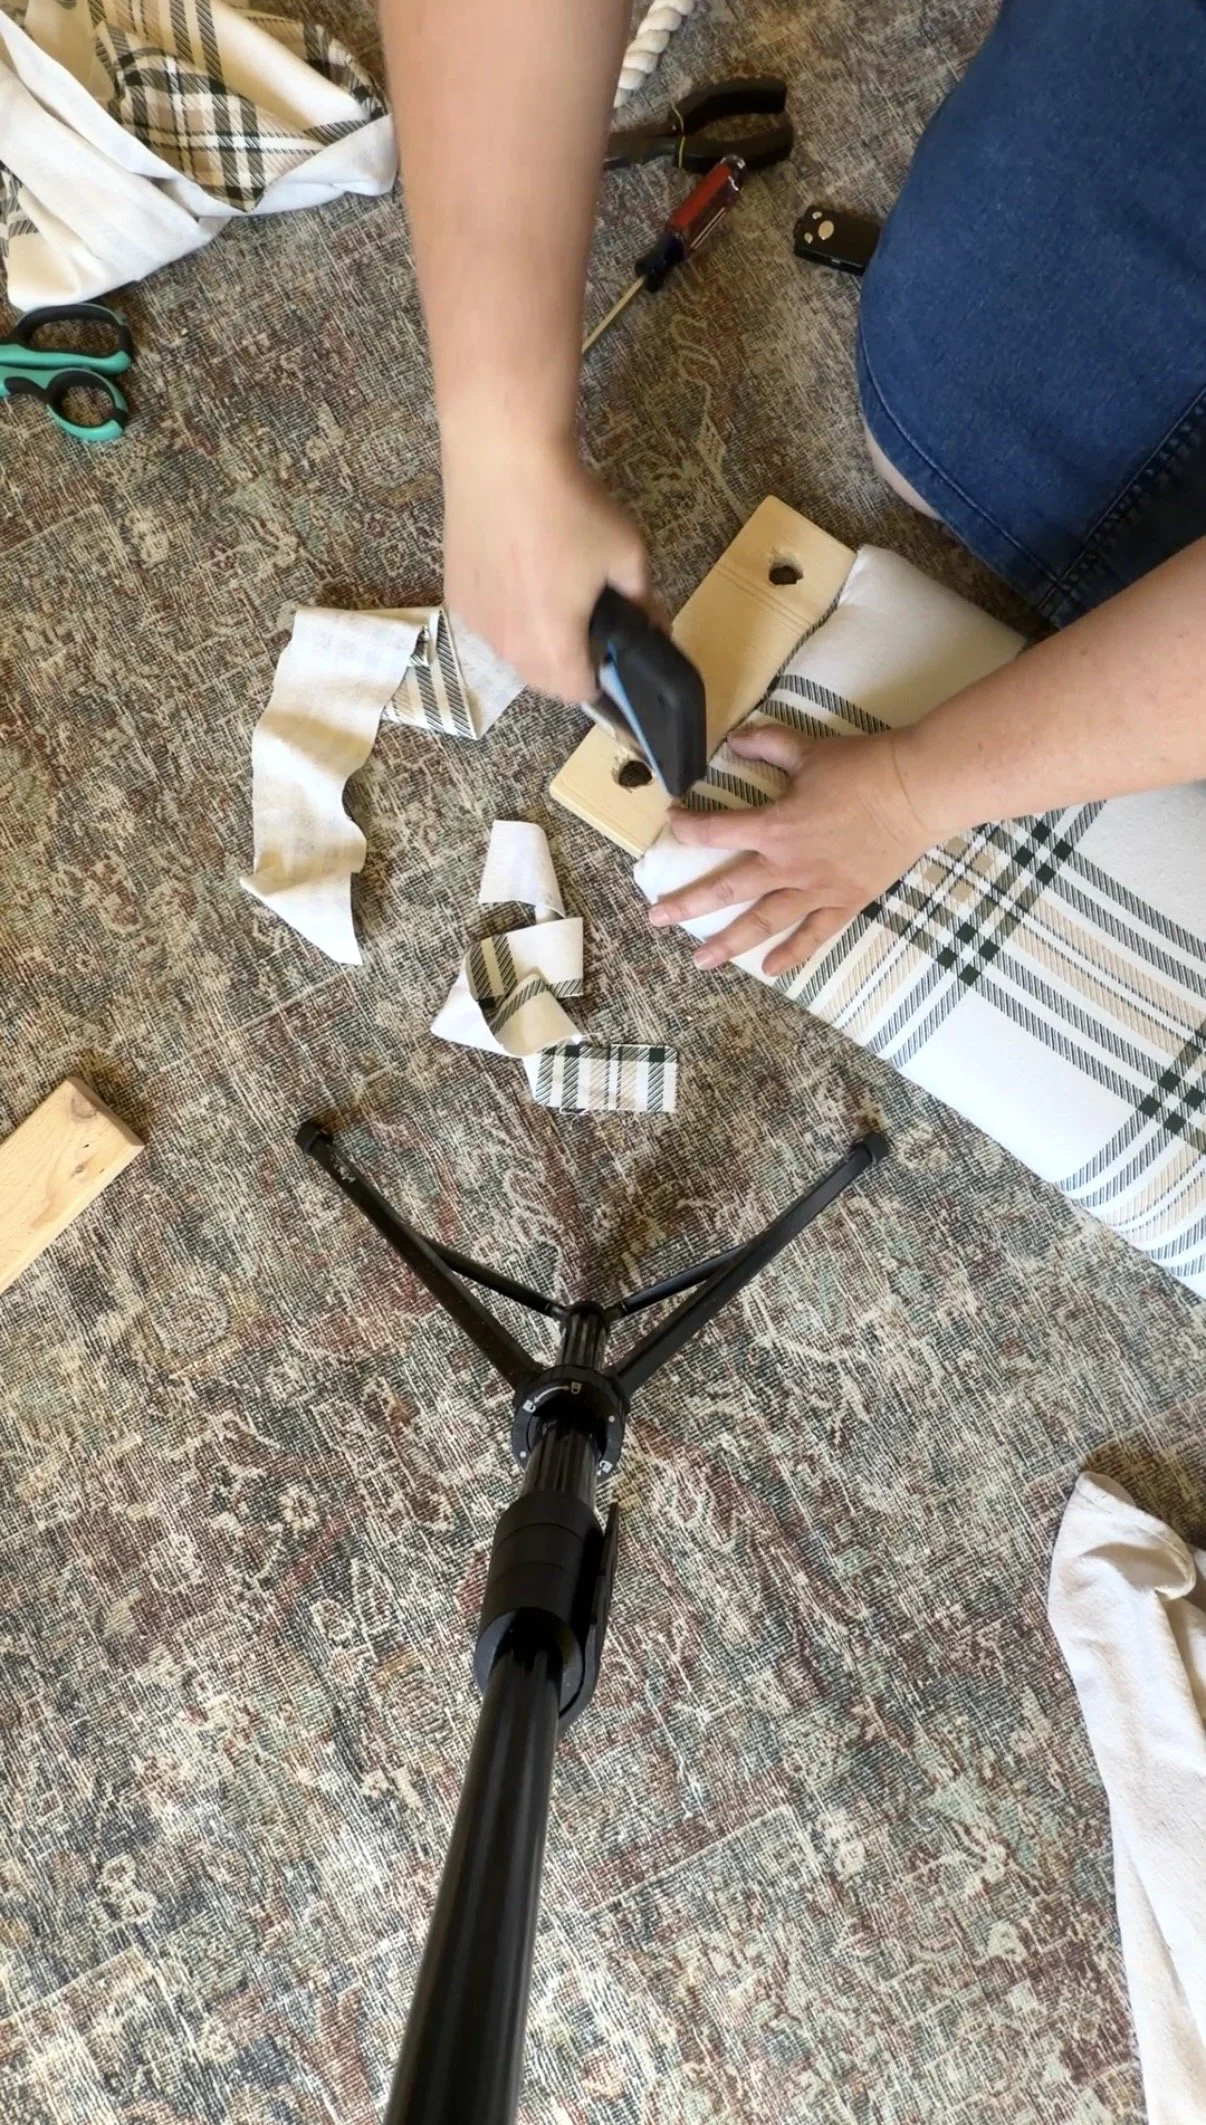
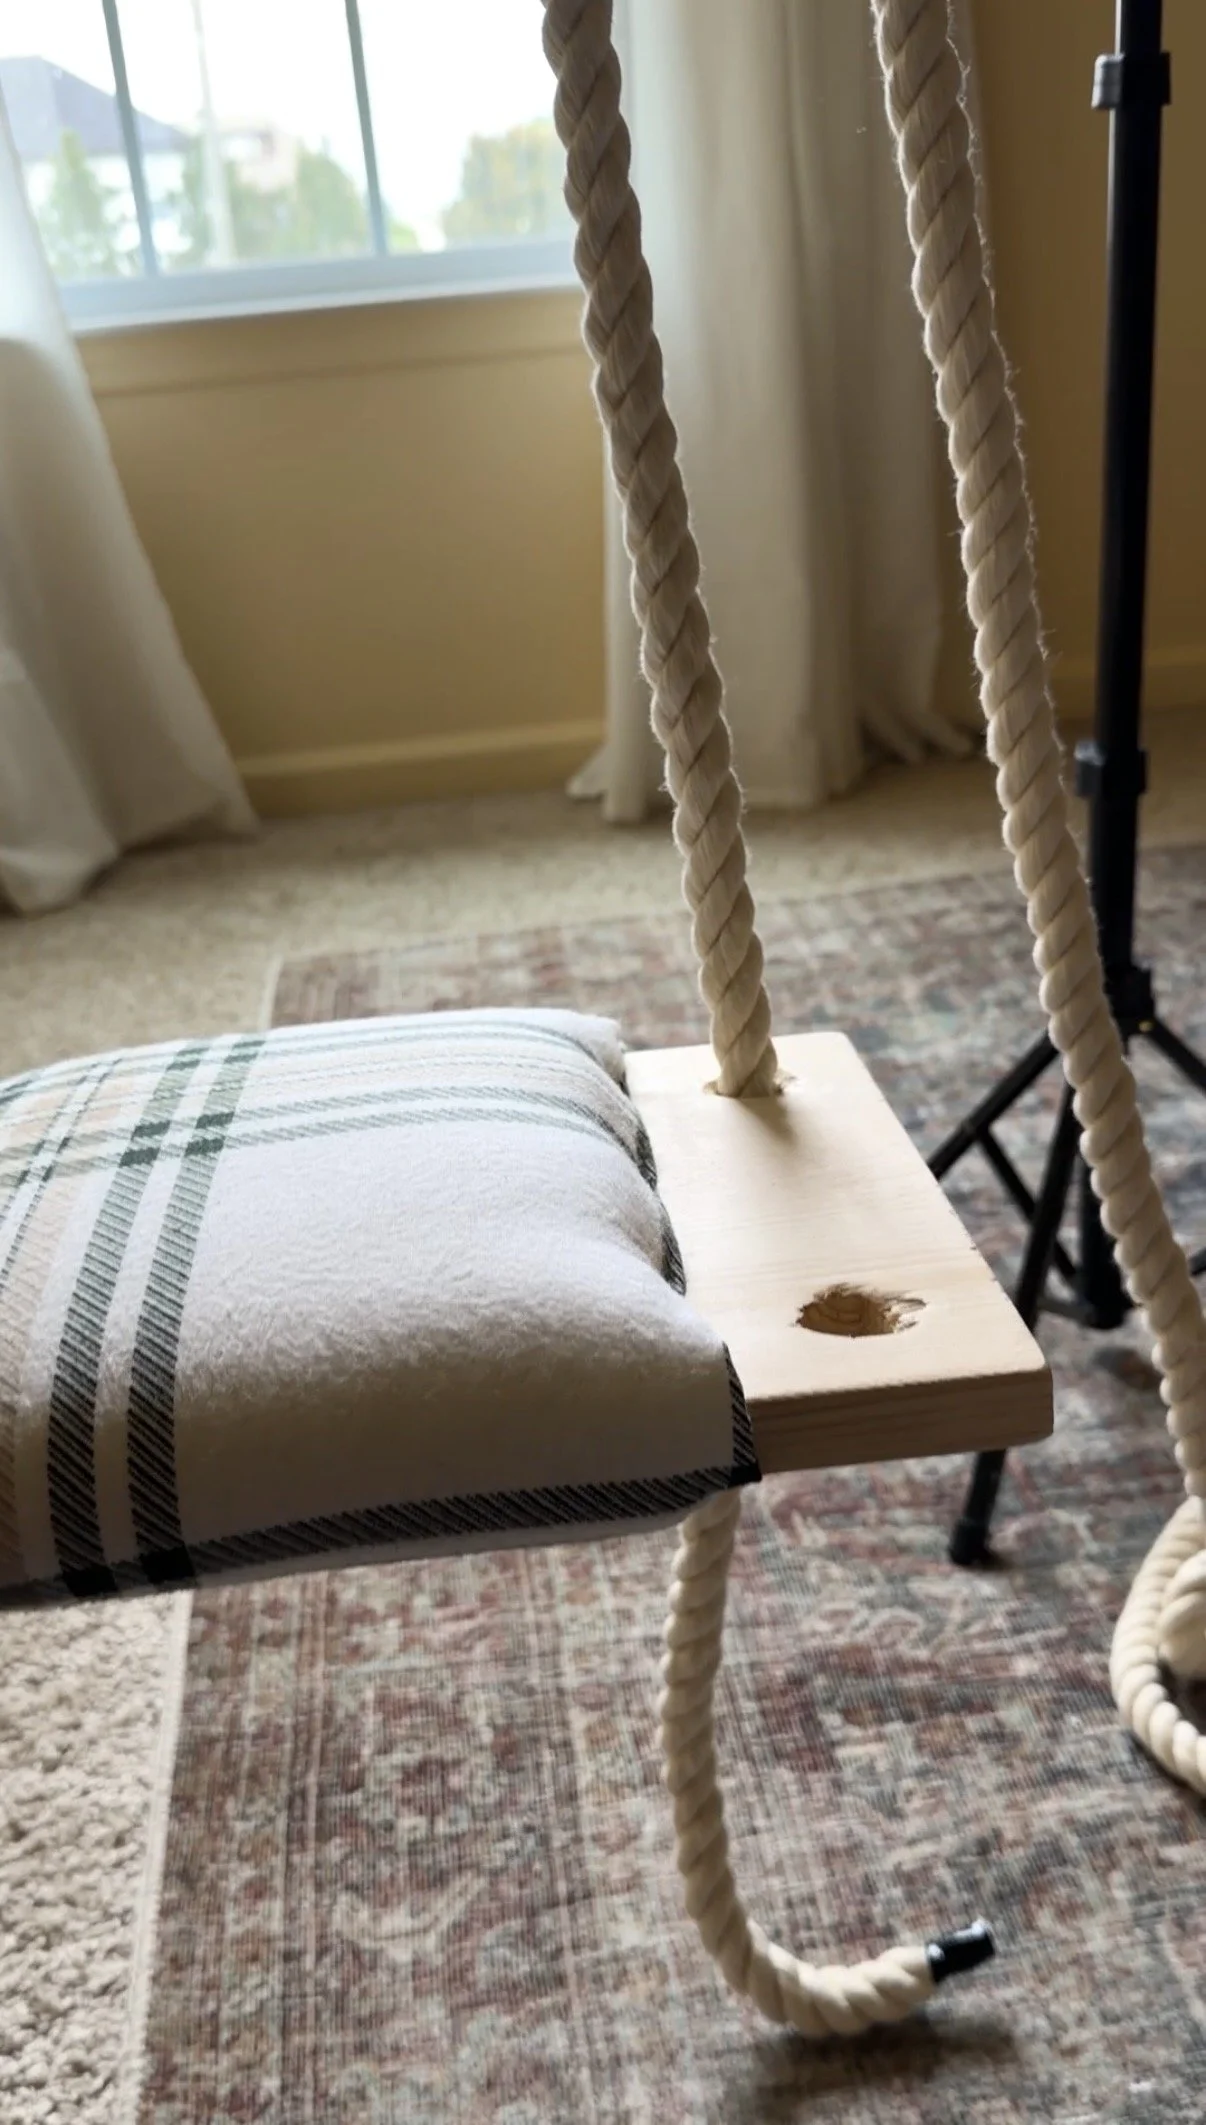
You are going to want to triple or quadruple your batting to make sure it is a soft swing seat. In these pictures you are going to see me staple the batting onto the swing seat first, then add the fabric and wrap it around the batting so the batting is completely covered. However, if you lay the fabric down and put the batting on top of it and fold the edges over and staple them both at the same time you may find it easier. Either way it got done, but I would have done both at the same time if I had thought it through all the way. When you staple it you want to put three staples on the first side and then pull it tight and put three staples on the second side. Then once you know your pattern is placed correctly, and you aren’t skewing it you can finish stapling it. You will want to fold over the edges on the bottom to make sure frayed raw ends are available for kids to pull on, because kids totally will. And the last thing to do is to staple the edges on the top down so they can’t put their hands under the cushioning, because again, kids.
Let’s Hang It Up
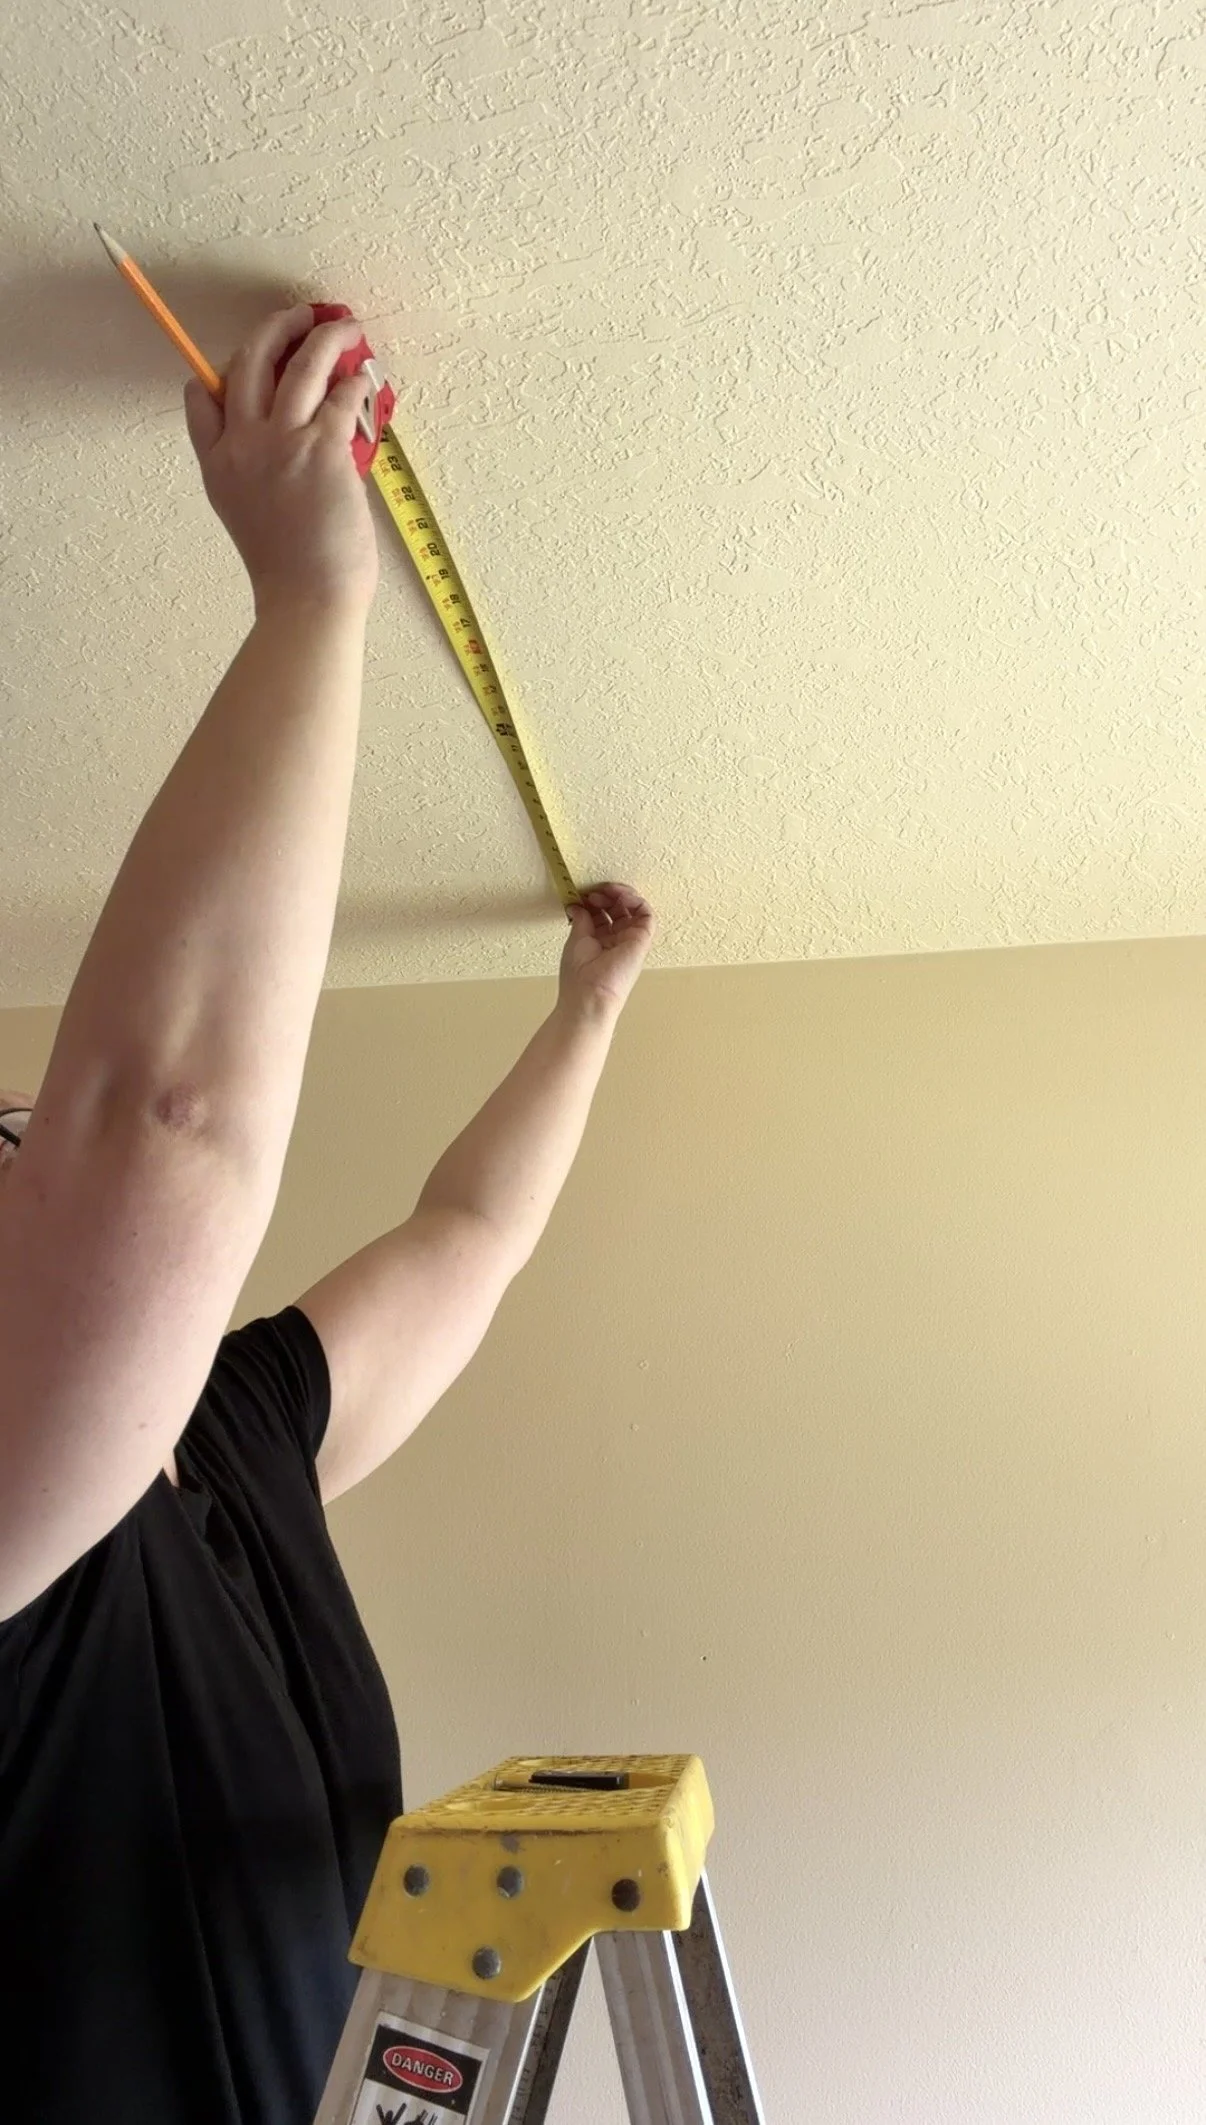
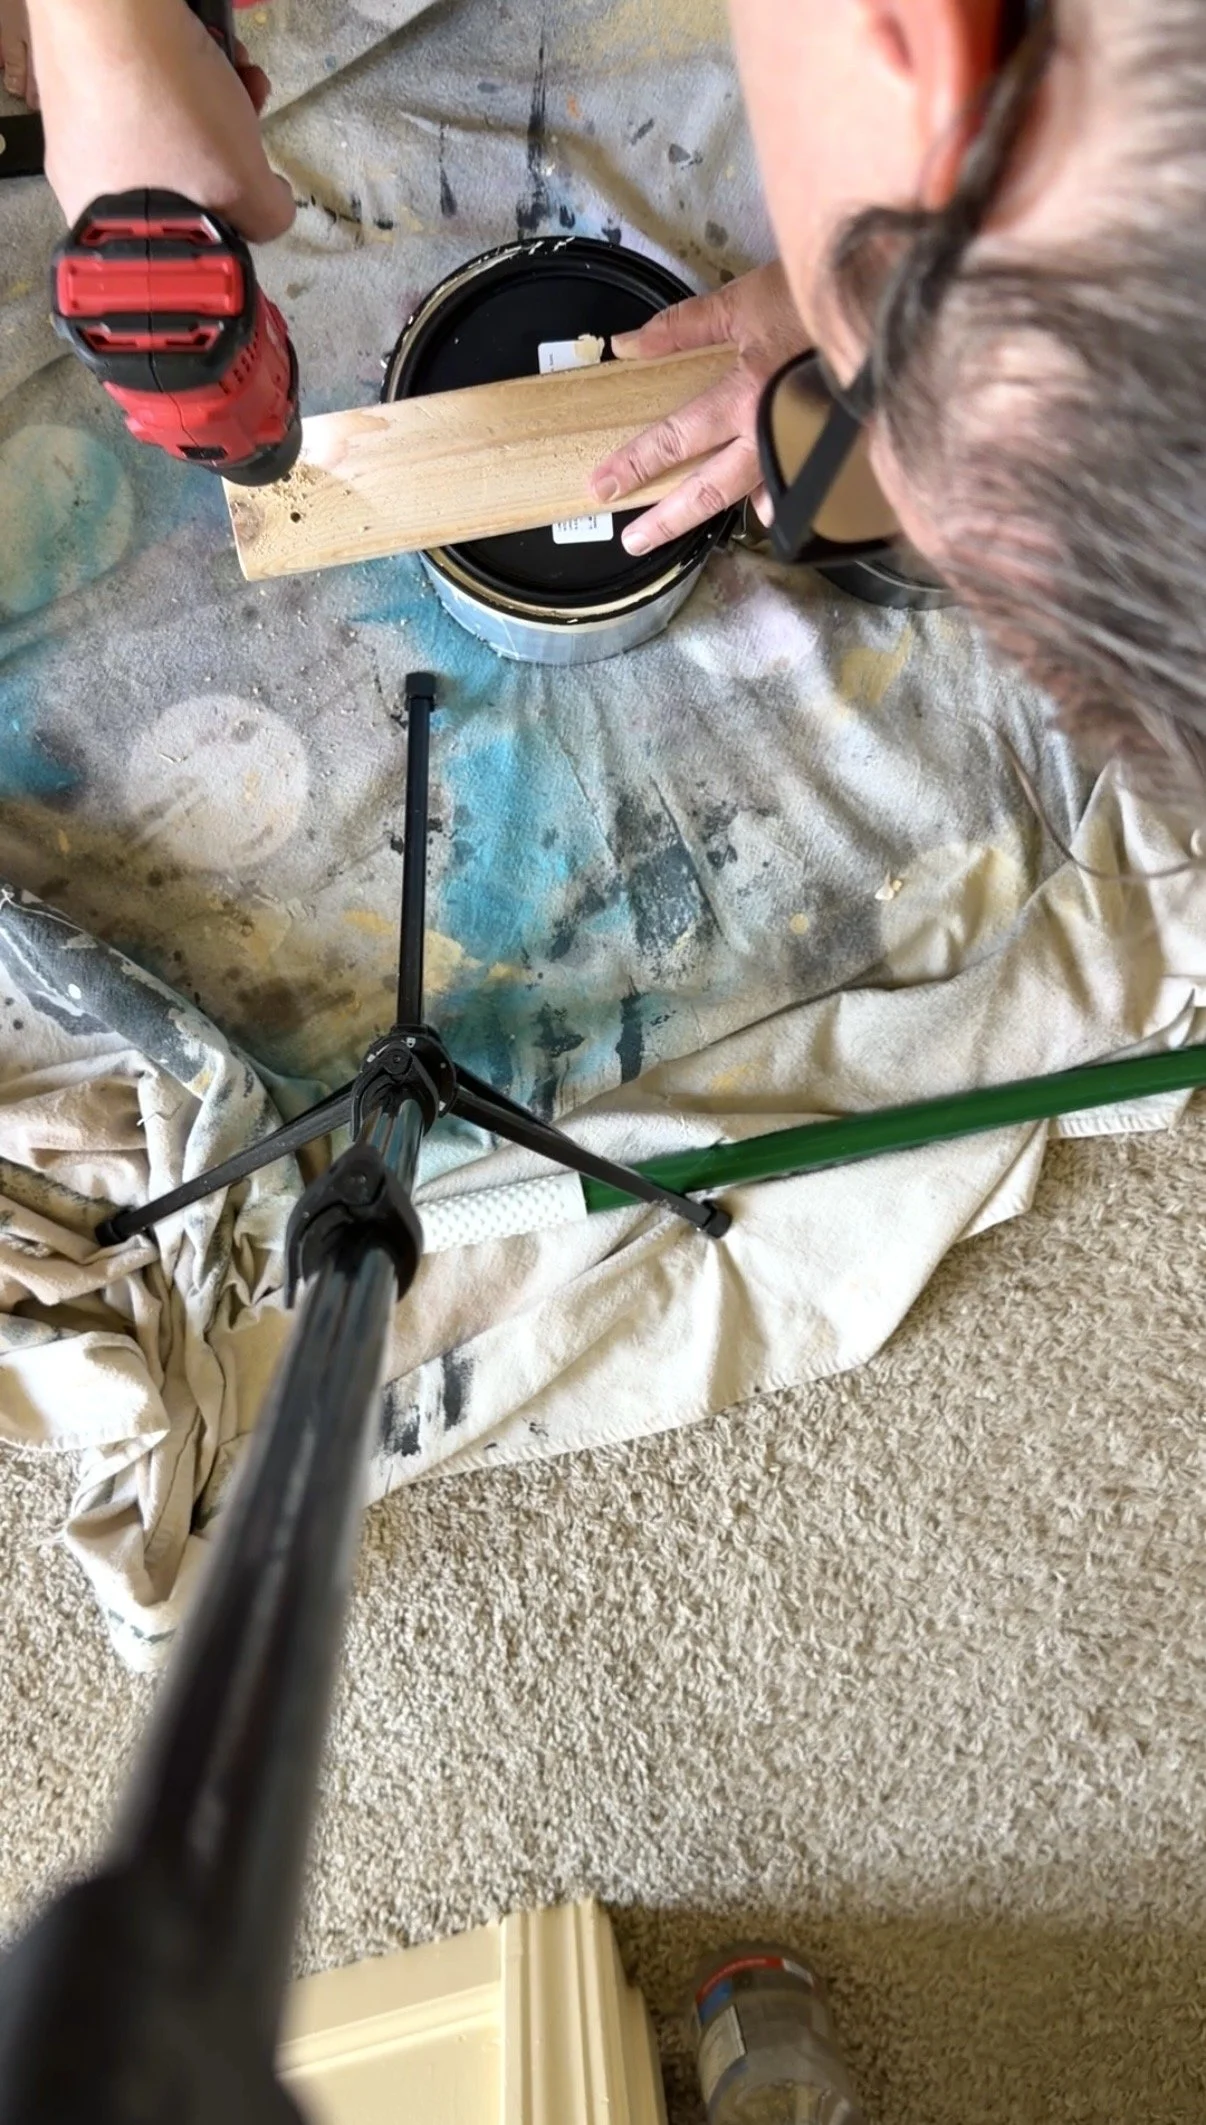
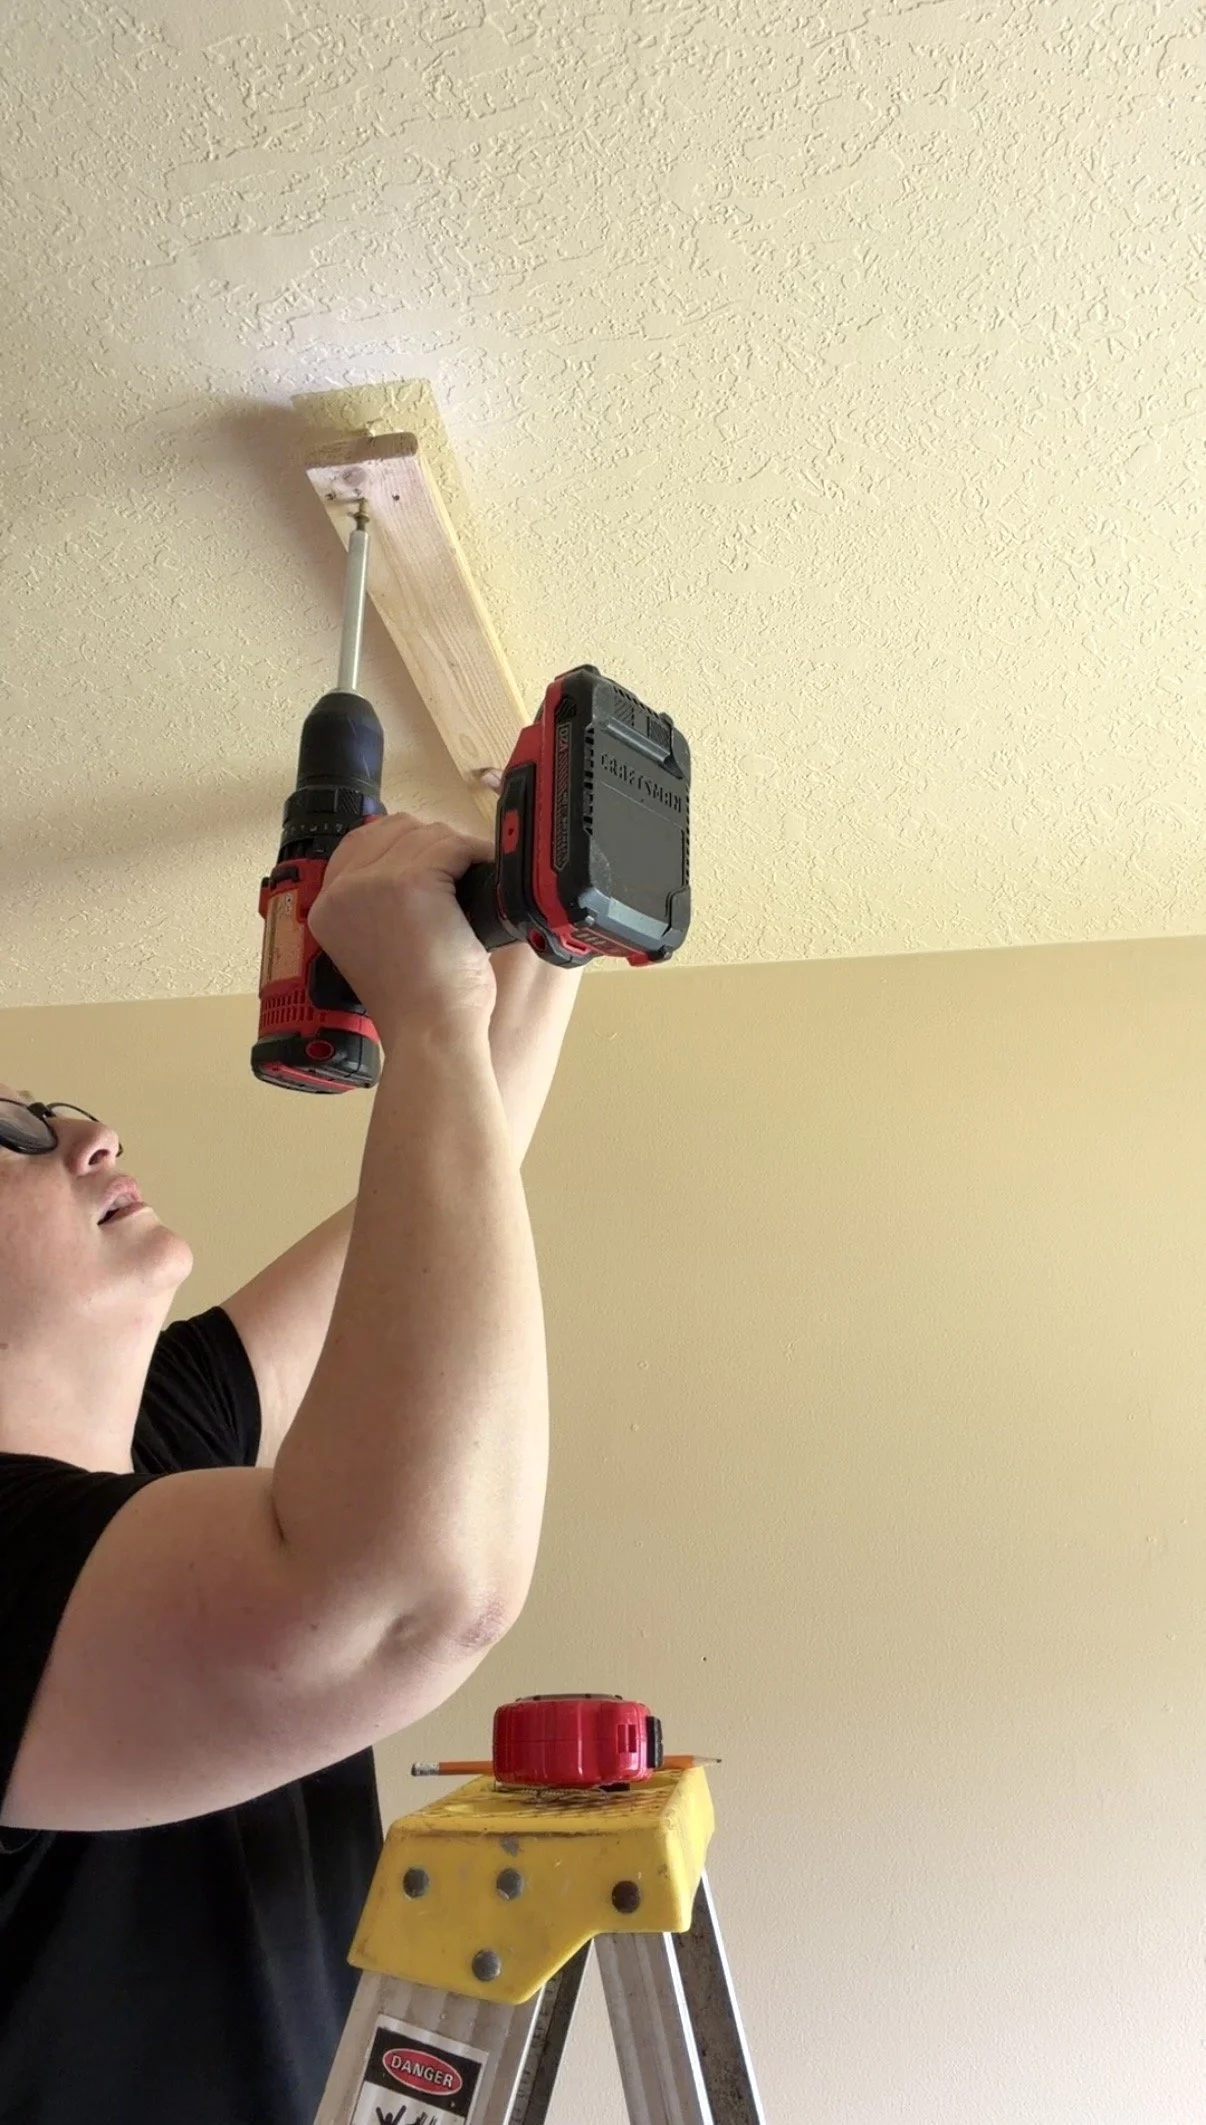
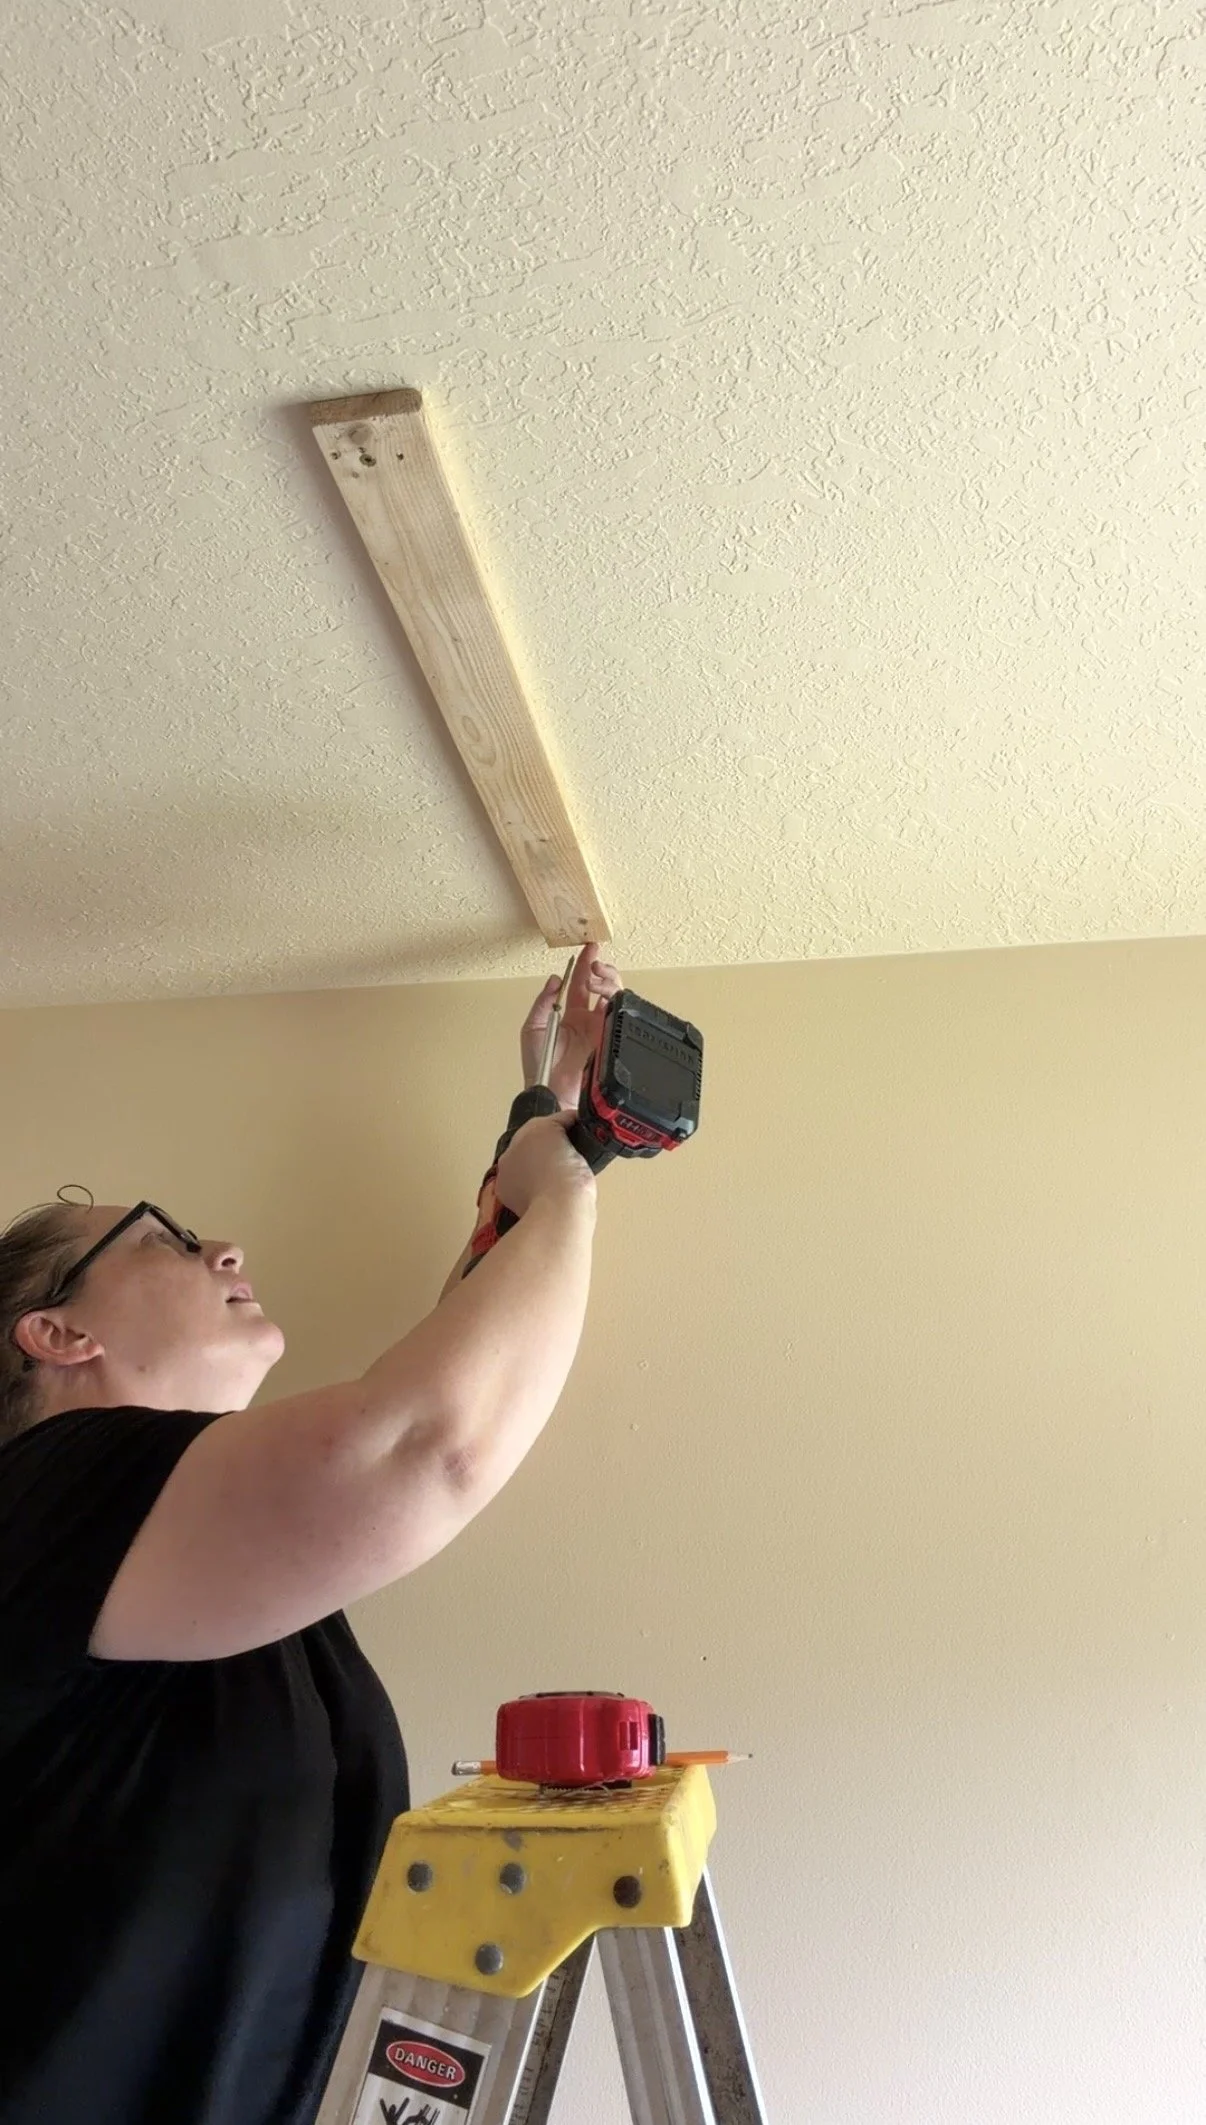
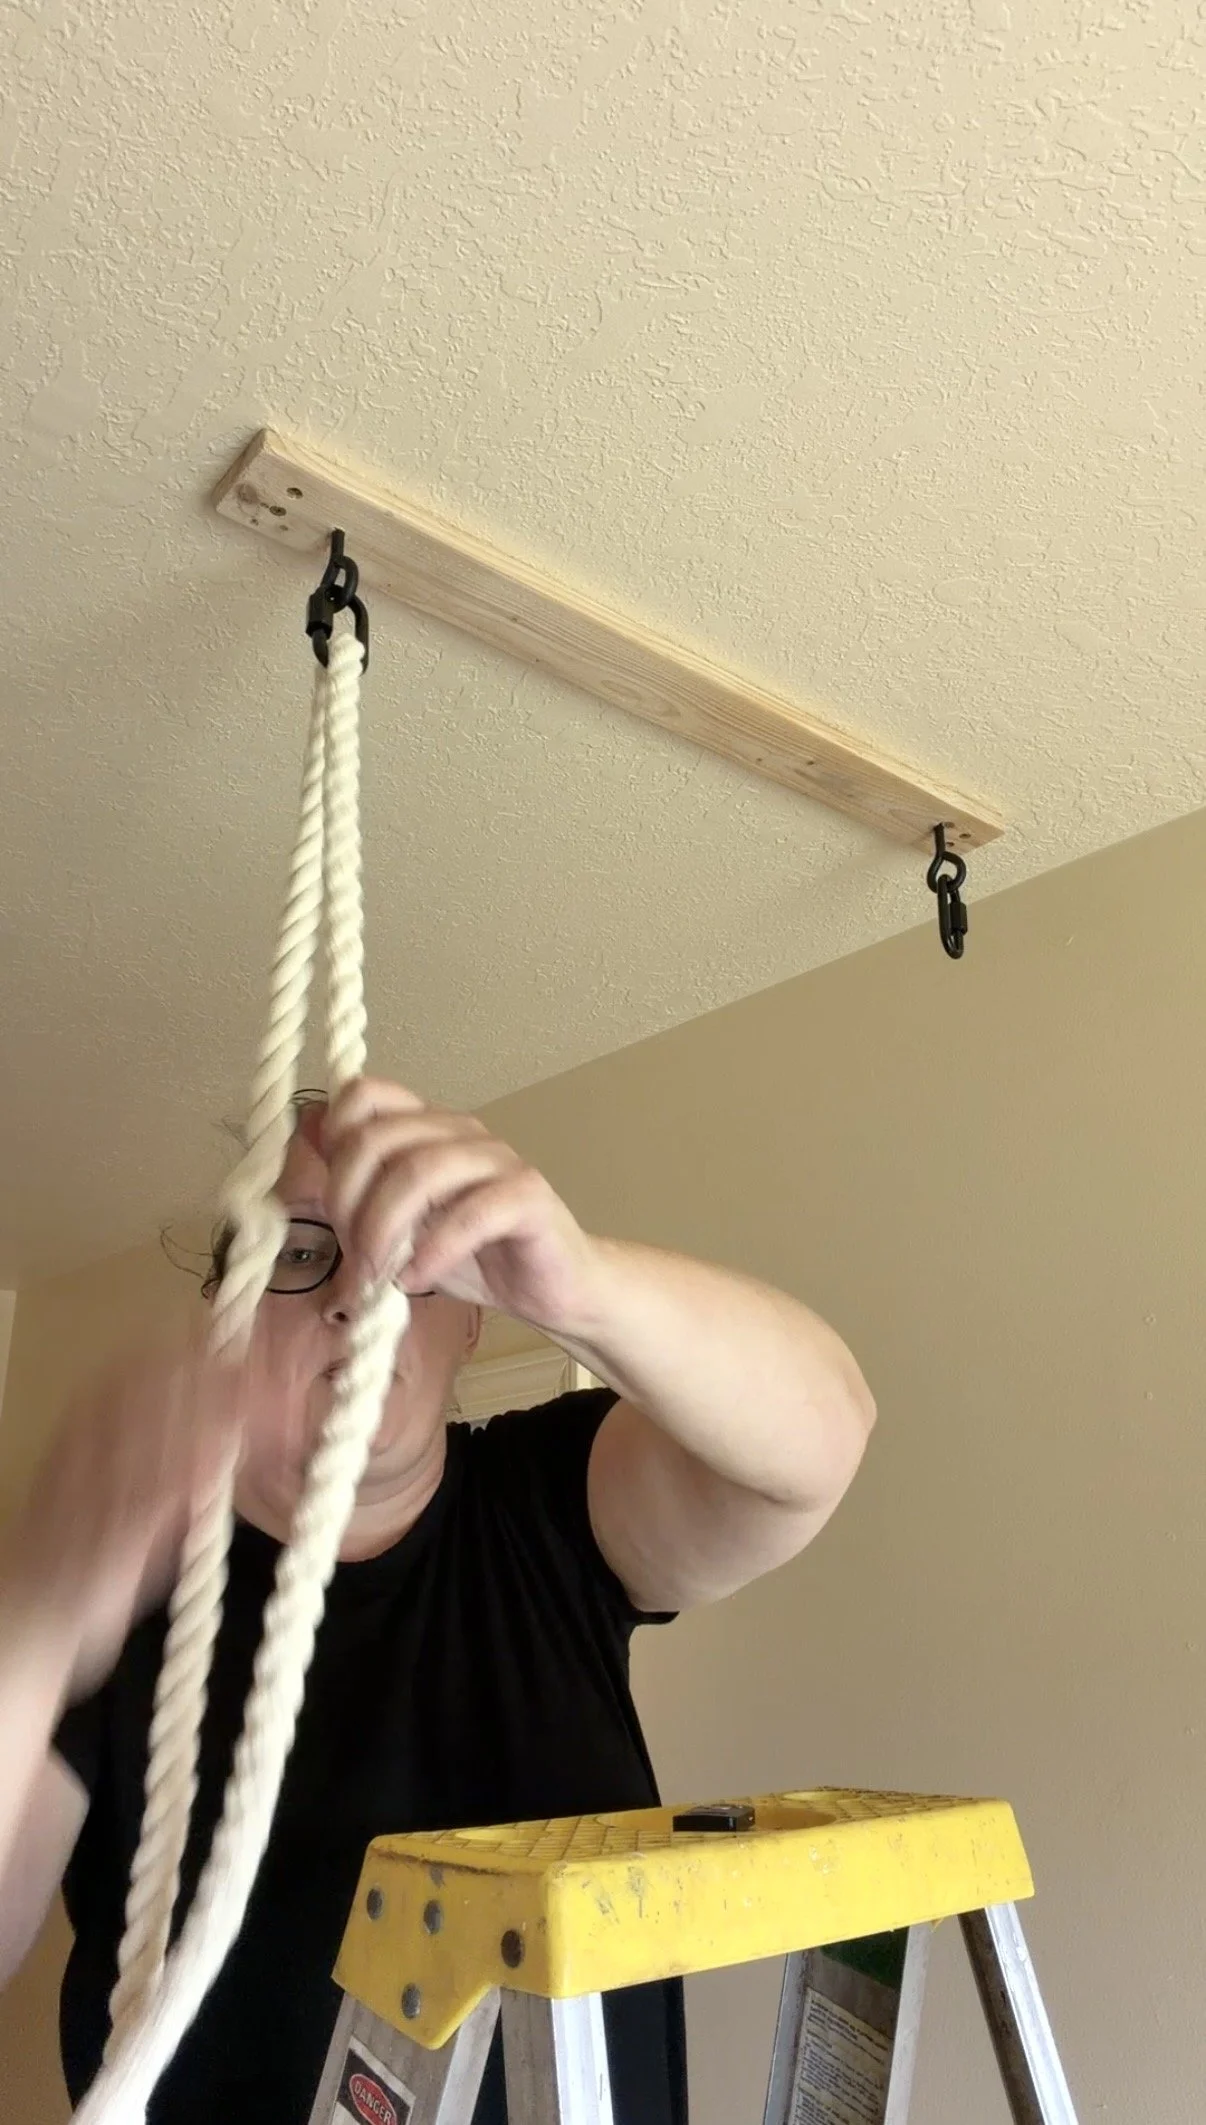
There are two versions of this. I am showing you the brace board version where you take a board to span the distance between the joists when the joists are not running the correct direction for where you are hanging the swing. If your joists are running the correct direction then you don’t need a brace board. You can just screw your eye hooks directly into the joists. If you check out the post about my older daughter’s room you will see this. That post is here. For the brace board you will need to make sure it’s long enough togo joist to joist and just a bit more. You will then need to measure and mark on the brace board where the joists are that you are going to be attaching it to. Then pre-drill your holes into your brace board so you don’t crack it when you attach it to the joist. Then attach with two long screws on each end into the joist.
Now For the Fun Part
Let’s get this thing swinging! You are going to want a drill bit slightly smaller than your eye bolt. You need to pre drill the two holes for the swing hardware. a long handled screwdriver helps with this.
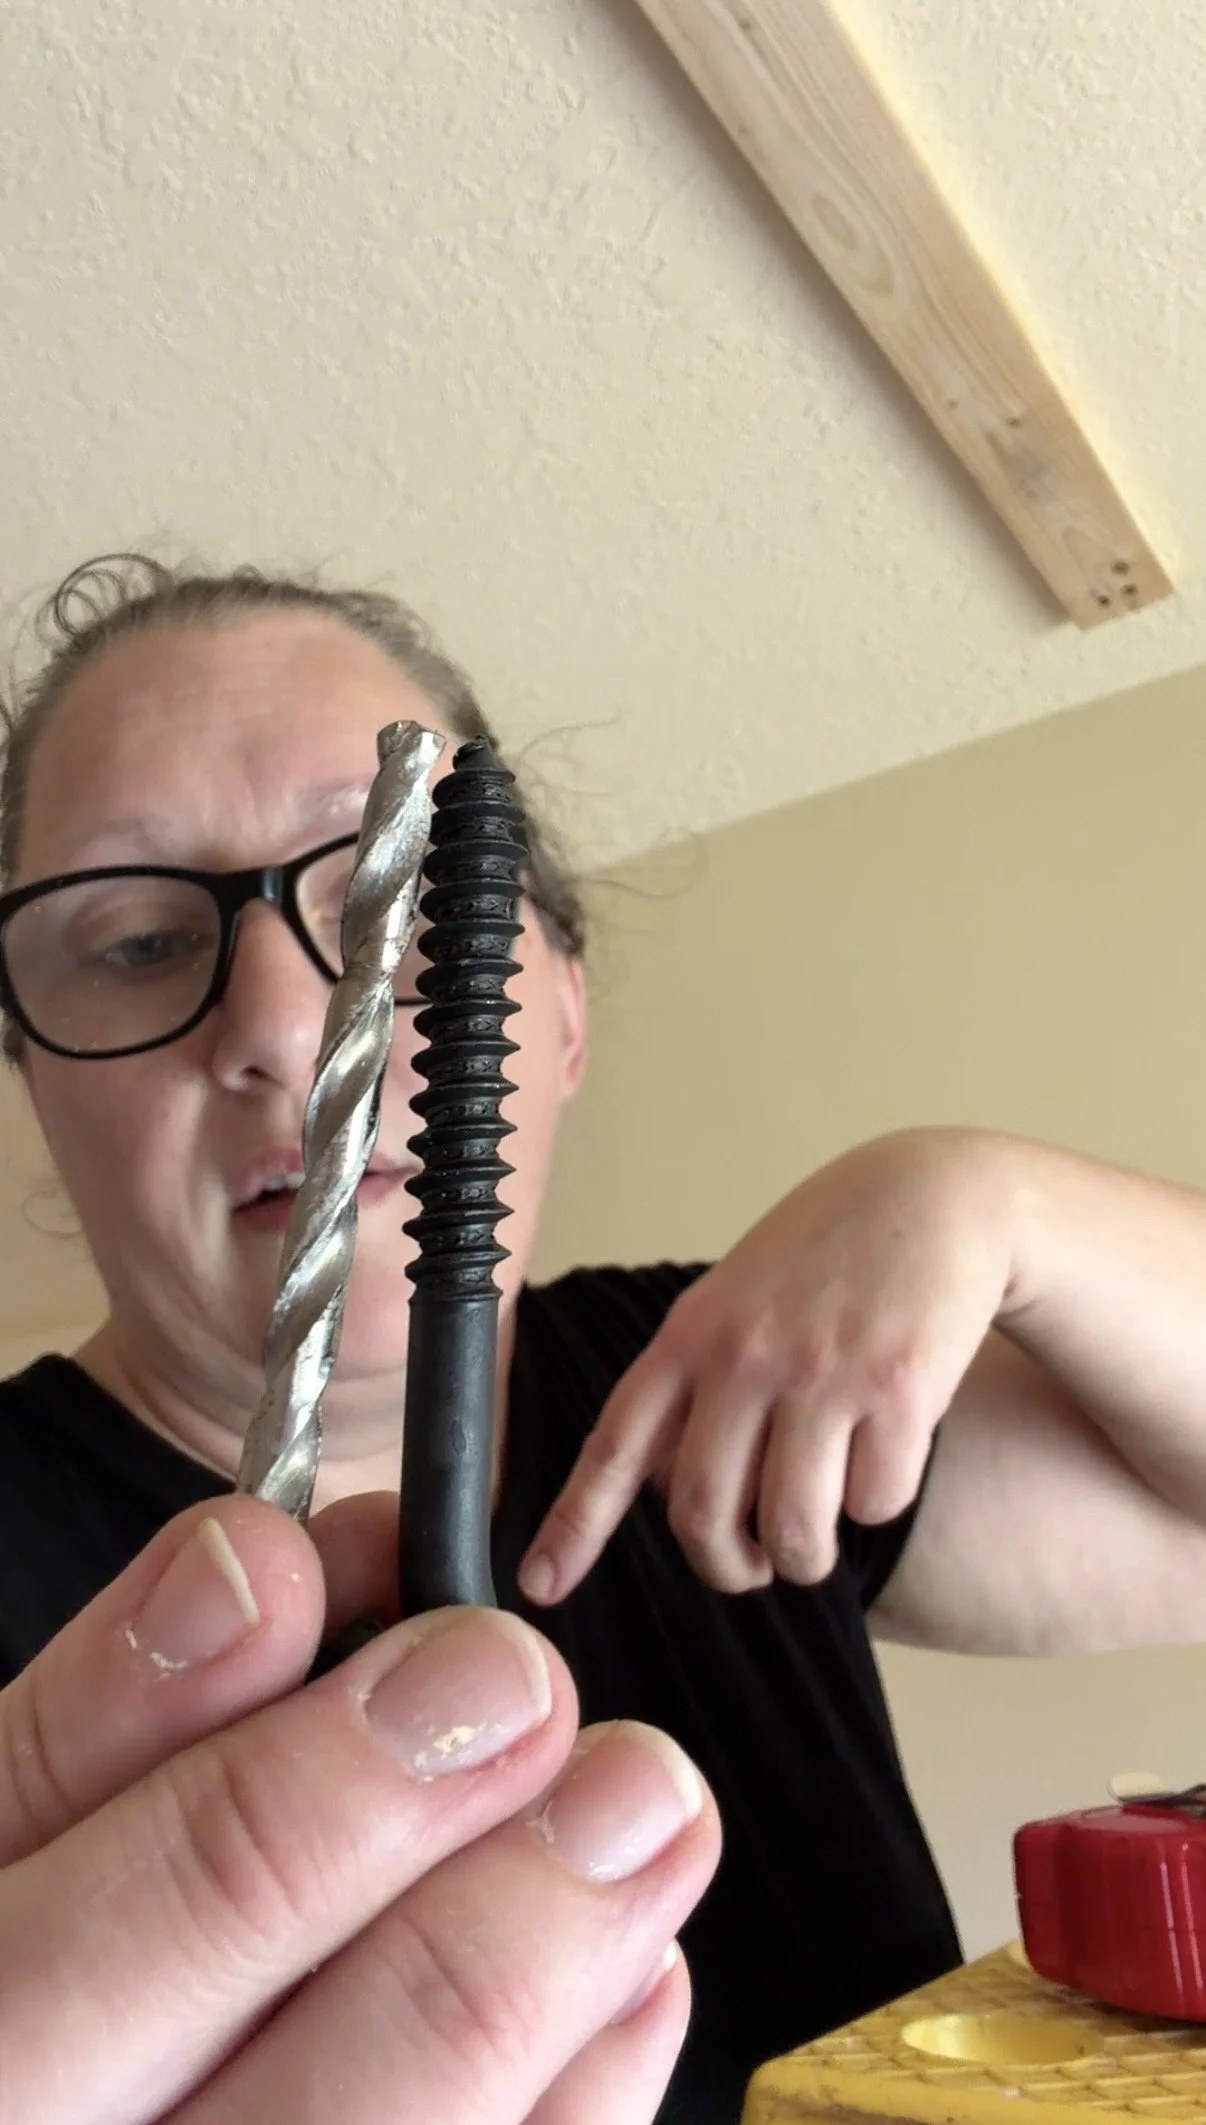
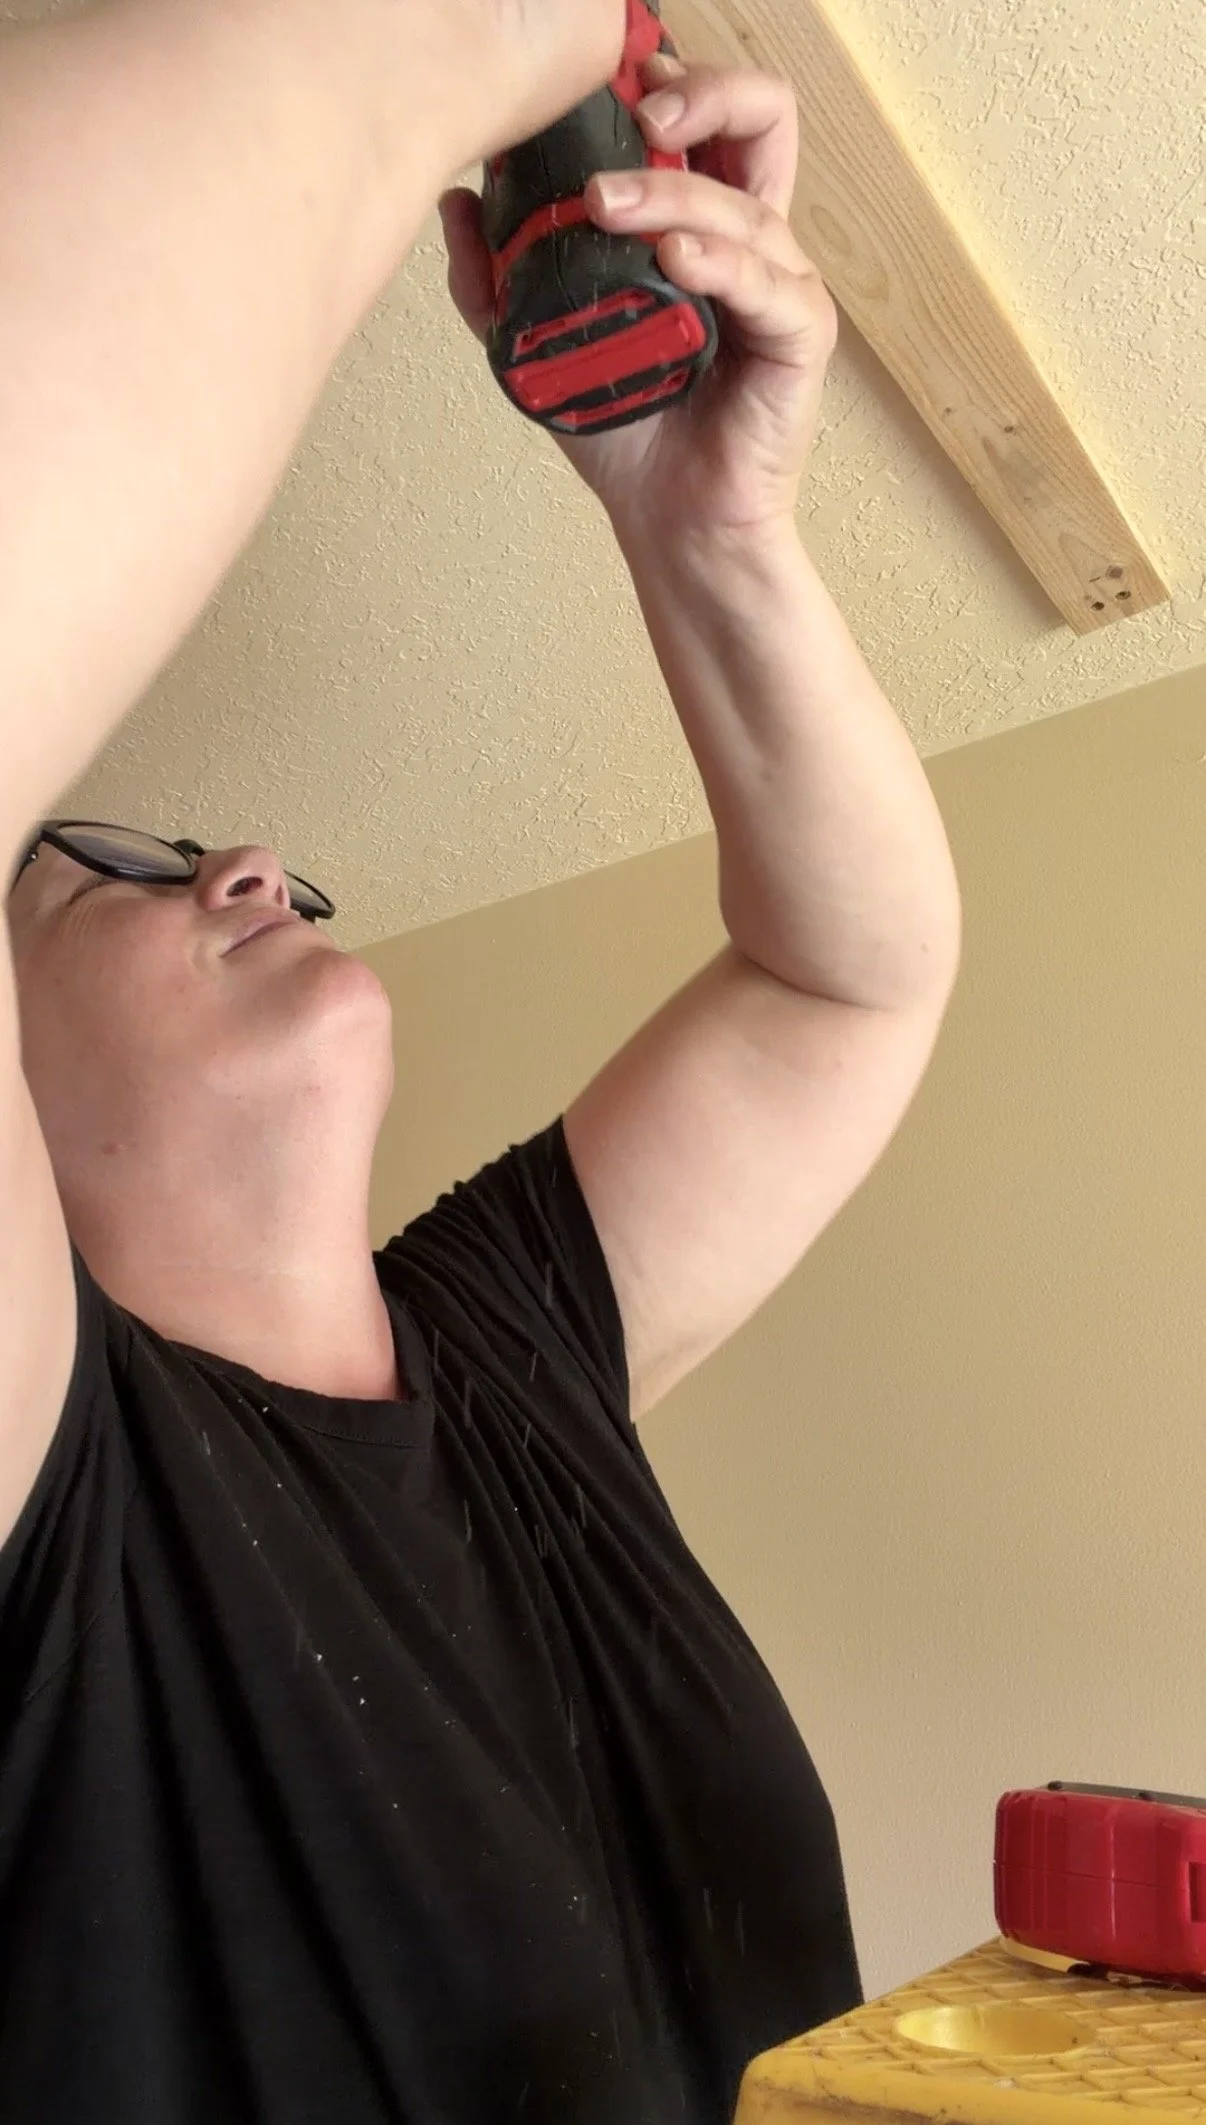
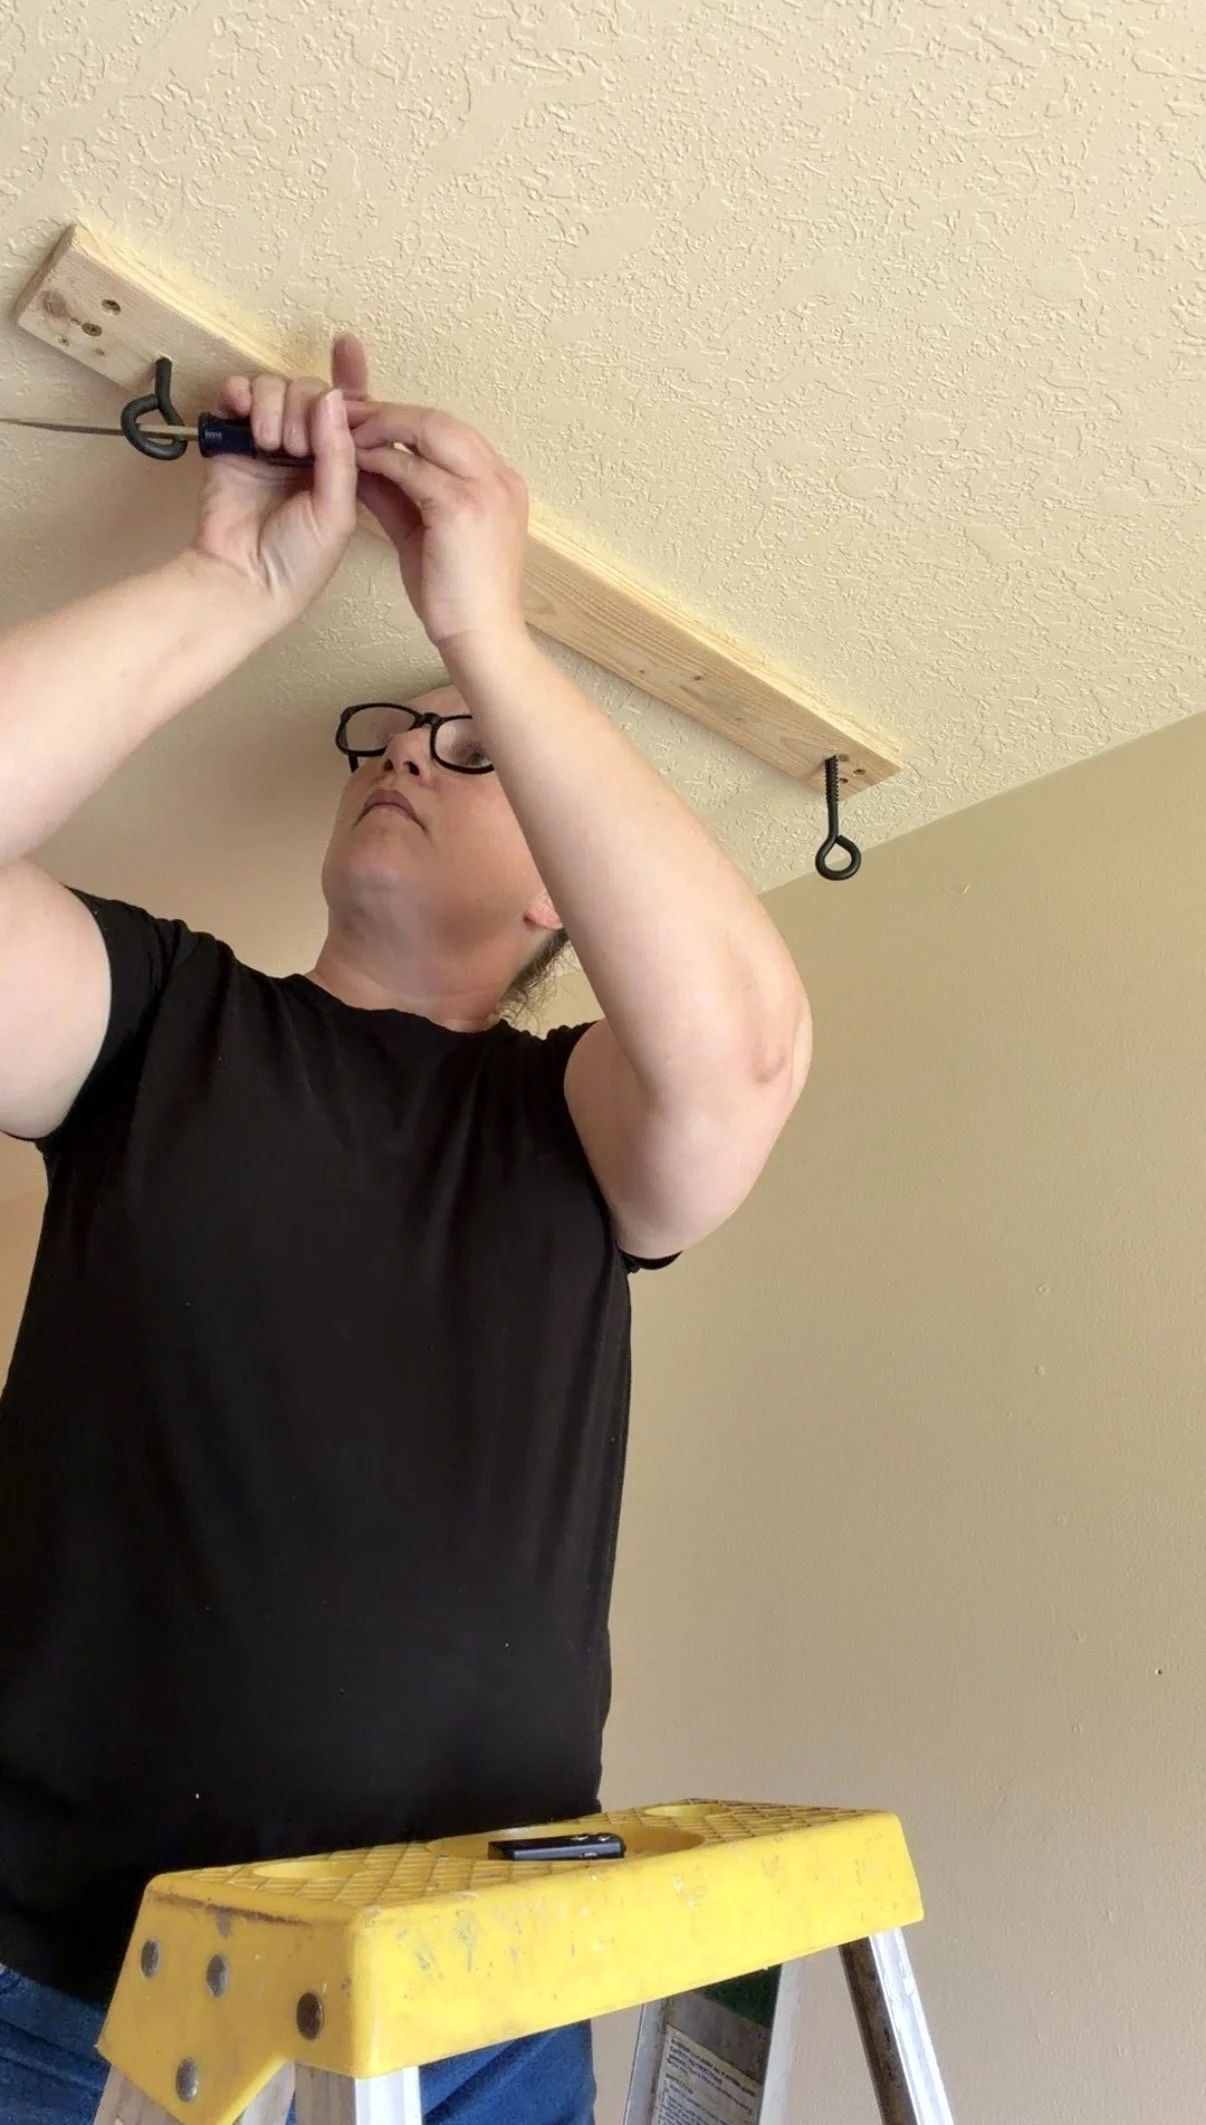
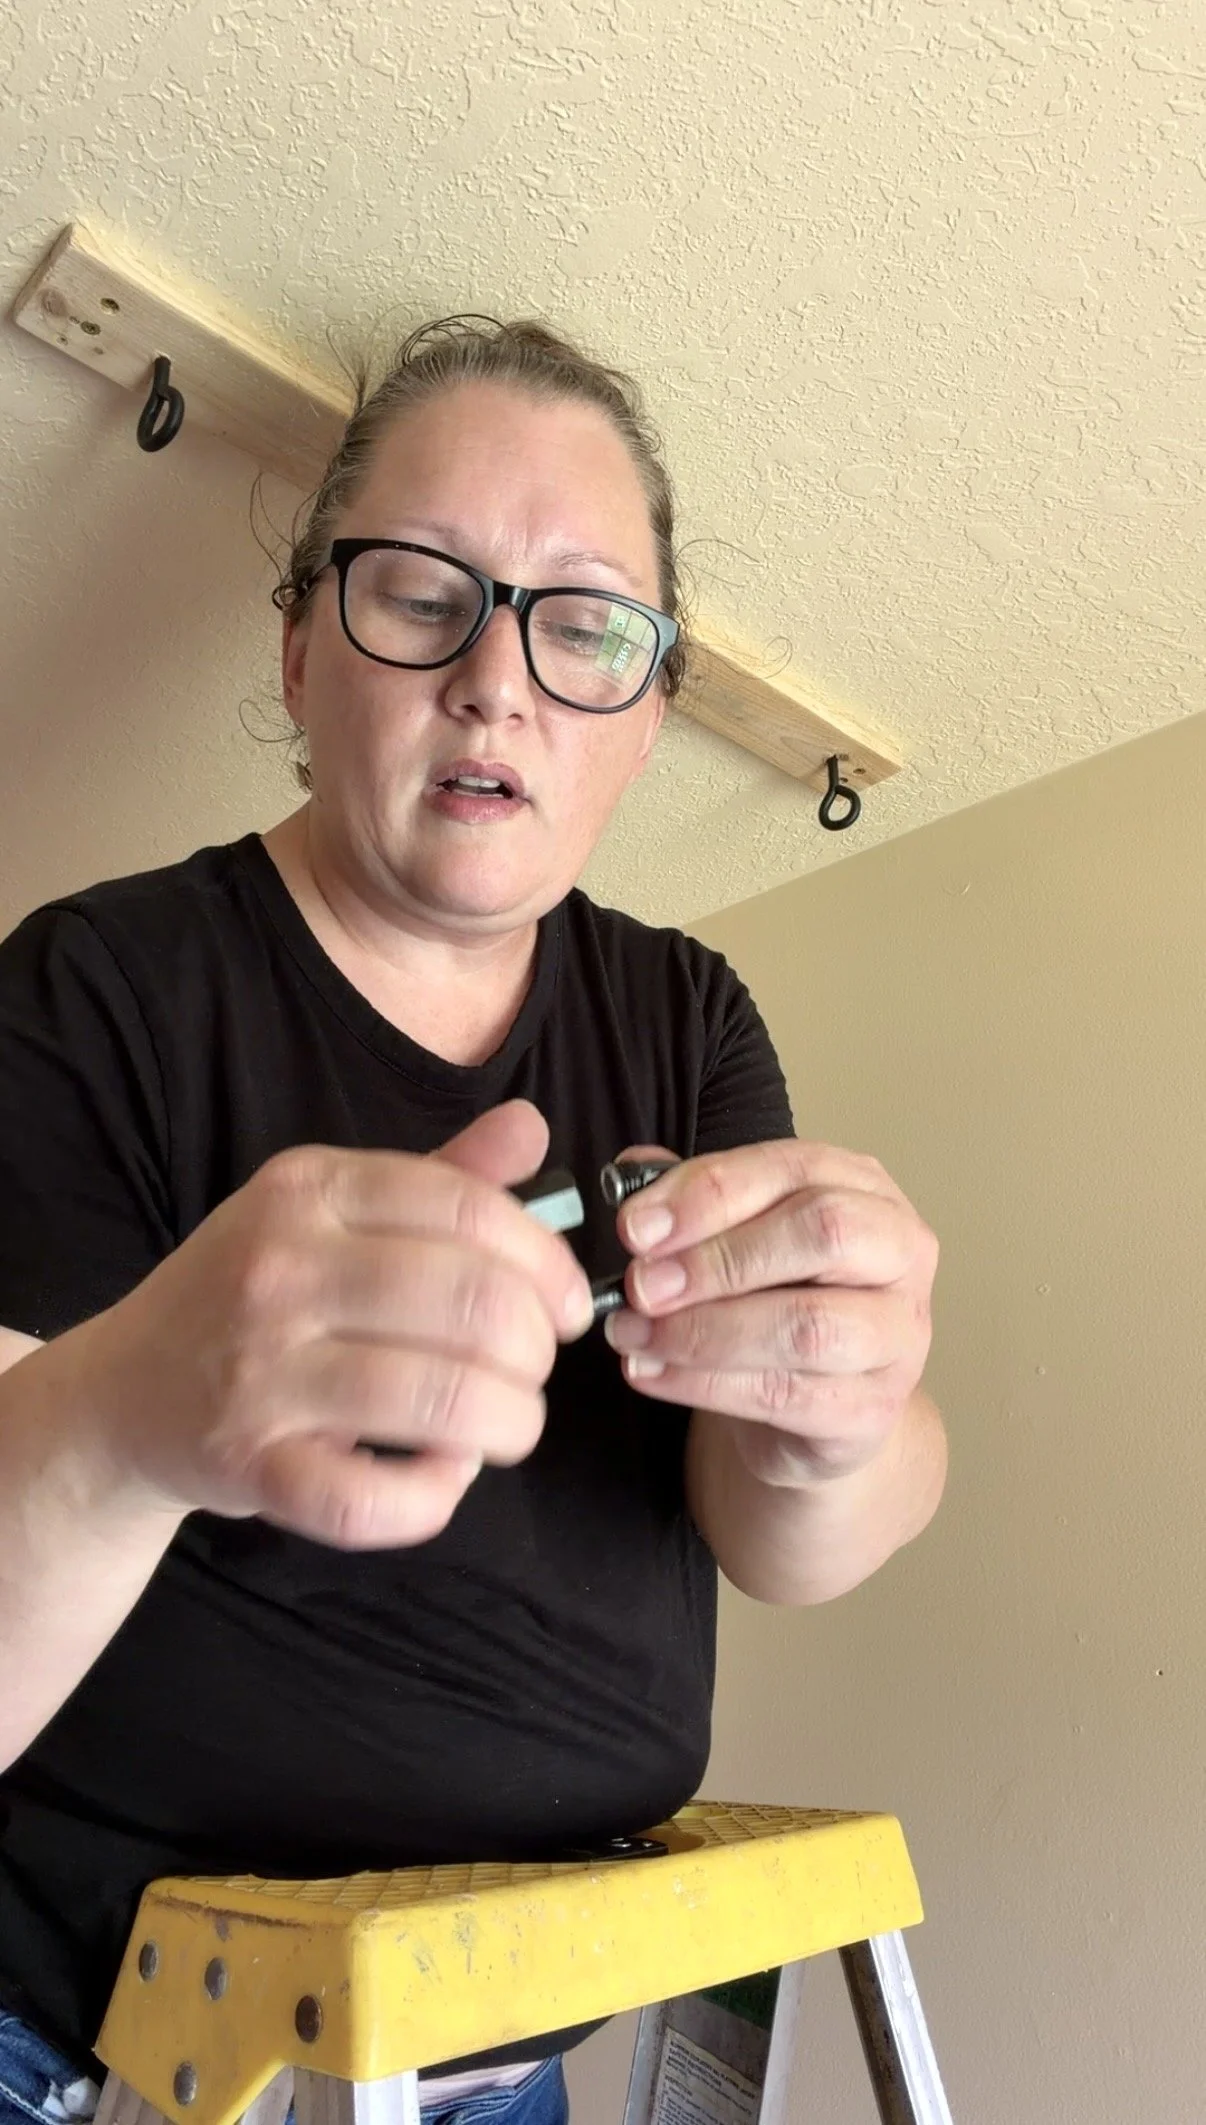
I forgot to order the eye bolts with the rings attached so I had to cobble together the hardware for this. I used an eye bolt and a heavy duty 800 lb capacity locking carabiner. If you do it this way make sure you have a high capacity and LOCKING carabiner. It needs to lock for safety purposes. Attach the carabiner to the eye bolt and screw it closed.
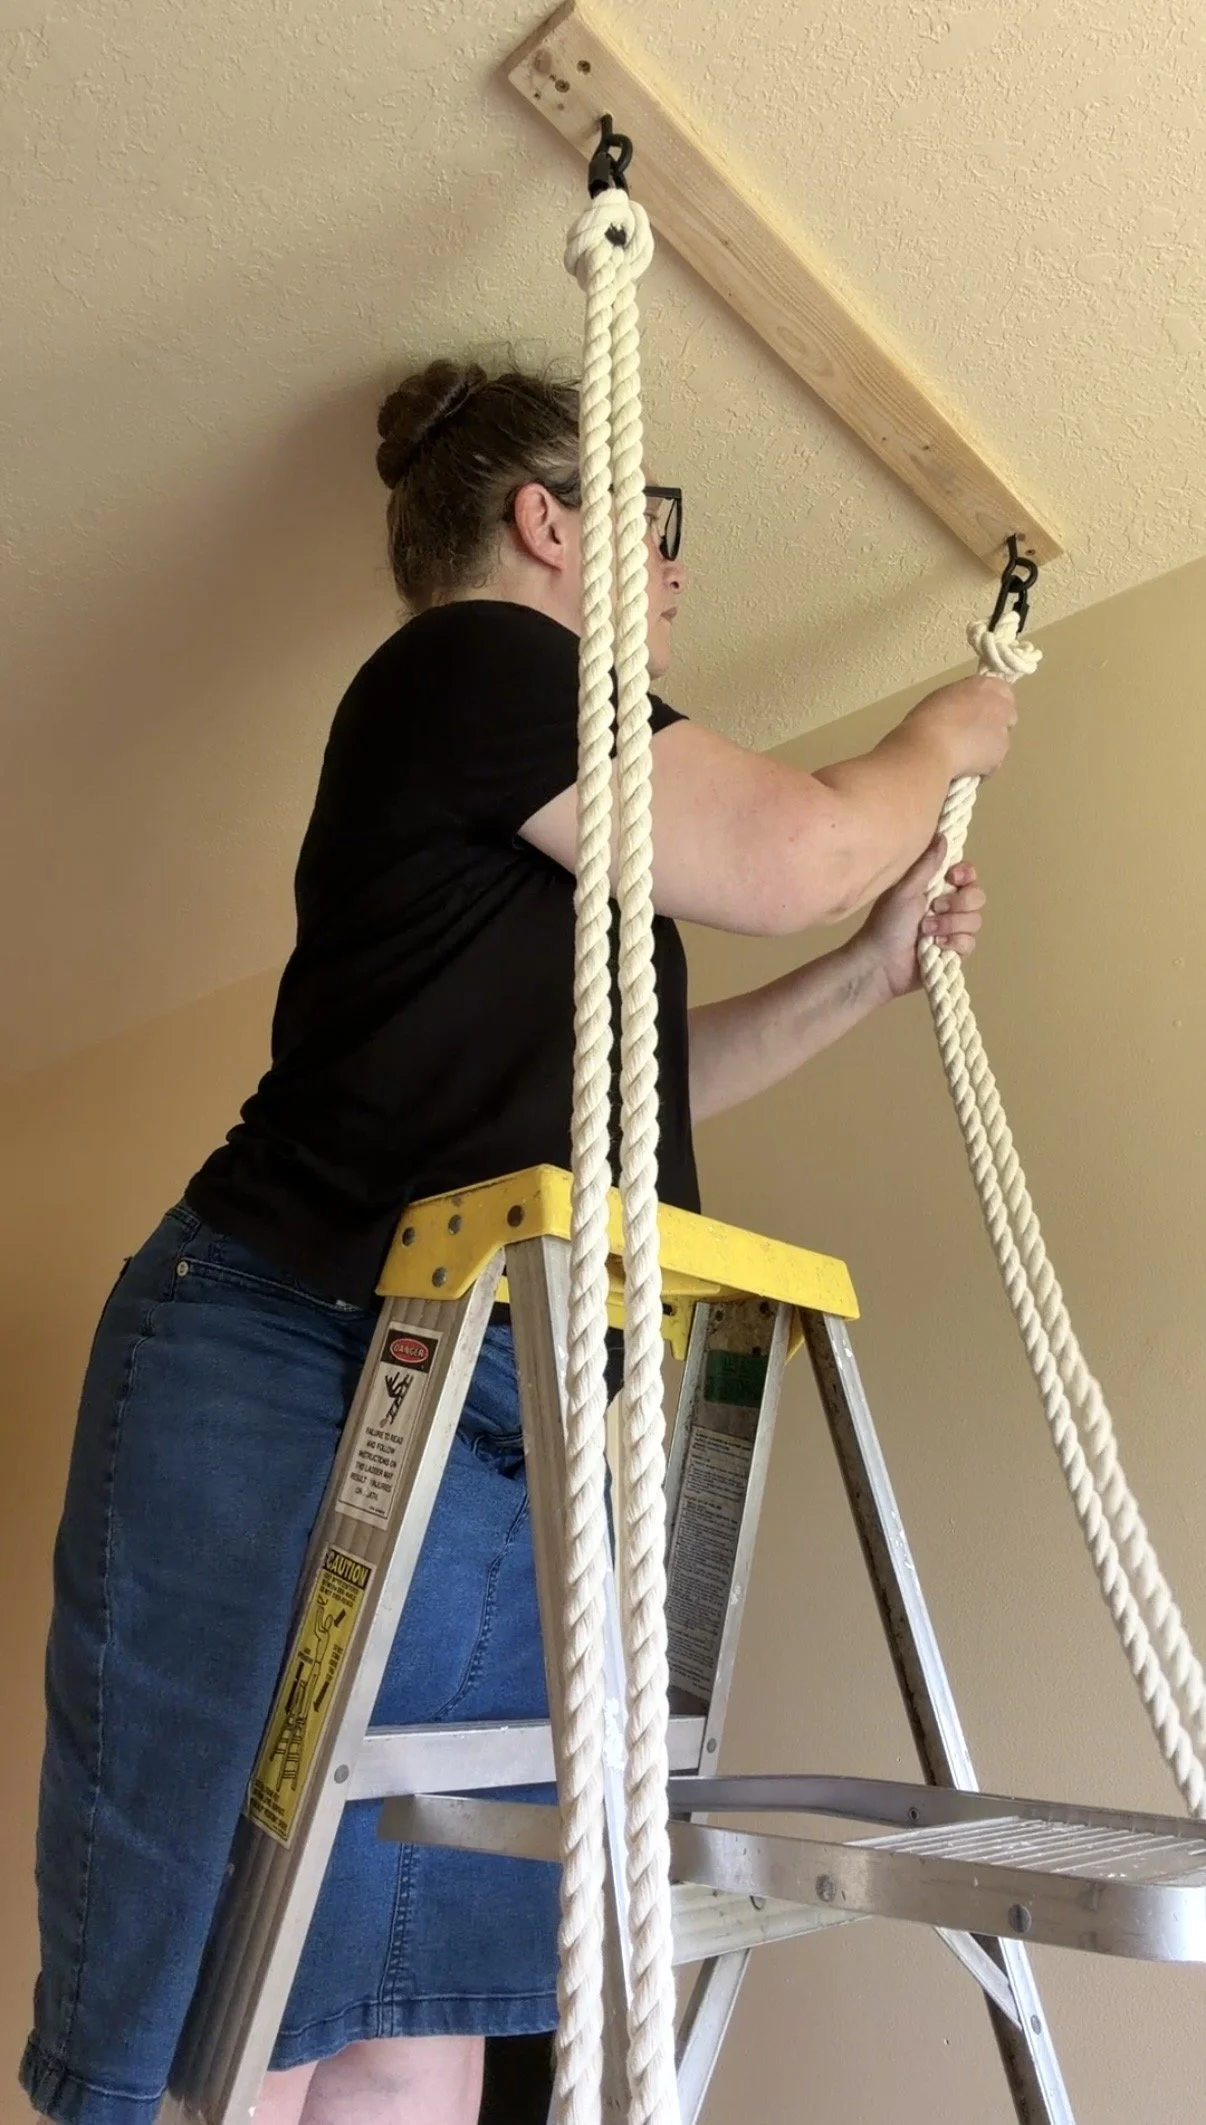
Then you want to thread your rope through the carabiner, and drop it down to get your aproximate measurement to cut it. Make sure you leave enough slack to be able to do a slip knot at the top, and have enough to tie knots under the swing. After you get your aproximate length. Take the rope out of the carabiner and double it up, put the loop through the carabiner, and pull the rest of the length through the other side, making a slip knot.
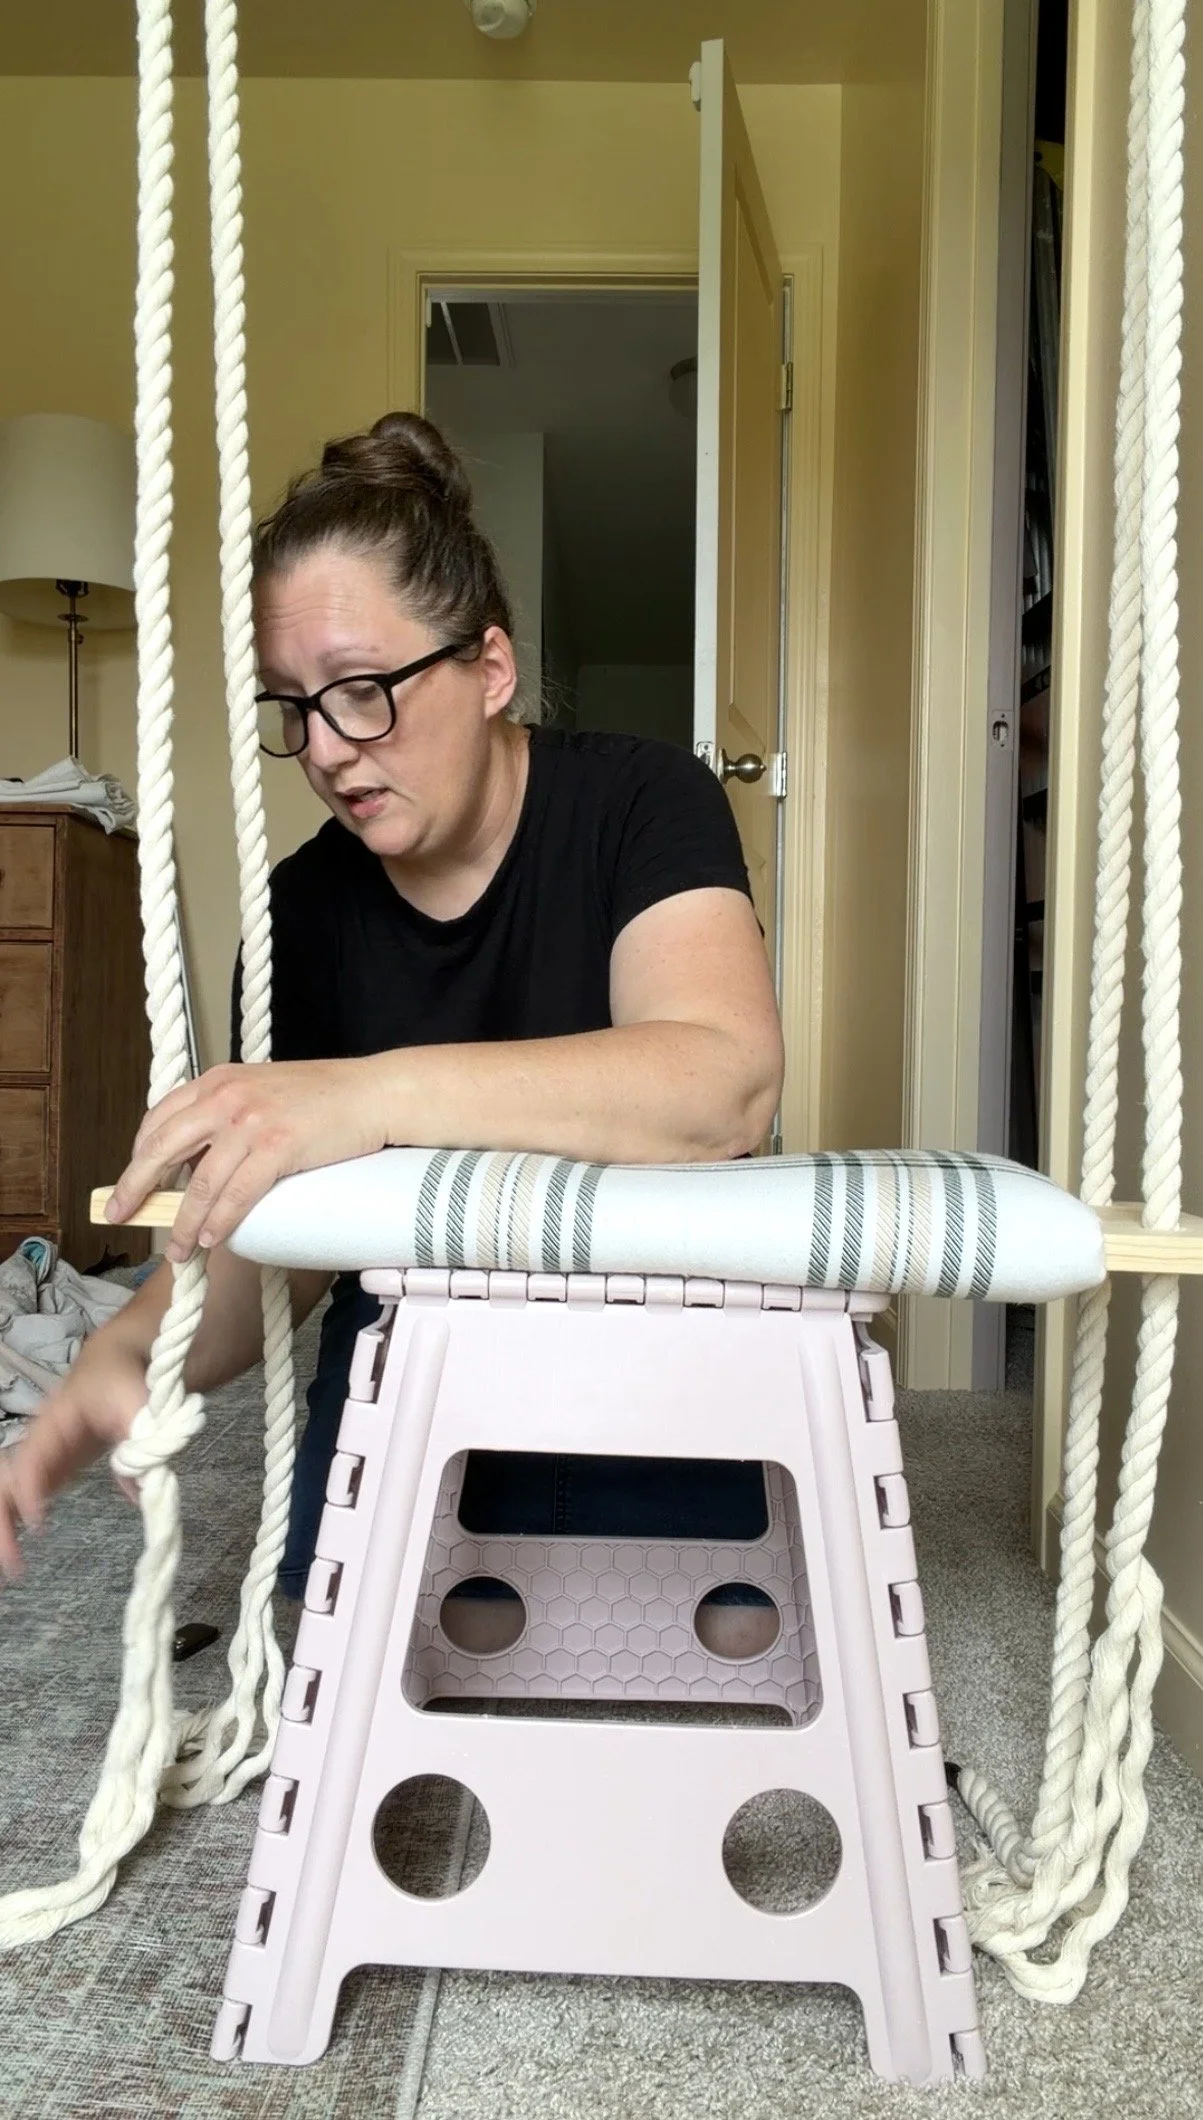
Then you get on the floor, find something to prop the swing seat up, I used a collapsible stool, and pull the rope through the four holes. Use a level to make sure you are keeping the swing fairly level while making the knots. You can adjust slightly with the cotton rope after the initial knot is made. After it’s level you can make your second knot. The knots get more secure as the swing is used because of the weight on it. I then take a length of rope, unwind it and use one strand to tie the ropes together to make it easier for little hands to manage.
Ta Da!
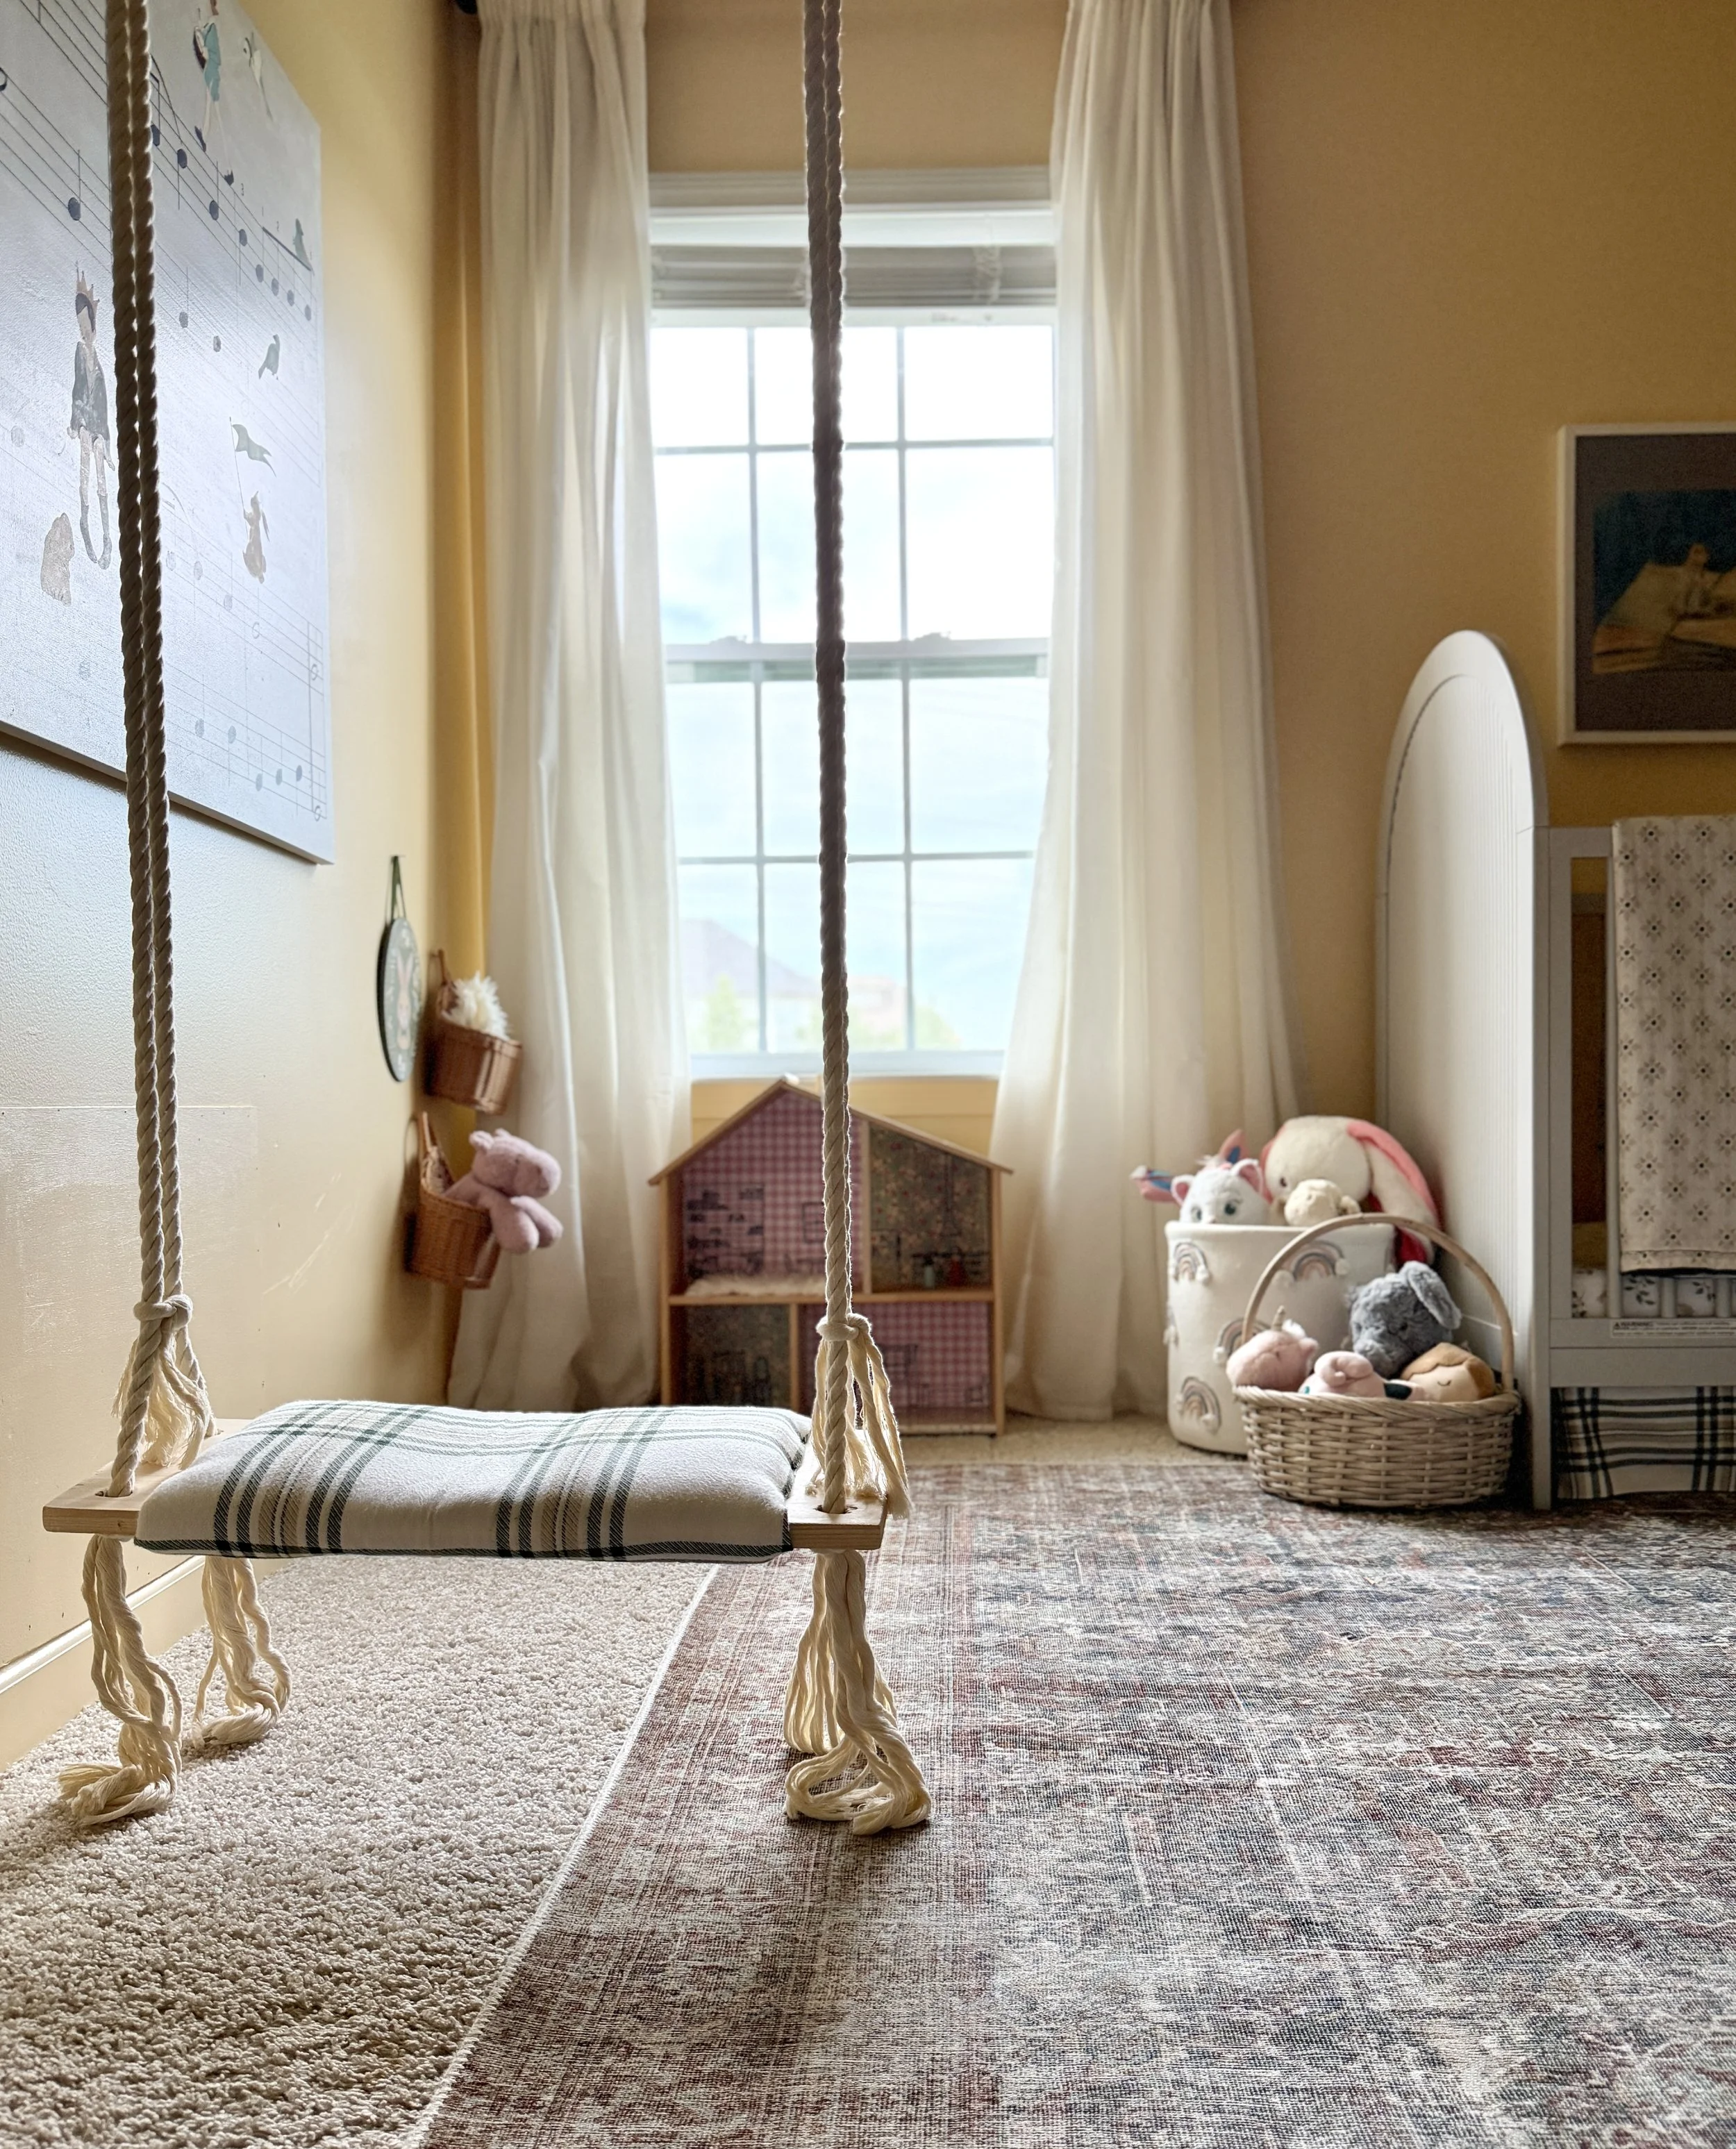
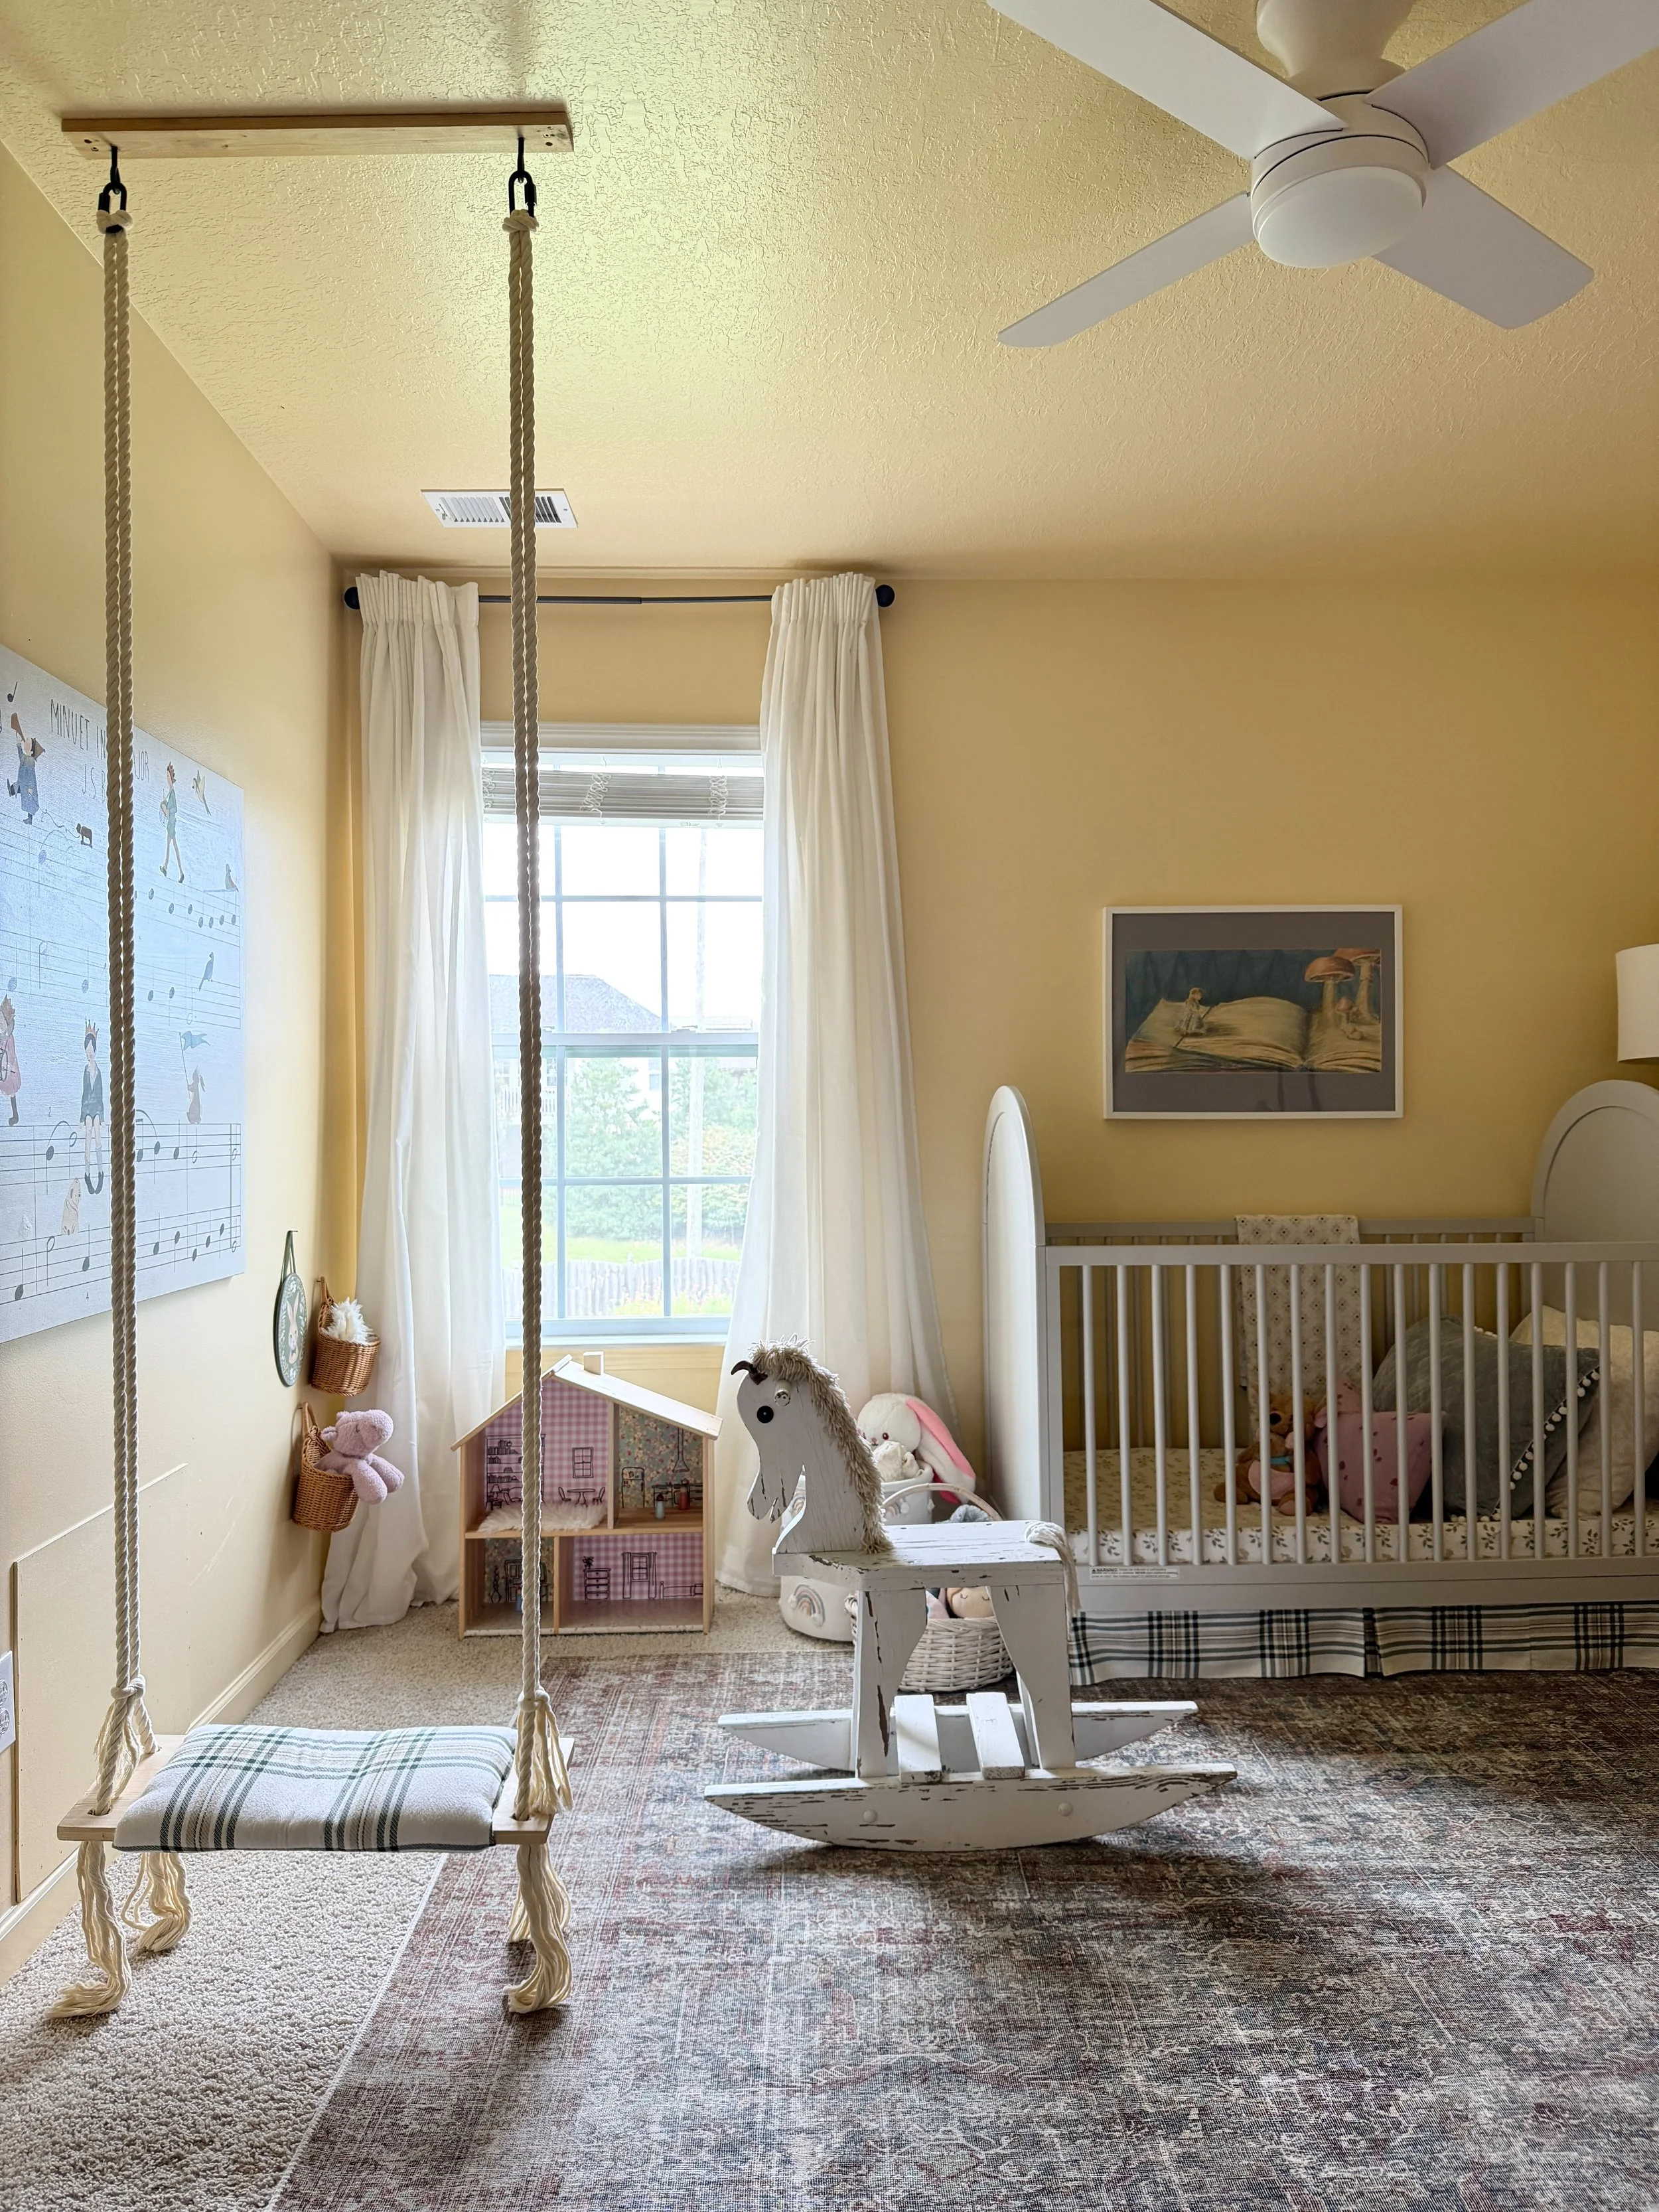
The finished swing, low to the ground for the Two year old that lives here
So go make your house a little more awesome, and put a swing or two in it.
Happy DIY-ing!
Melinda
Helpful Affiliate Links
This post contains affiliate links, which means I get a small commission from your purchase at no extra charge to you.
Blog Categories
- Baking
- Bedroom Design
- Birthday Cakes
- Breakfast
- Cleaning
- Cooking
- DIY
- Did You Know?
- Food Prep
- Gluten Free
- Holiday Decorating
- In The Kitchen
- In the Backyard
- Kid & Baby Stuff
- Kids Birthday Parties
- Kitchen & Bath Design
- Kitchen Organization
- Kitchen Remodel
- Large Family Hacks
- Laundry
- Lifestyle
- Living Space Design
- Mom Hacks
- Organizing
- Sensory
- Toy Organizing