How To: Rocking Horse Tail
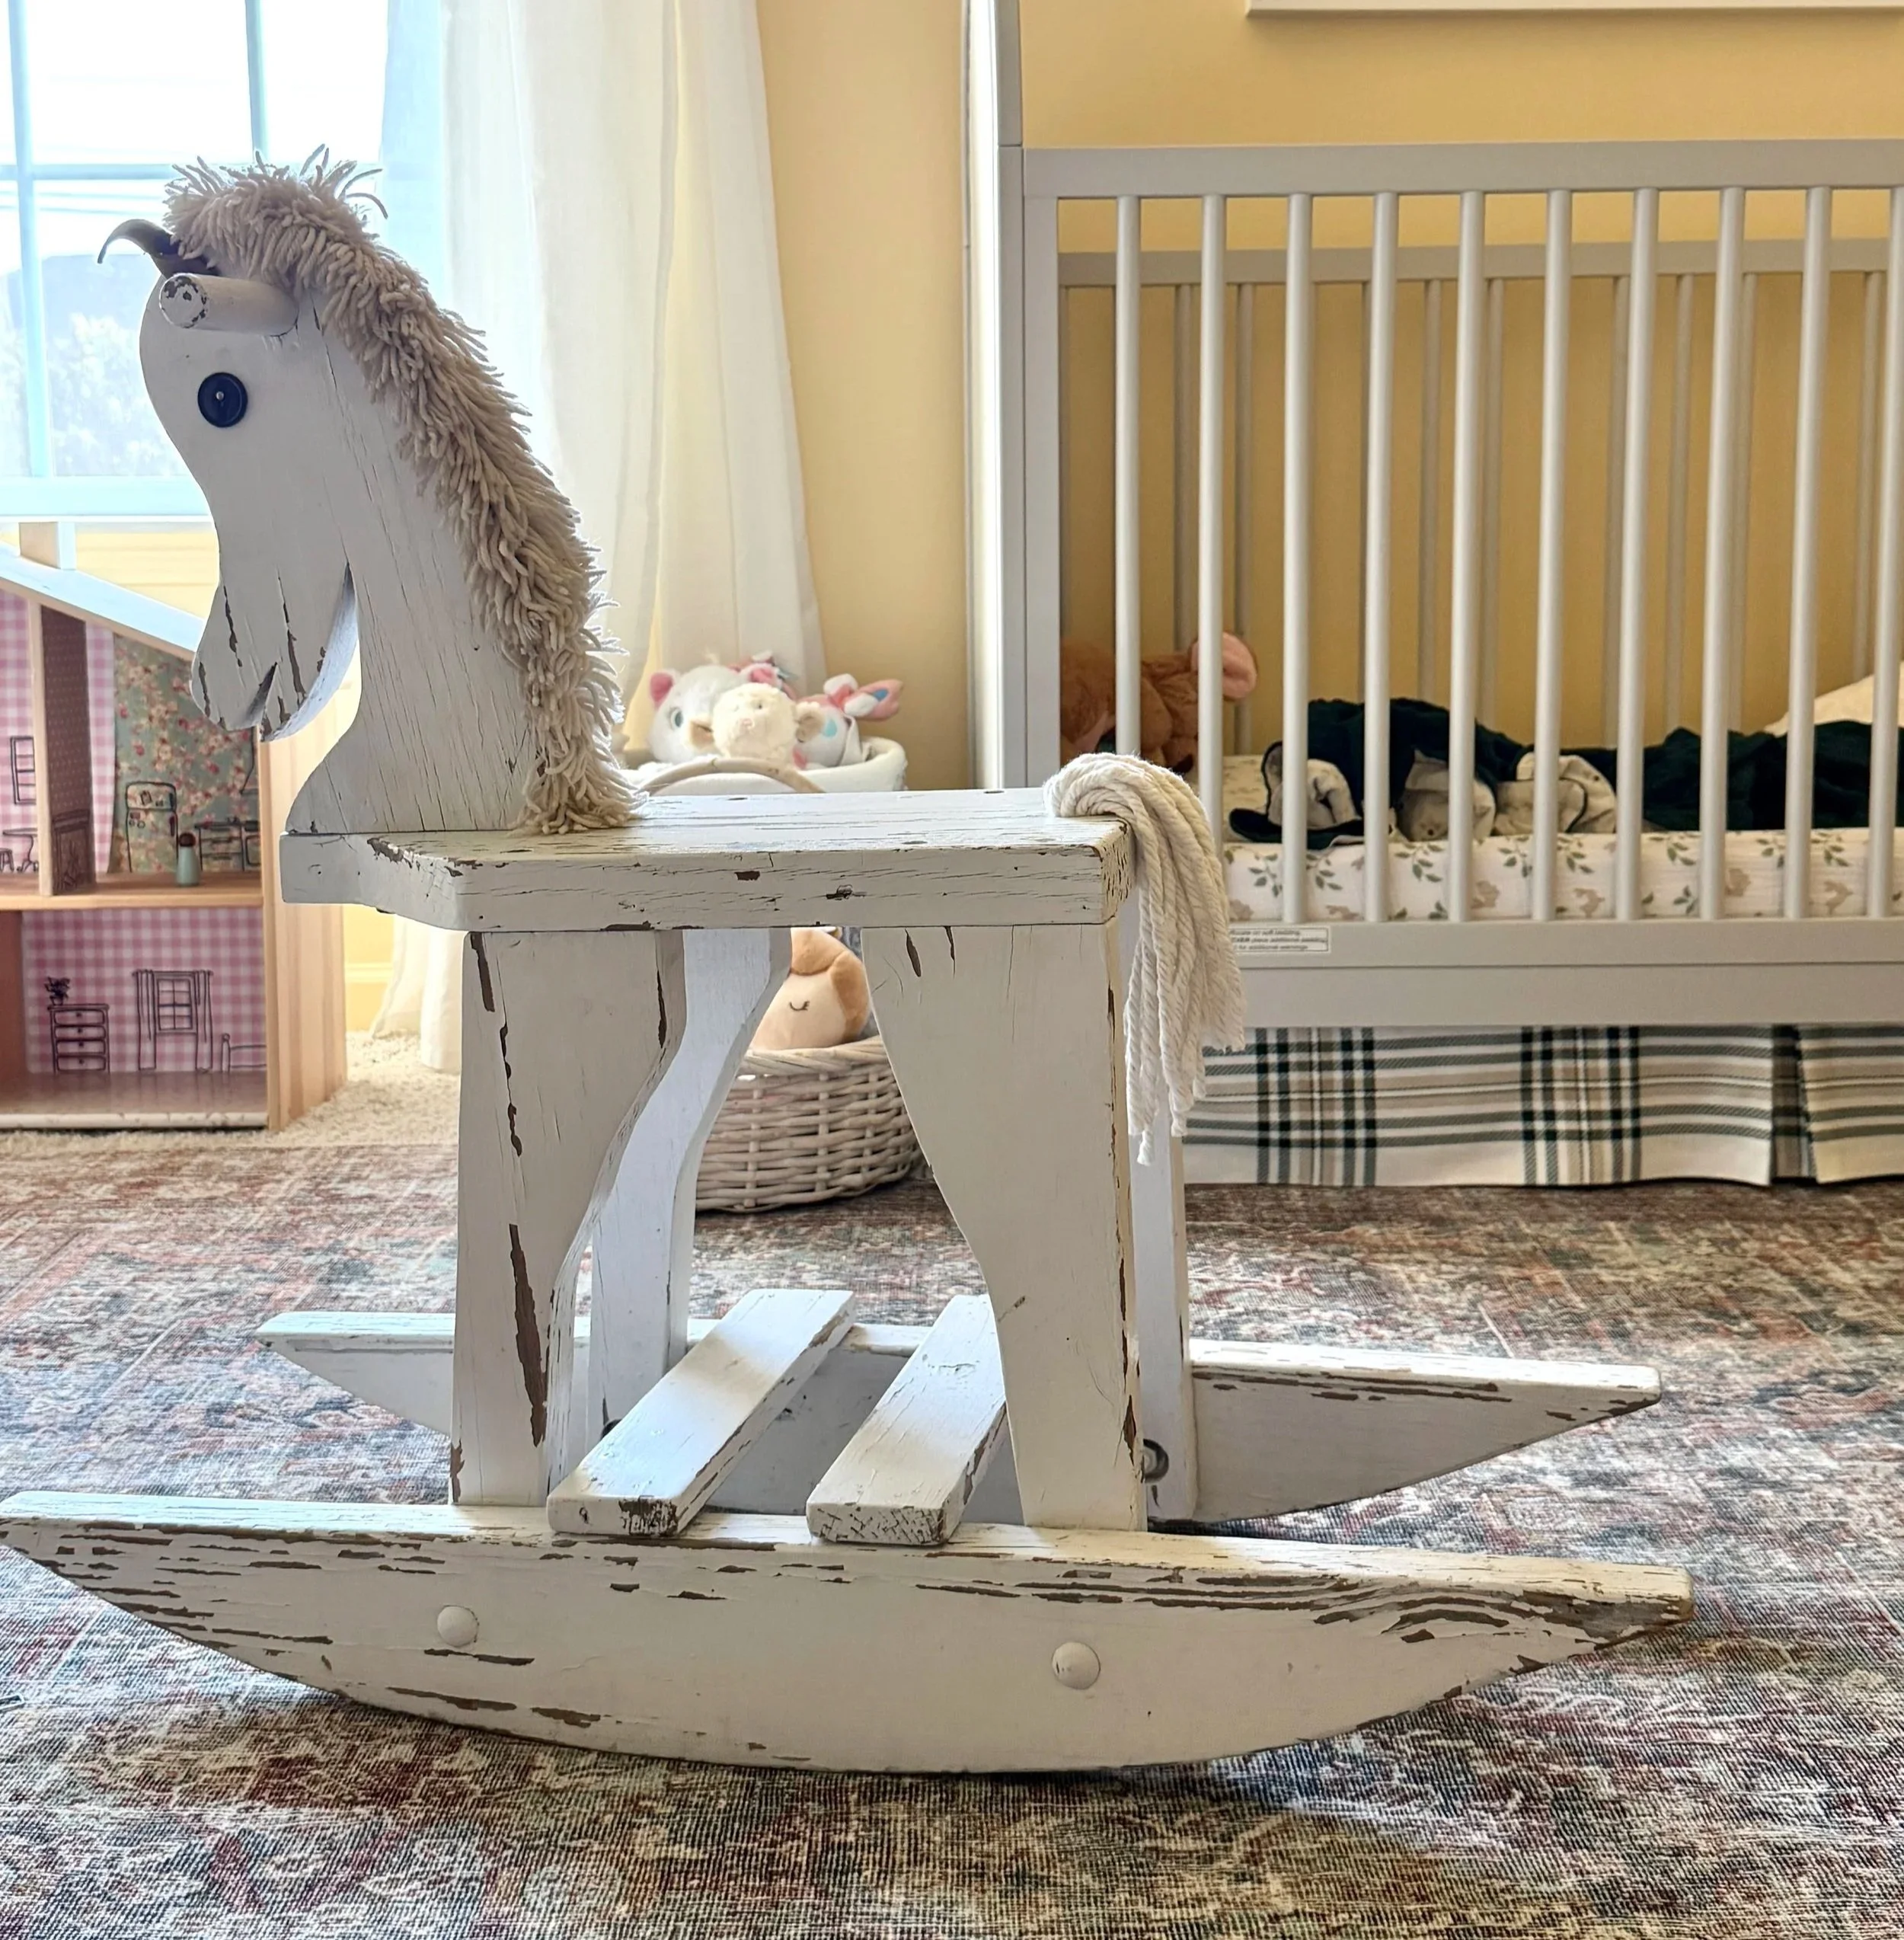
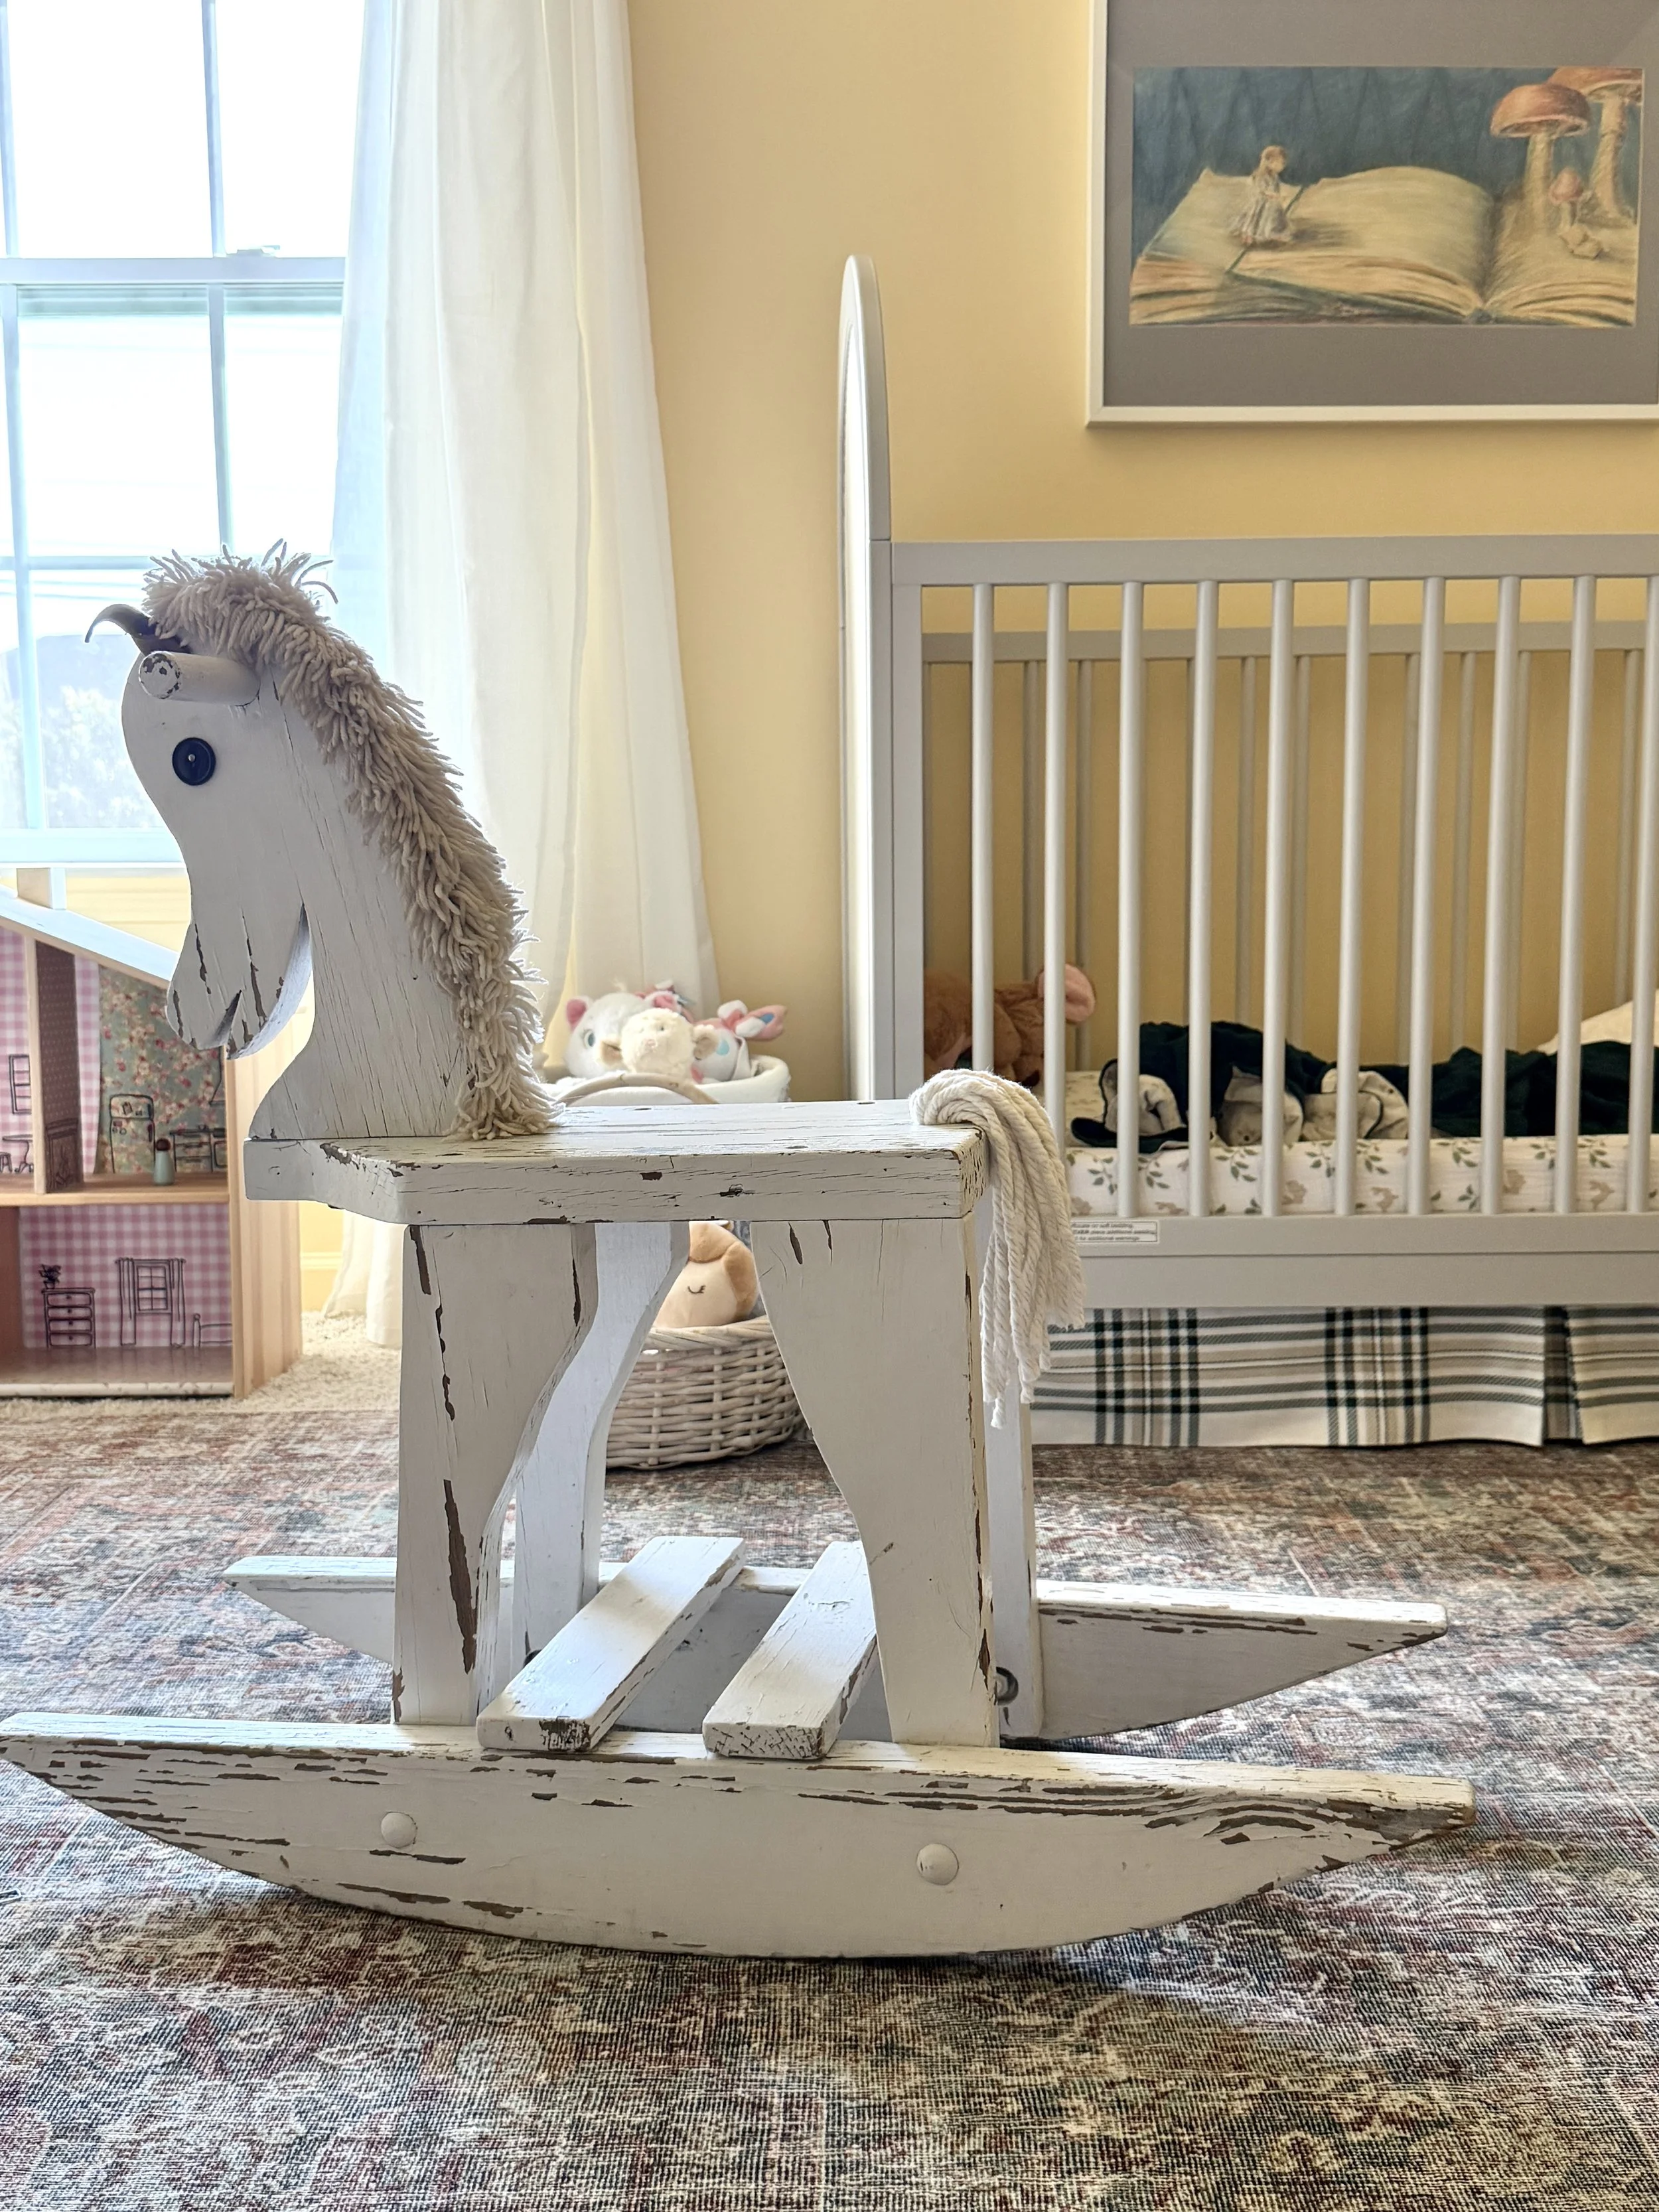
A sweet handmade rocking horse we got for free on the buy nothing group
DIY Rocking Horse Tail
When this sweet handmade rocking horse popped up on our local buy nothing group, months before I was ready to do my toddler’s room I knew I had to snag it. The tail was very sad and falling apart though so I knew I was going to have to figure out how to replace it. In the netherlands of my brain I knew a cotton mop head was the solution, but the internet was not helpful in the actual how to part of this so I had to figure it out for myself. And once I did it, I knew I could not gate keep it. So, here ya go. How to replace a rocking horse tail. How niche is this lol.
The Supplies
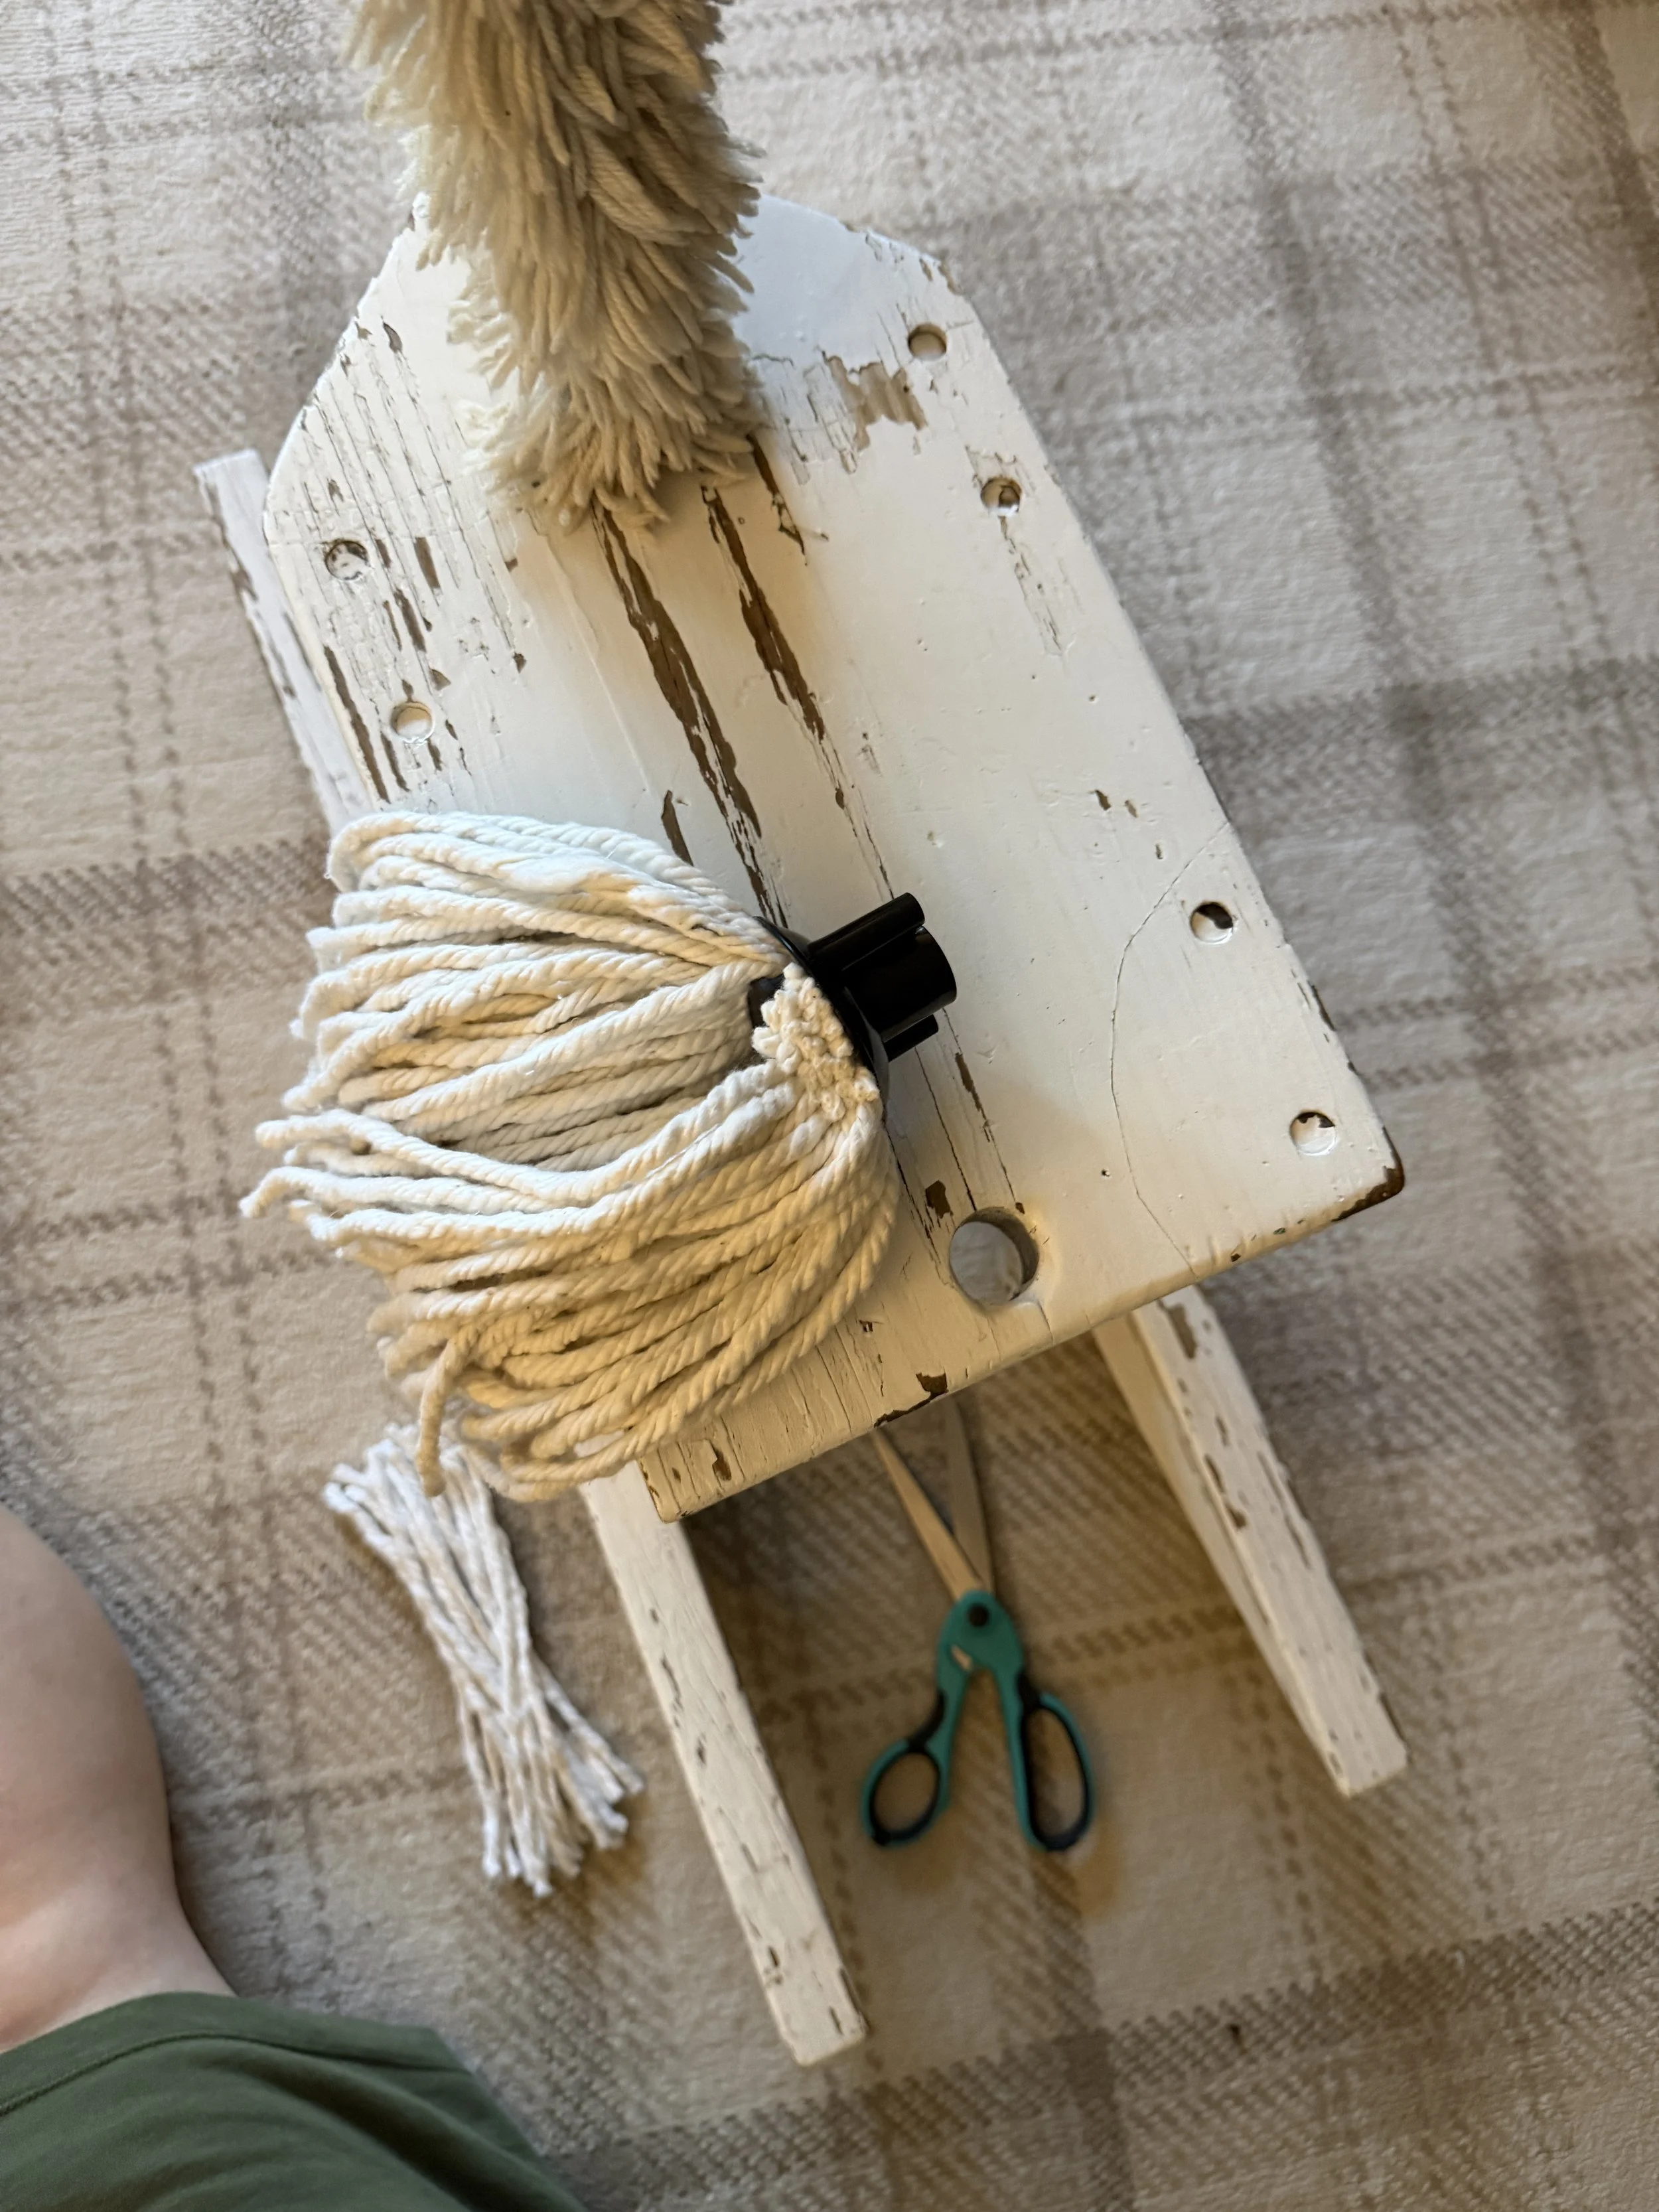
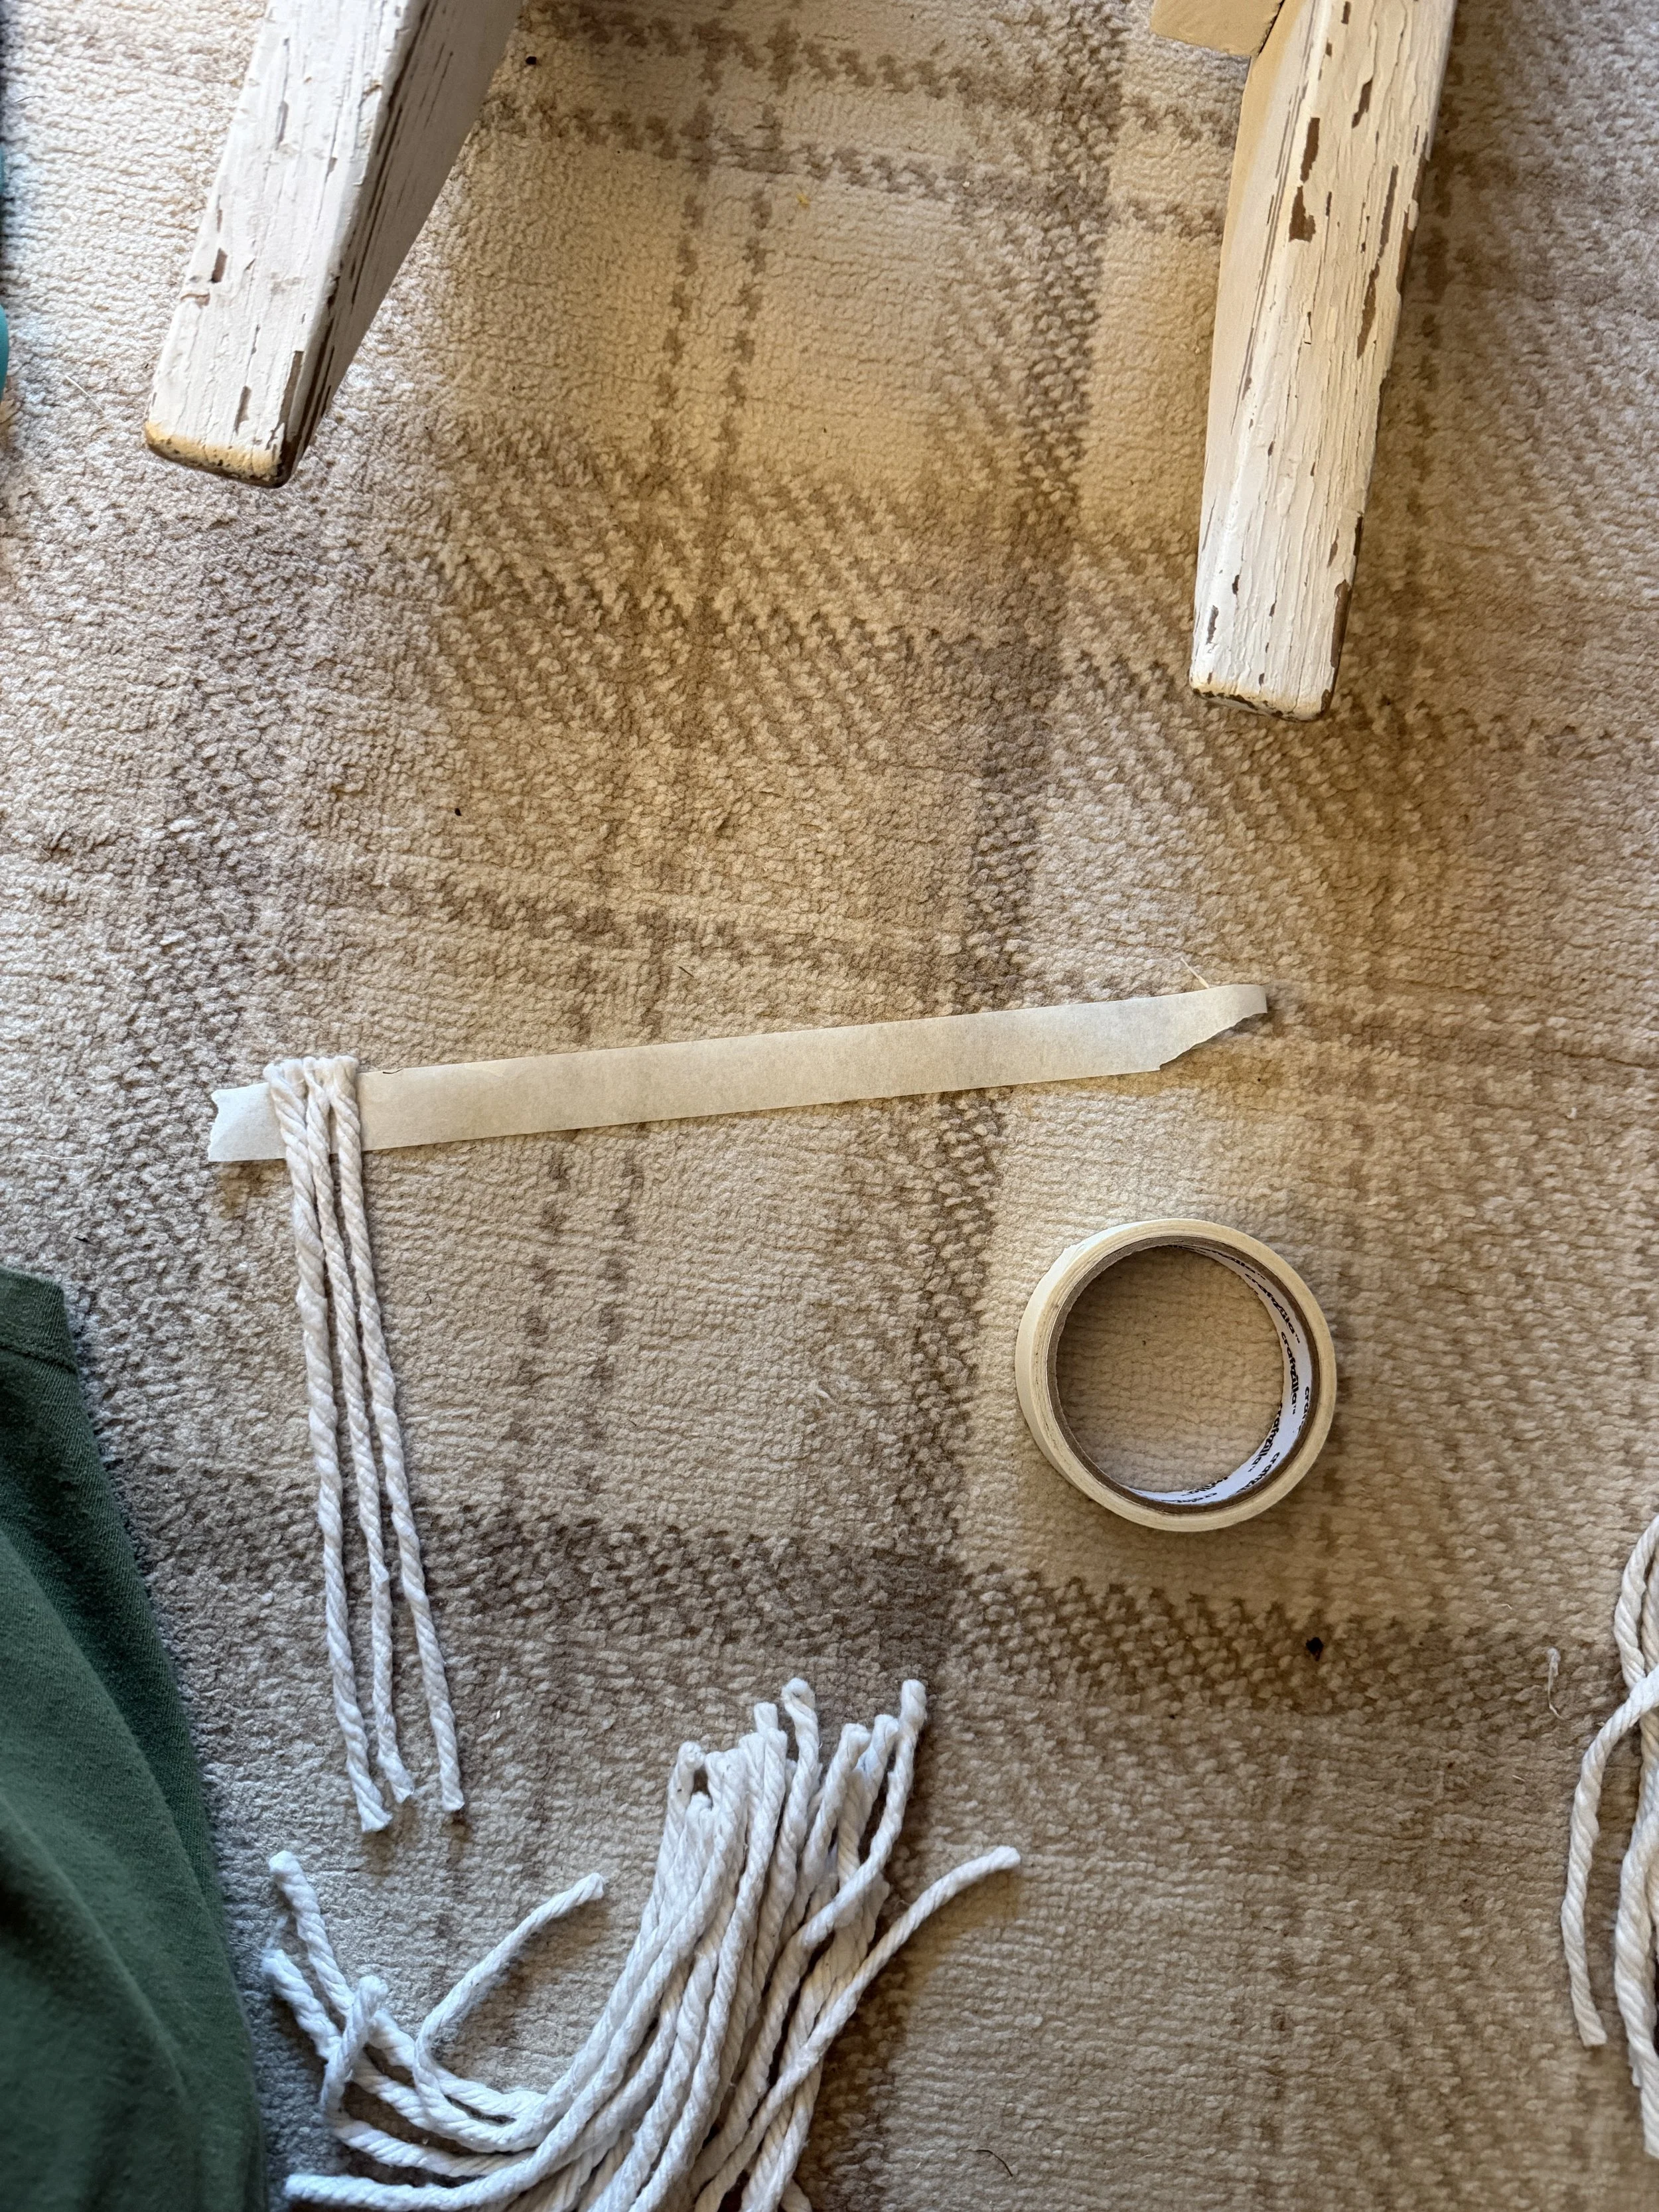
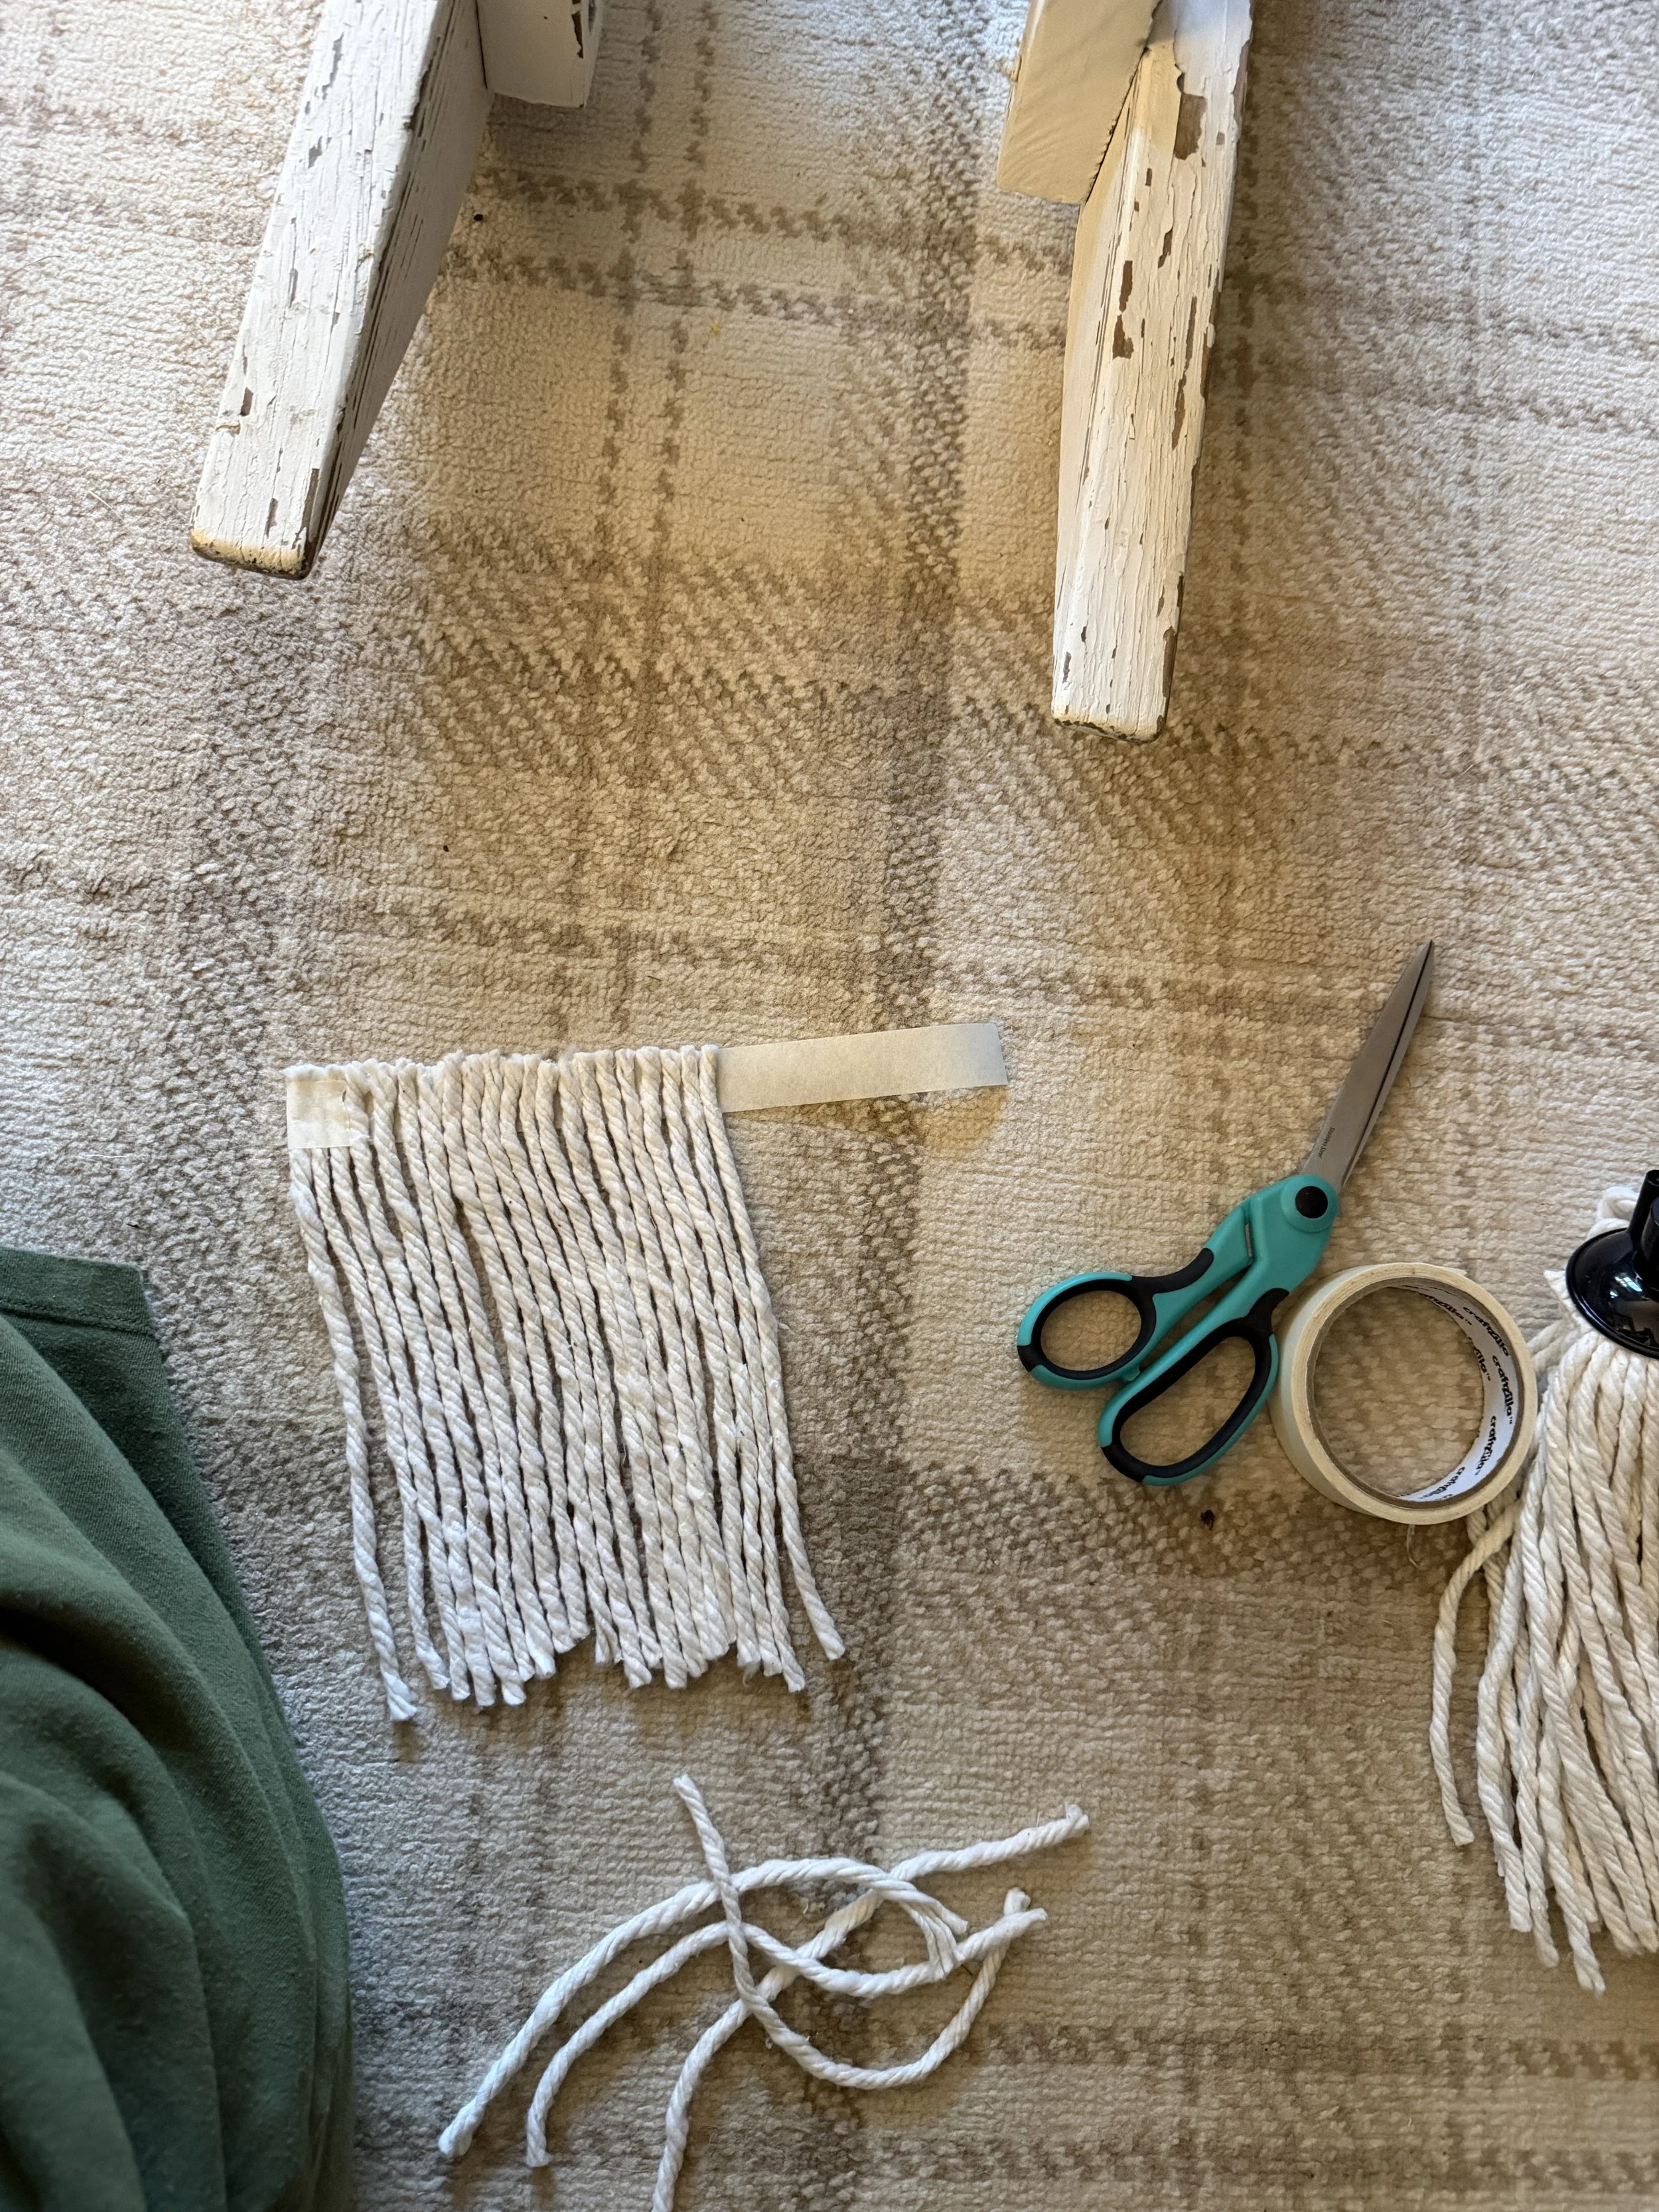
So, you need the rocking horse, obviously. And then you need a cotton mop head, I got mine from Dollar Tree for $1.50. Sharp scissors, and a white or cream masking tape.
The How To
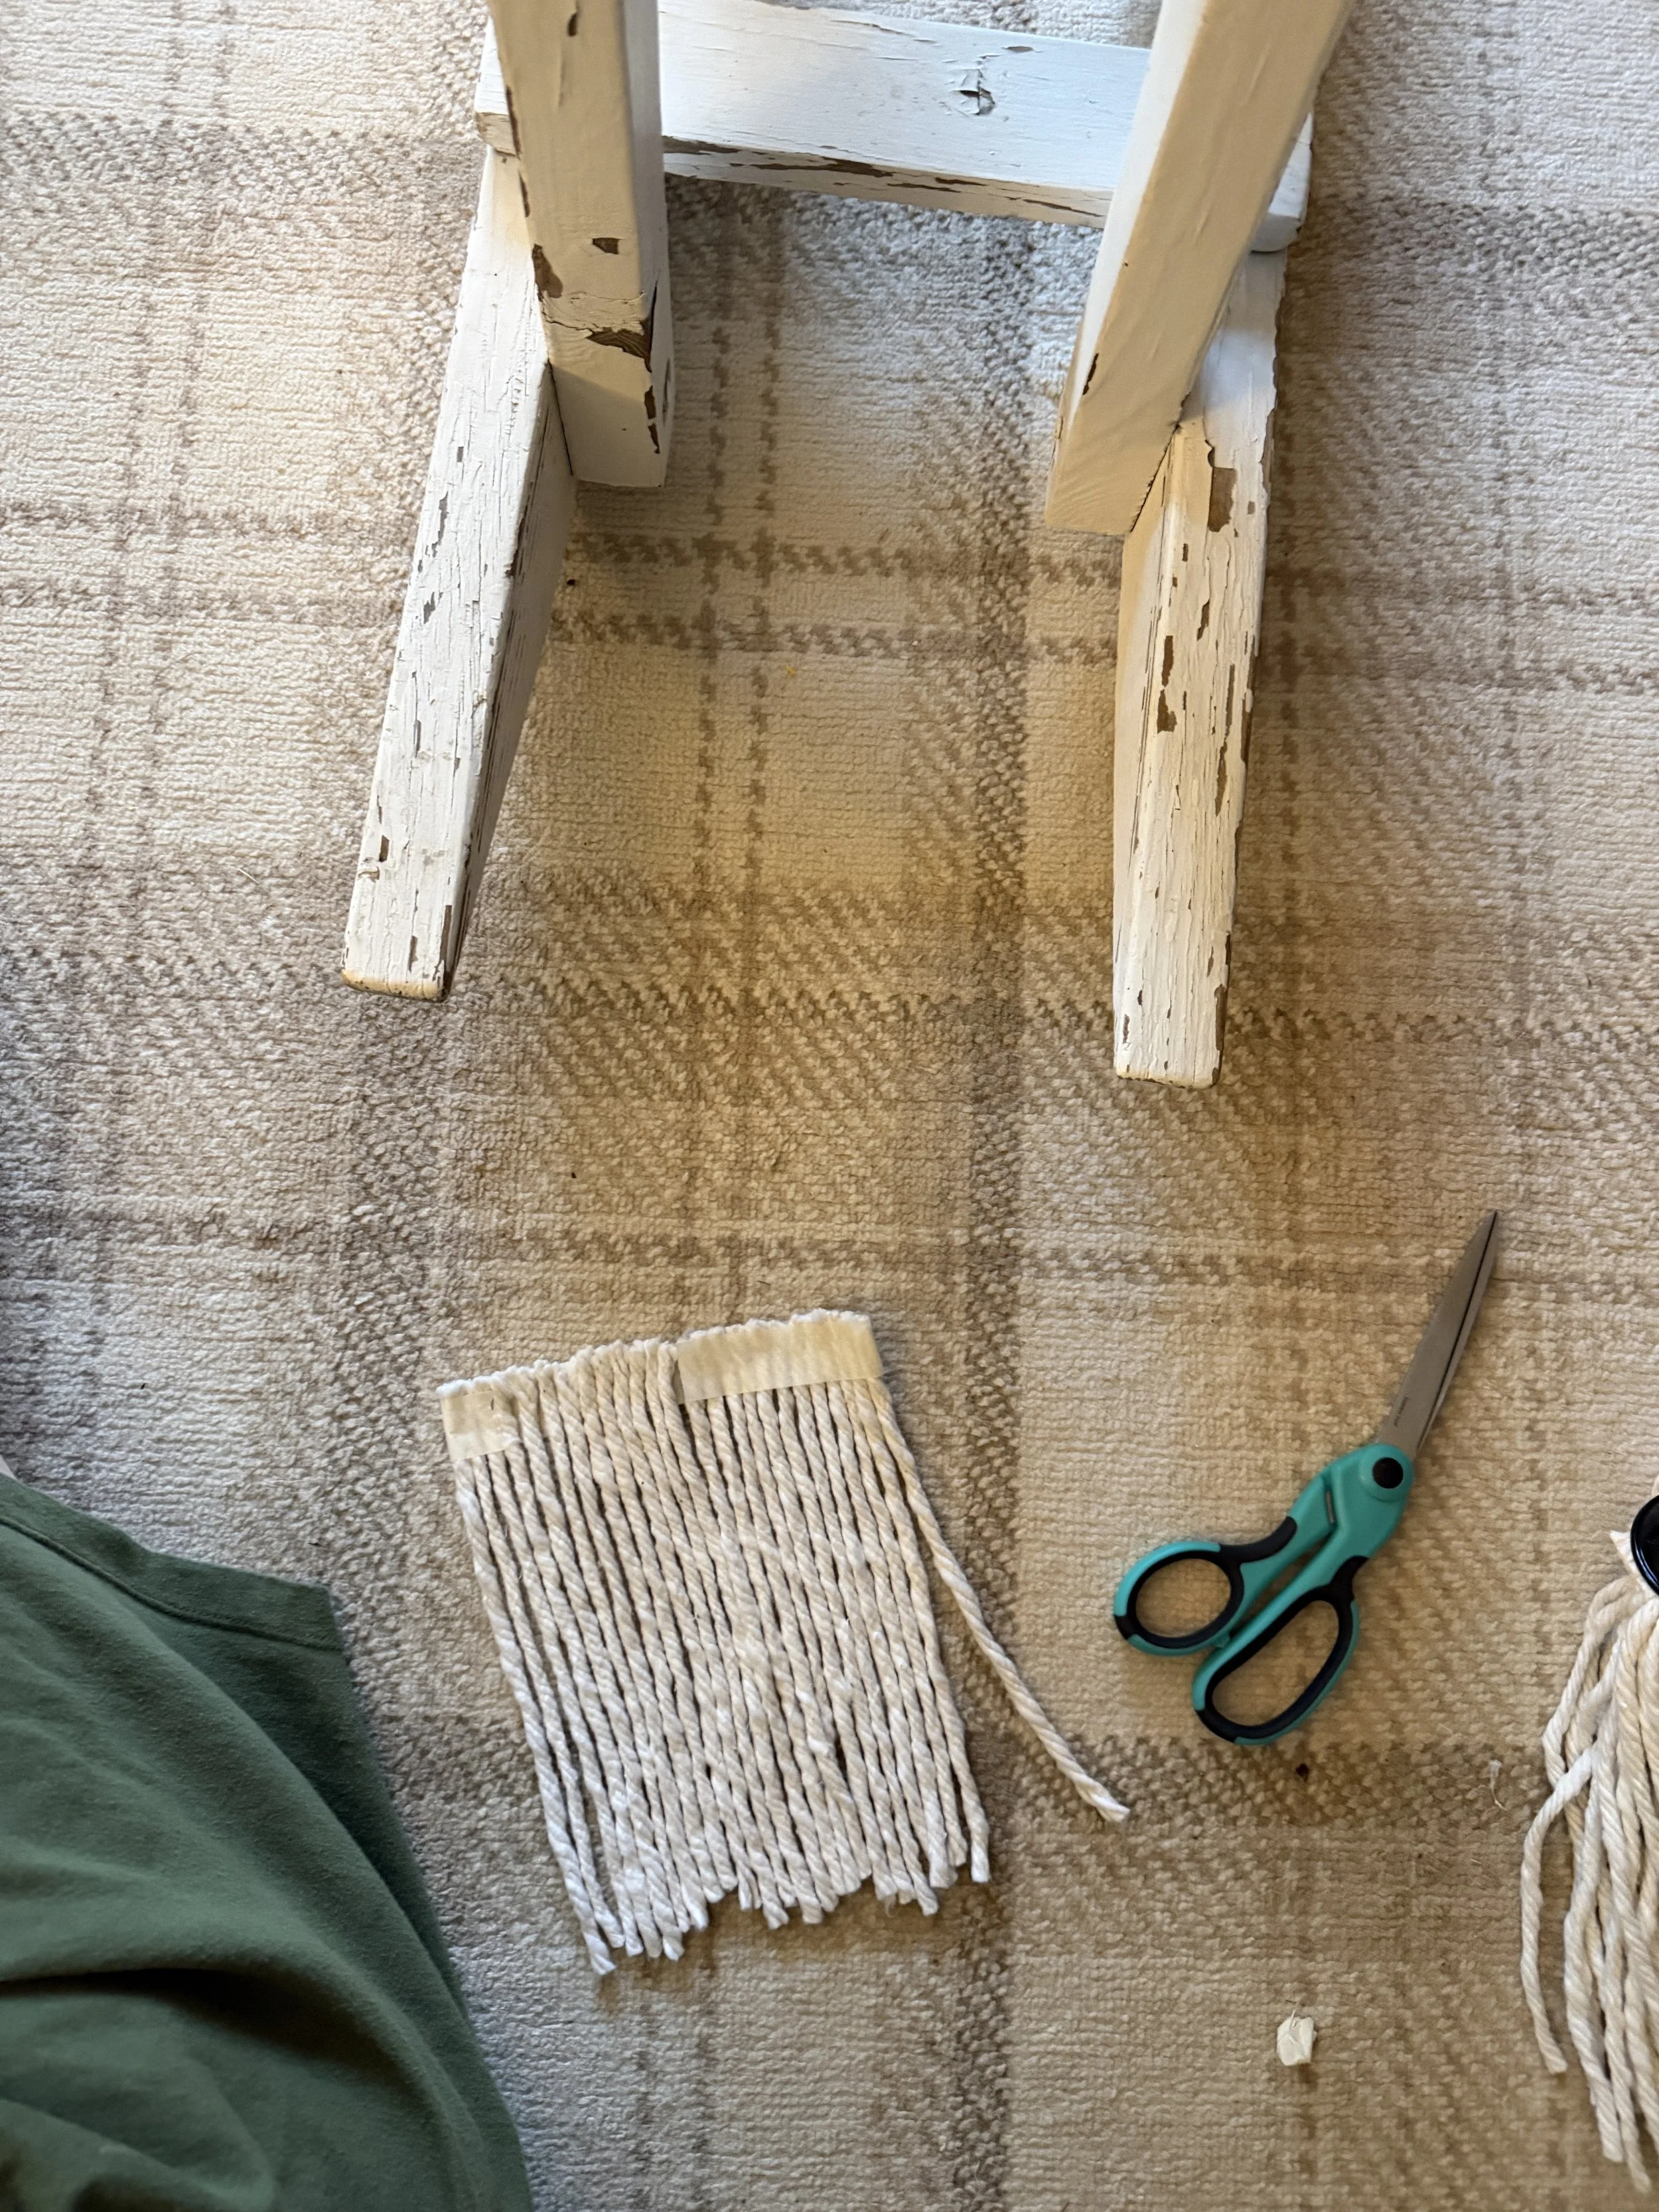
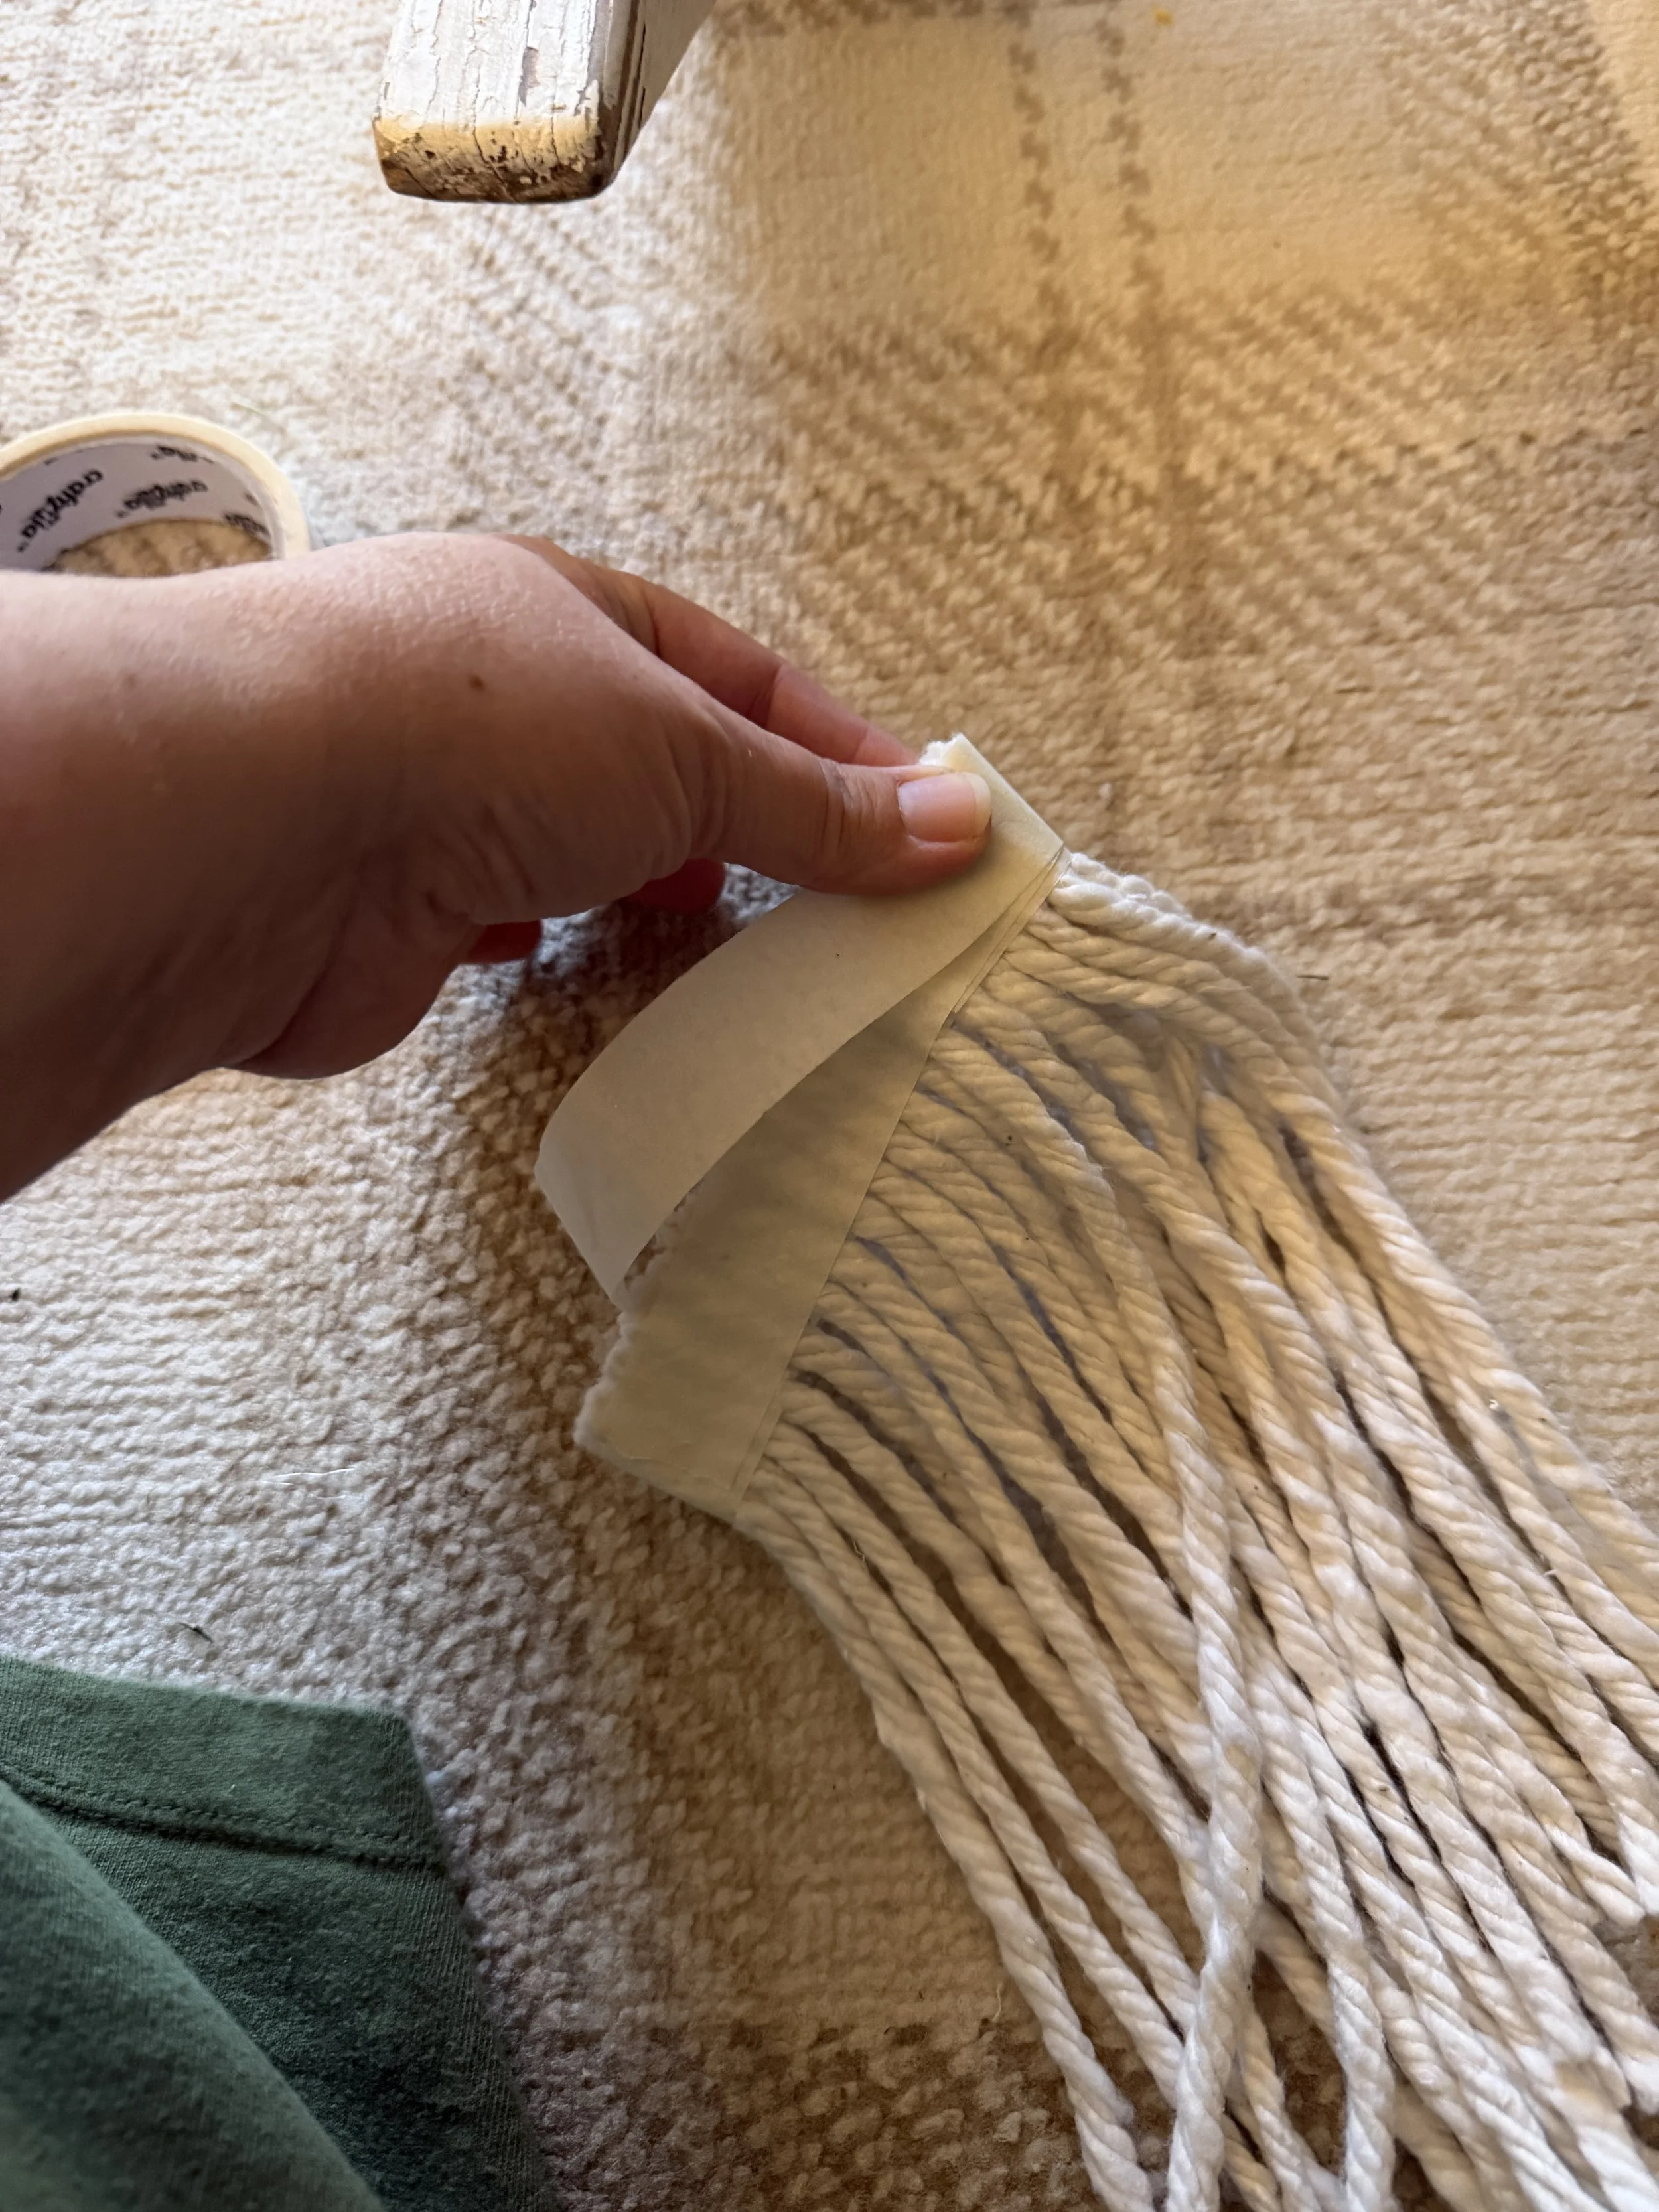
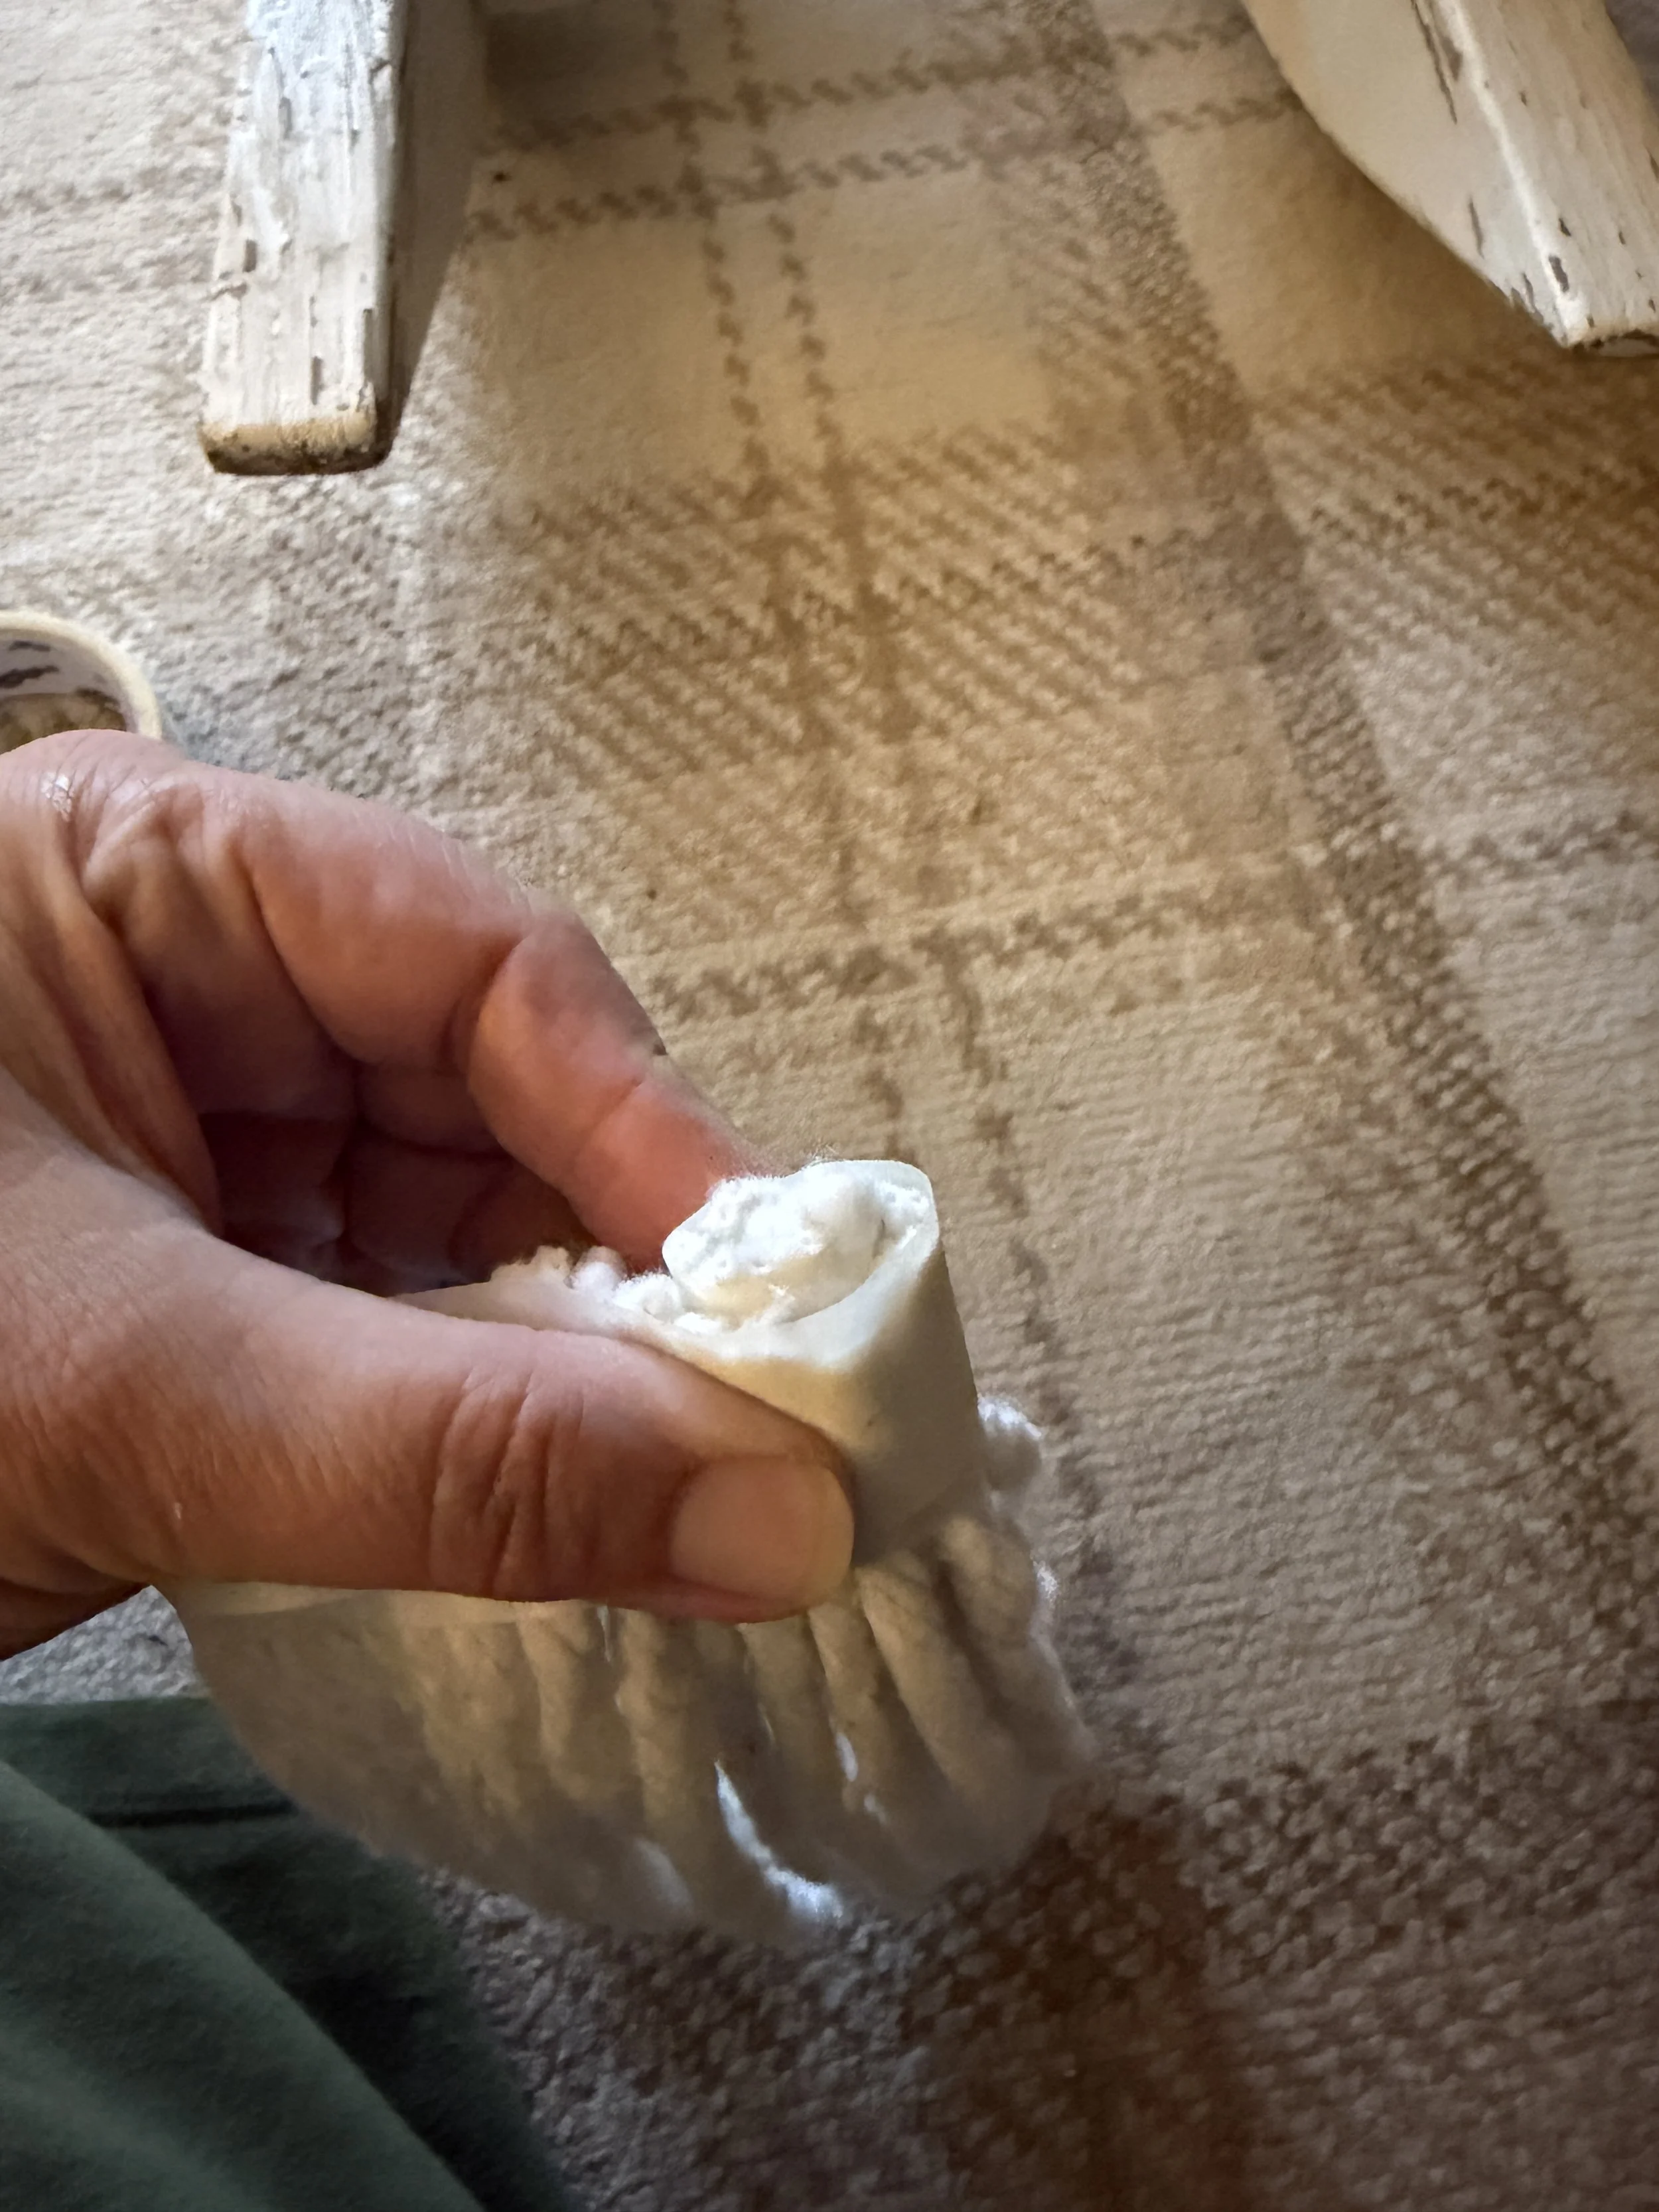
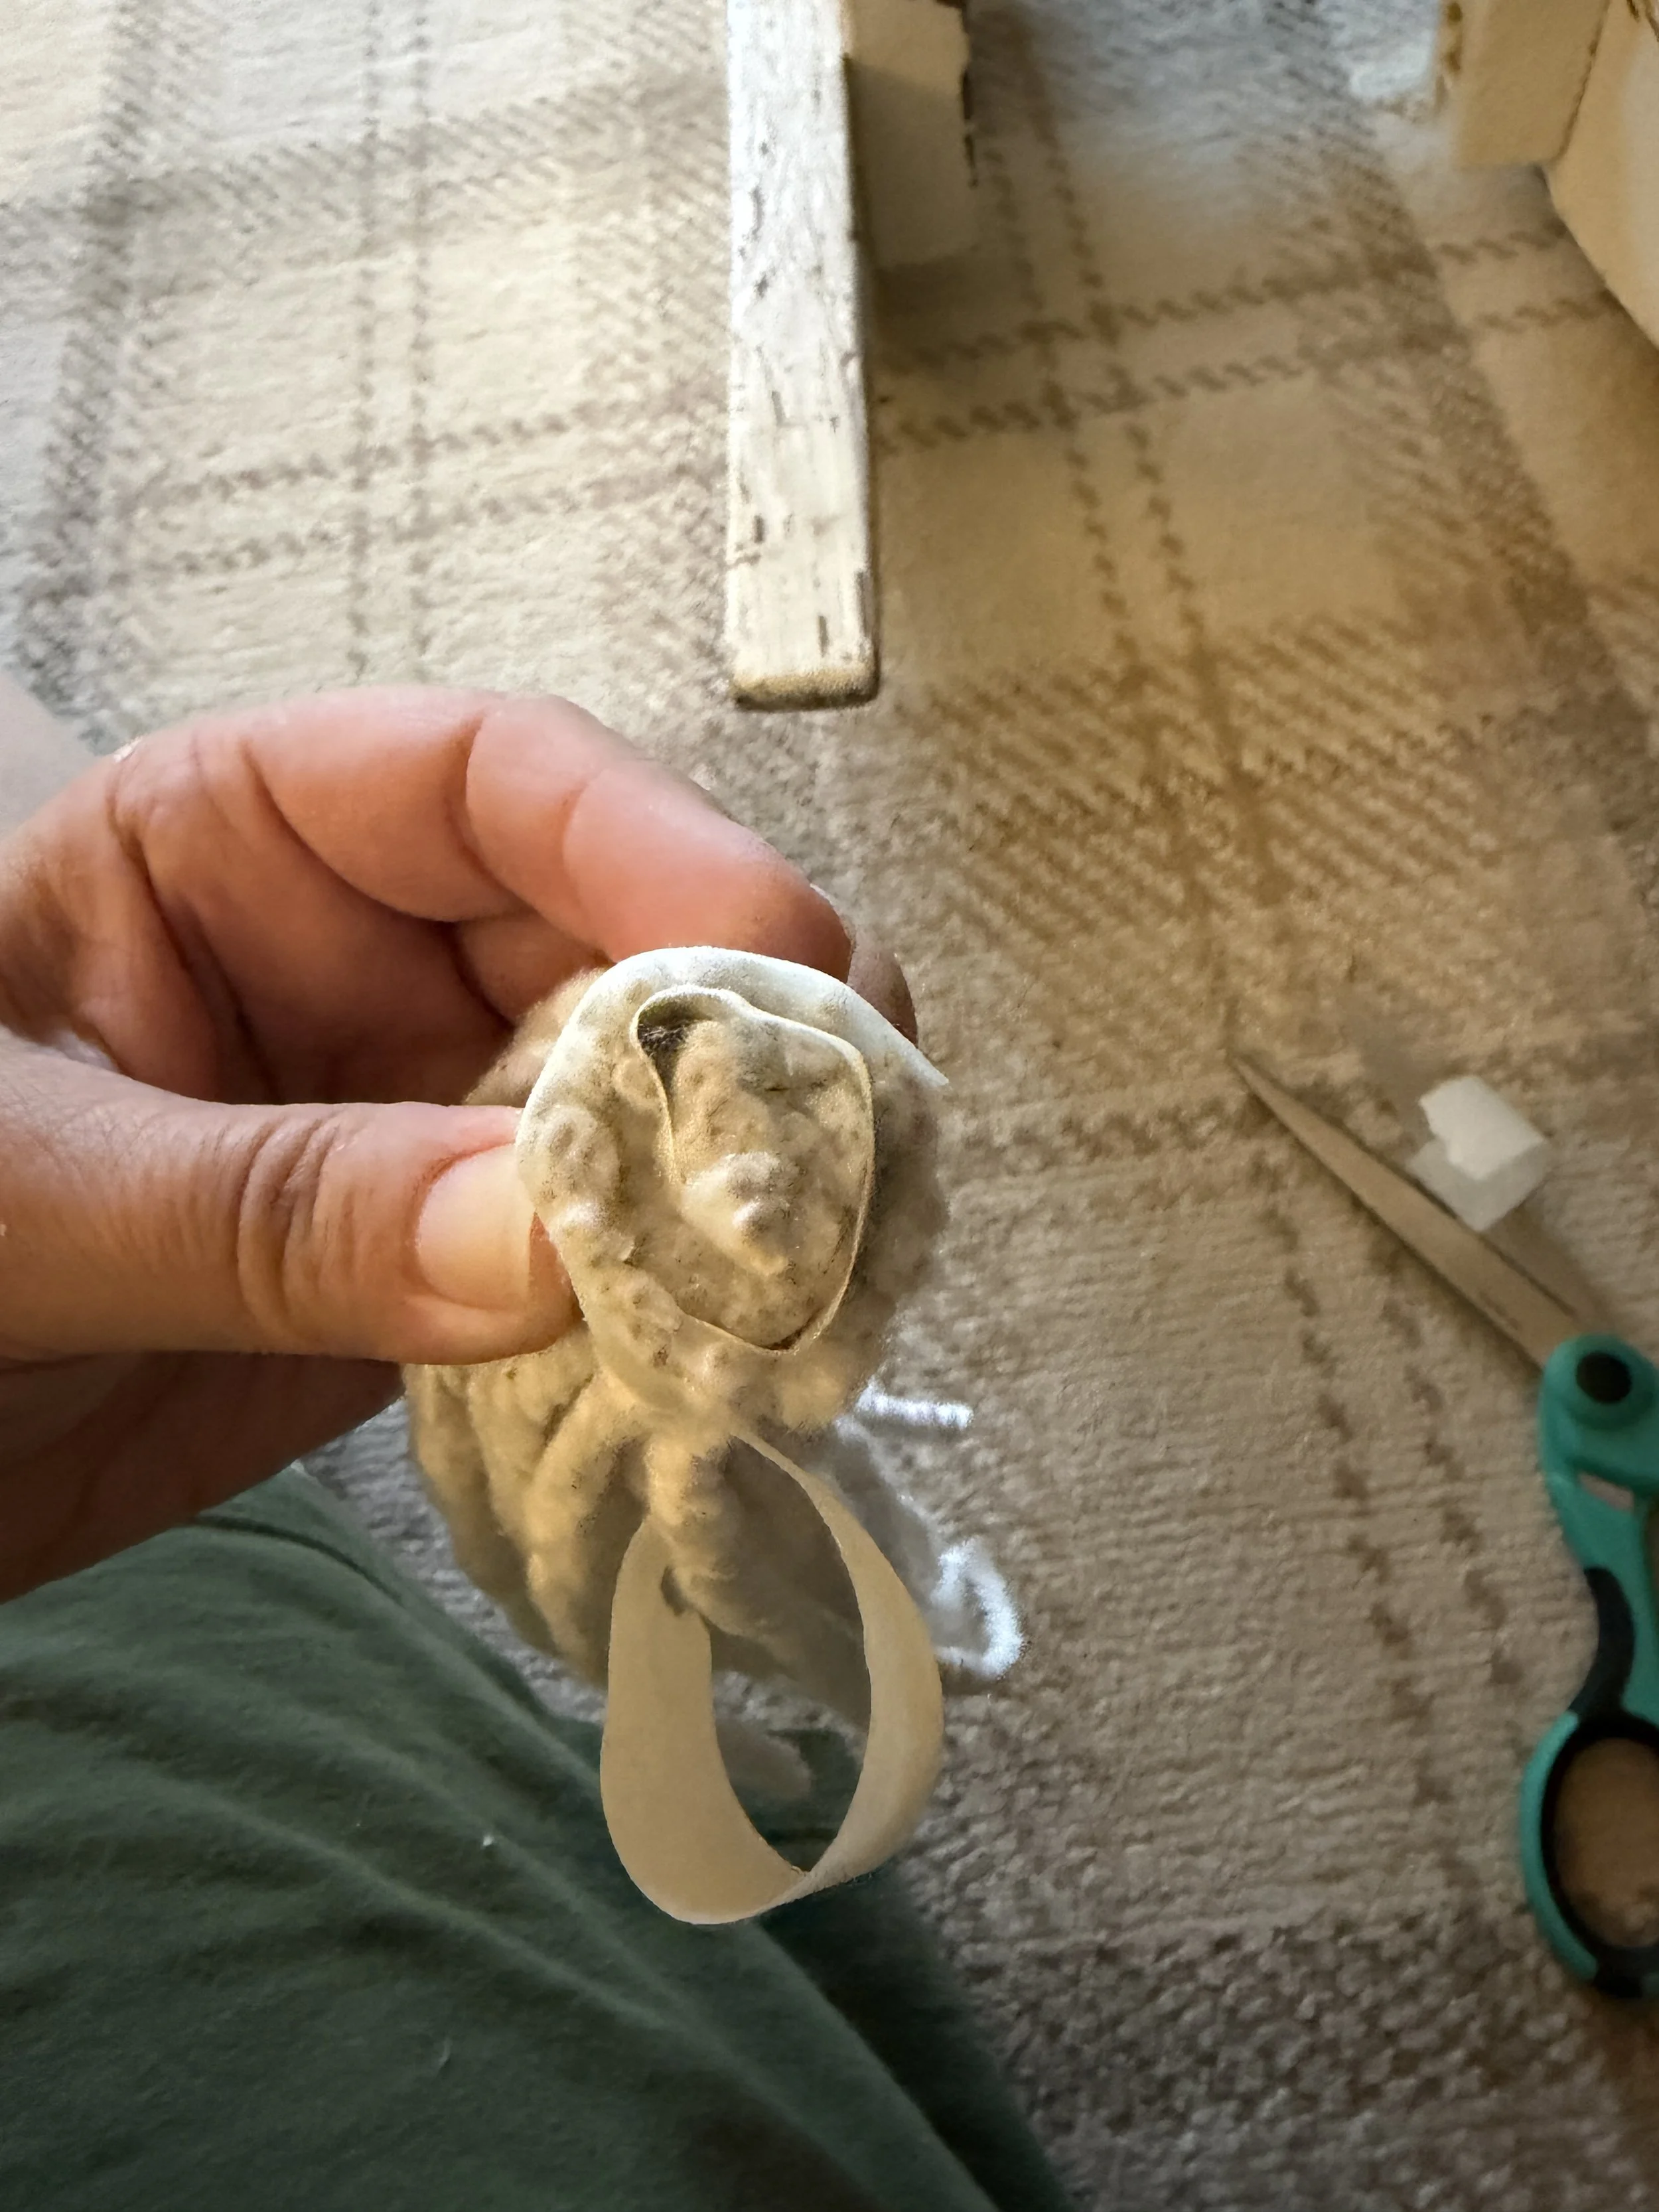
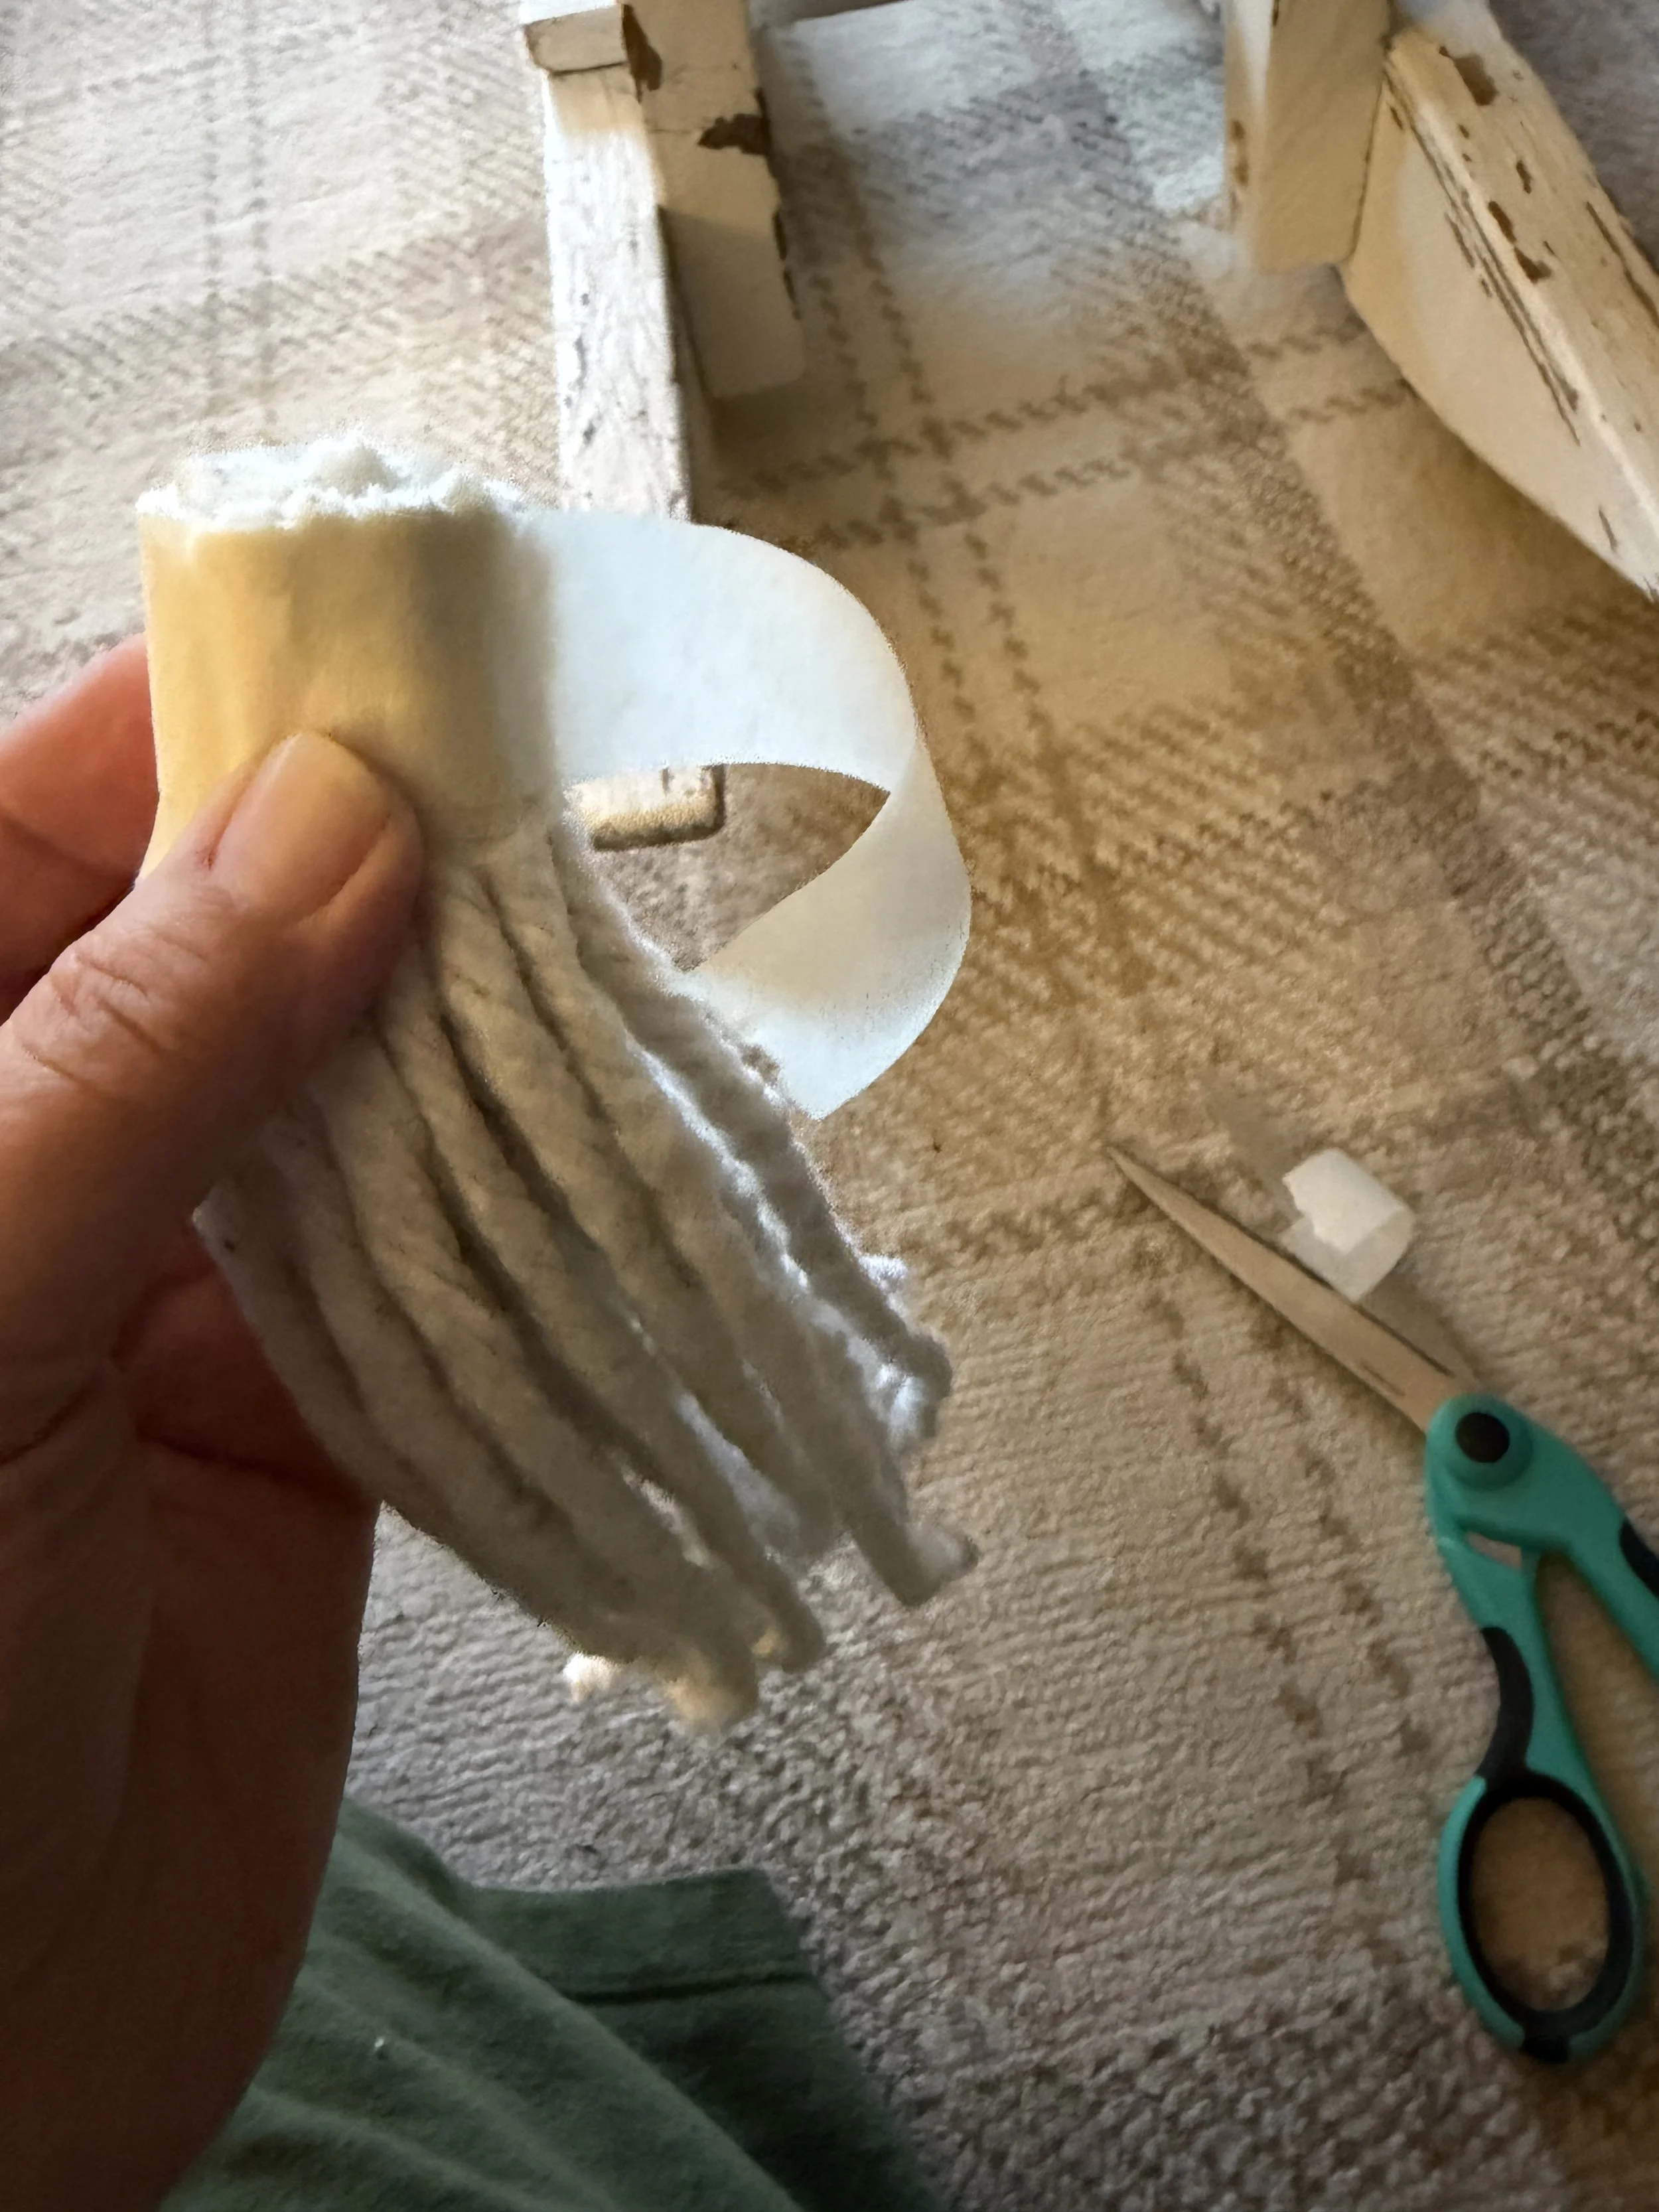
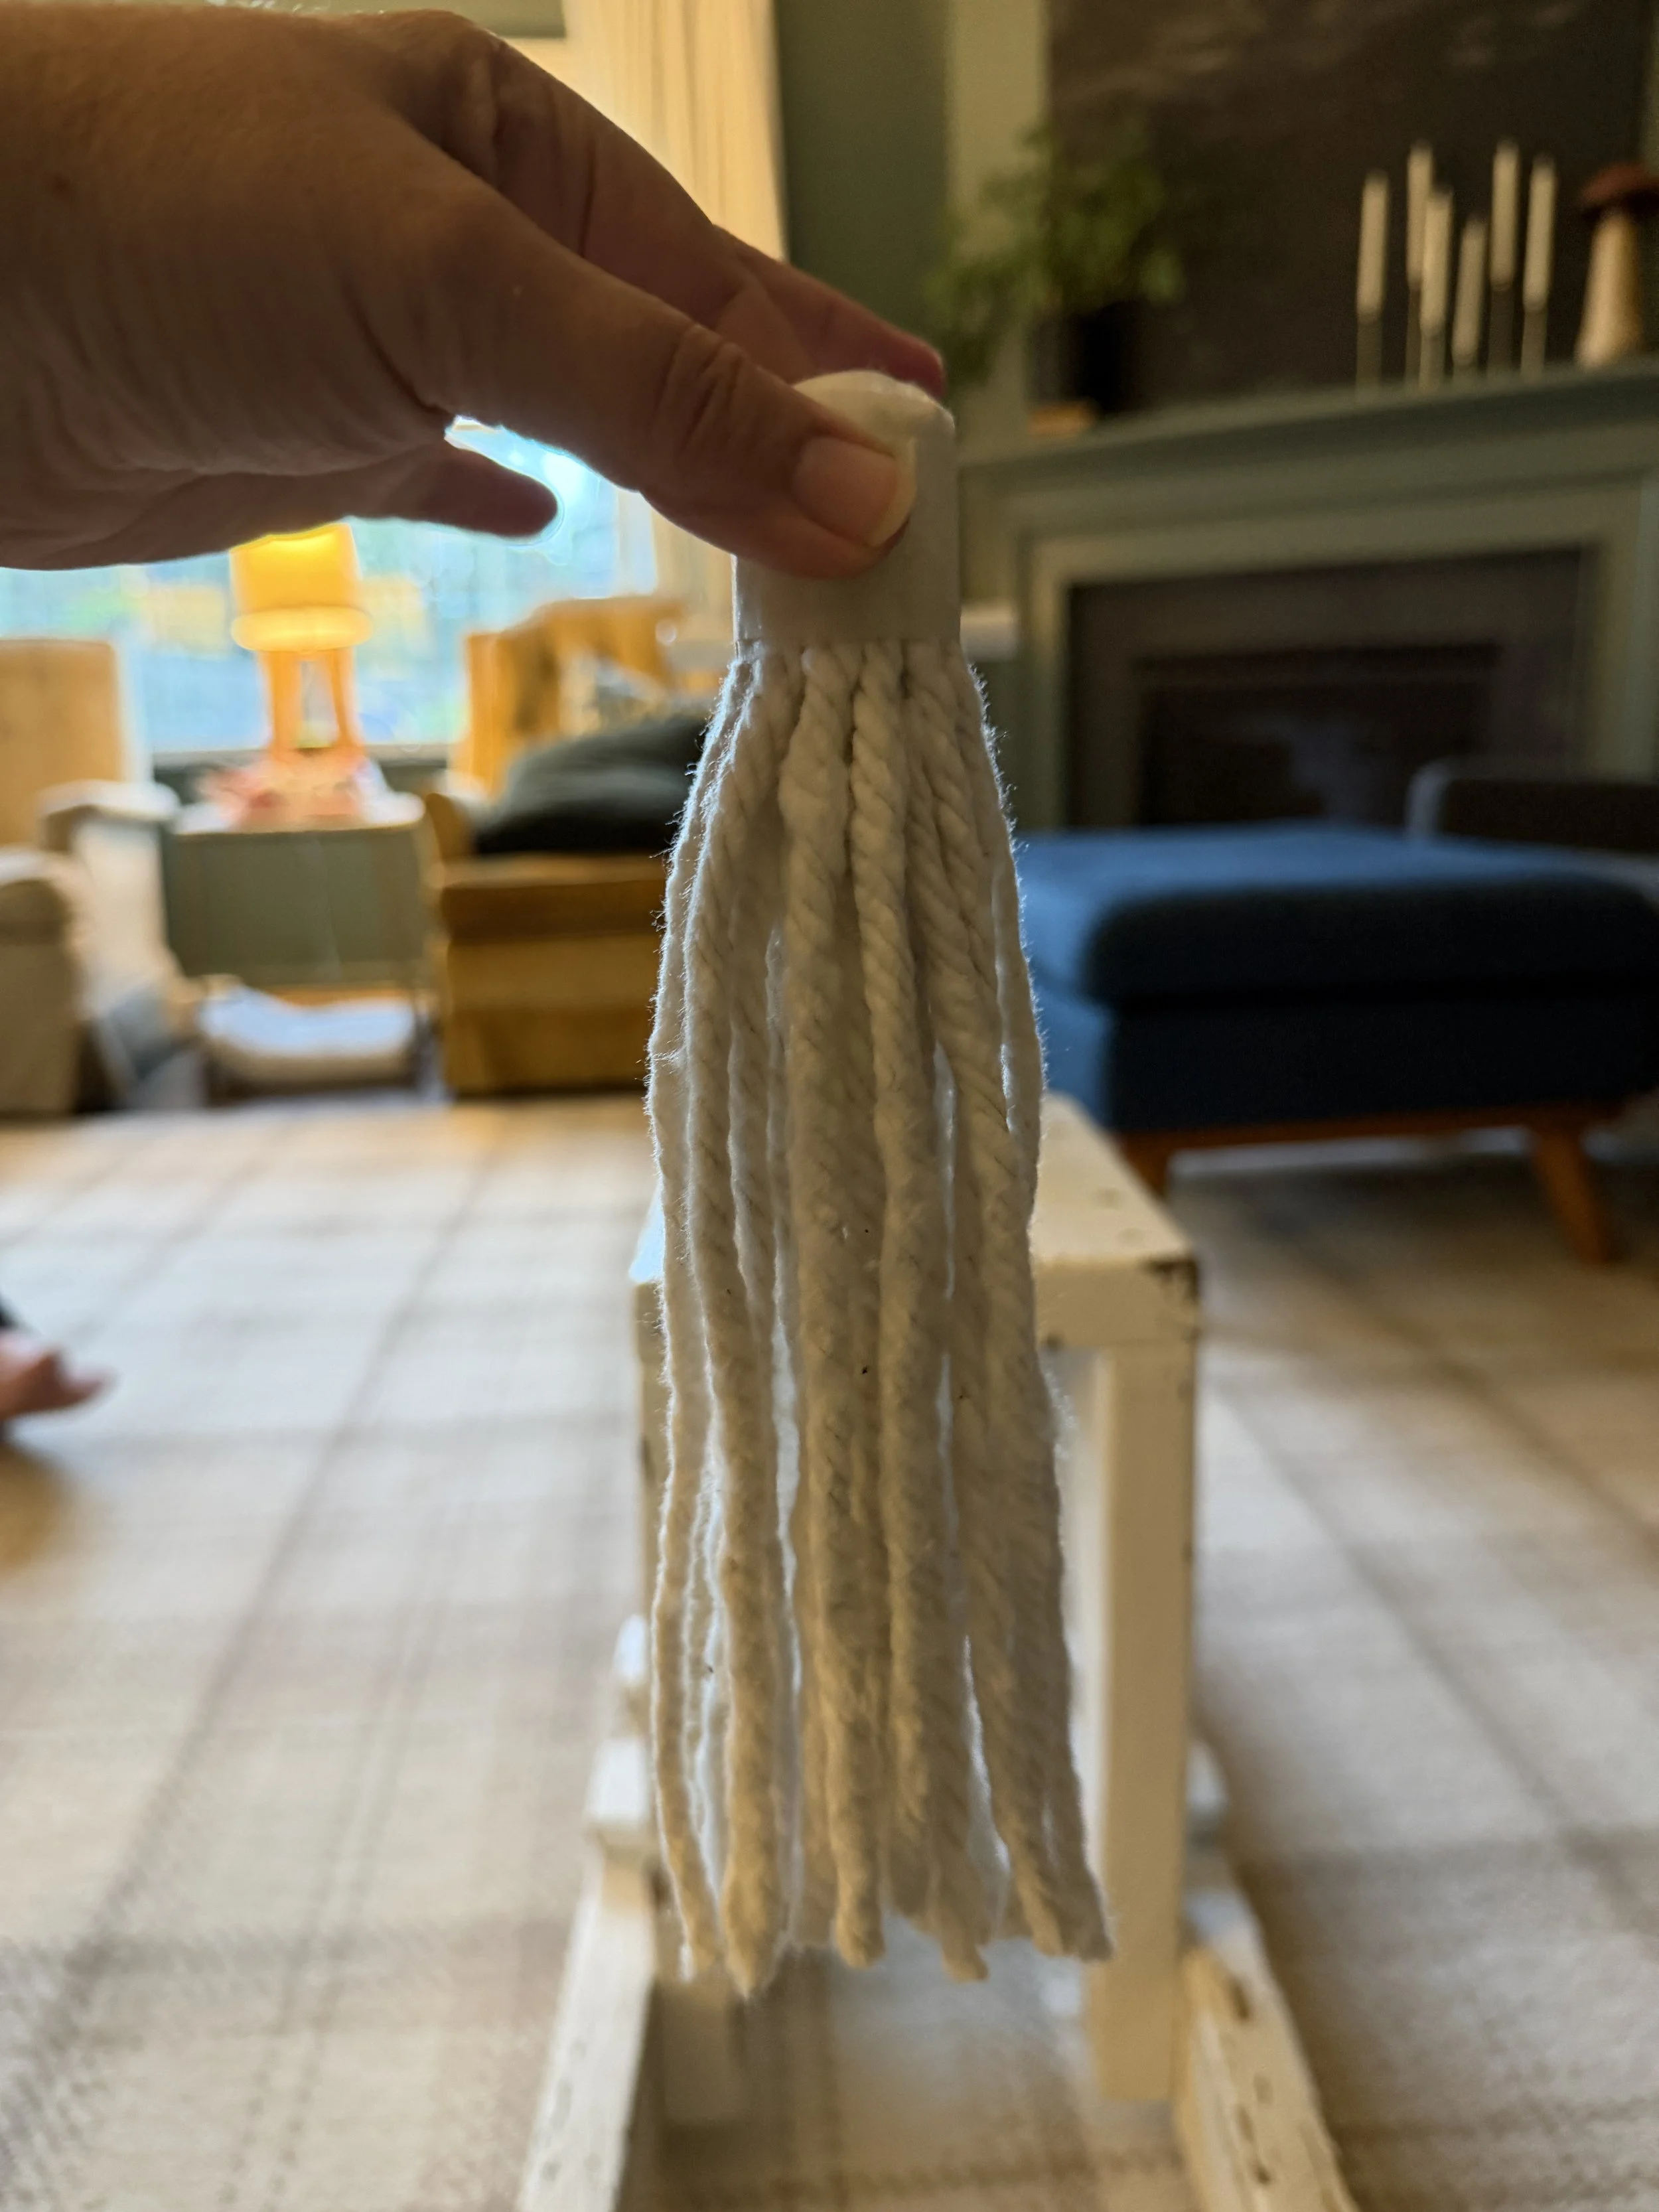
I laid out a 6-8 inch piece of white masking tape on the floor. I then cut individual strings off of the mop head and laid them out on the sticky side of the tape. I then laid another piece of masking tape on top of the whole thing to effectively “sandwich” the mop strings. I then rolled it up tightly, and wrapped it with more masking tape. It slid perfectly into the hole for the tail. It’s nice and snug, but if I wanted it to be more secure I could have used hot glue around the masking tape to help secure it into the tail hole. My kids have only taken it out once and have left it alone ever since.
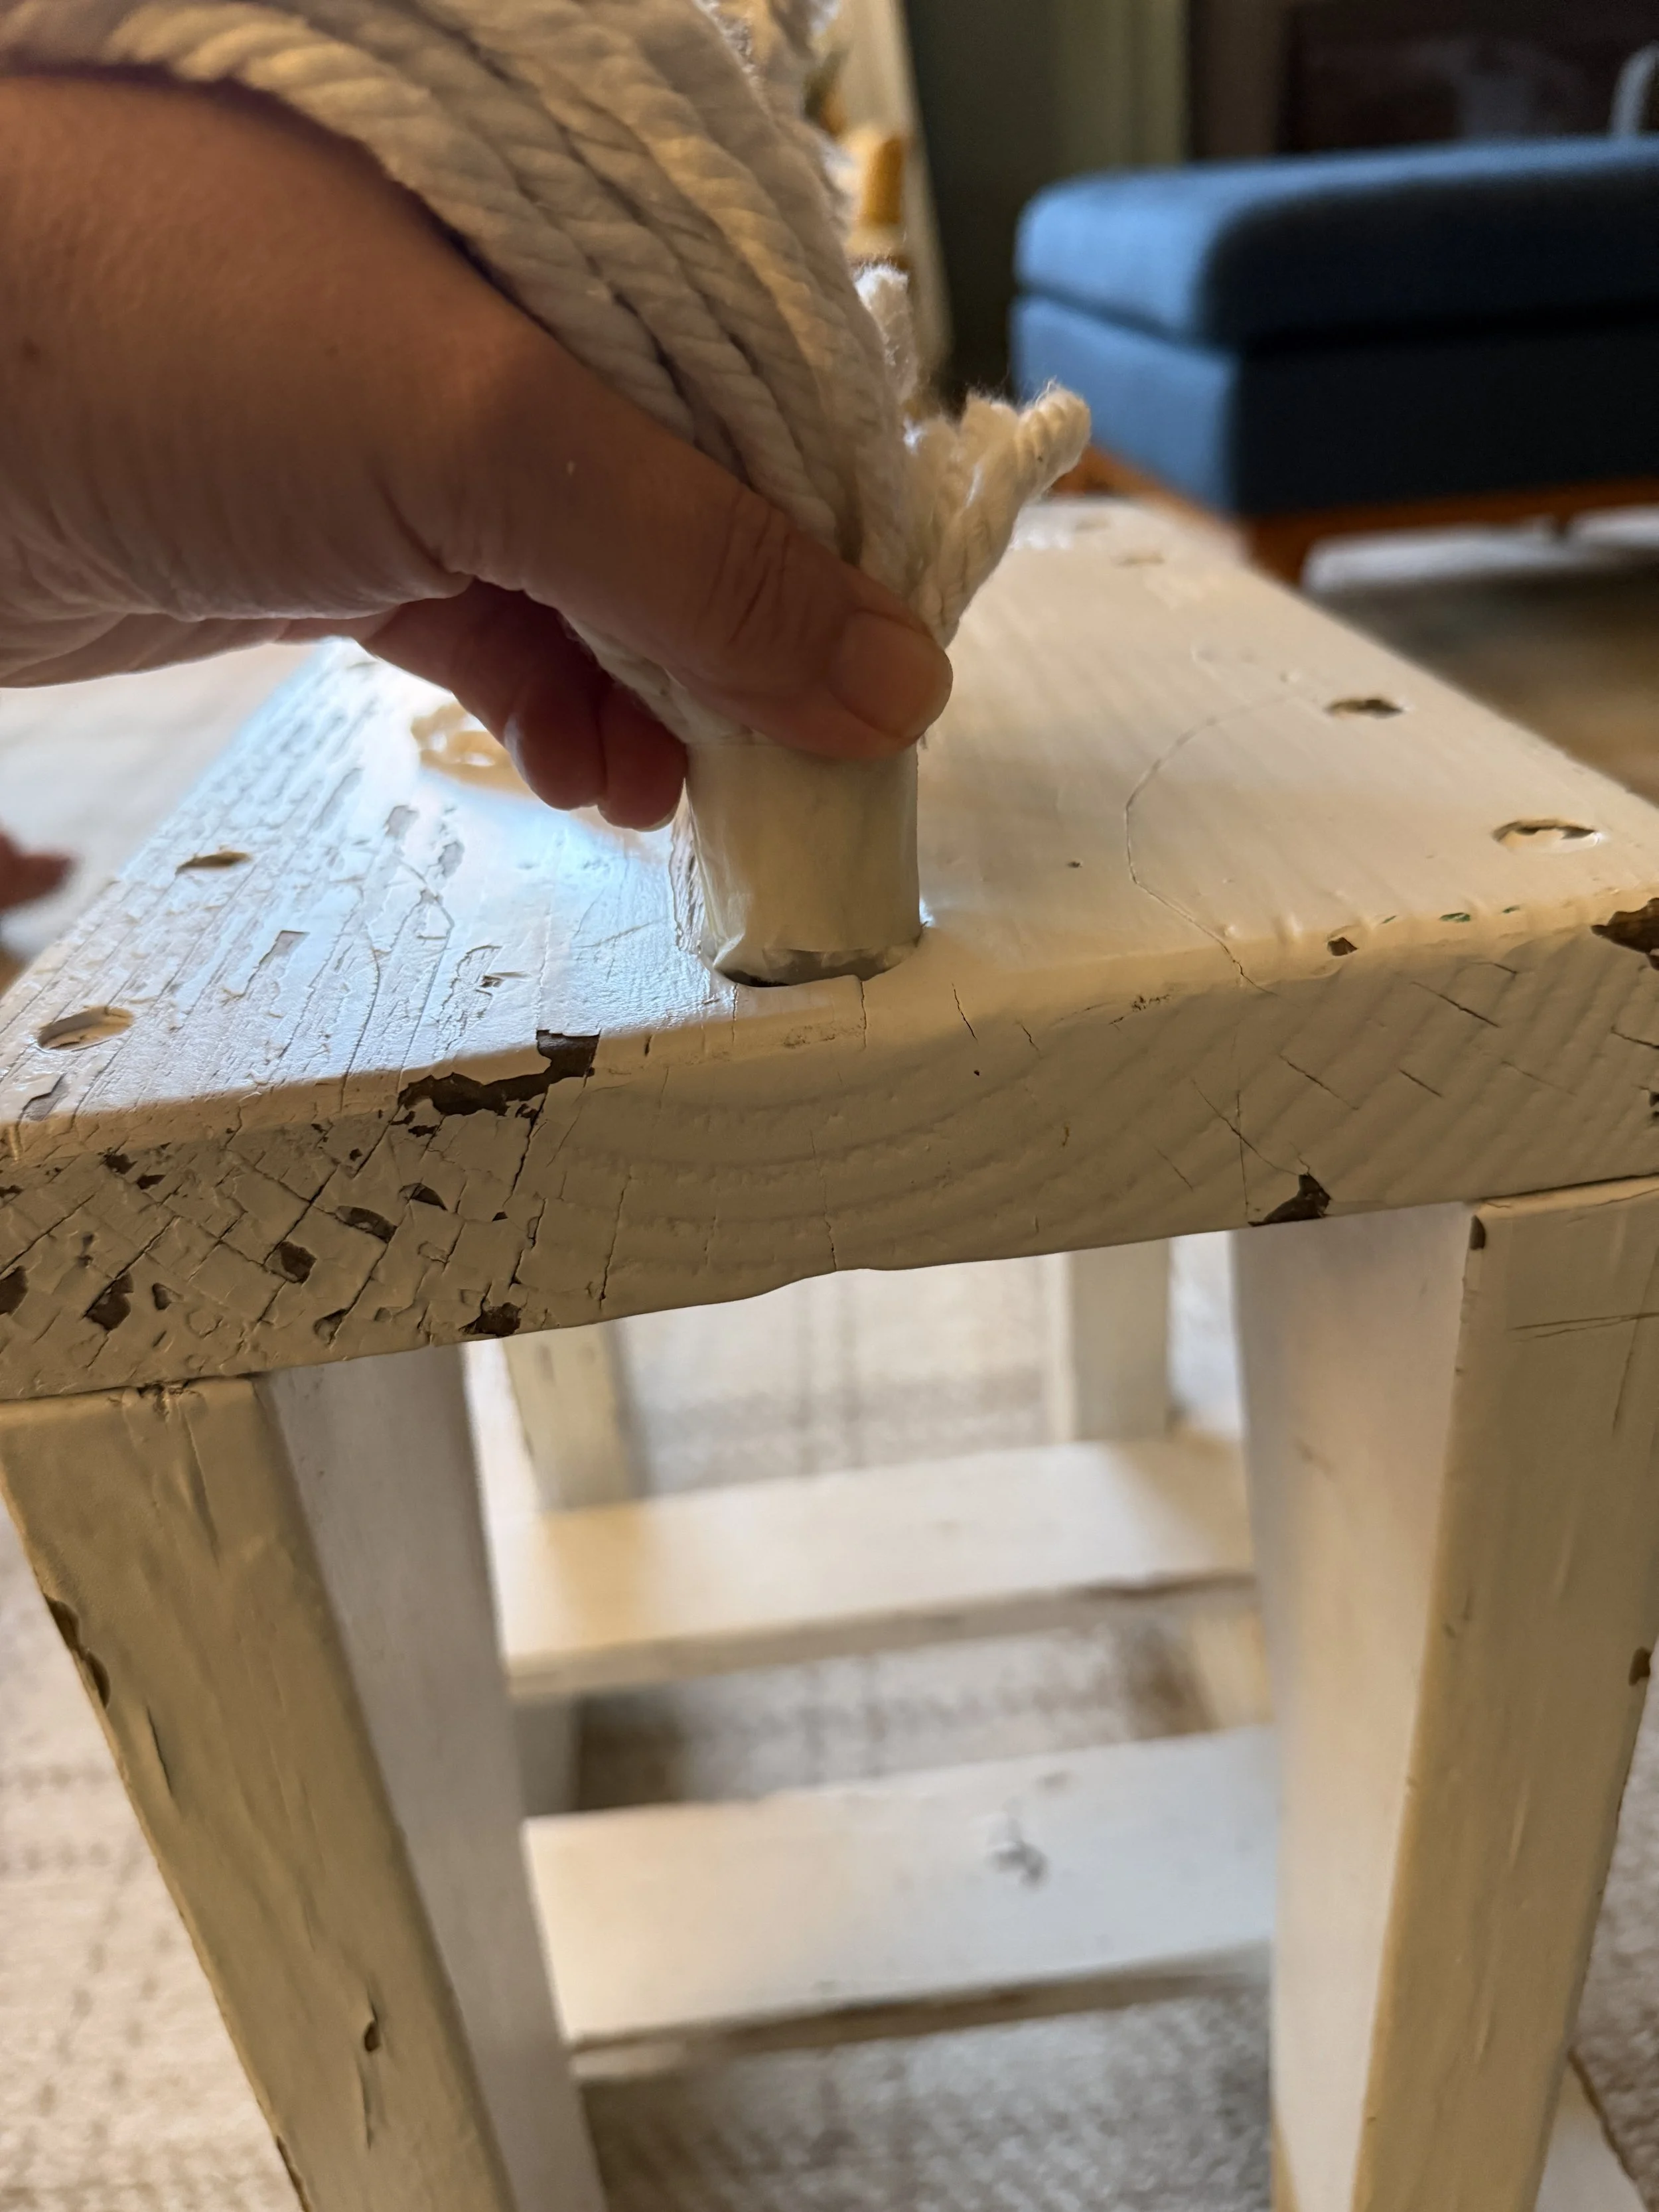
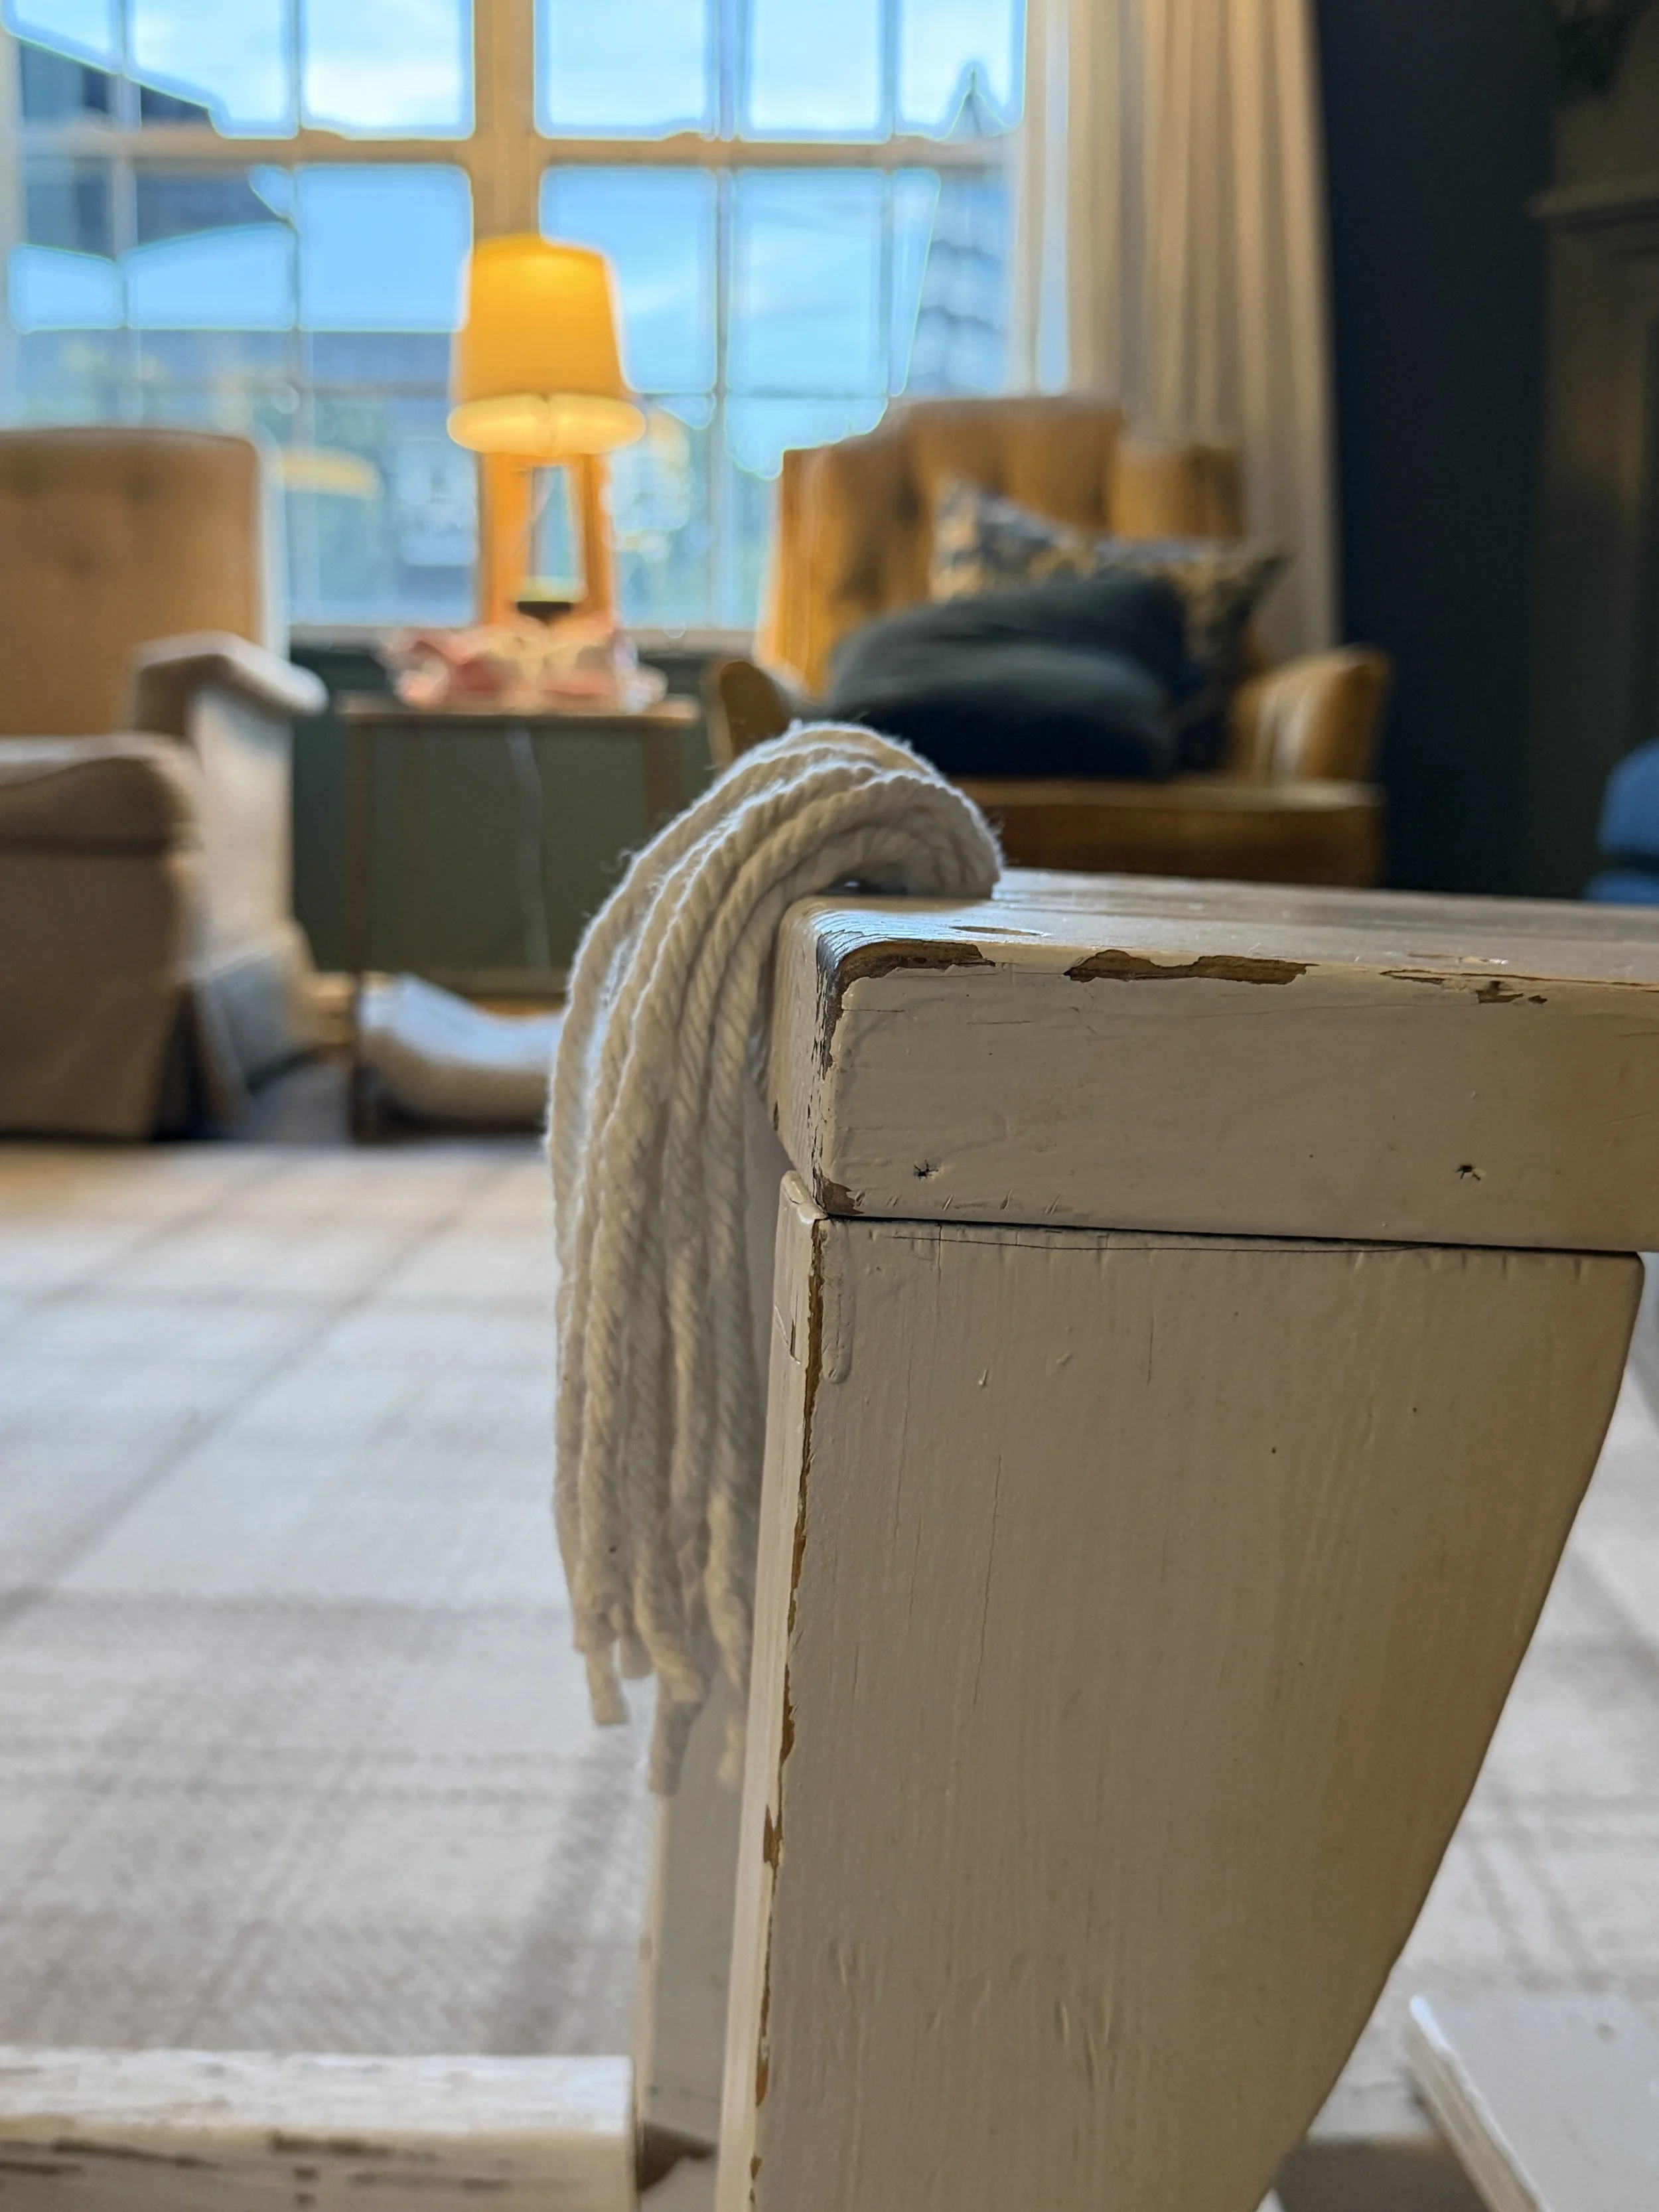
TA DA!!
Let me know in the comments if you try this and it works for you!
Melinda
Categories
- Baking
- Bedroom Design
- Birthday Cakes
- Breakfast
- Cleaning
- Cooking
- DIY
- Did You Know?
- Food Prep
- Gluten Free
- Holiday Decorating
- In The Kitchen
- In the Backyard
- Kid & Baby Stuff
- Kids Birthday Parties
- Kitchen & Bath Design
- Kitchen Organization
- Kitchen Remodel
- Large Family Hacks
- Laundry
- Lifestyle
- Living Space Design
- Mom Hacks
- Organizing
- Sensory
- Toy Organizing