The Not Pink, Toddler Girl Bedroom Part 3: All of the DIY’s
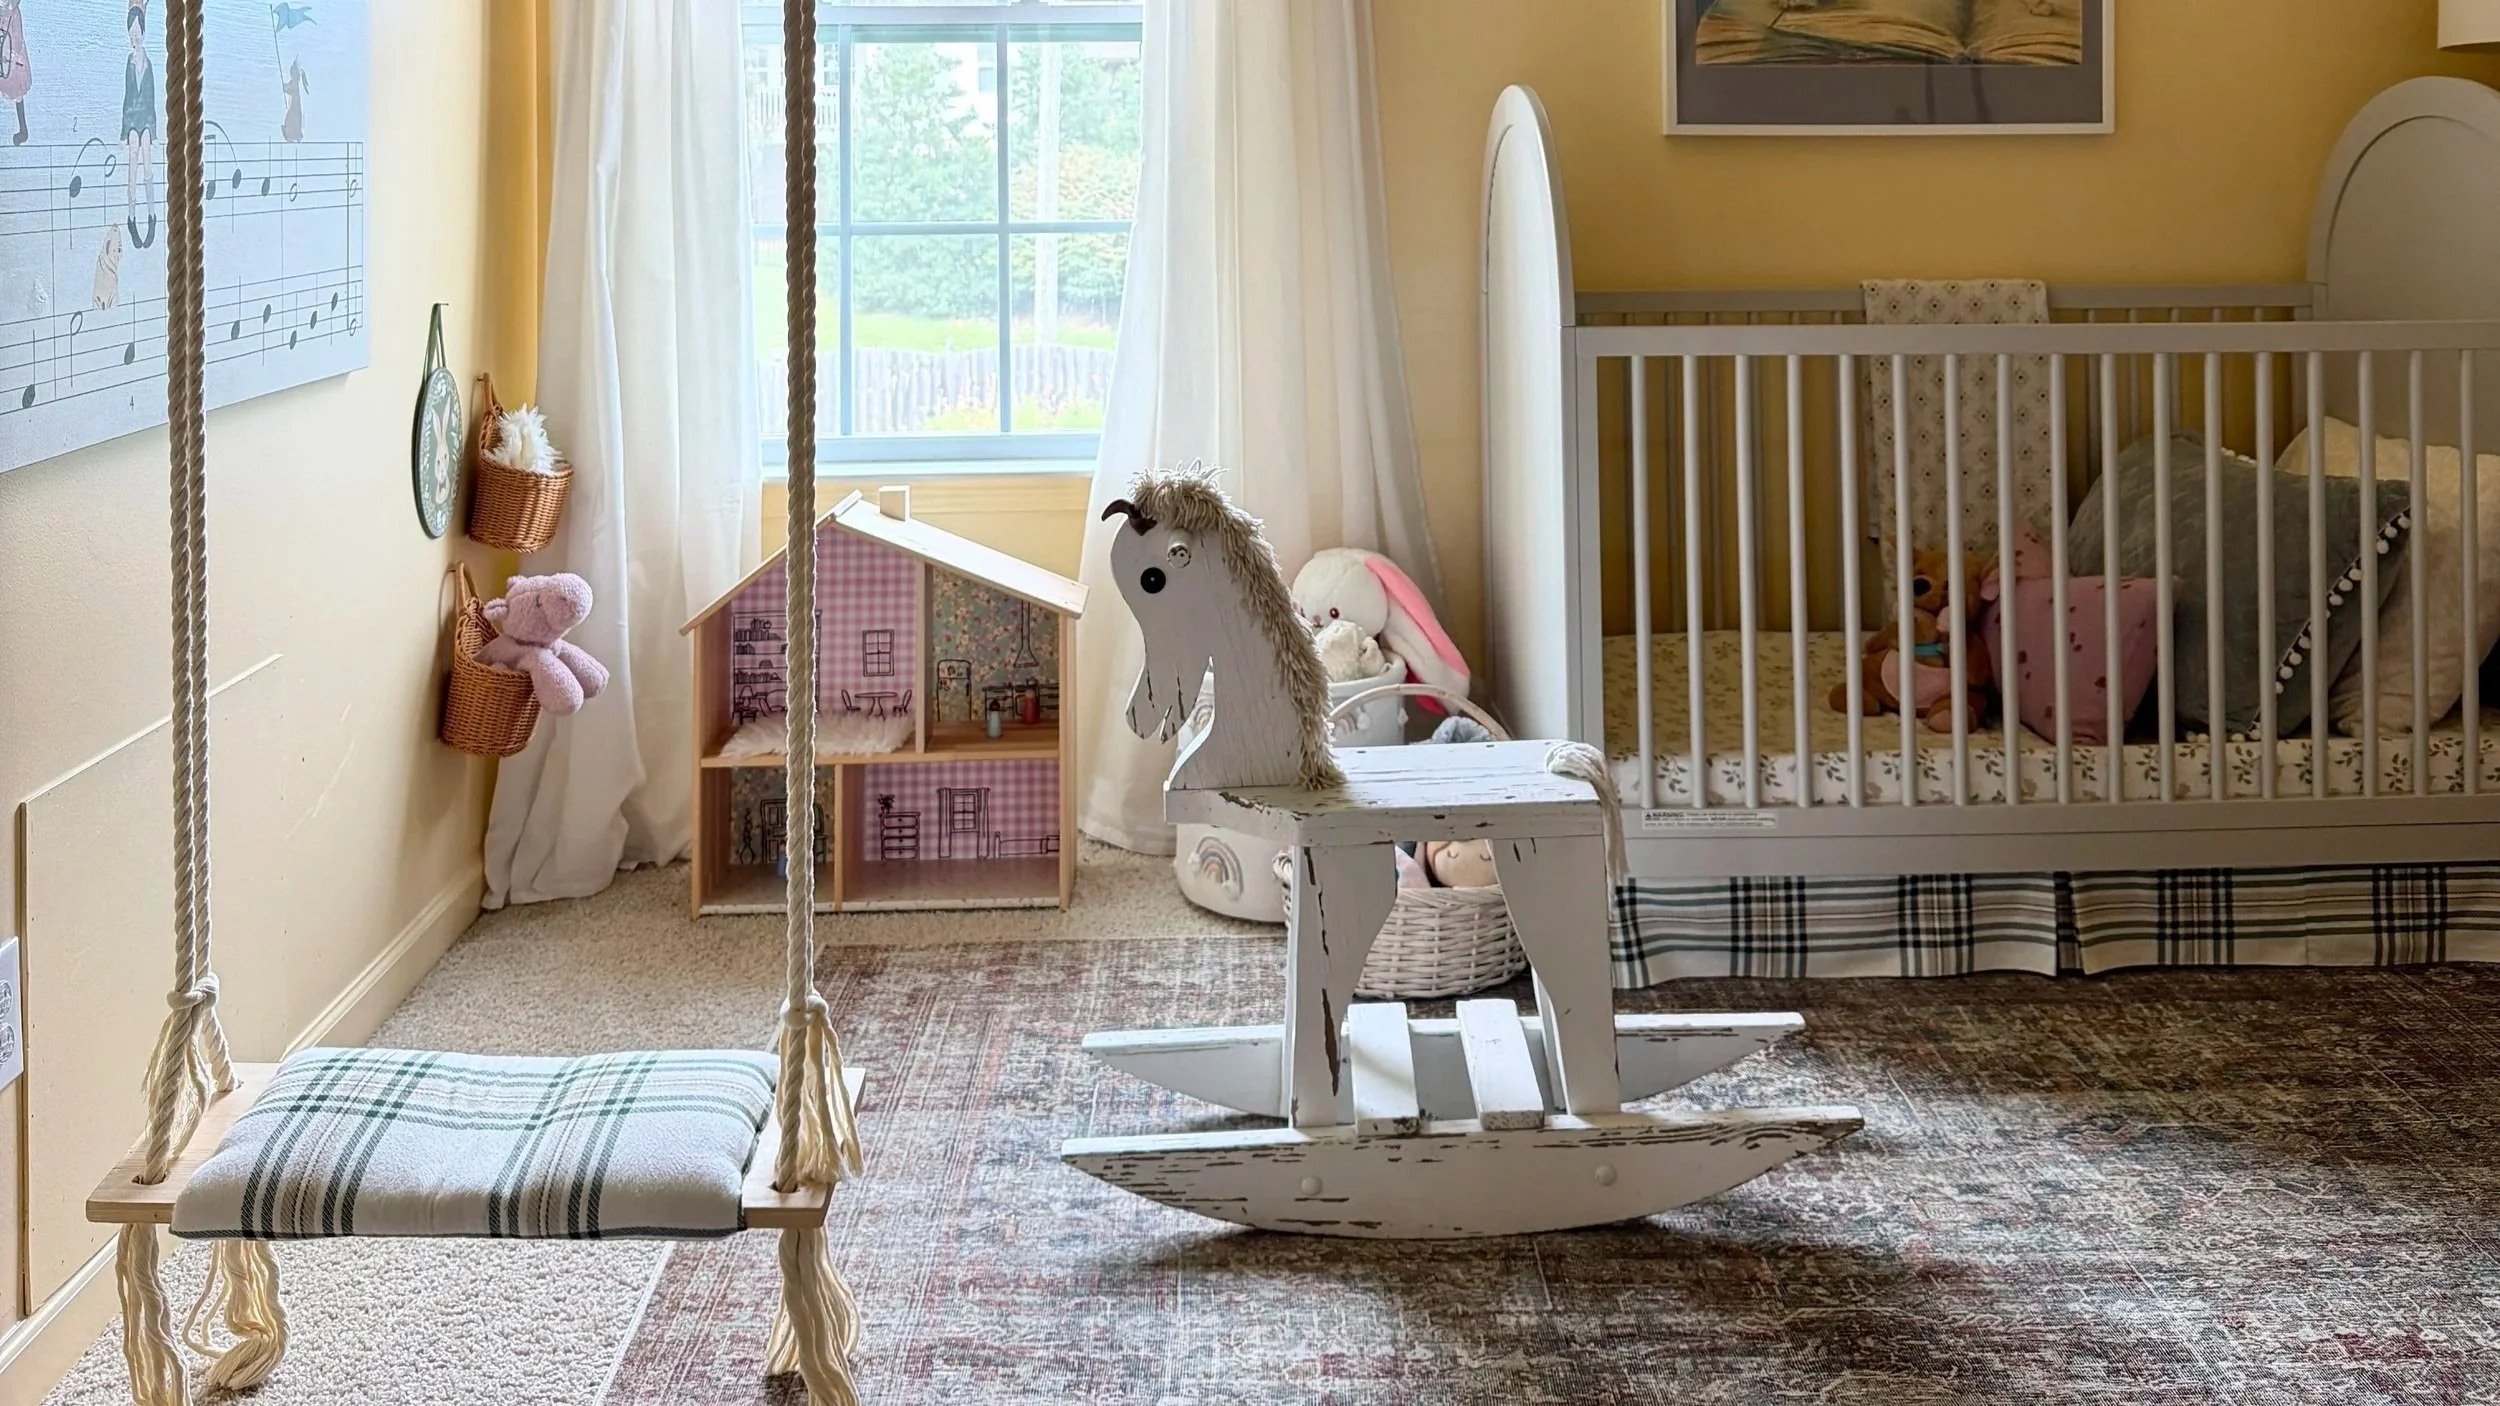
This image alone has 7 diy’s in it. Some by me, some by friends or family years ago.
DIY’s Keep Things Affordable
DIY’s can really help get a room done on a budget. This room is full of DIY’s. Let’s review.
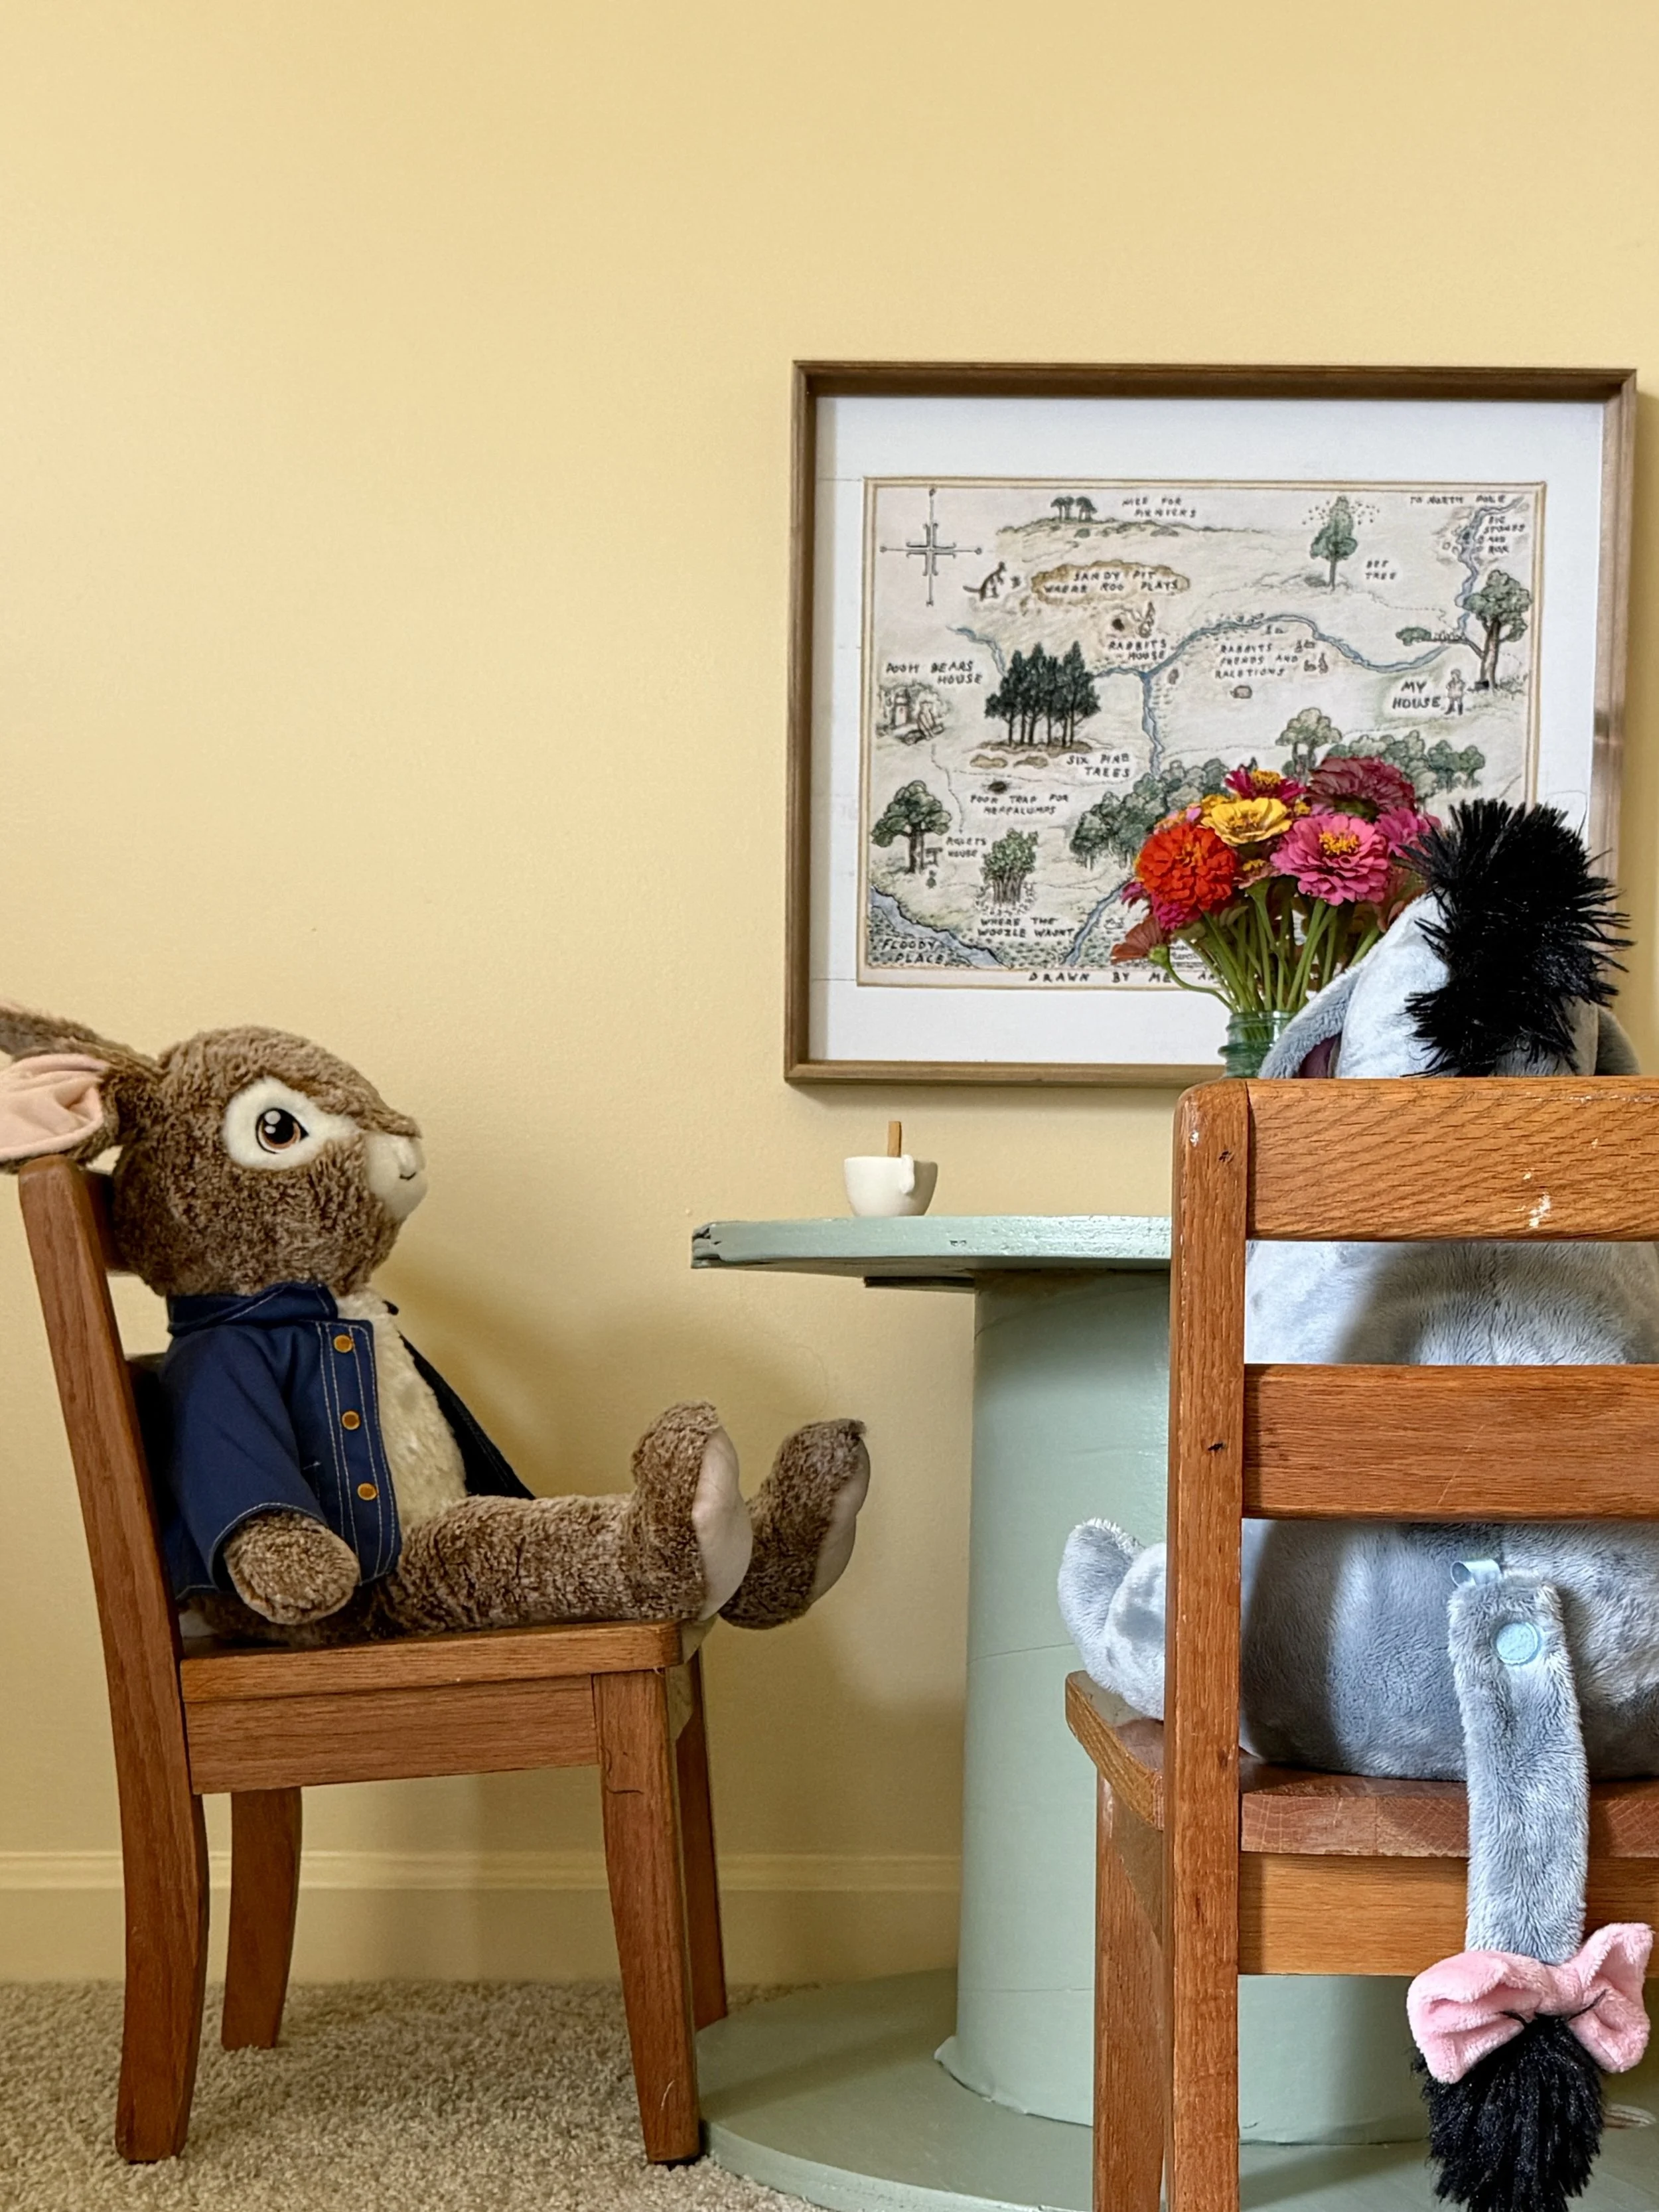
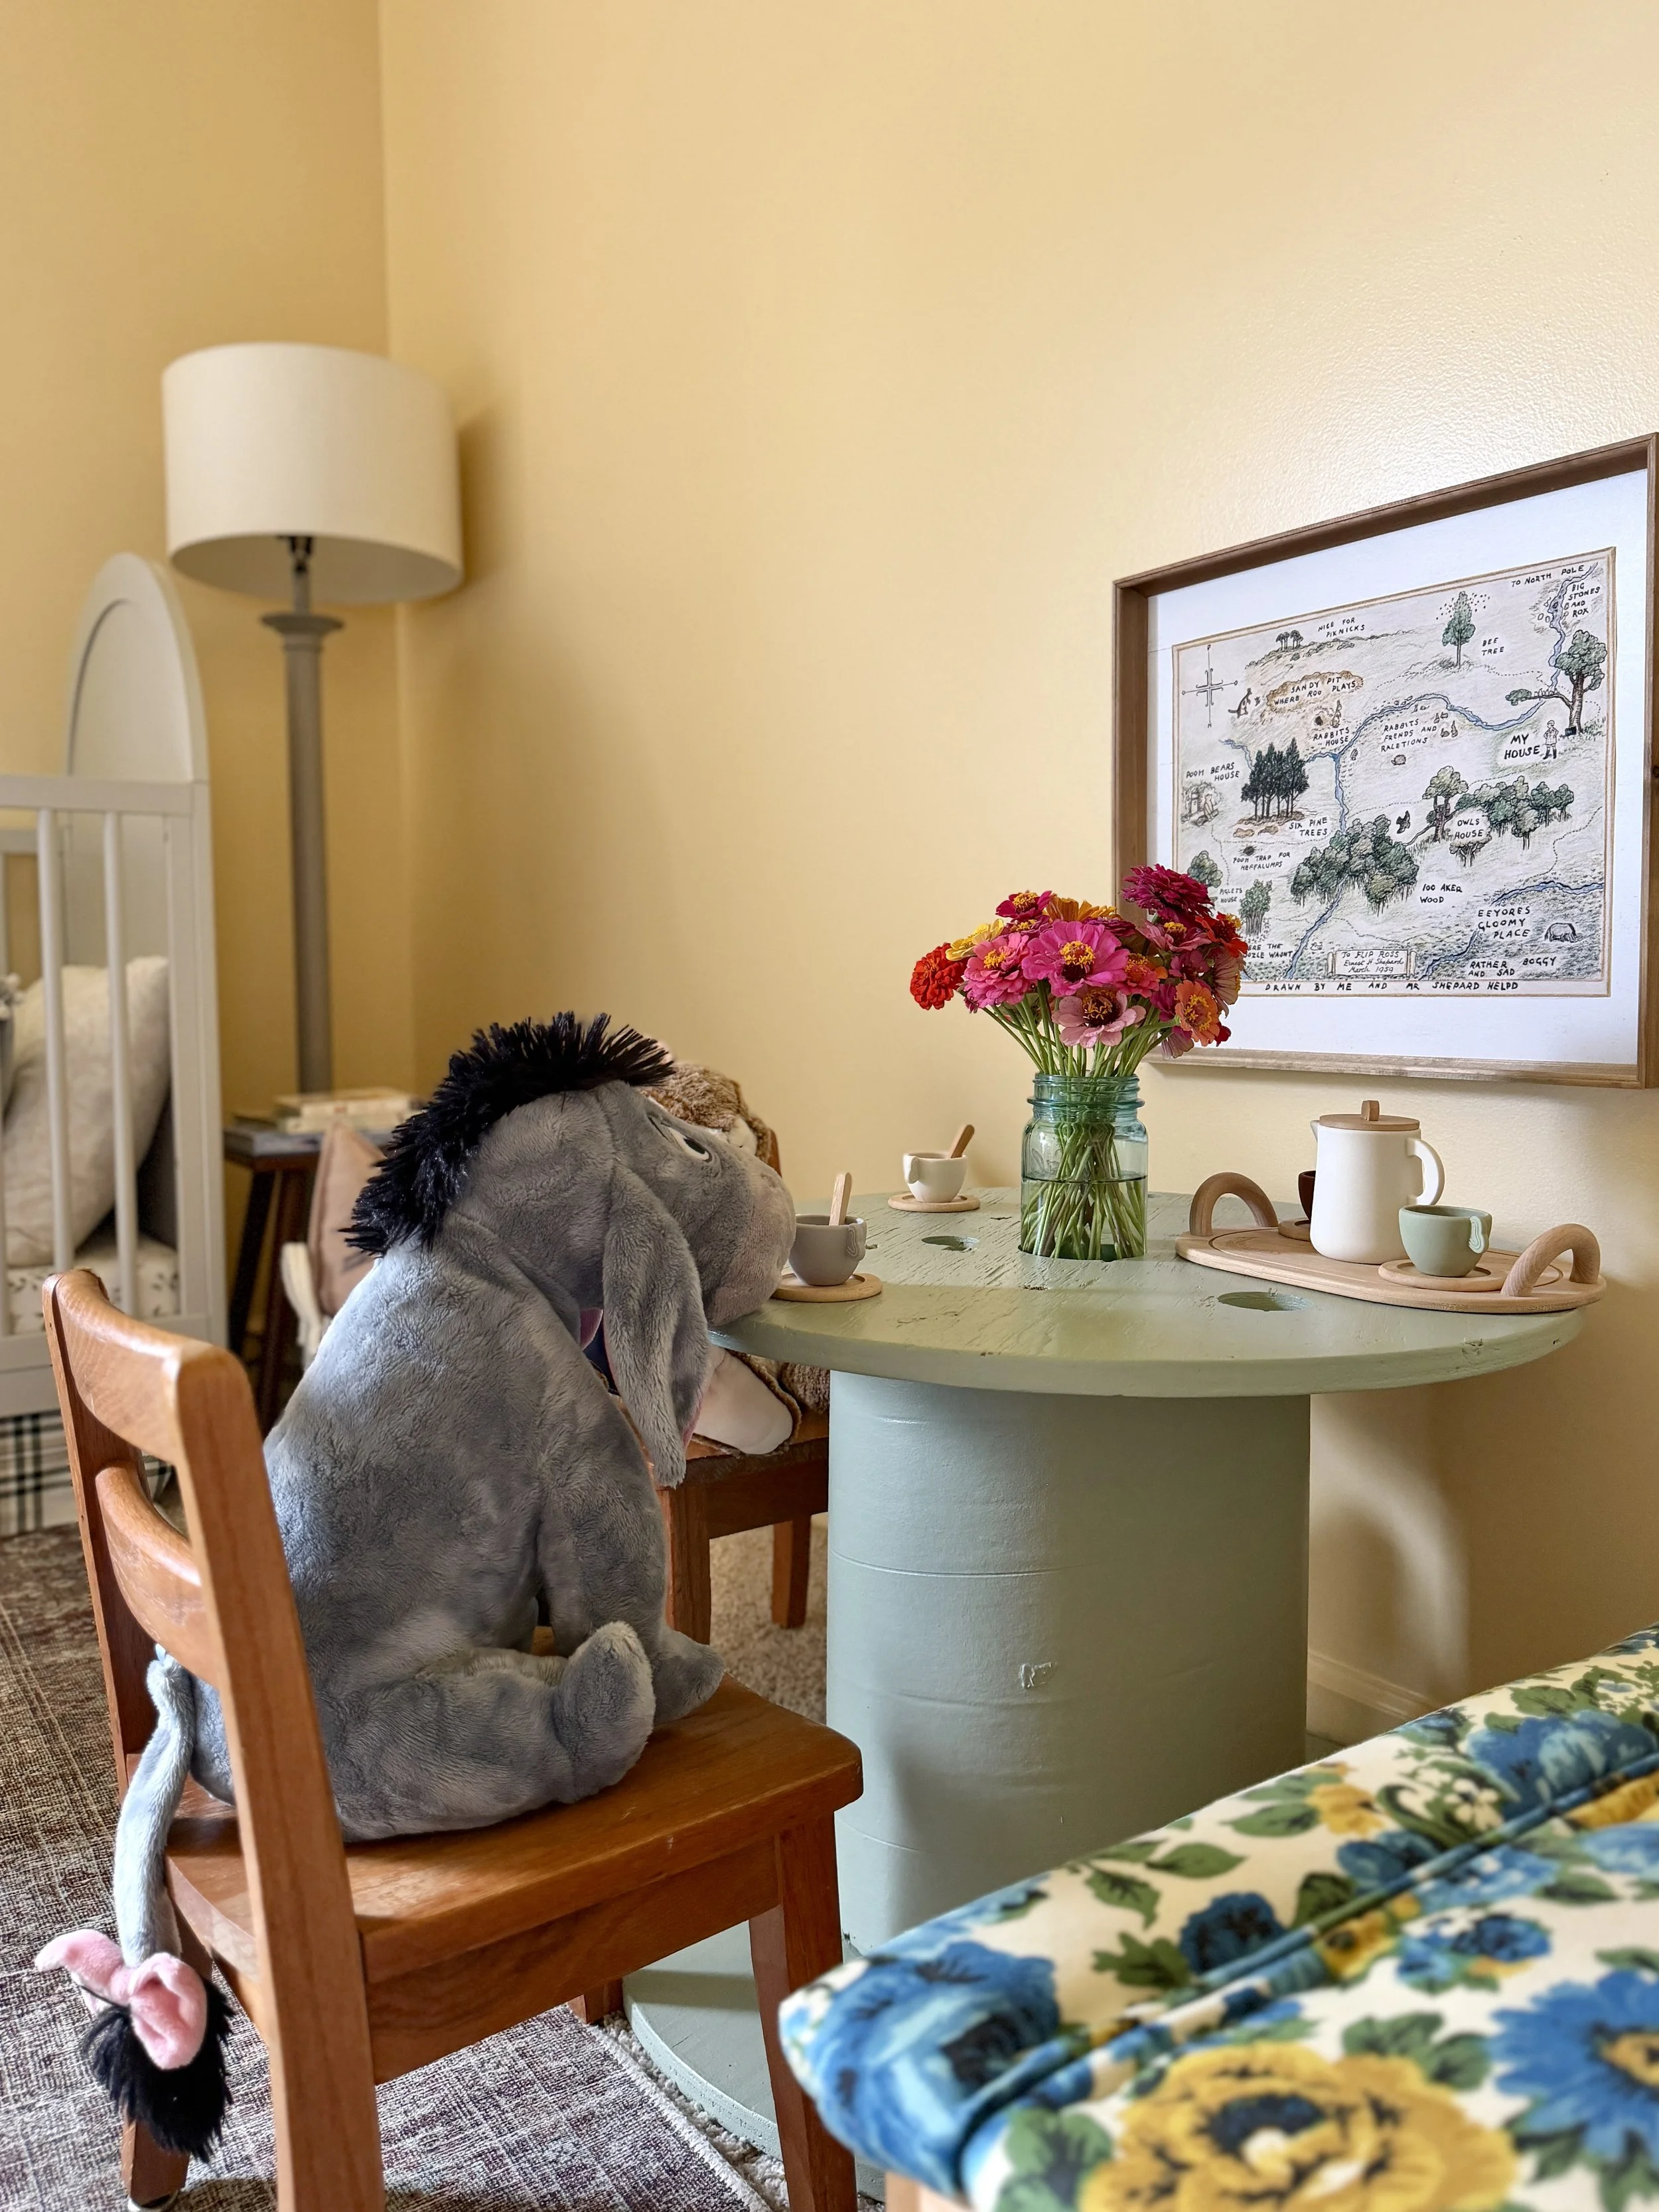
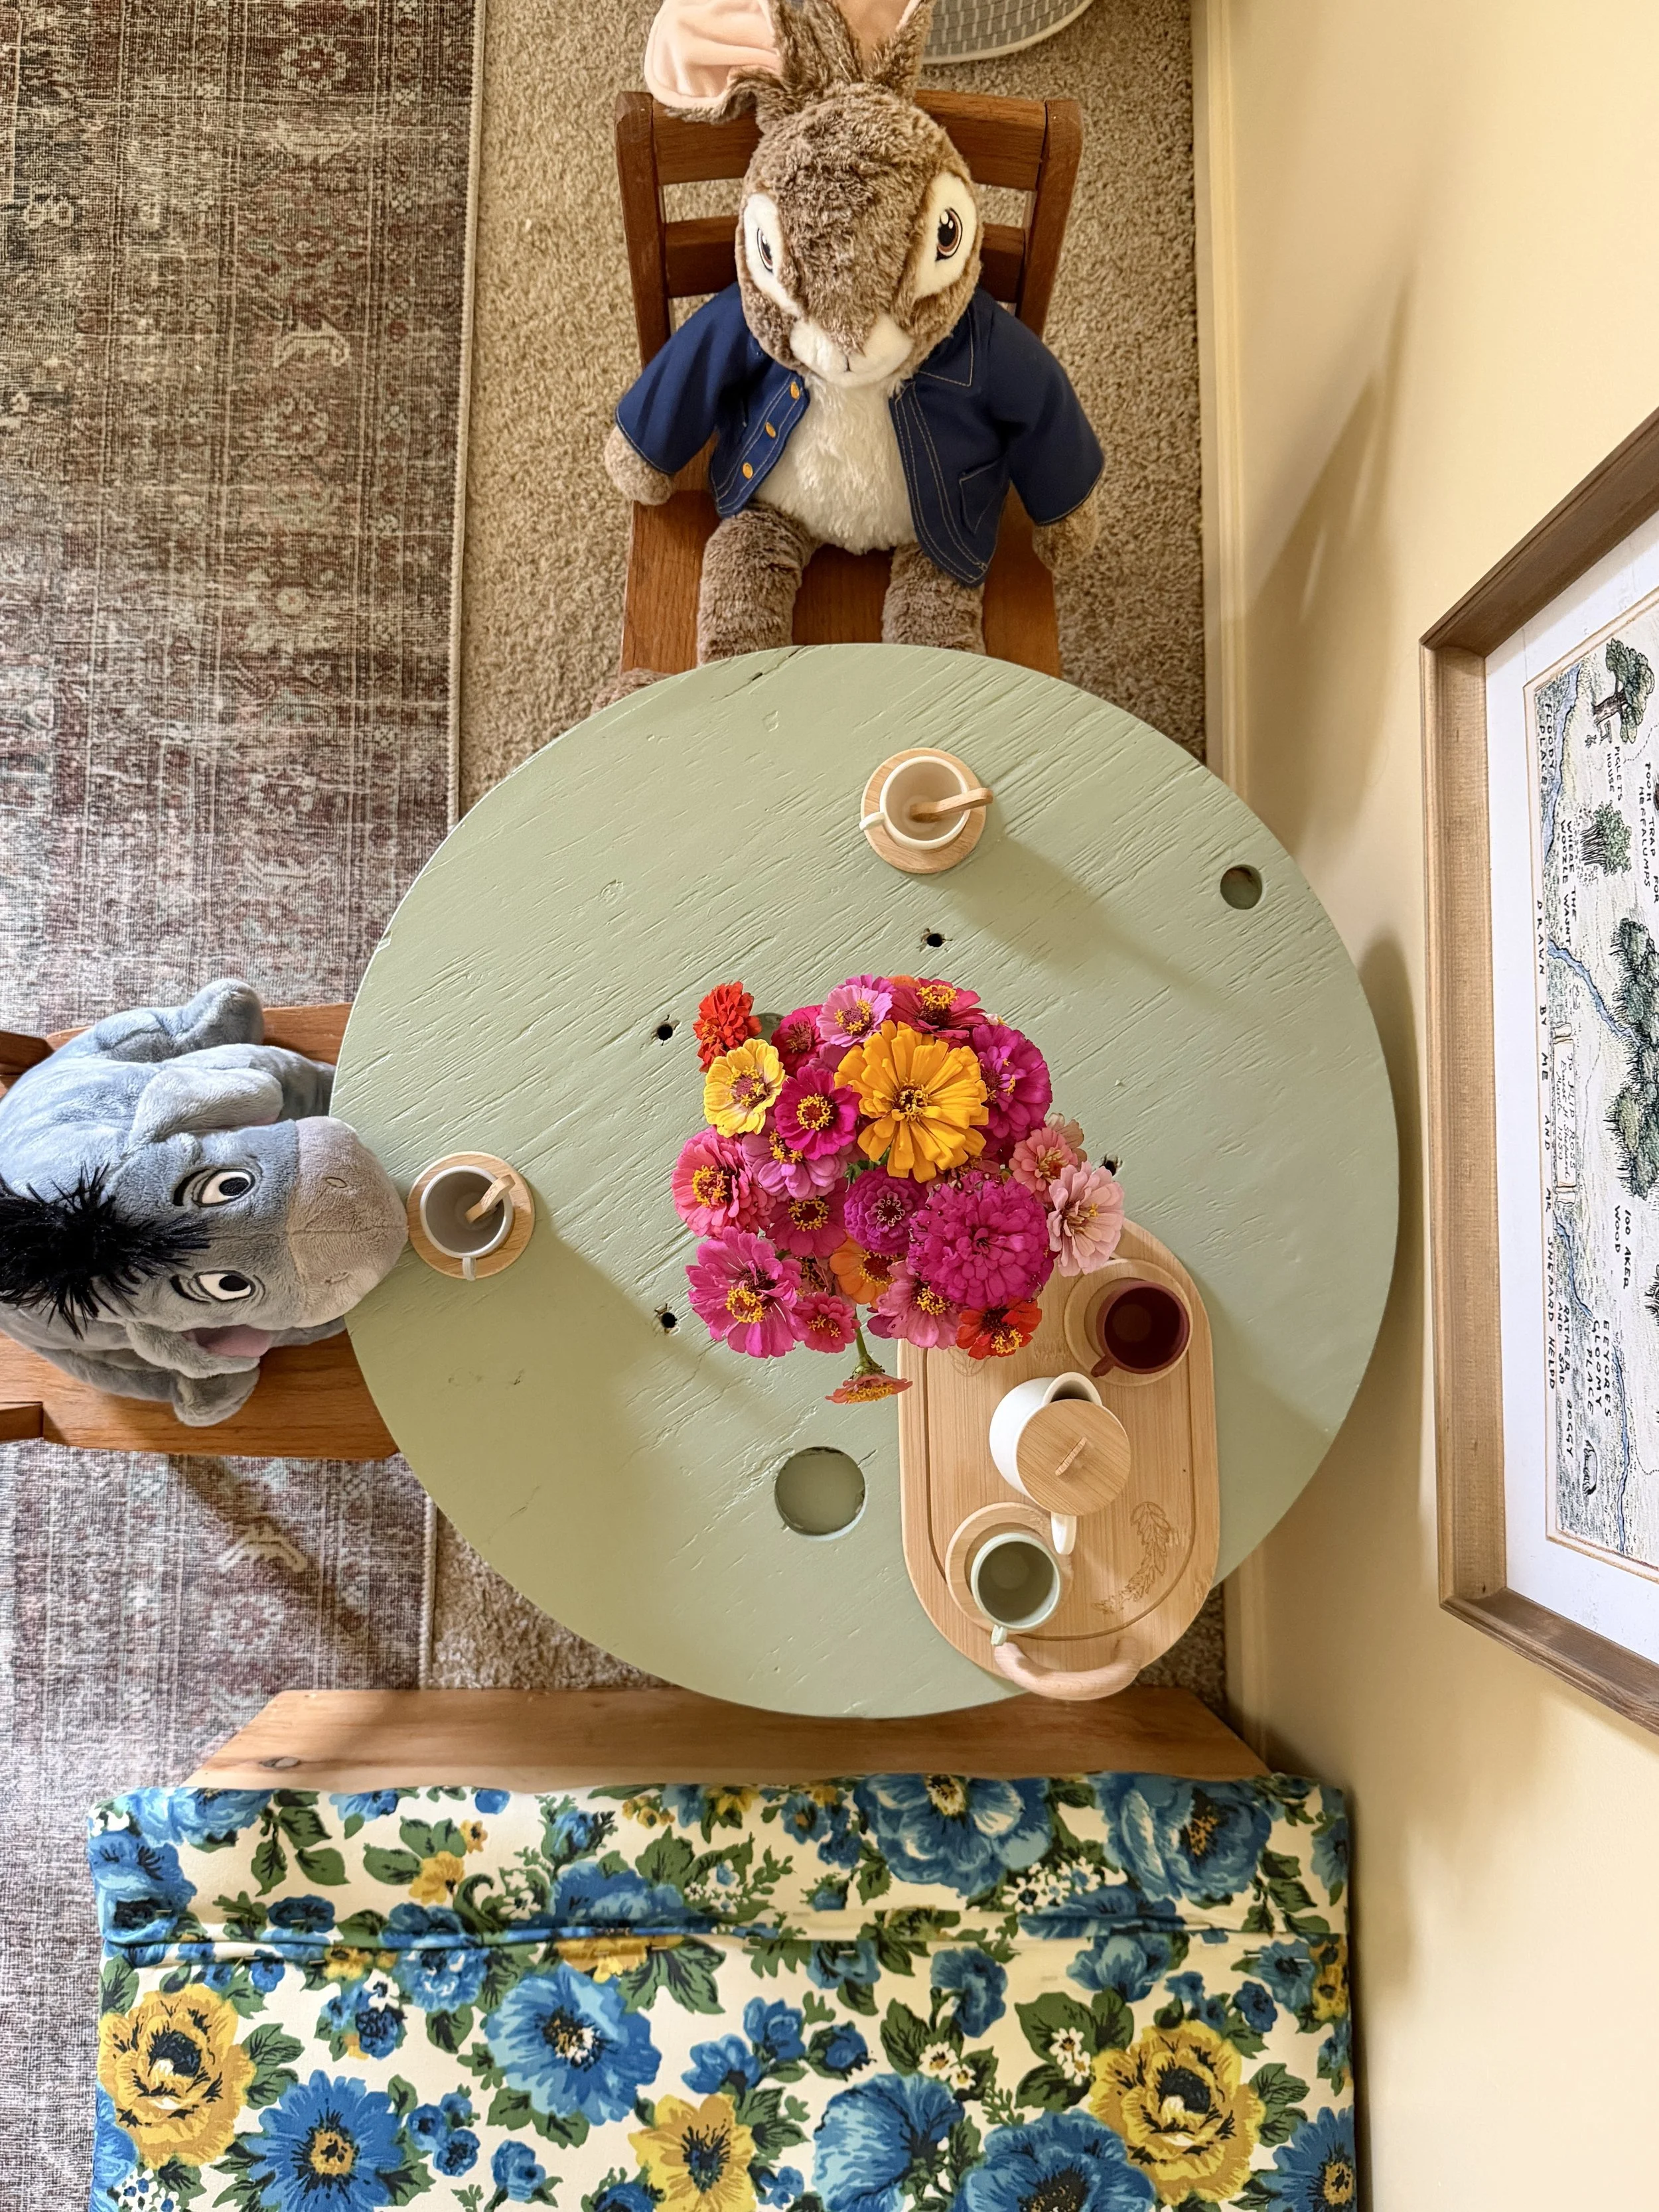
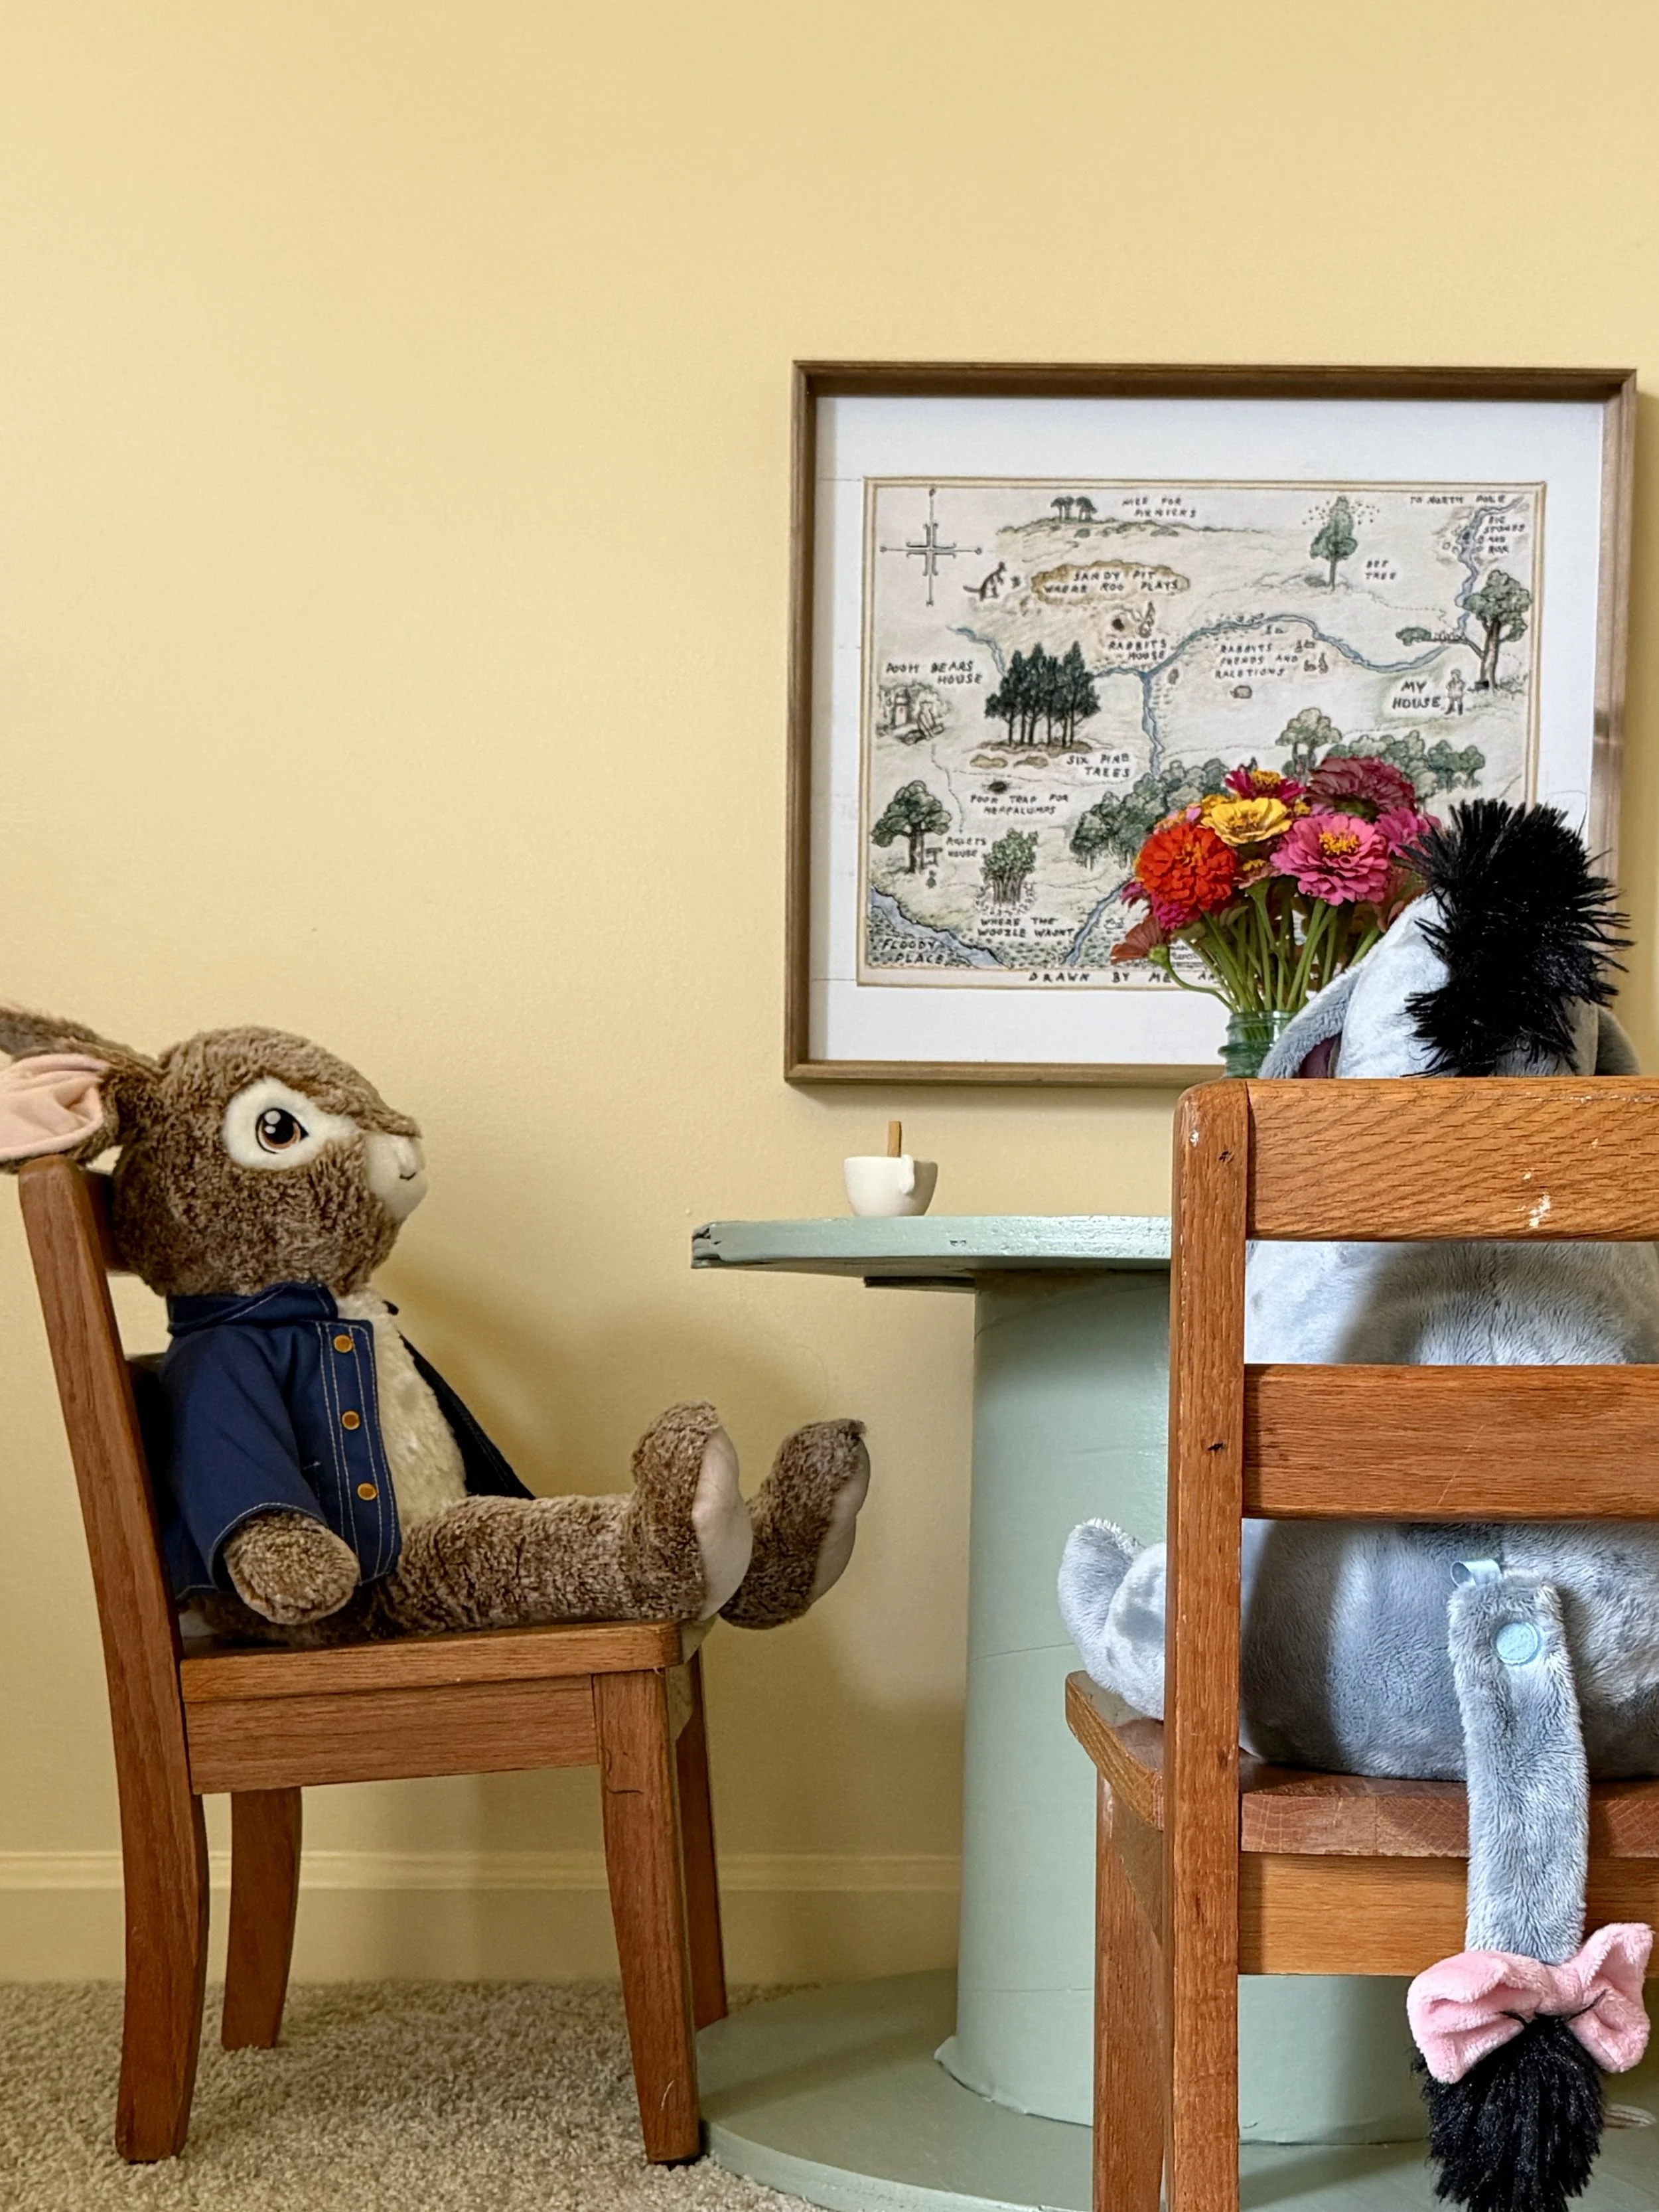
The table and chairs.
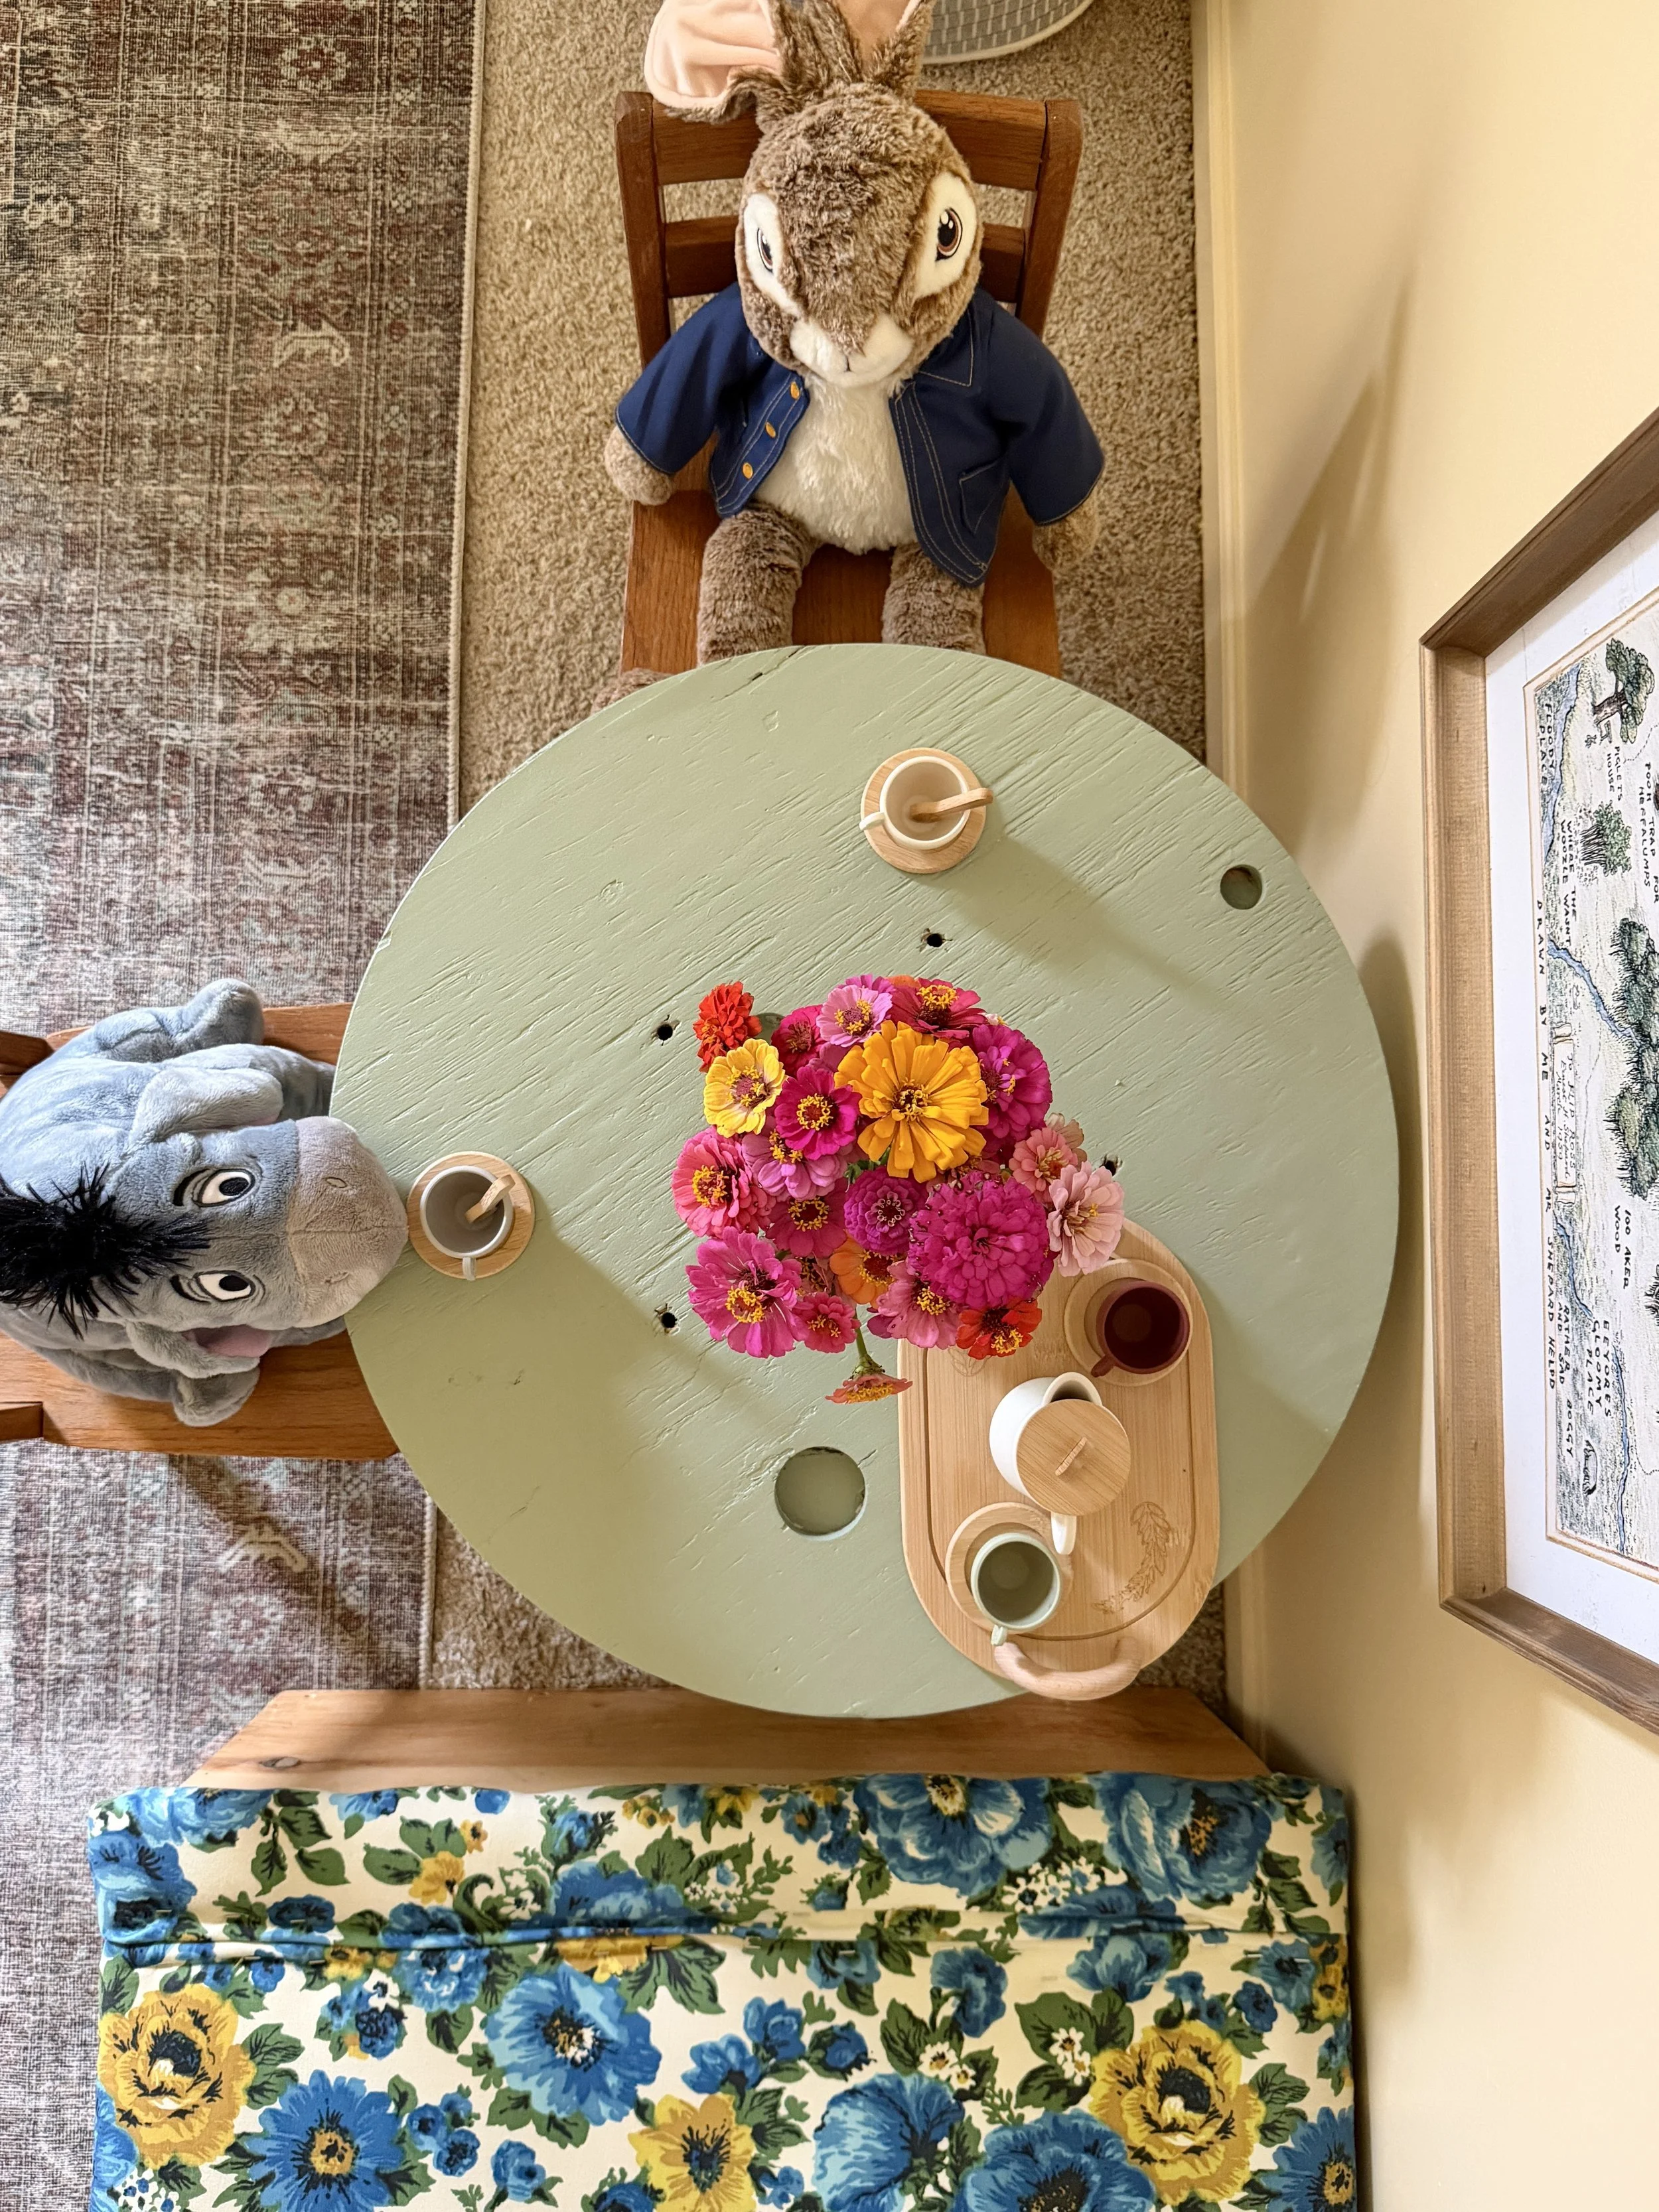
This is one of my favorite things about this room. I have a full post on how I transformed the reel into a table coming soon. The electrical reel was free, the paint I already had from another project, and I used the remnants from the swing wall bumpers to make covers for the biggest holes. I did have to buy the liquid nails to glue everything together. The chairs I picked up from FB Marketplace for $5 for both of them! And they were 2 minutes from my house to boot! One of my best scores ever I think. I gave them a rub down with liquid sandpaper and a coat of stain. Good to go in about 20 minutes.
The toybox I found at a neighbors yard sale for $15, and it’s the perfect toddler size. It has hinges a few inches from the back so I did have to upholster the front and back independent of each other. I used vintage fabric I’ve had stashed for a while that I thrifted and I love the texture adn color it brings to the room.
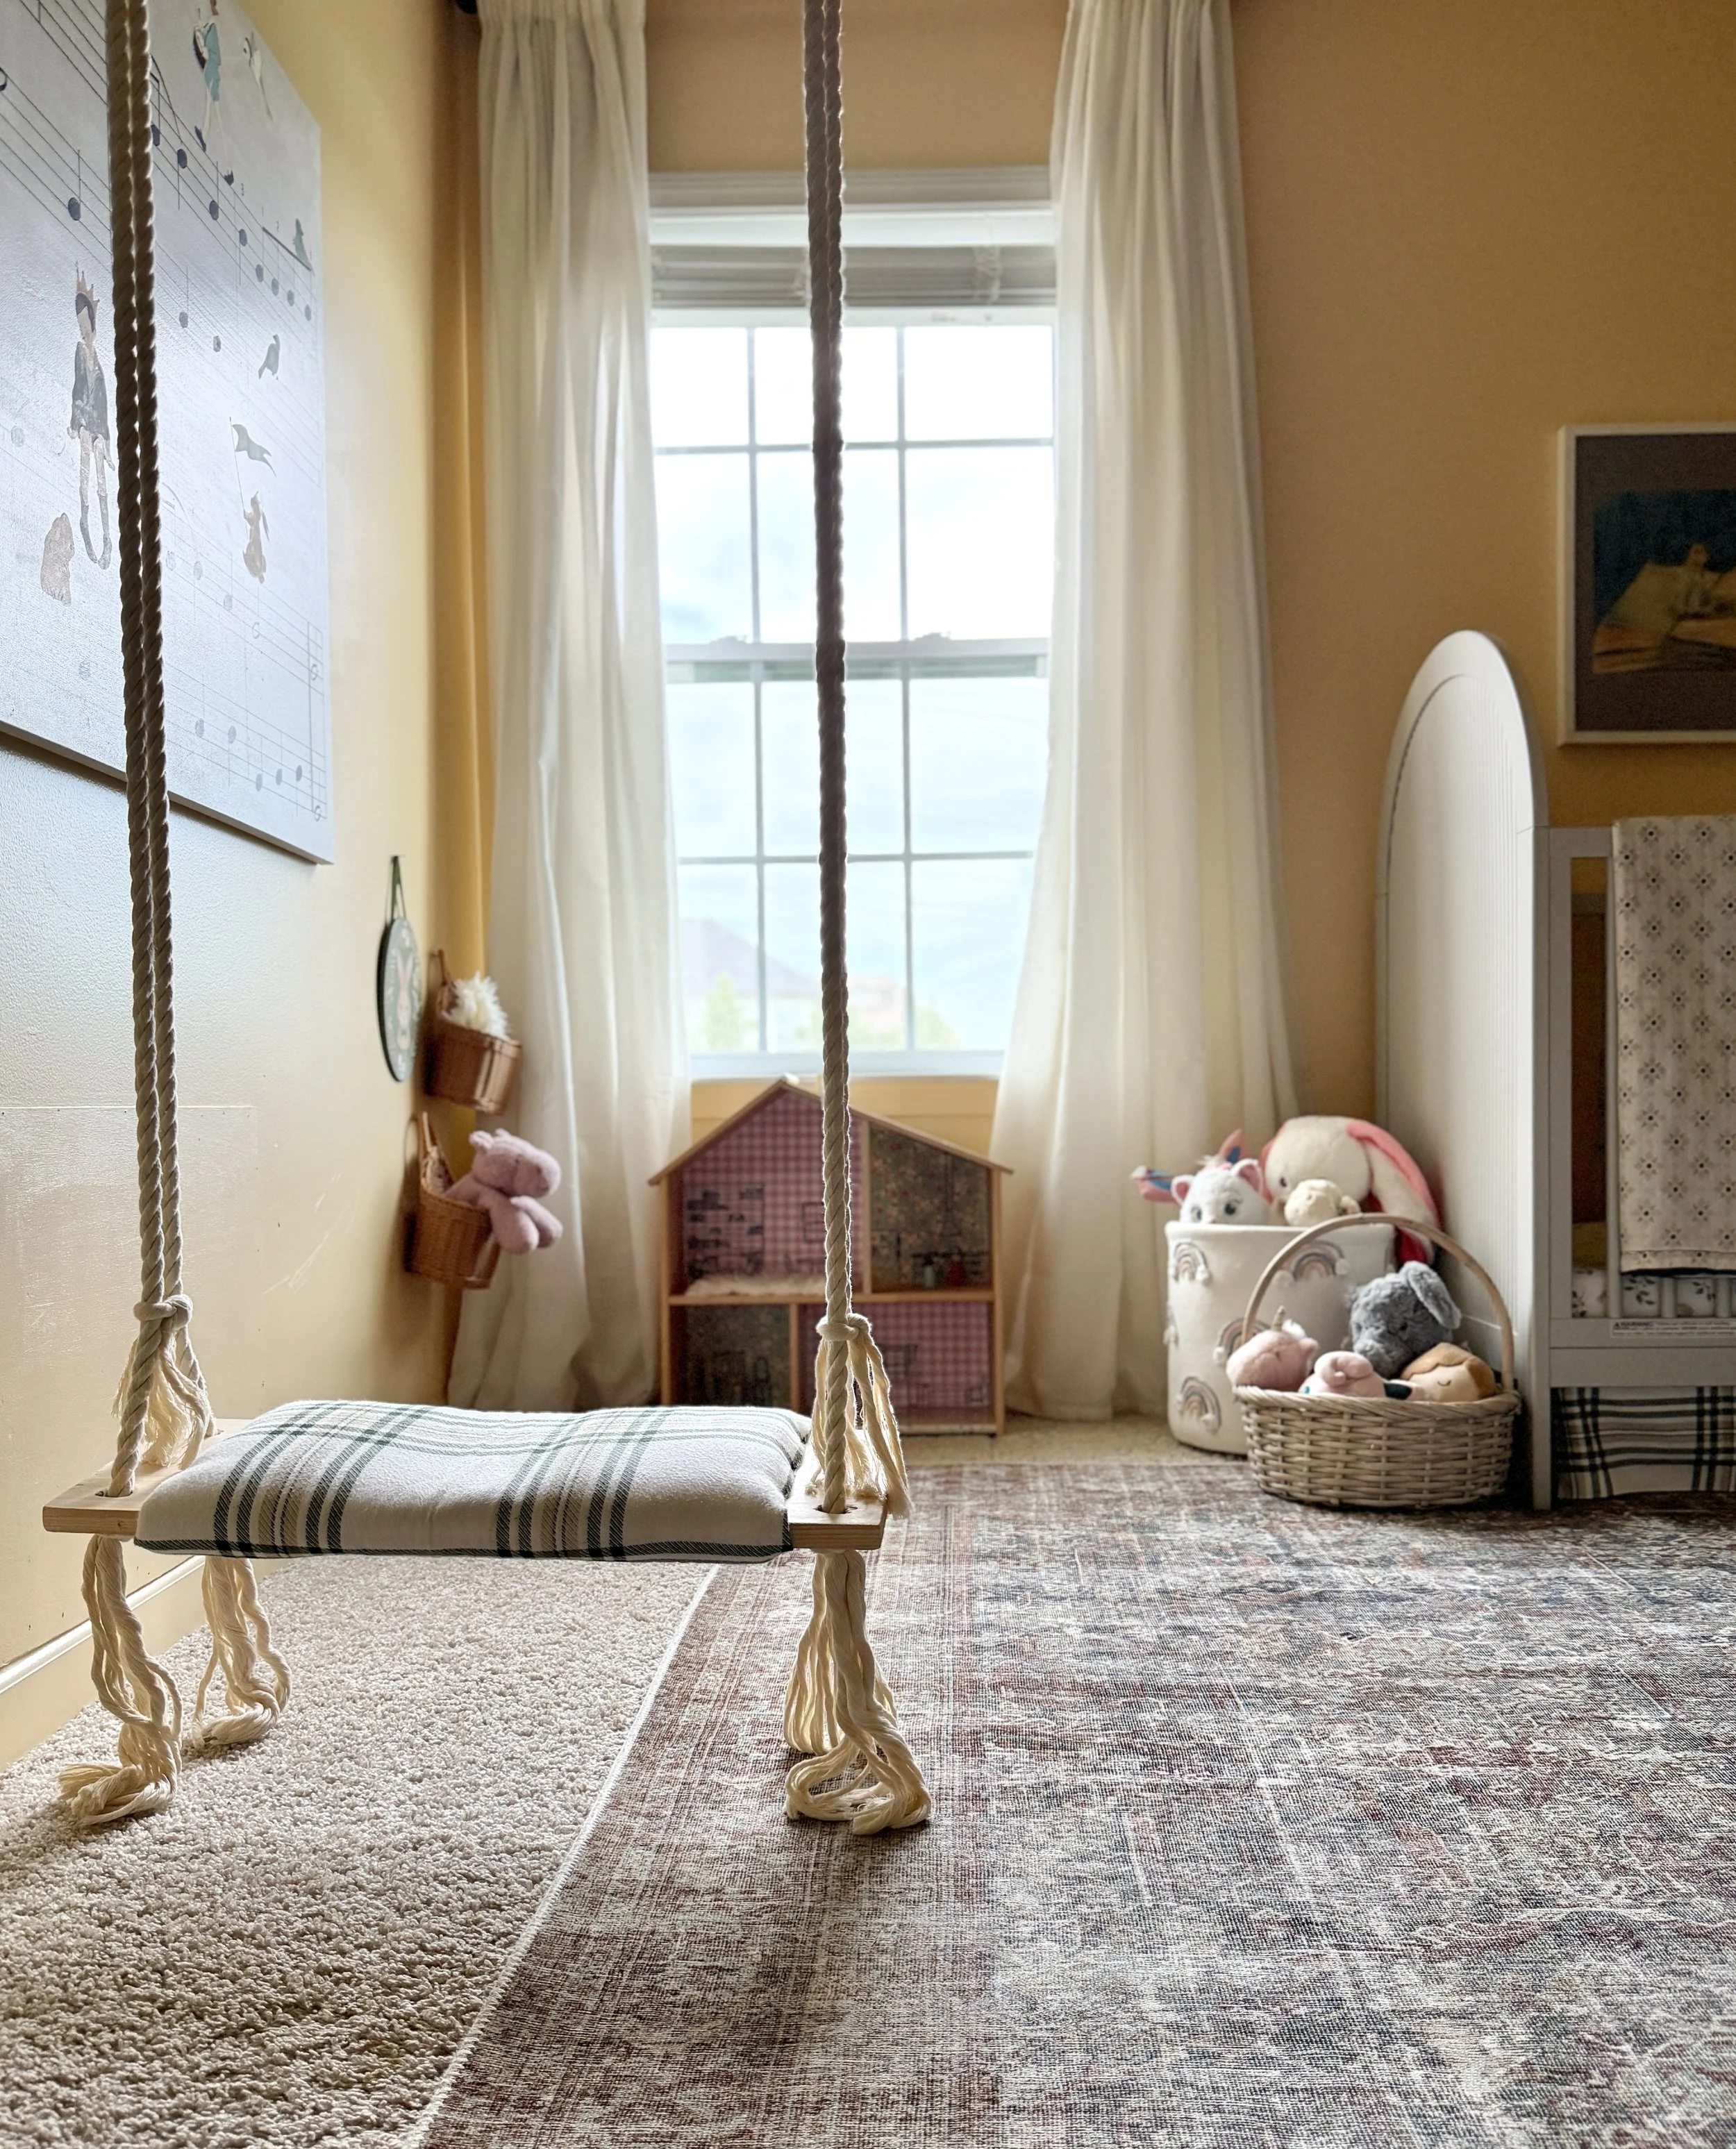
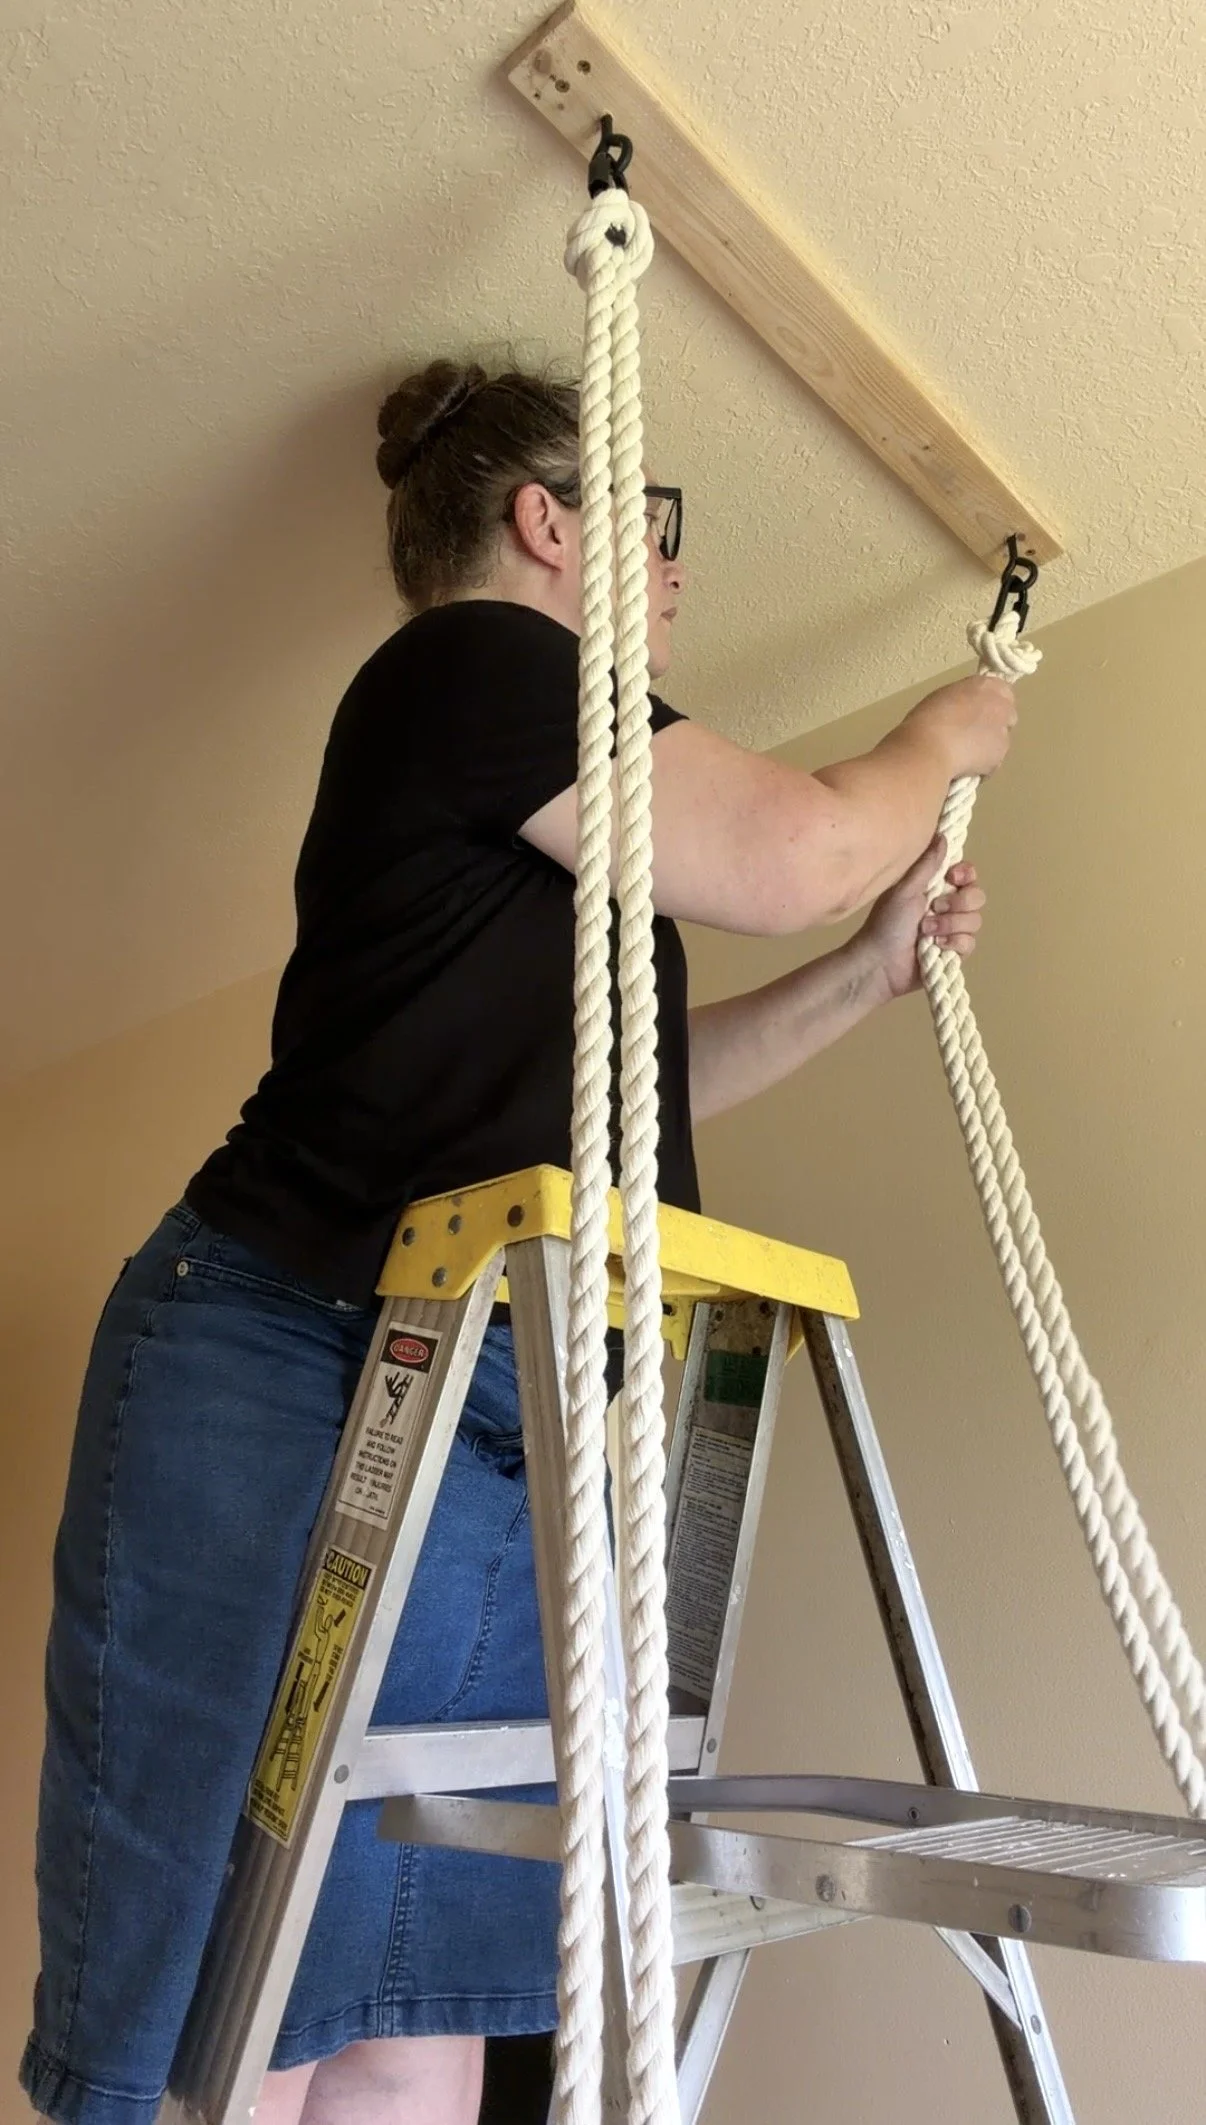
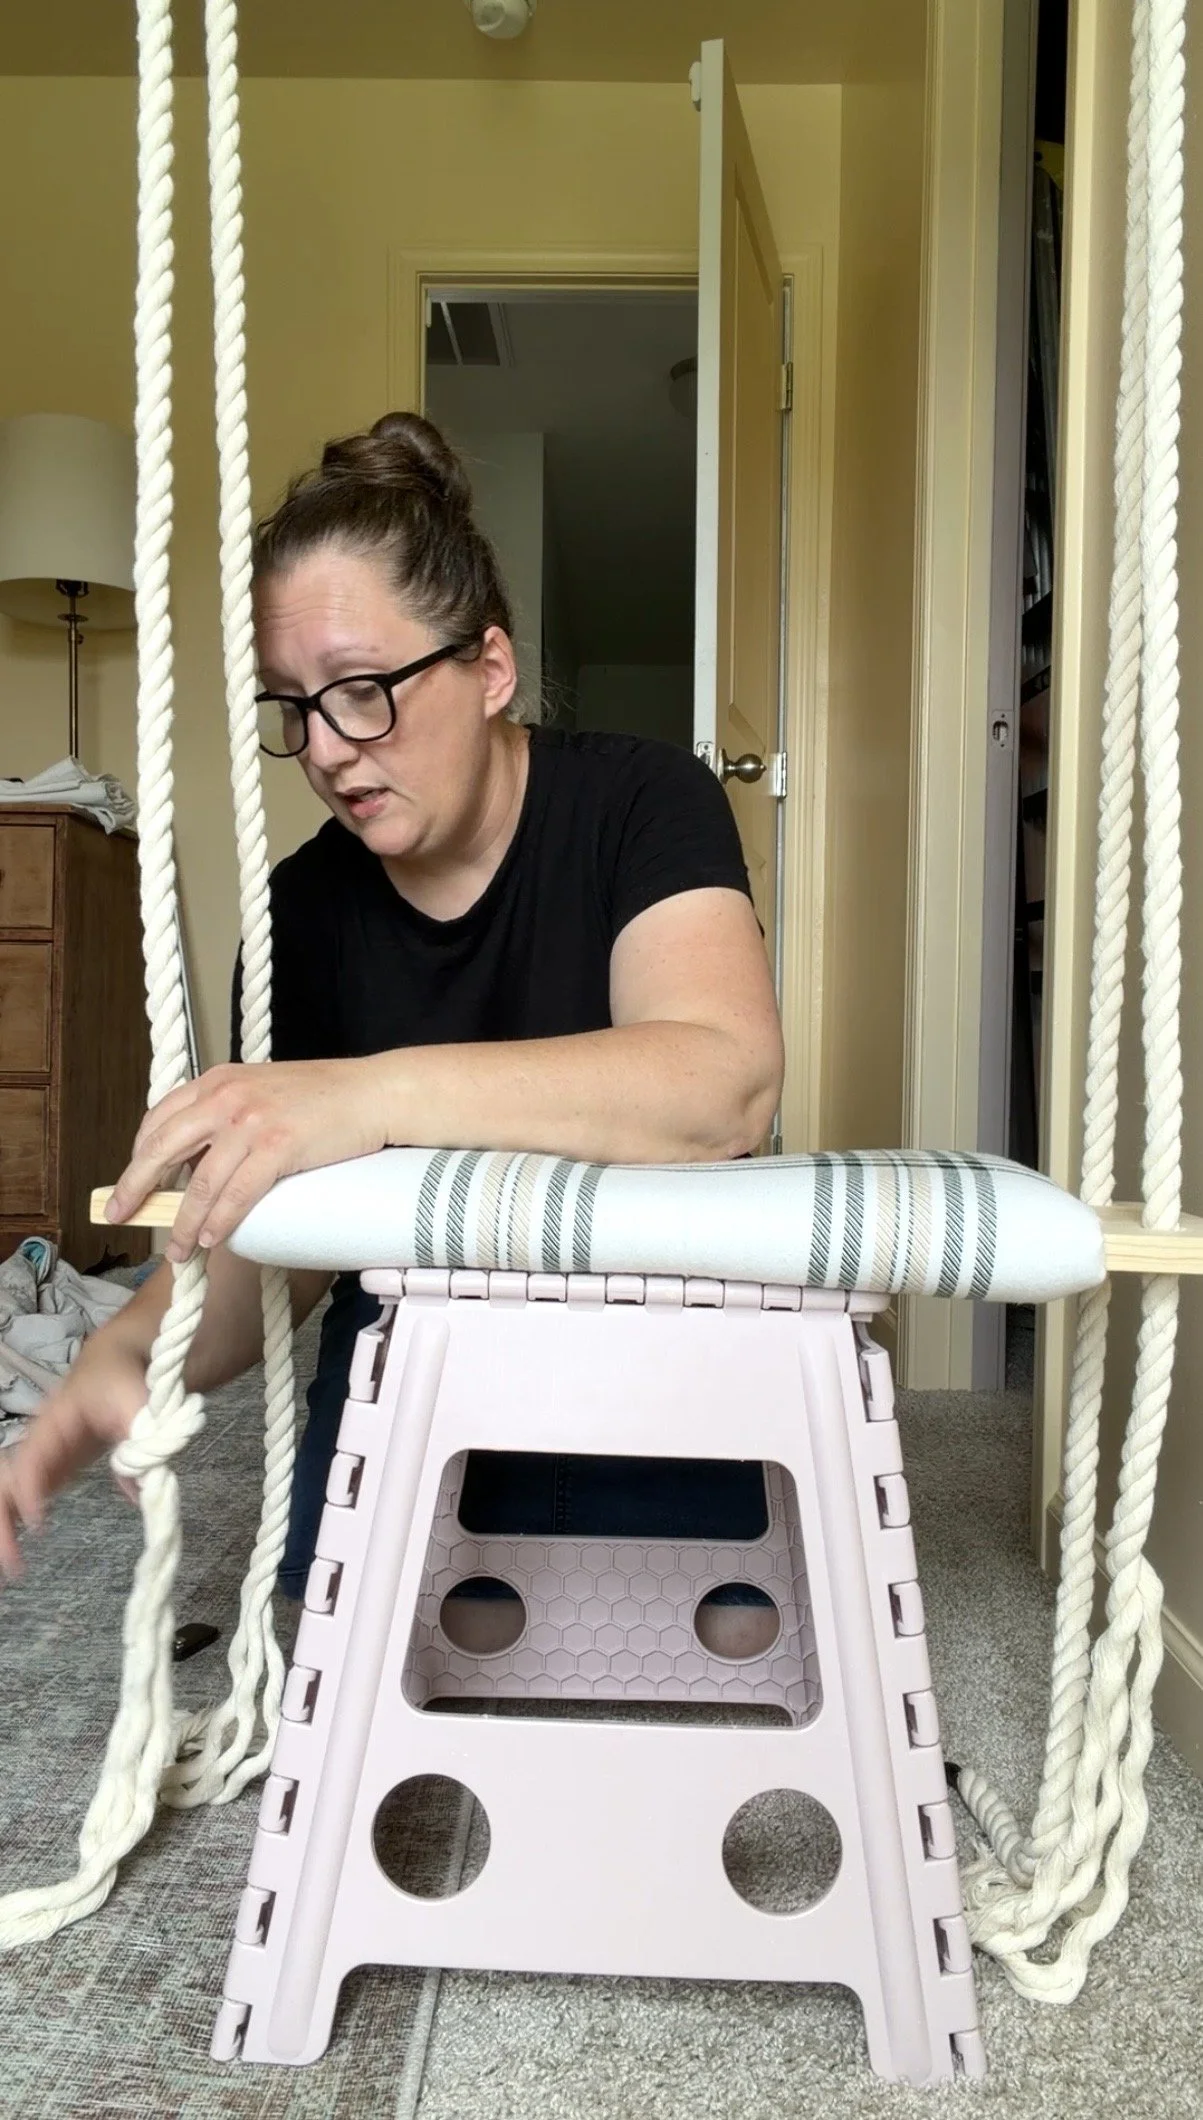
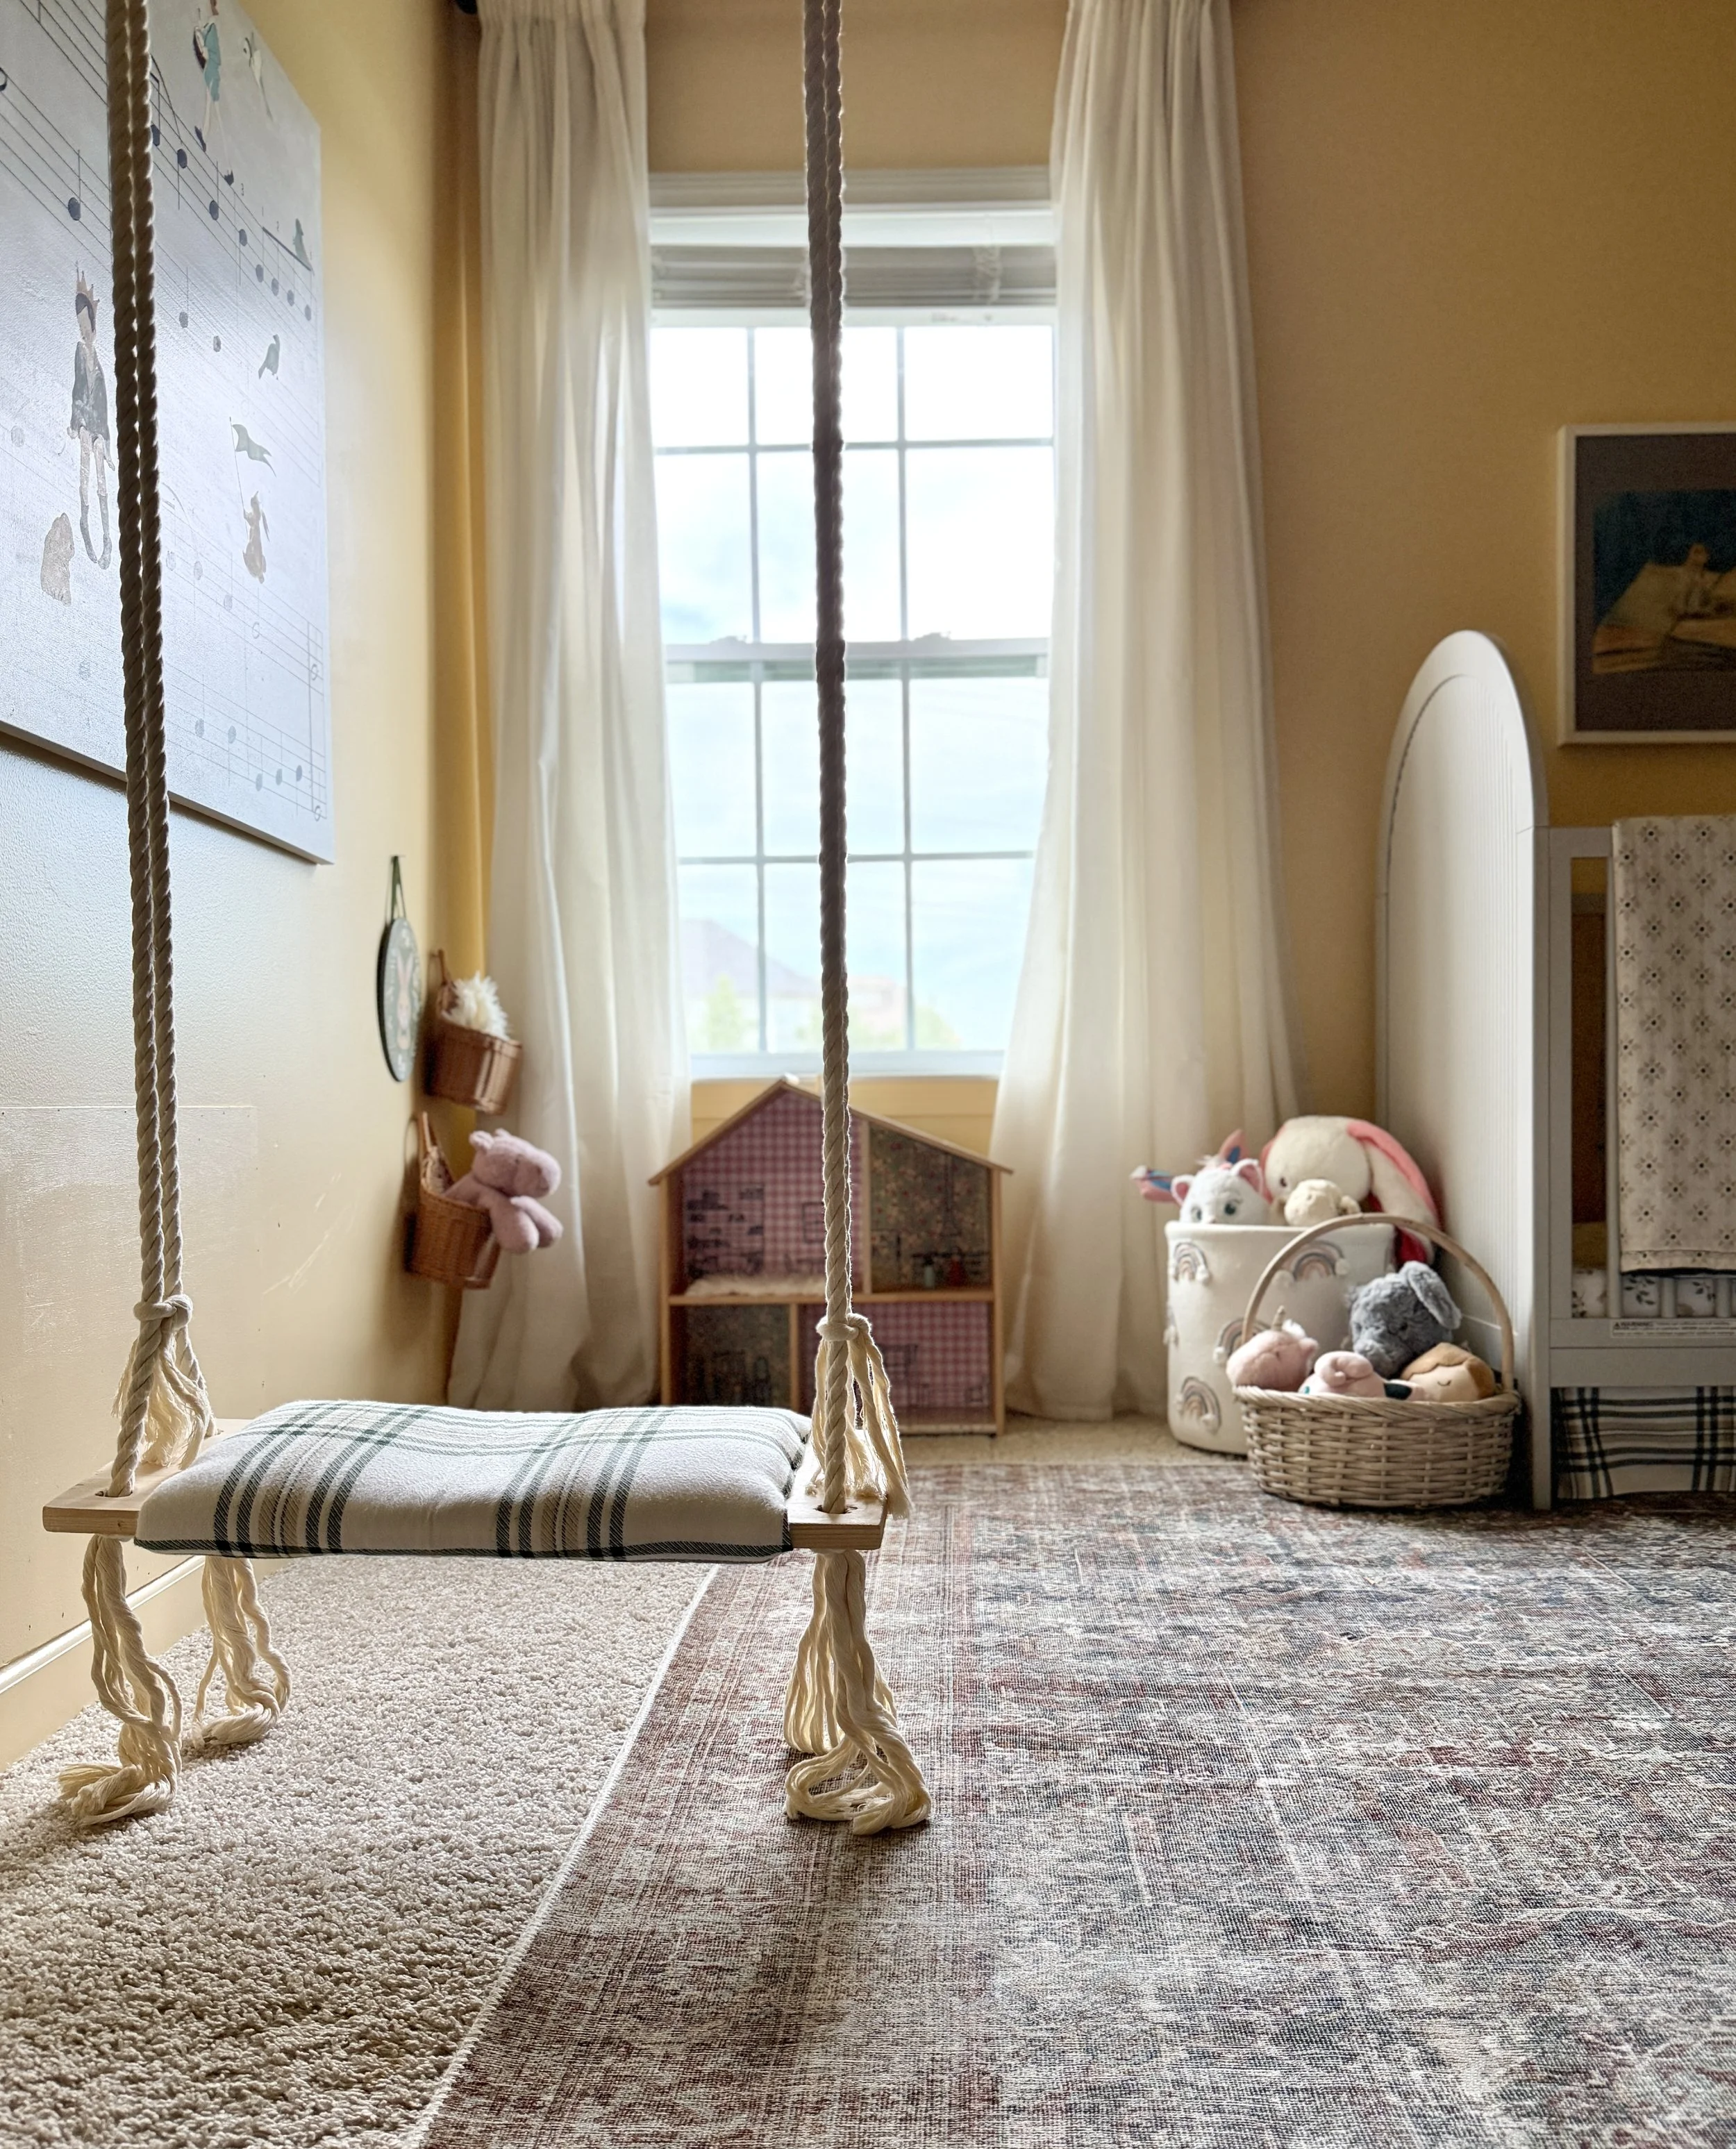
The Swing.
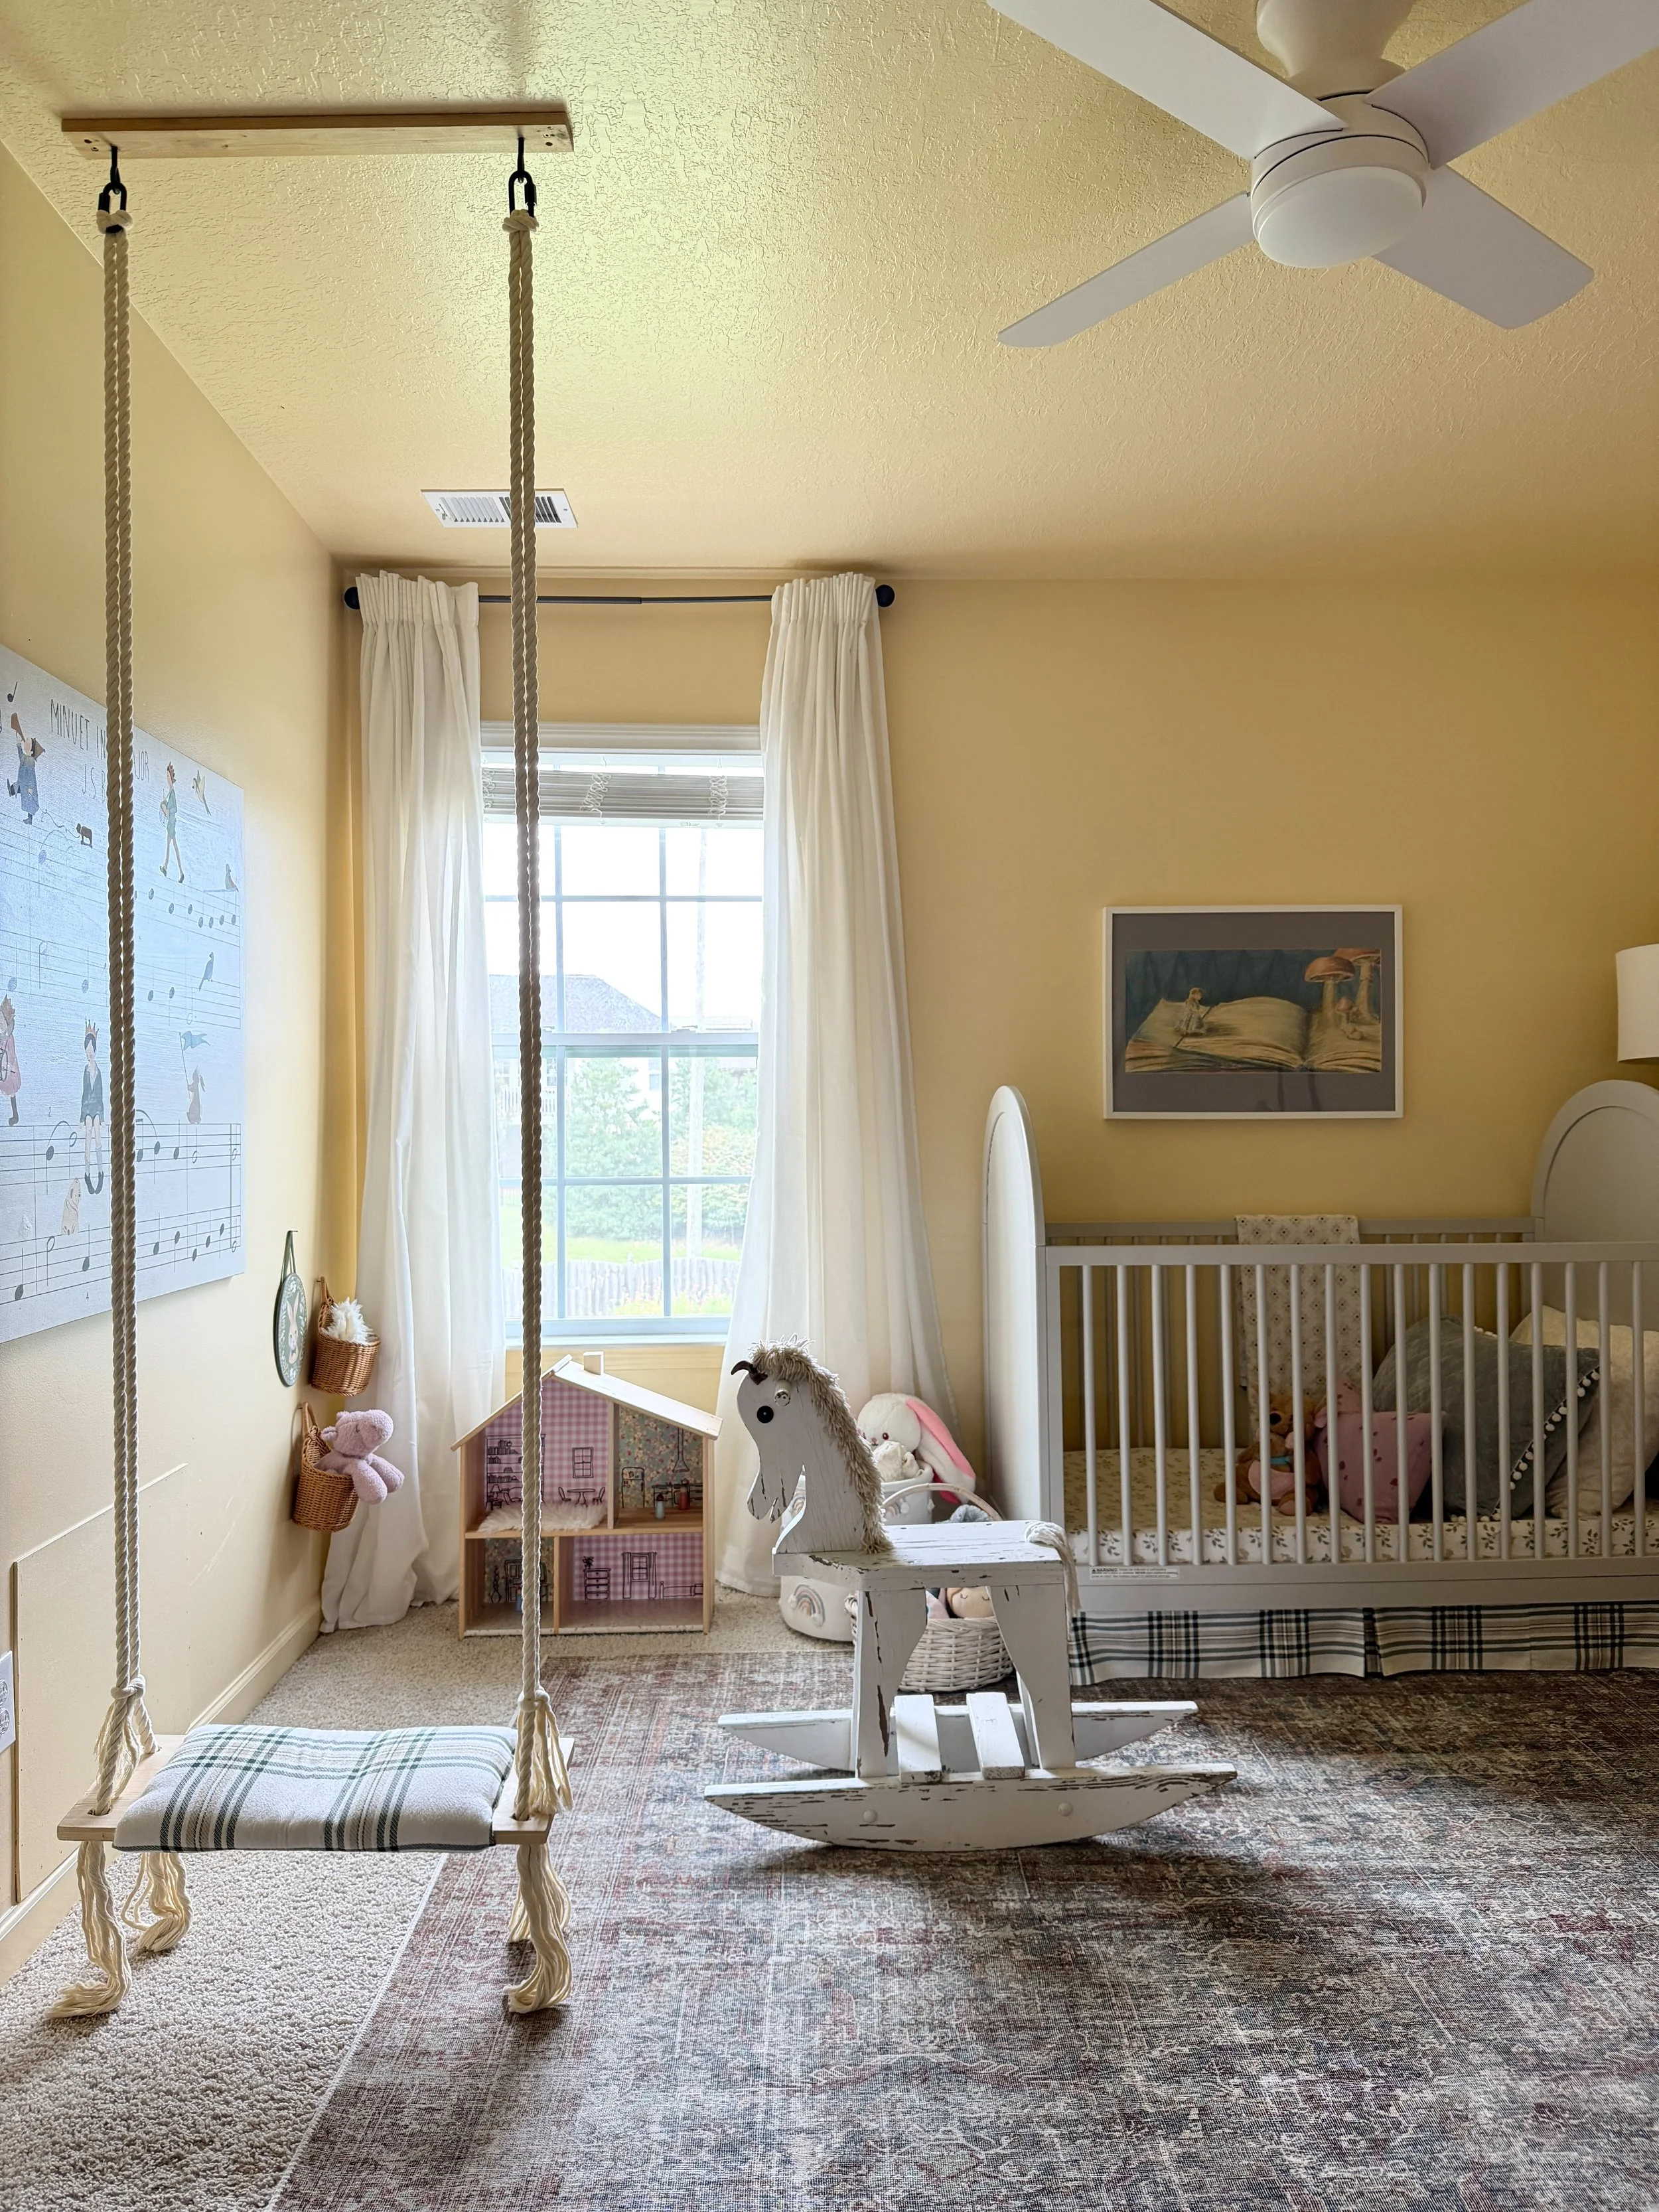
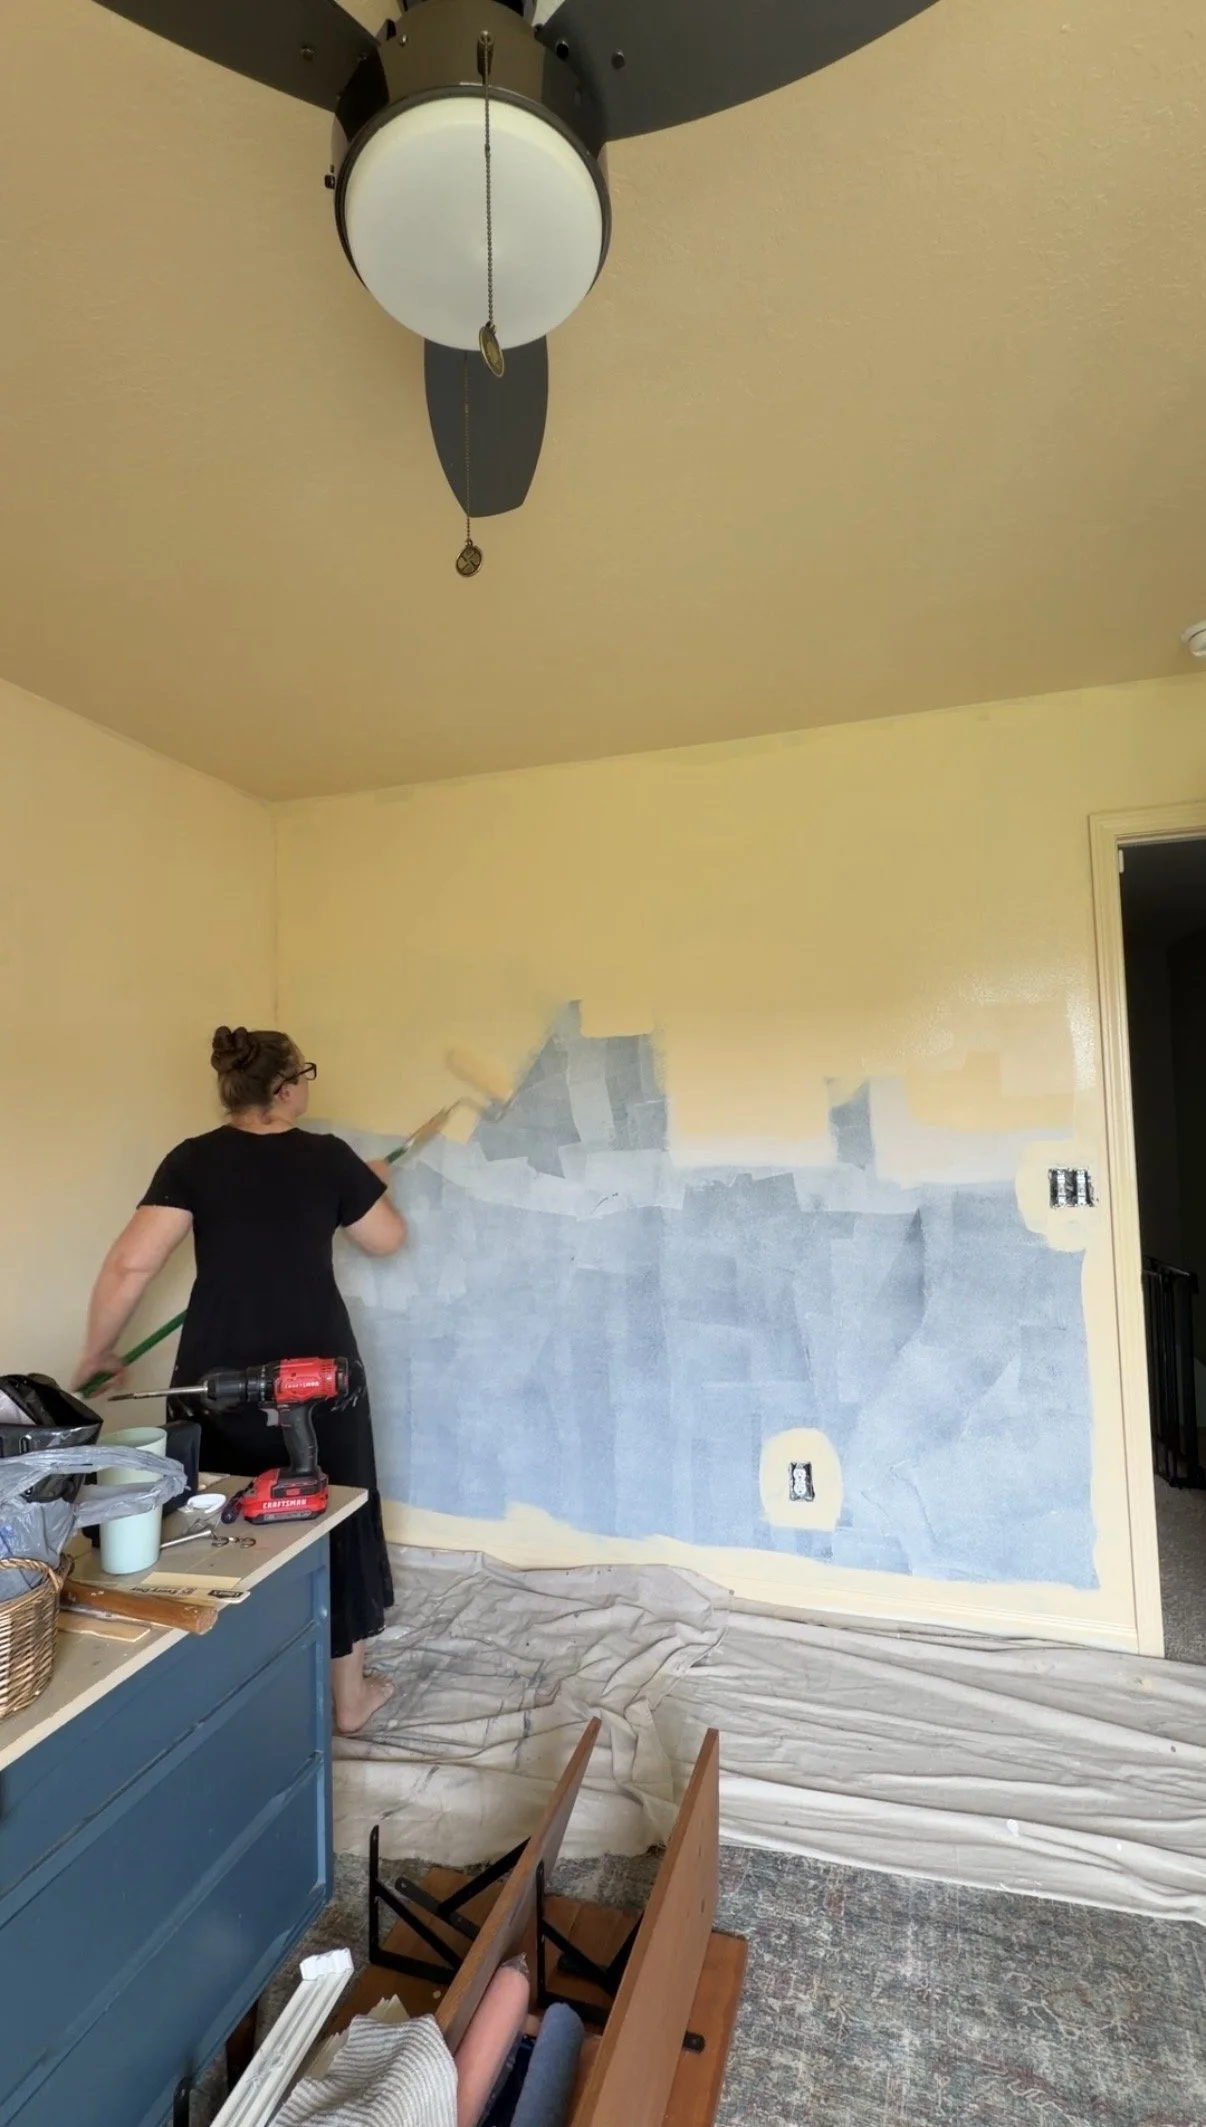
I have a full post, here, on how to make this happen in your own house. This is the second DIY swing I’ve hung in our home, but the 6th one I’ve hung overall. We have swings that we’ve bought and the ones I make. I am a strong advocate for every home to have a swing in it. I did add bumper boards to the wall, just thin plywood project boards painted to match the walls to protect them from the bumps and knocks from the swing.
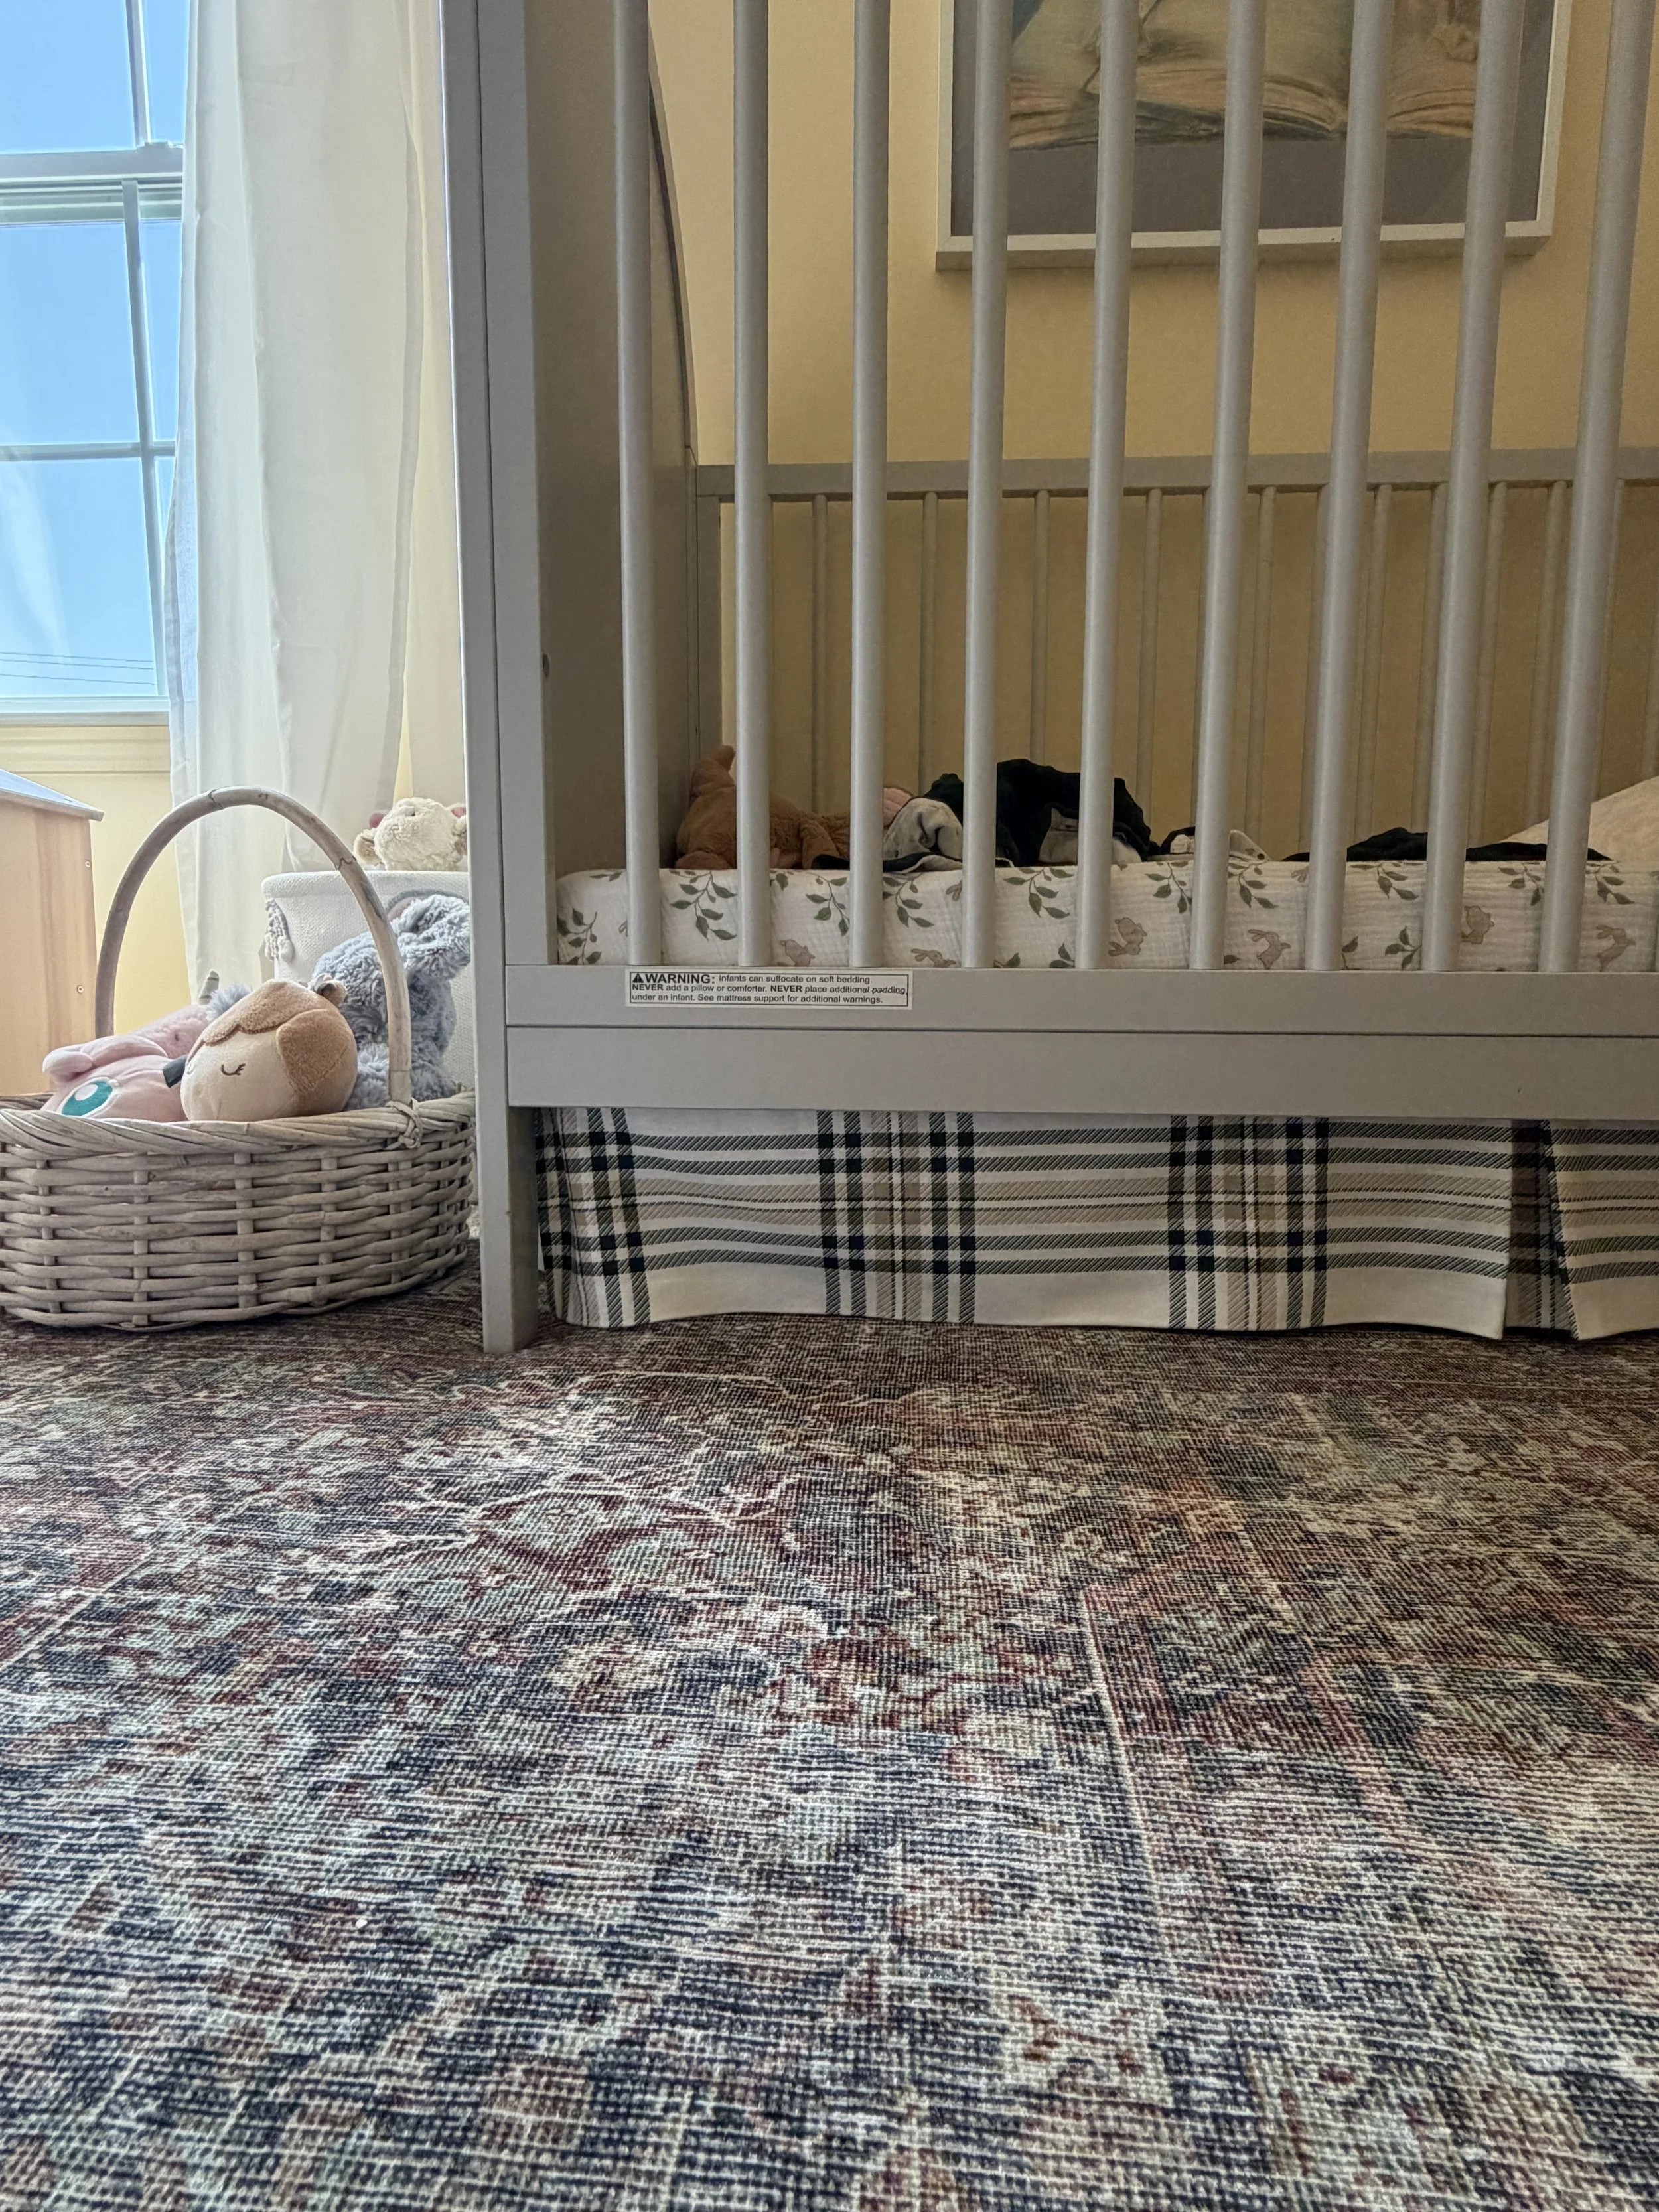
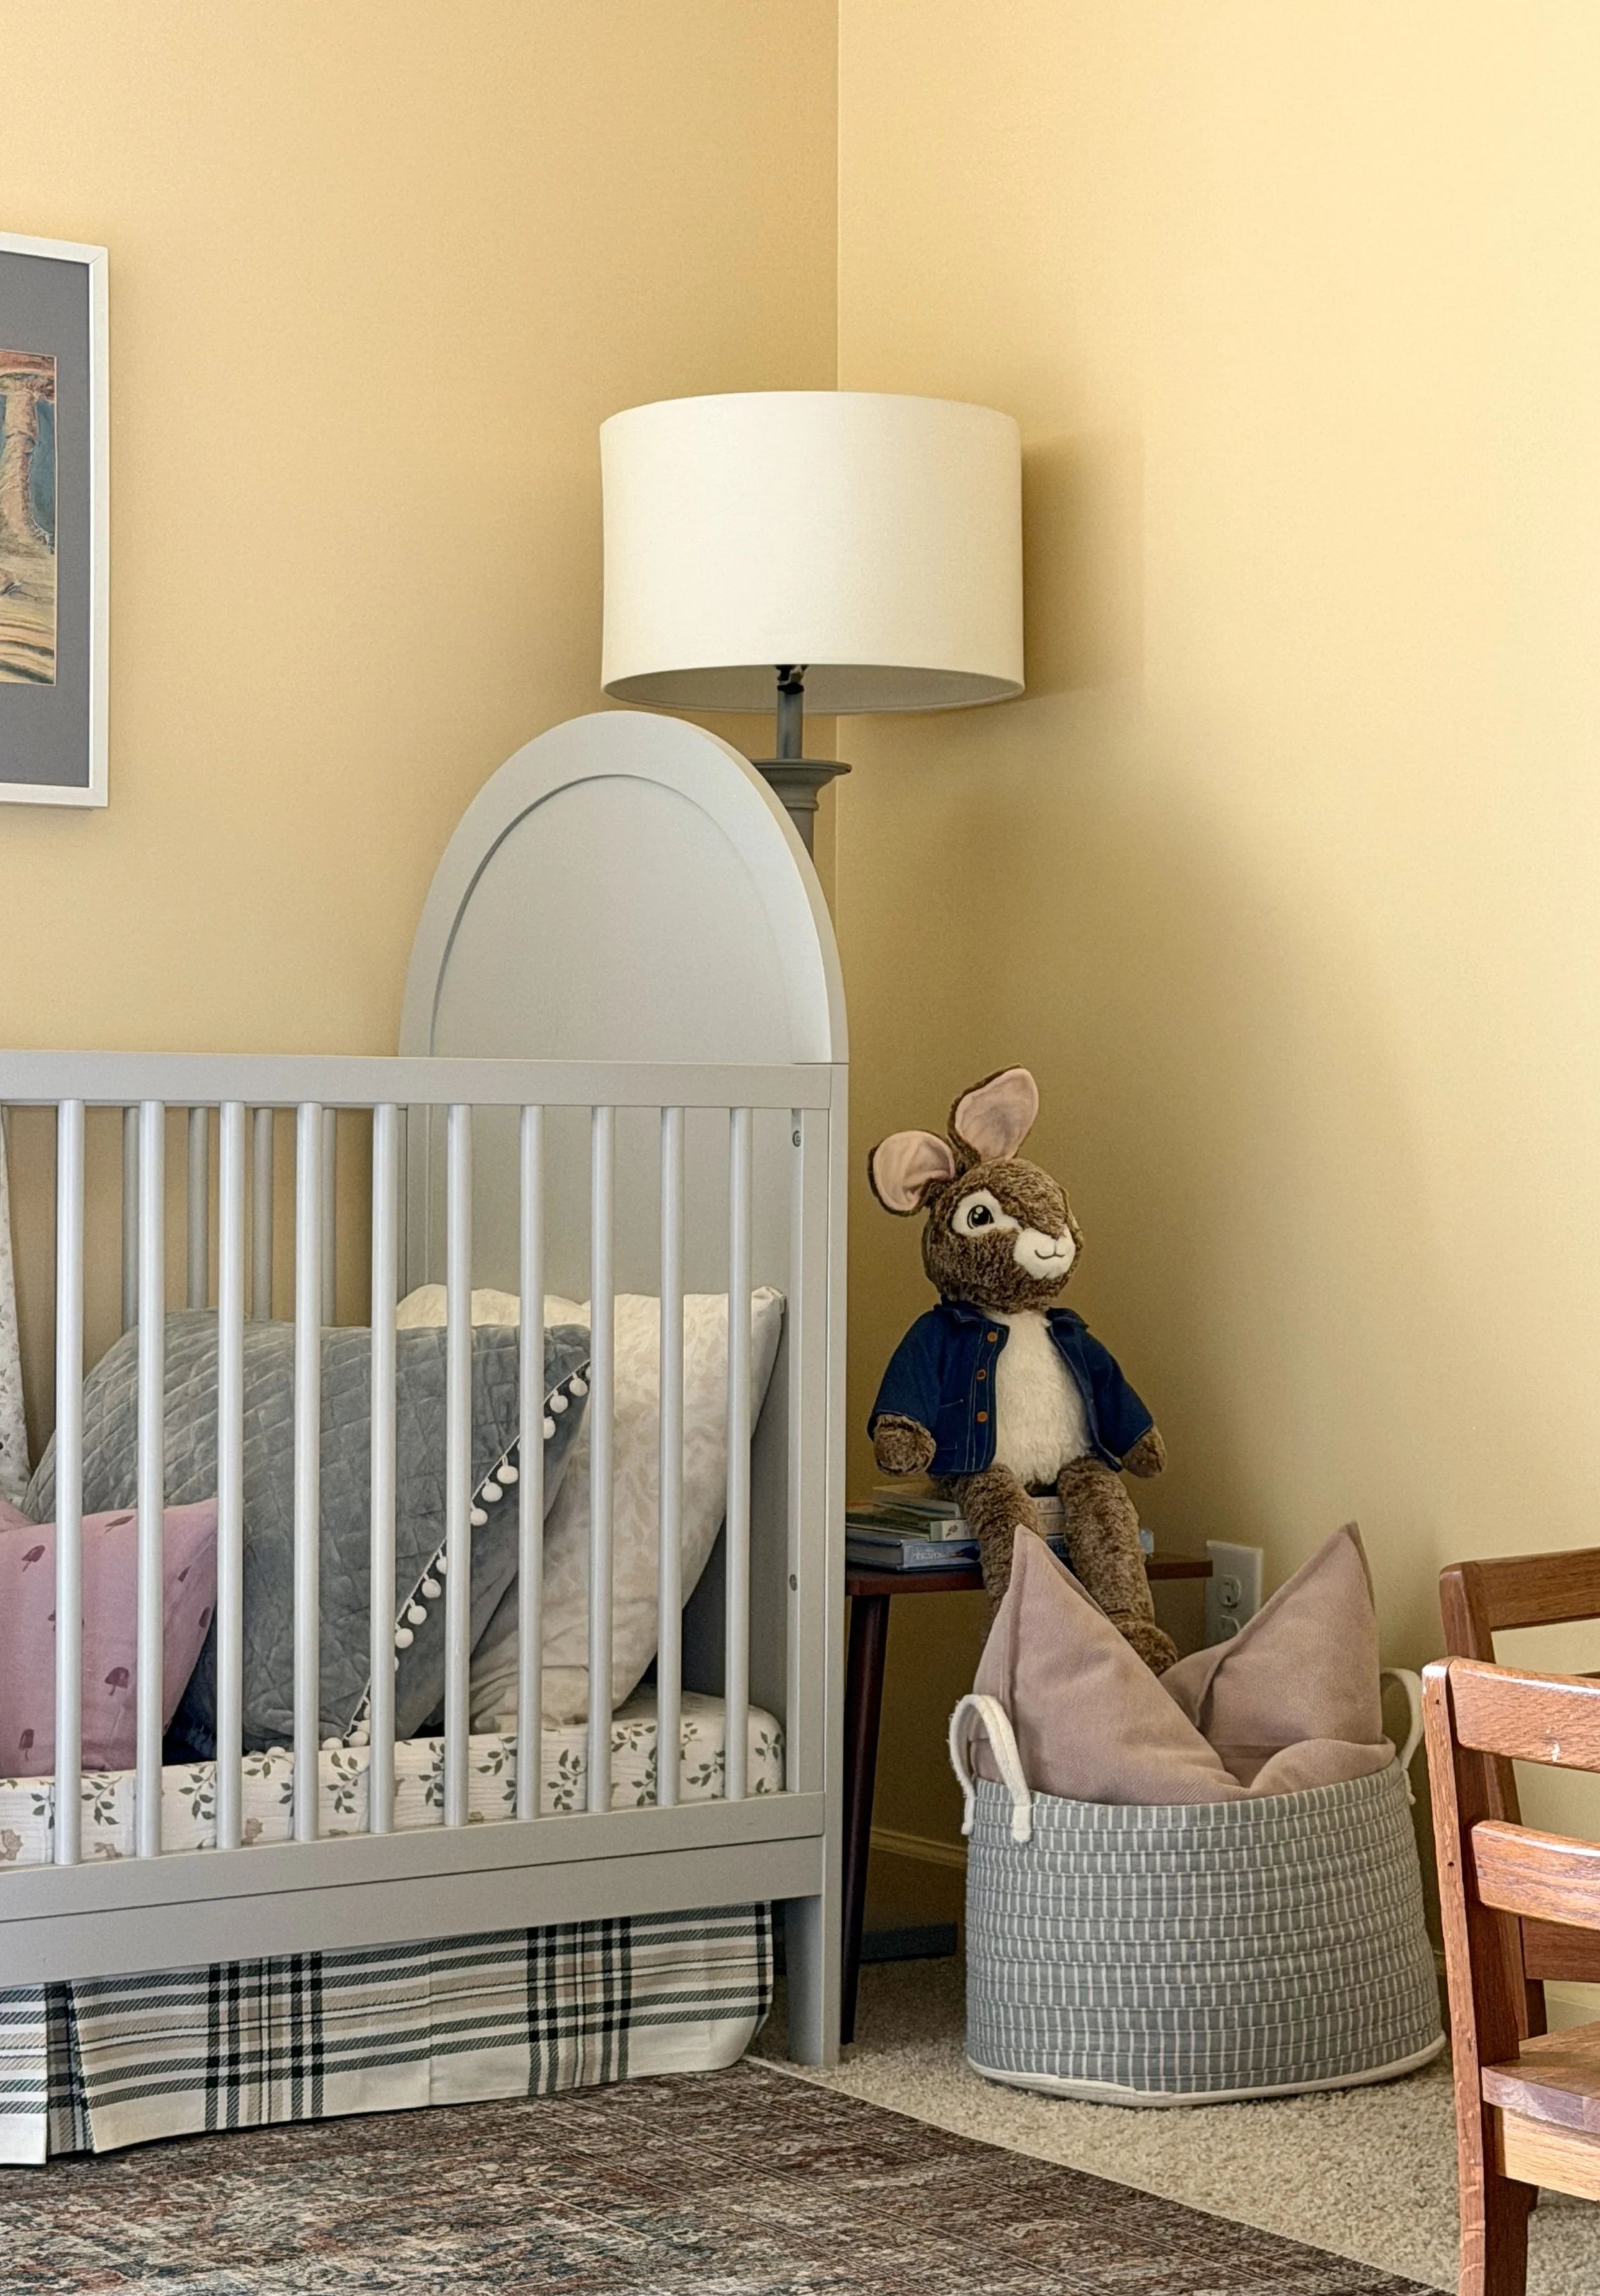
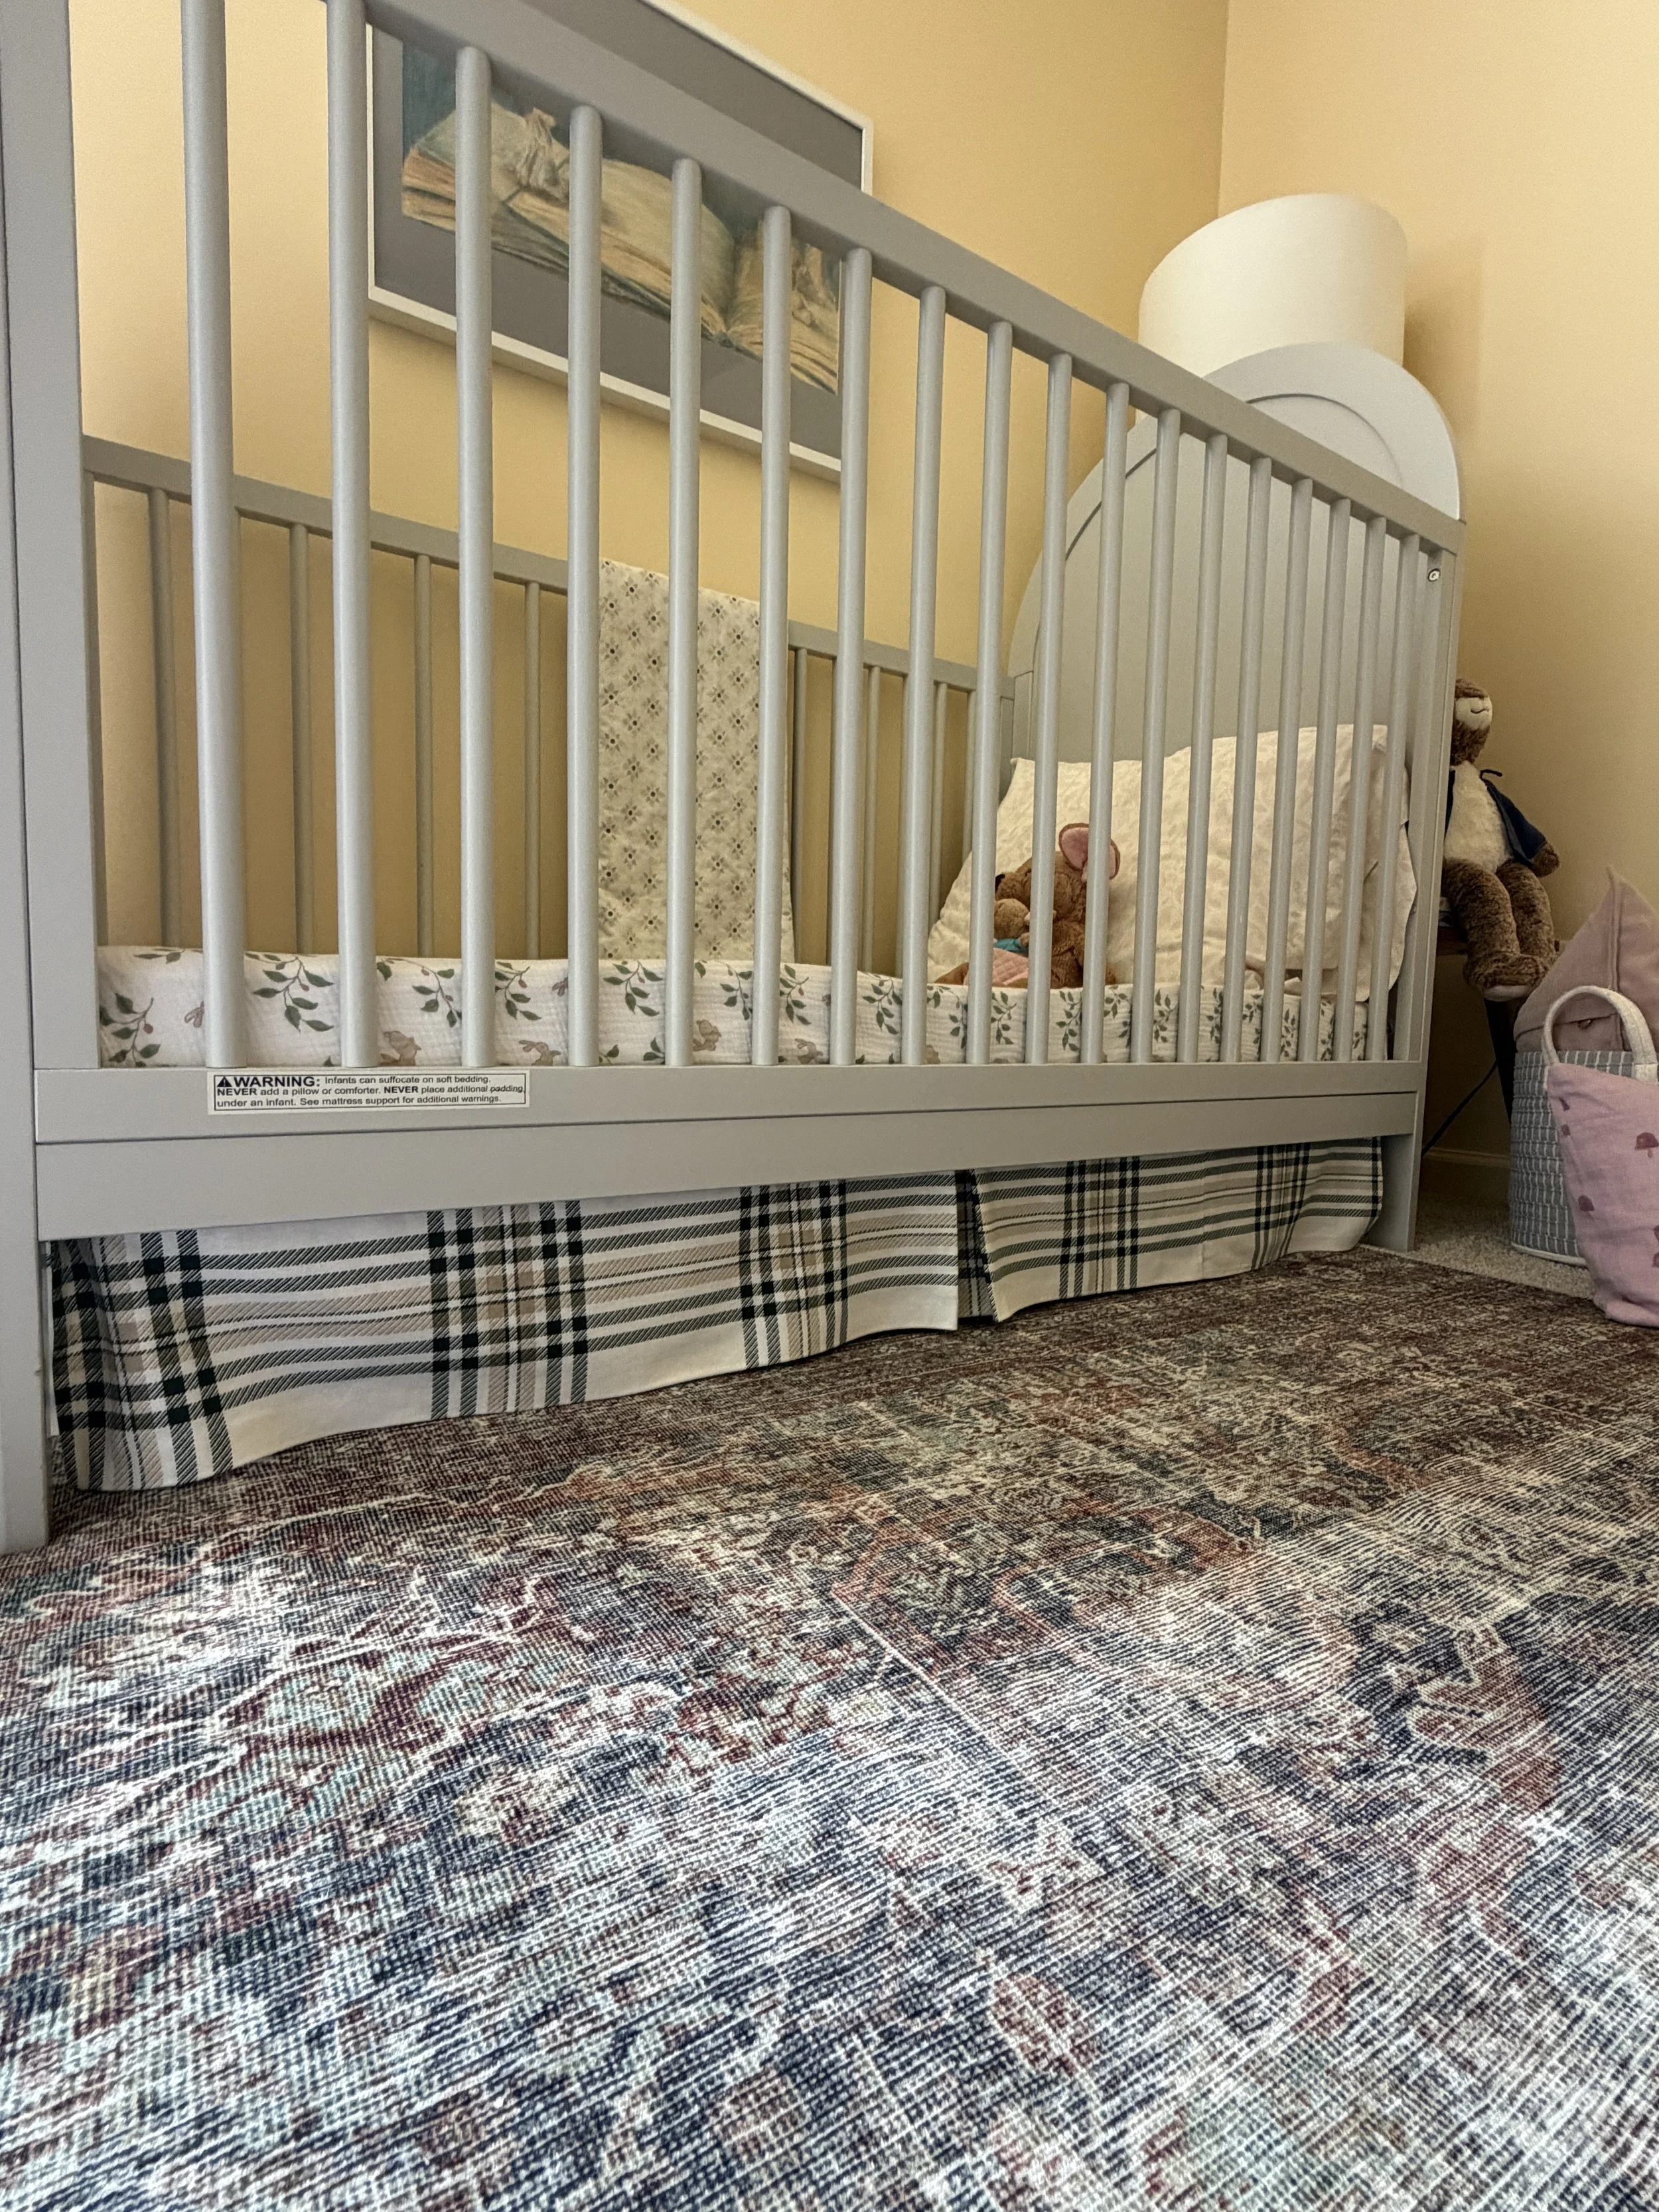
DIY Crib Skirt.
This is the 4th or 5th time I’ve made a crib skirt. The first one was 17 years ago and I did the full monty, full fabric panel with the side panels attached. Then I saw Sherry over on Young House Love when they set up their first nursery she hacked it with velcro. Blew my mind. So the next one I made I used the velcro method which also makes it easy to adjust the height as you drop the mattress. I unfortunately don’t have pictures of the process, but I literally just used hem tape, the leftover fabric from the mini crib skirt I made for her first crib, and the swing seat. I measured the length, with room for the pleat in the middle and folded it over with the hem tape. Then if your crib bottom is solid you use double sided velcro, one on the crib side and one on the fabric and secure. This crib has a wire bottom, so currently the skirt is just tucked in under the mattress, but I will be getting a thing piece of plywood and will cut it to the length and then apply the velcro to that, making it easier to change the sheets out without dealing with readjusting the skirt a million times.
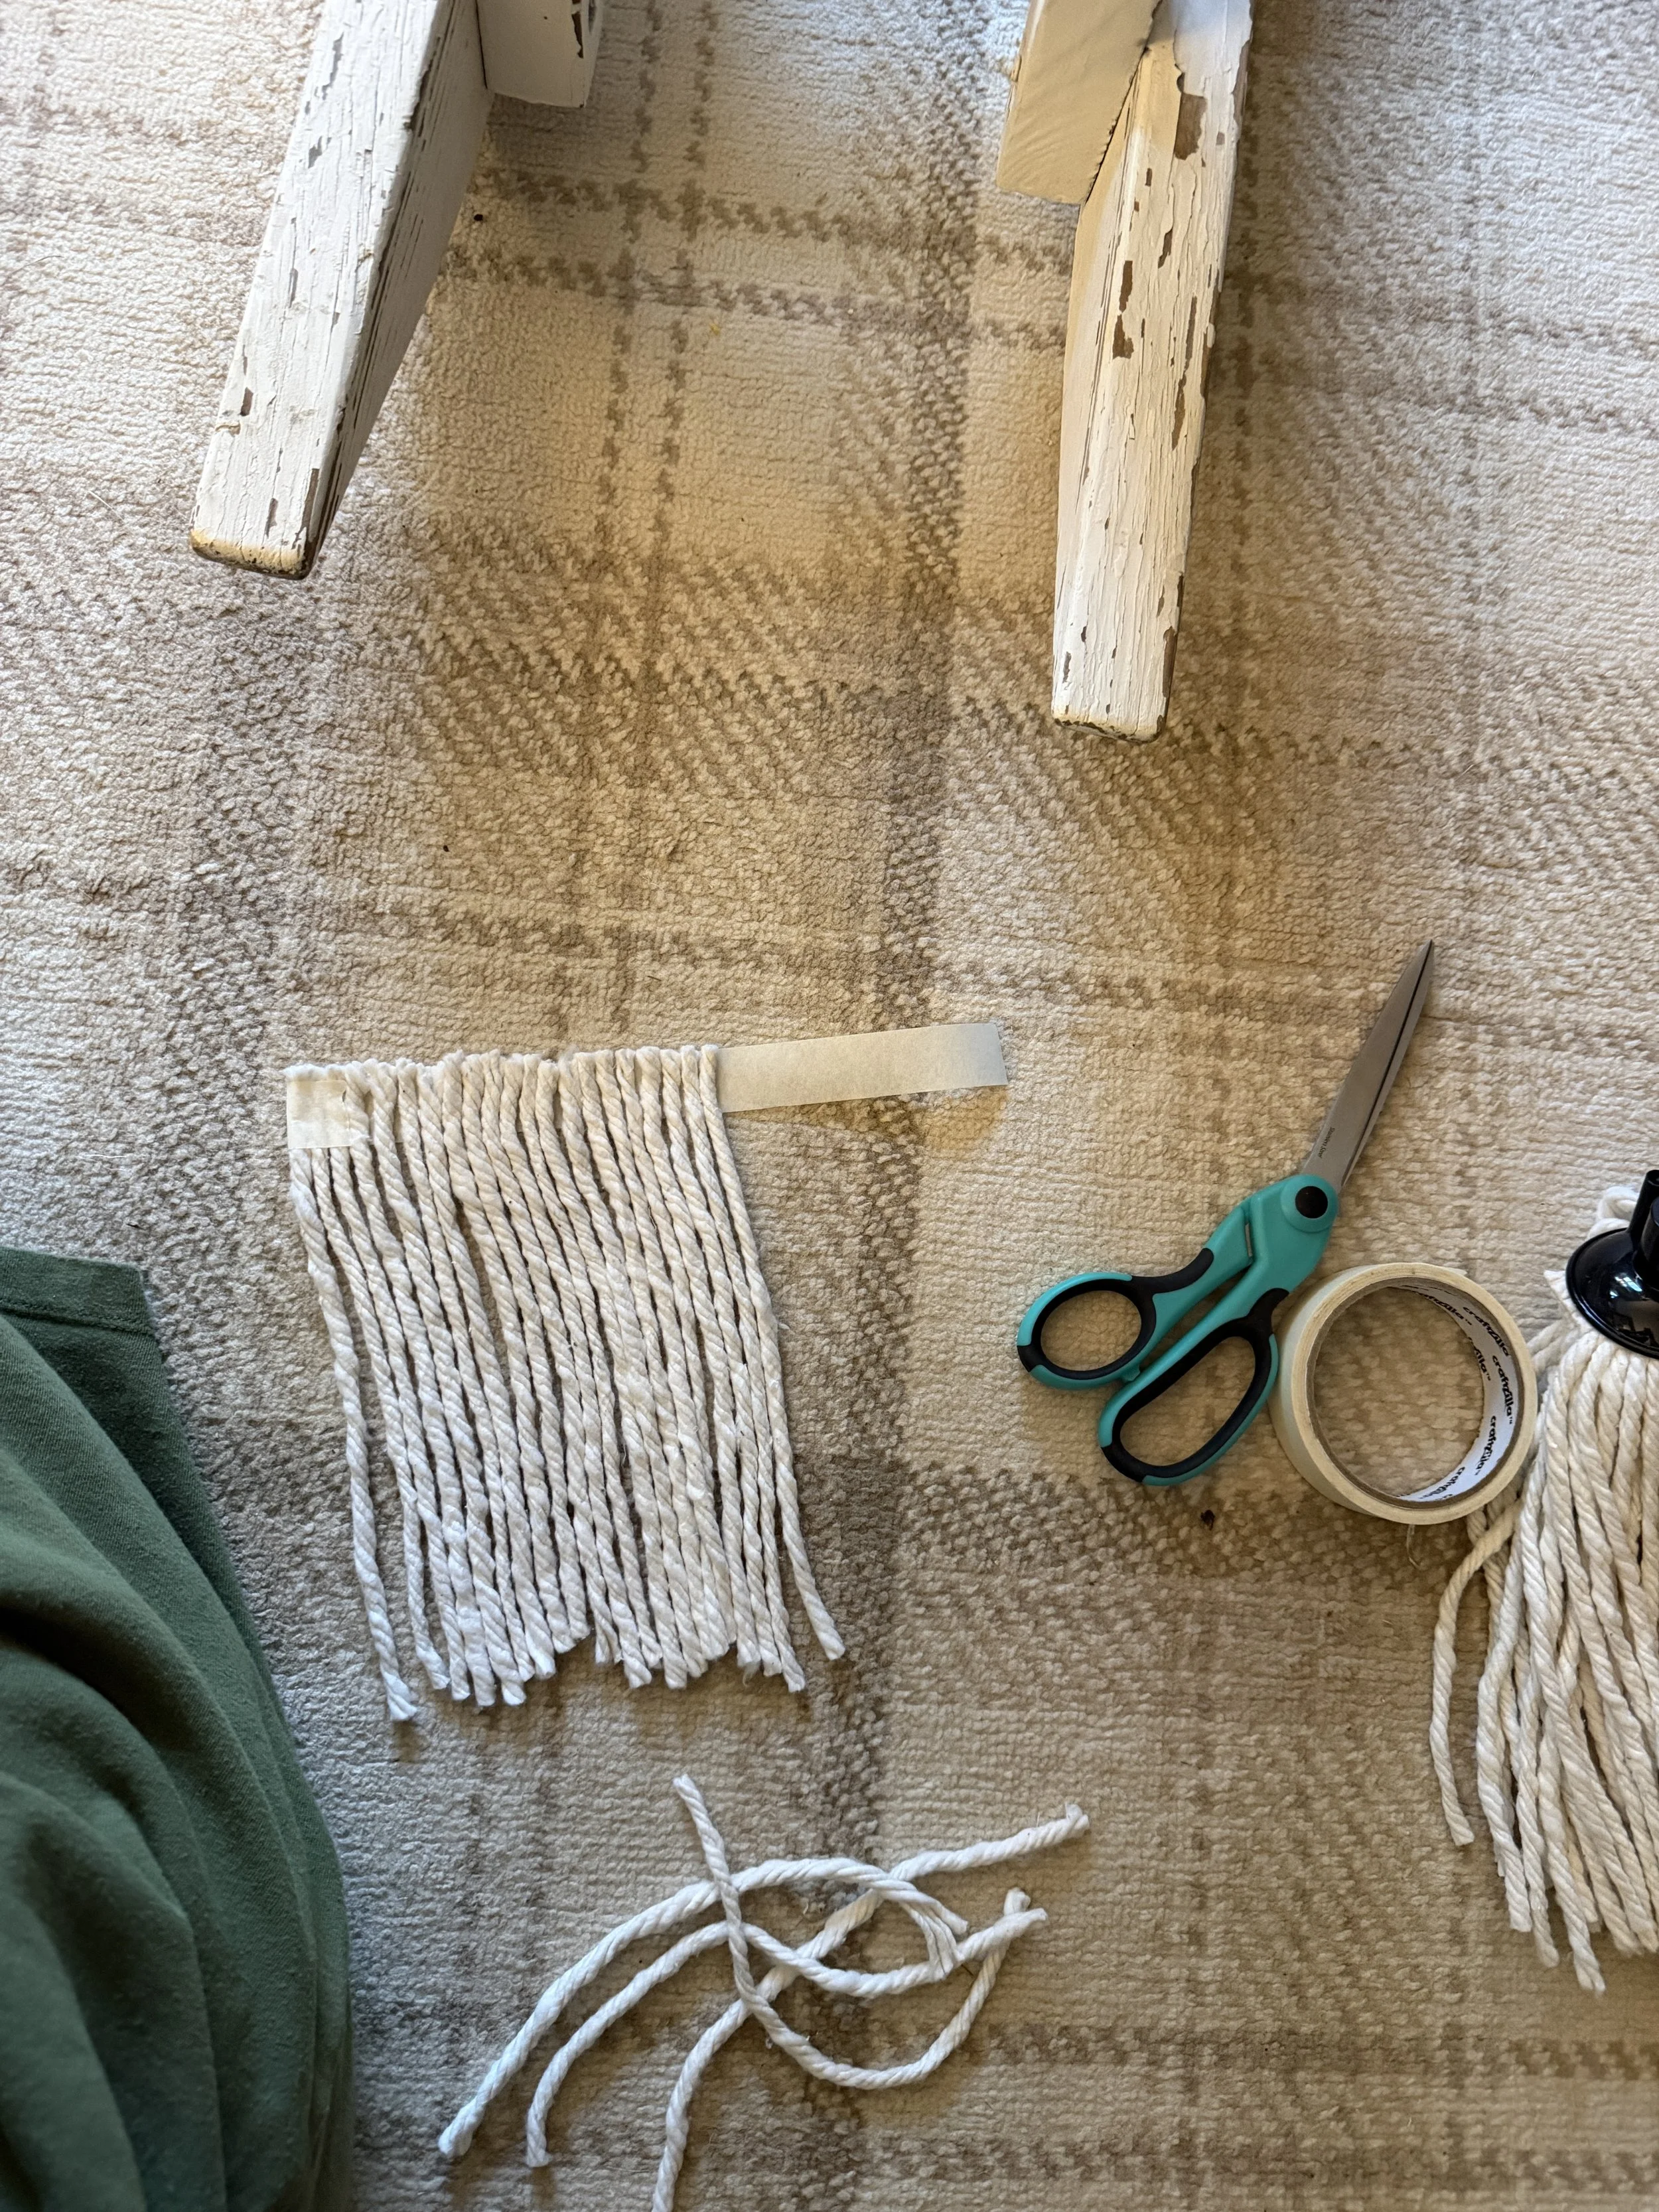
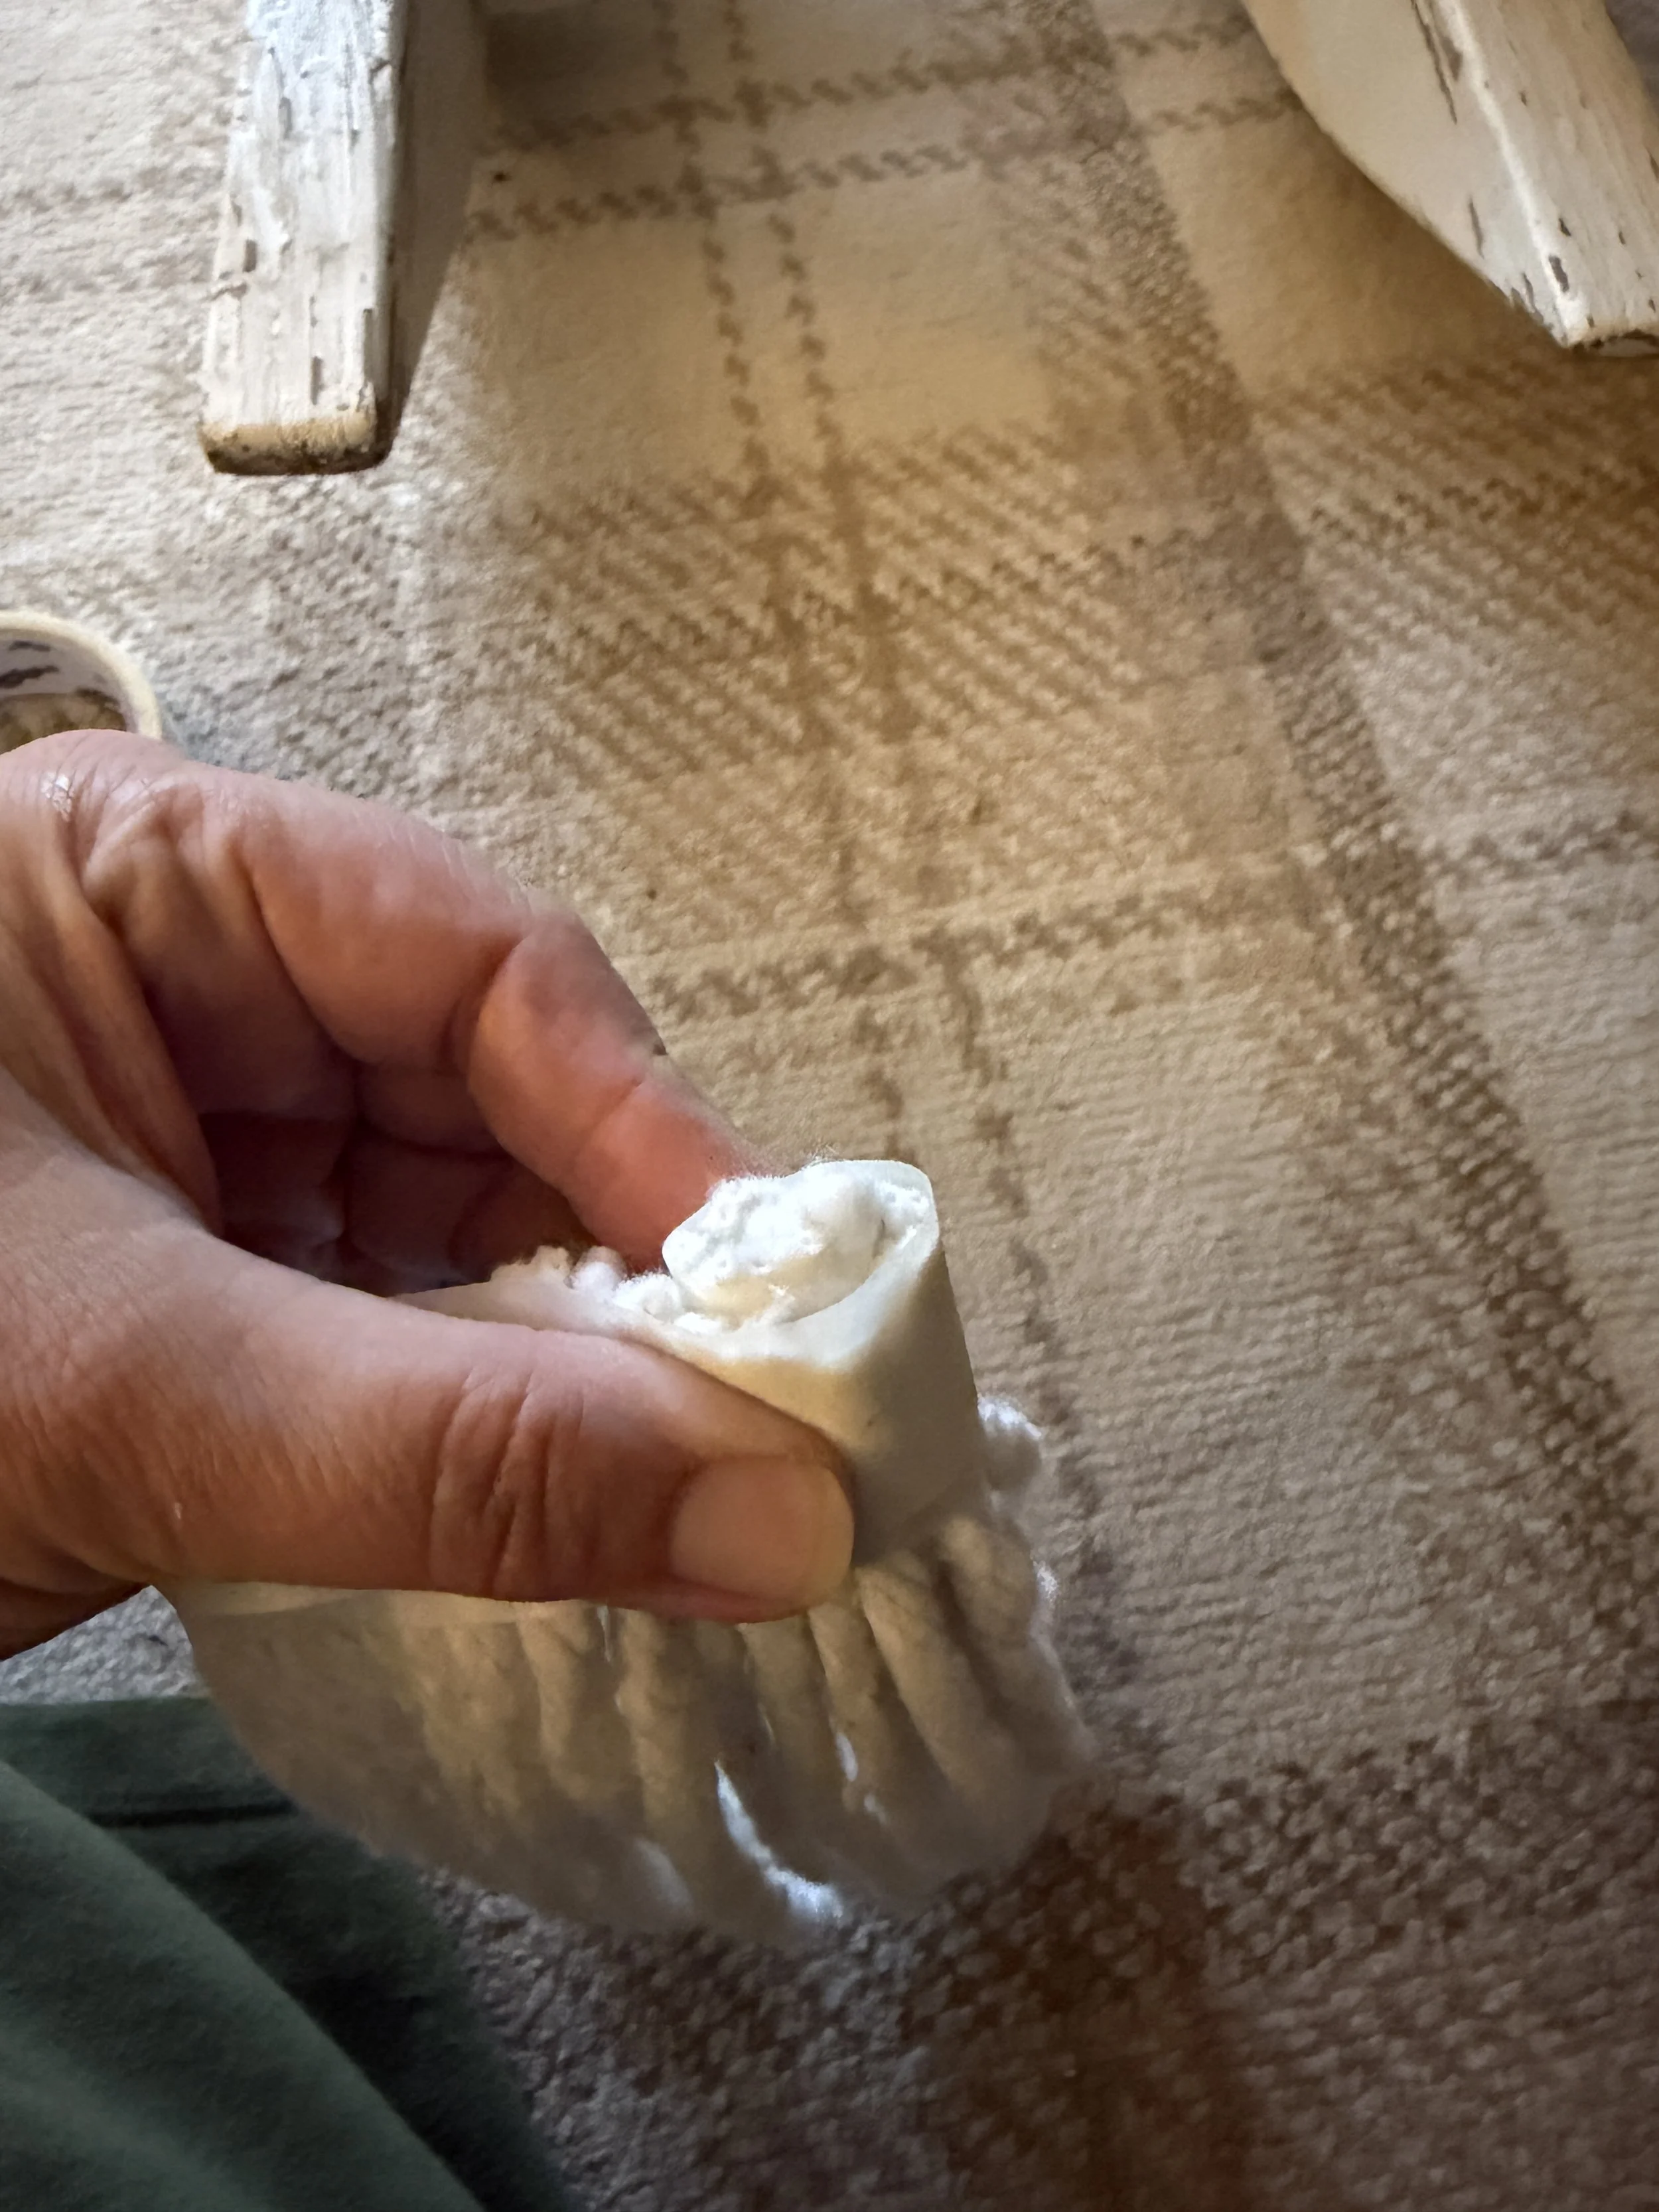
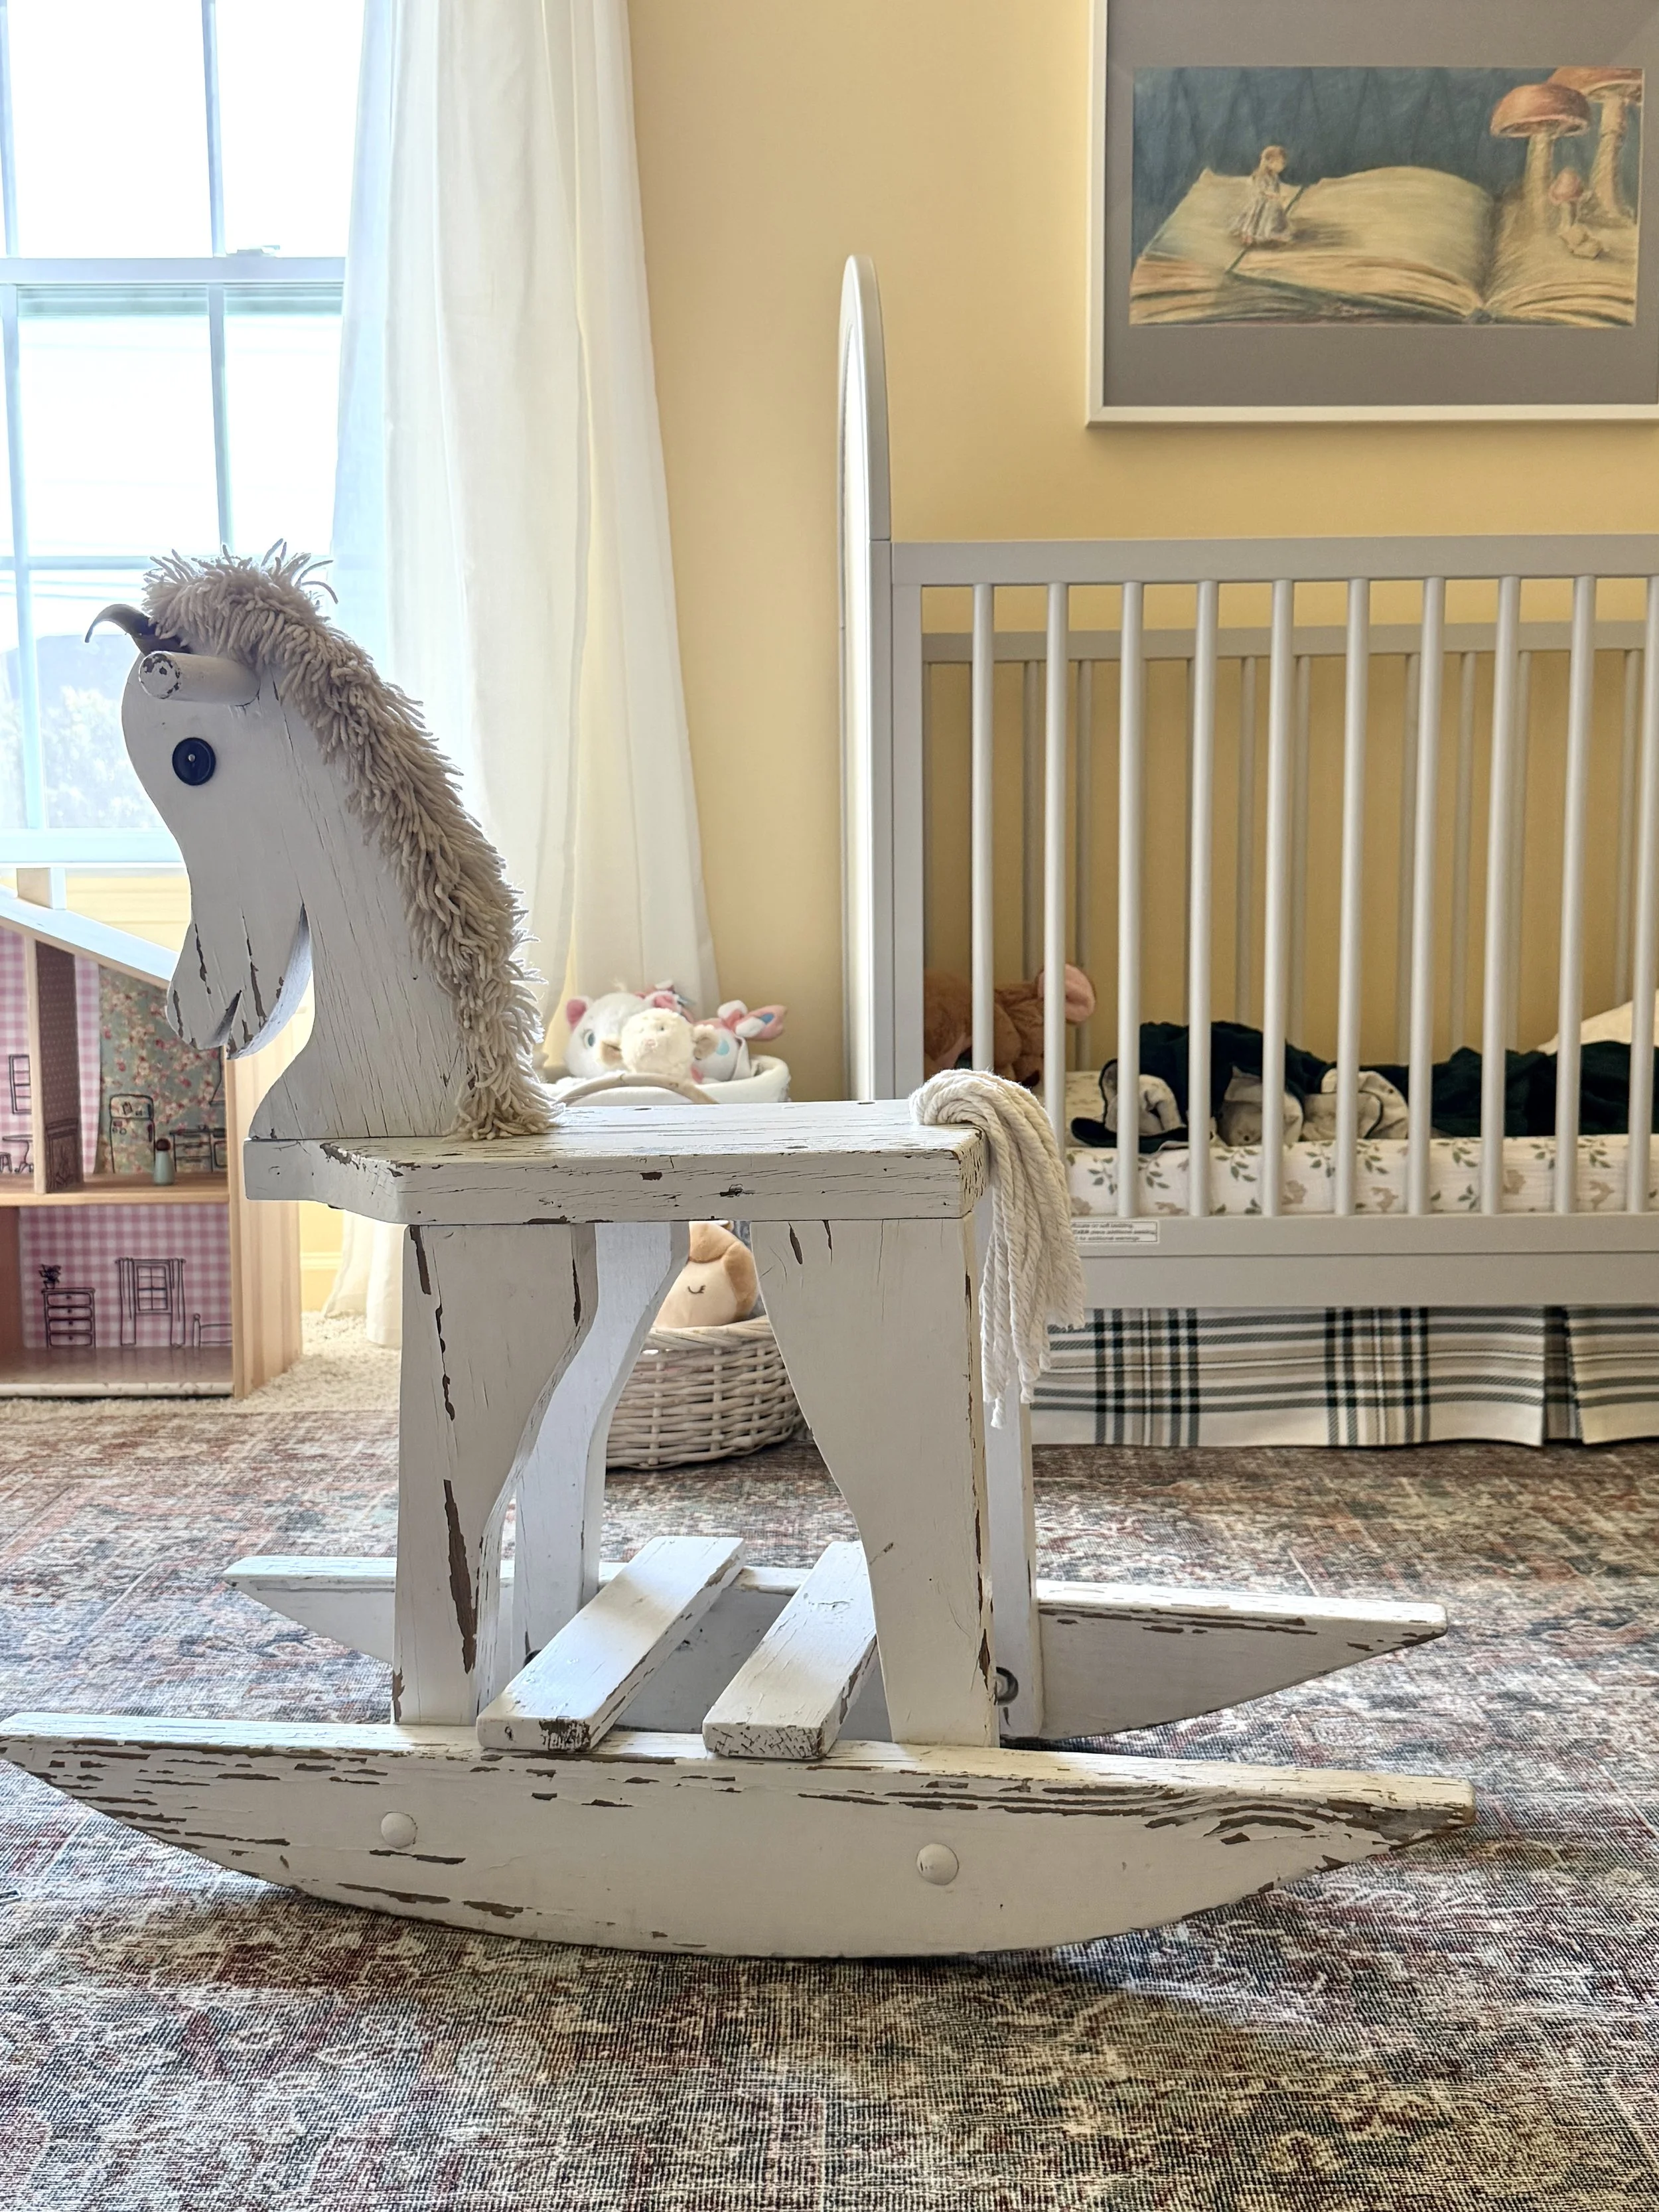
DIY Rocking Horse Tail.
I snagged this adorable handmade rocking horse from our local Buy Nothing Group. It needed a new tail. Google was not any help, neither was Pintrest so I had to wing it. So I grabbed a mop head from Dollar Tree and a roll of cream colored masking tape and my shears. I literally just cut the strings off the mop head, taped them onto a length of masking tape, rolled it up until it fit snugly into the hole for the tail. I didn’t even need to use glue or anything, it fits just right.
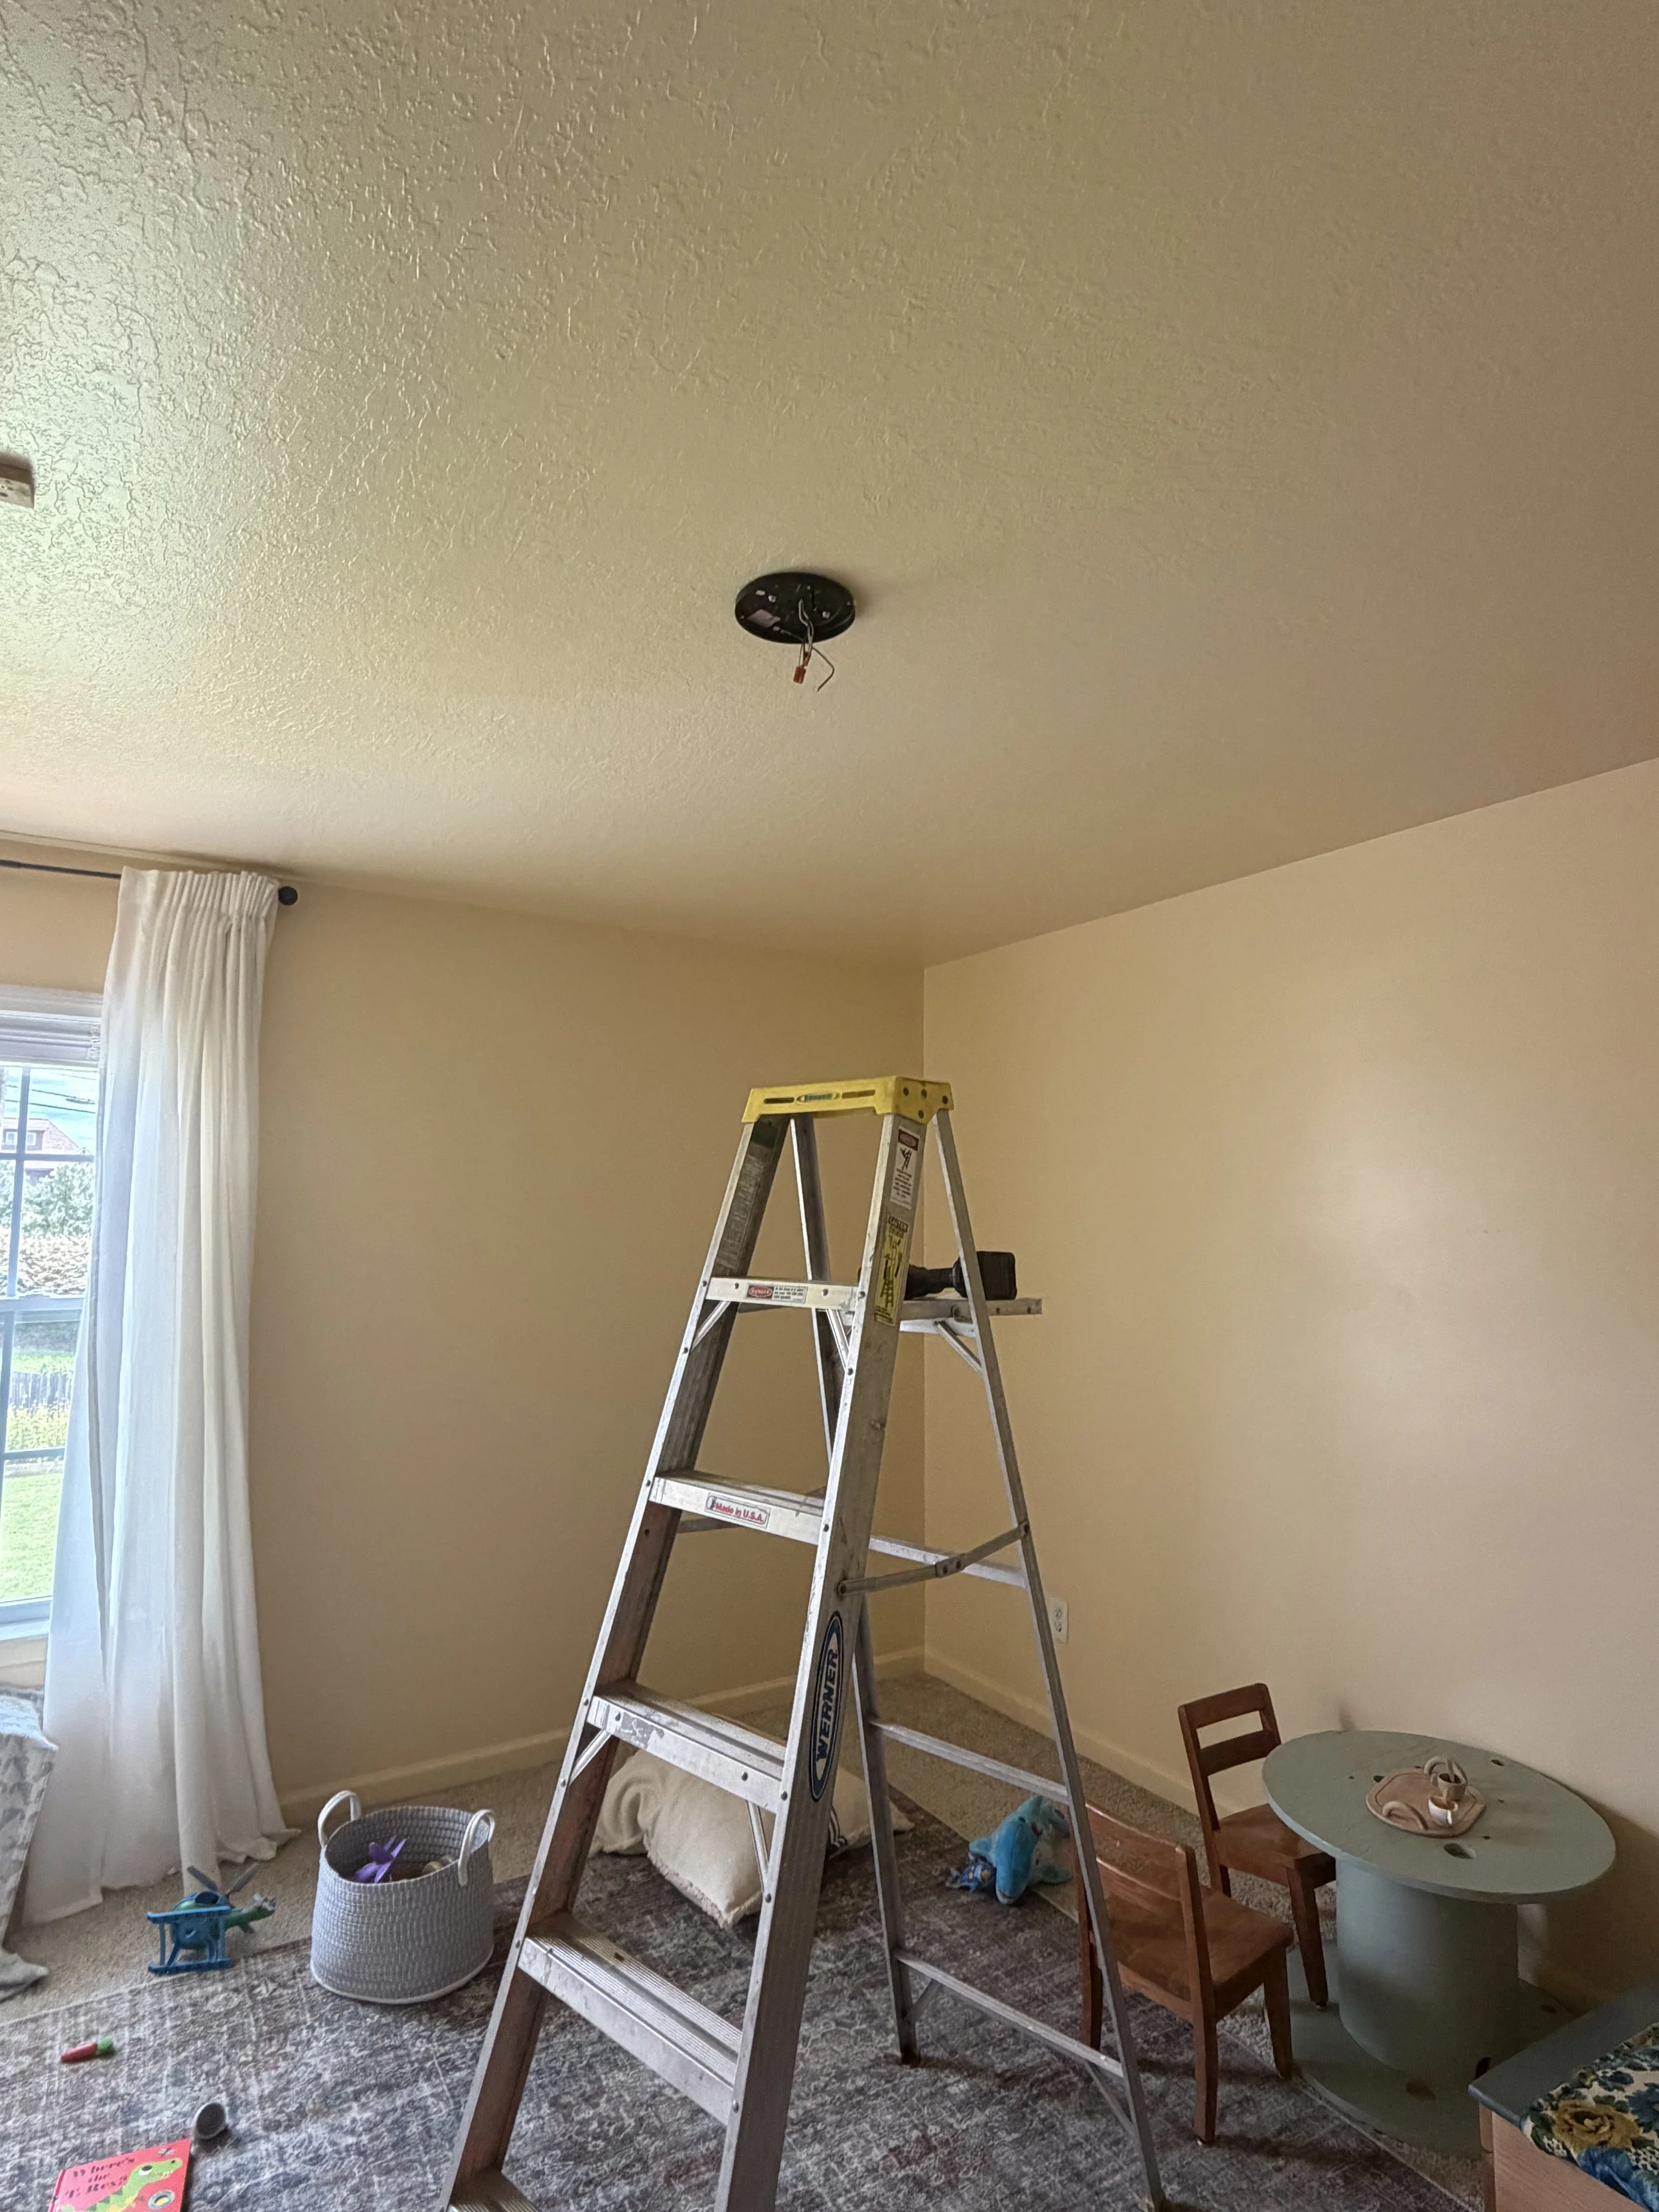
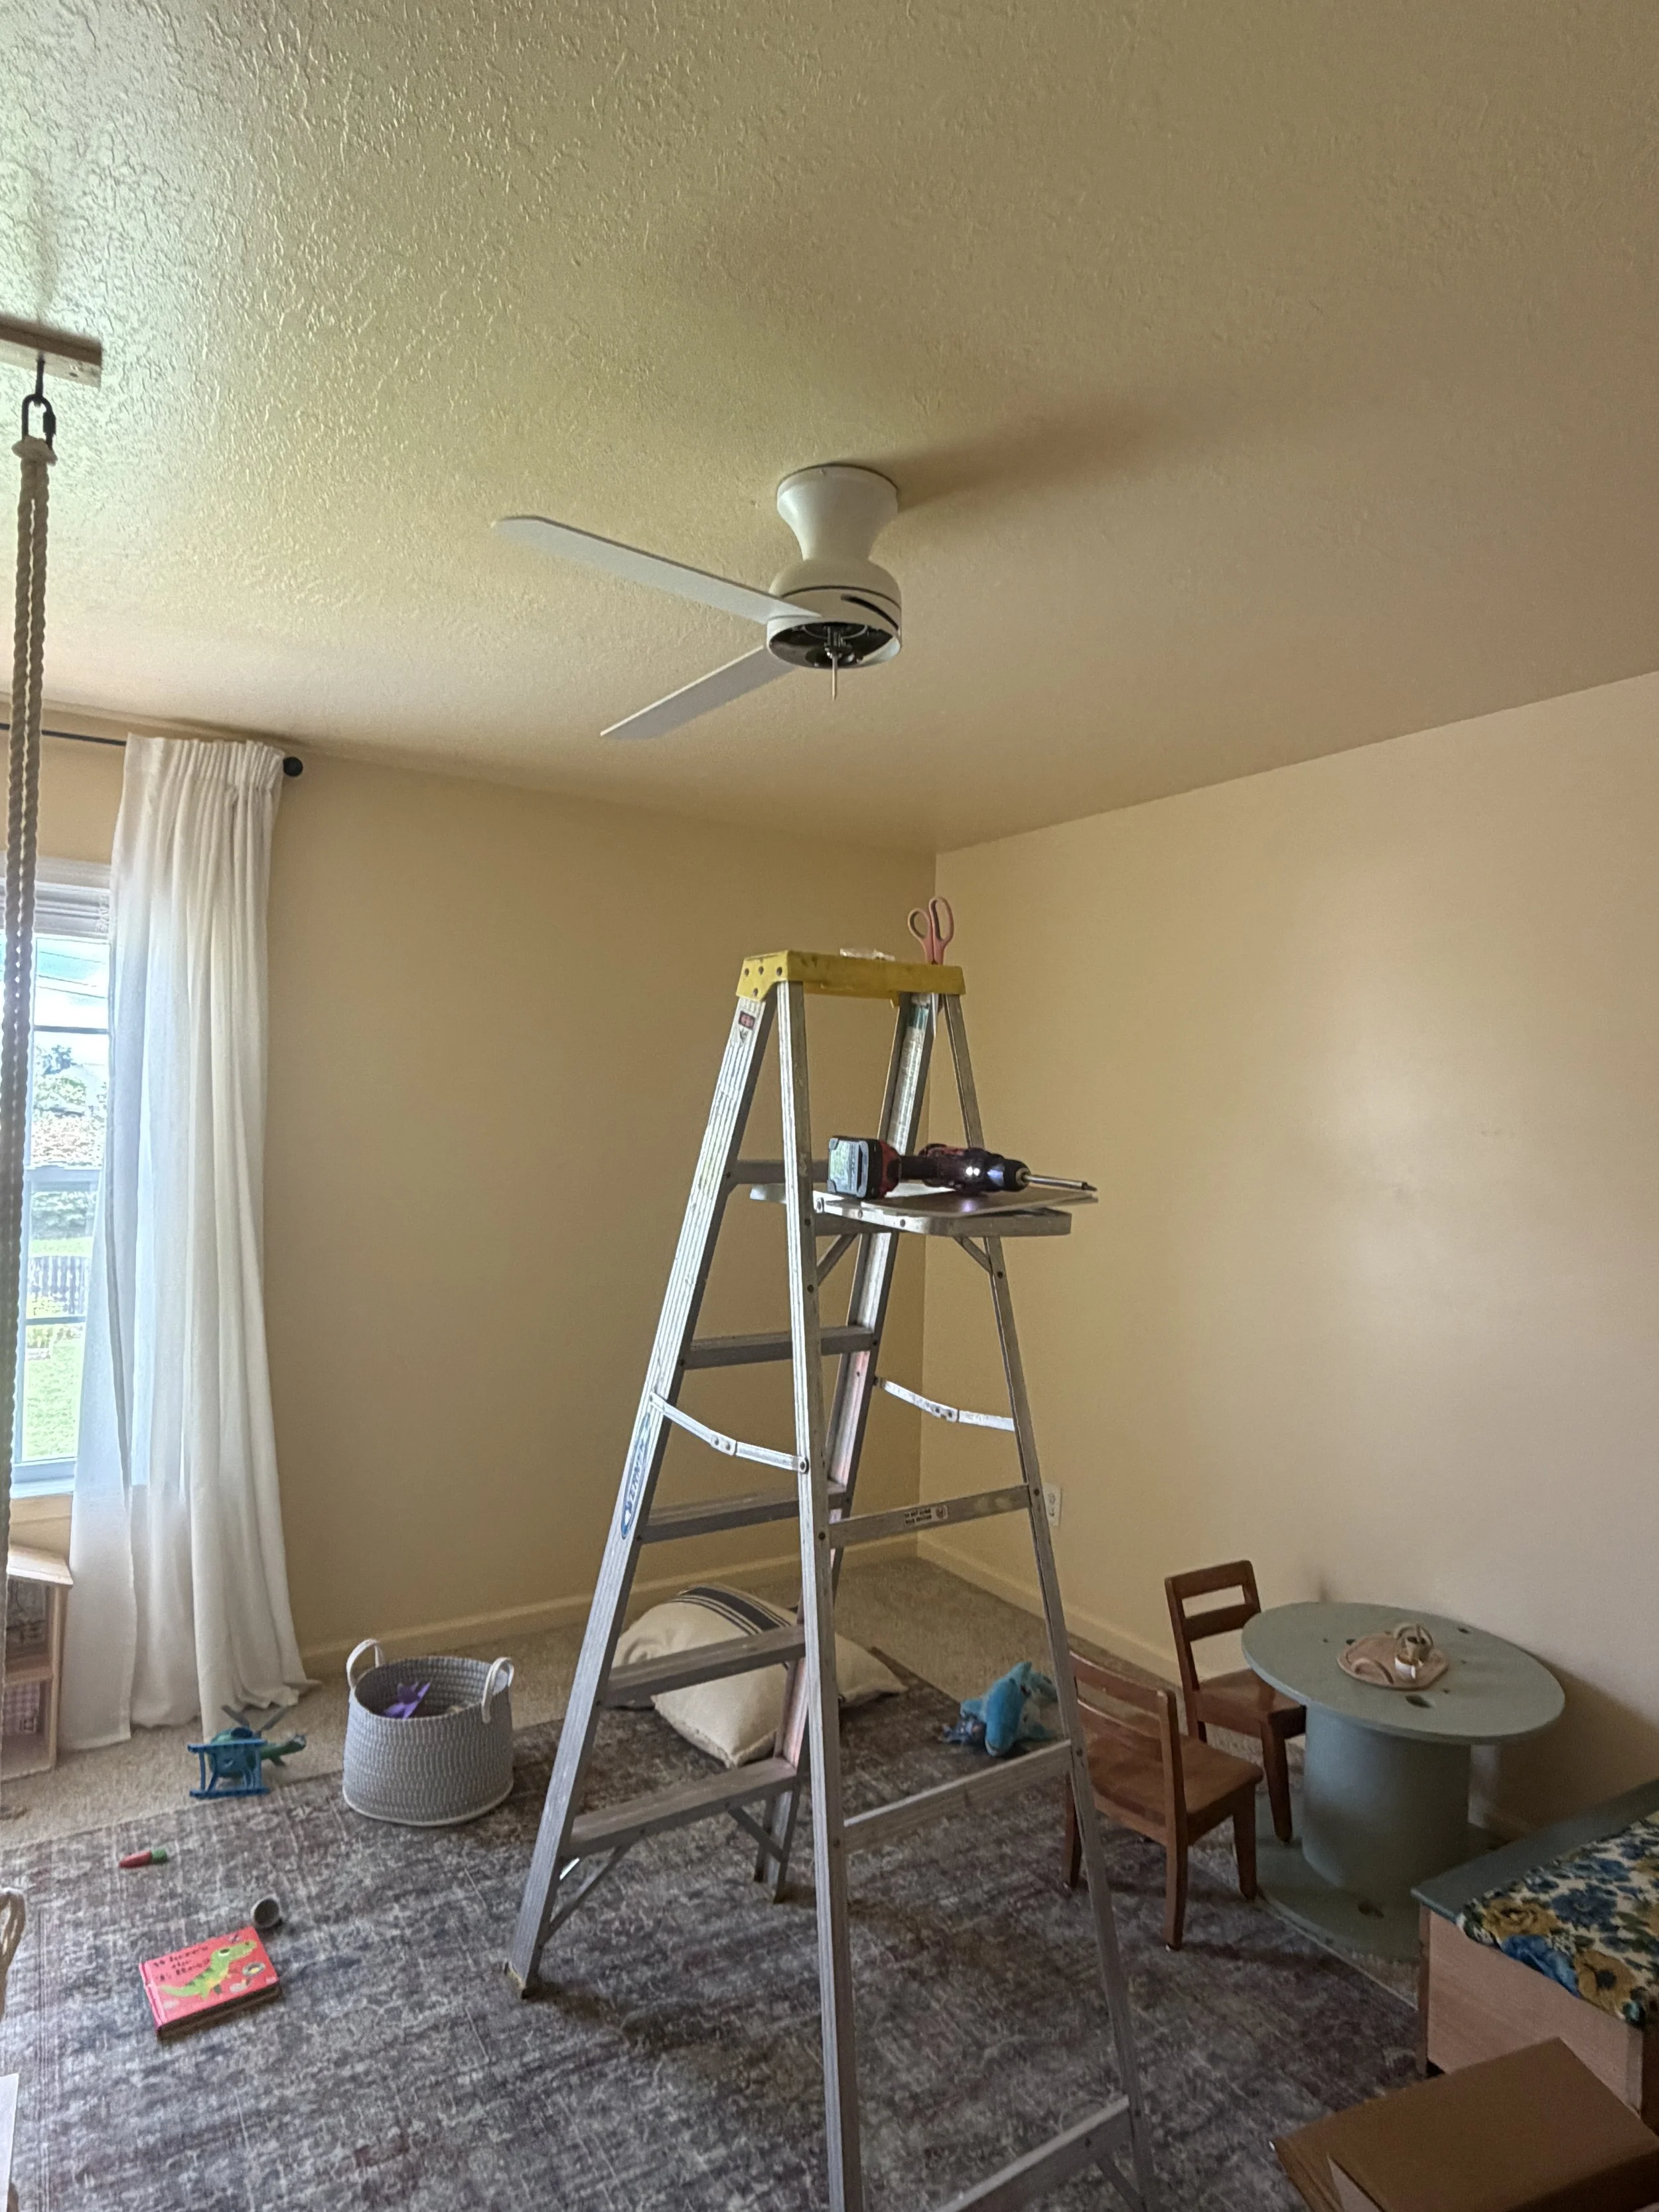
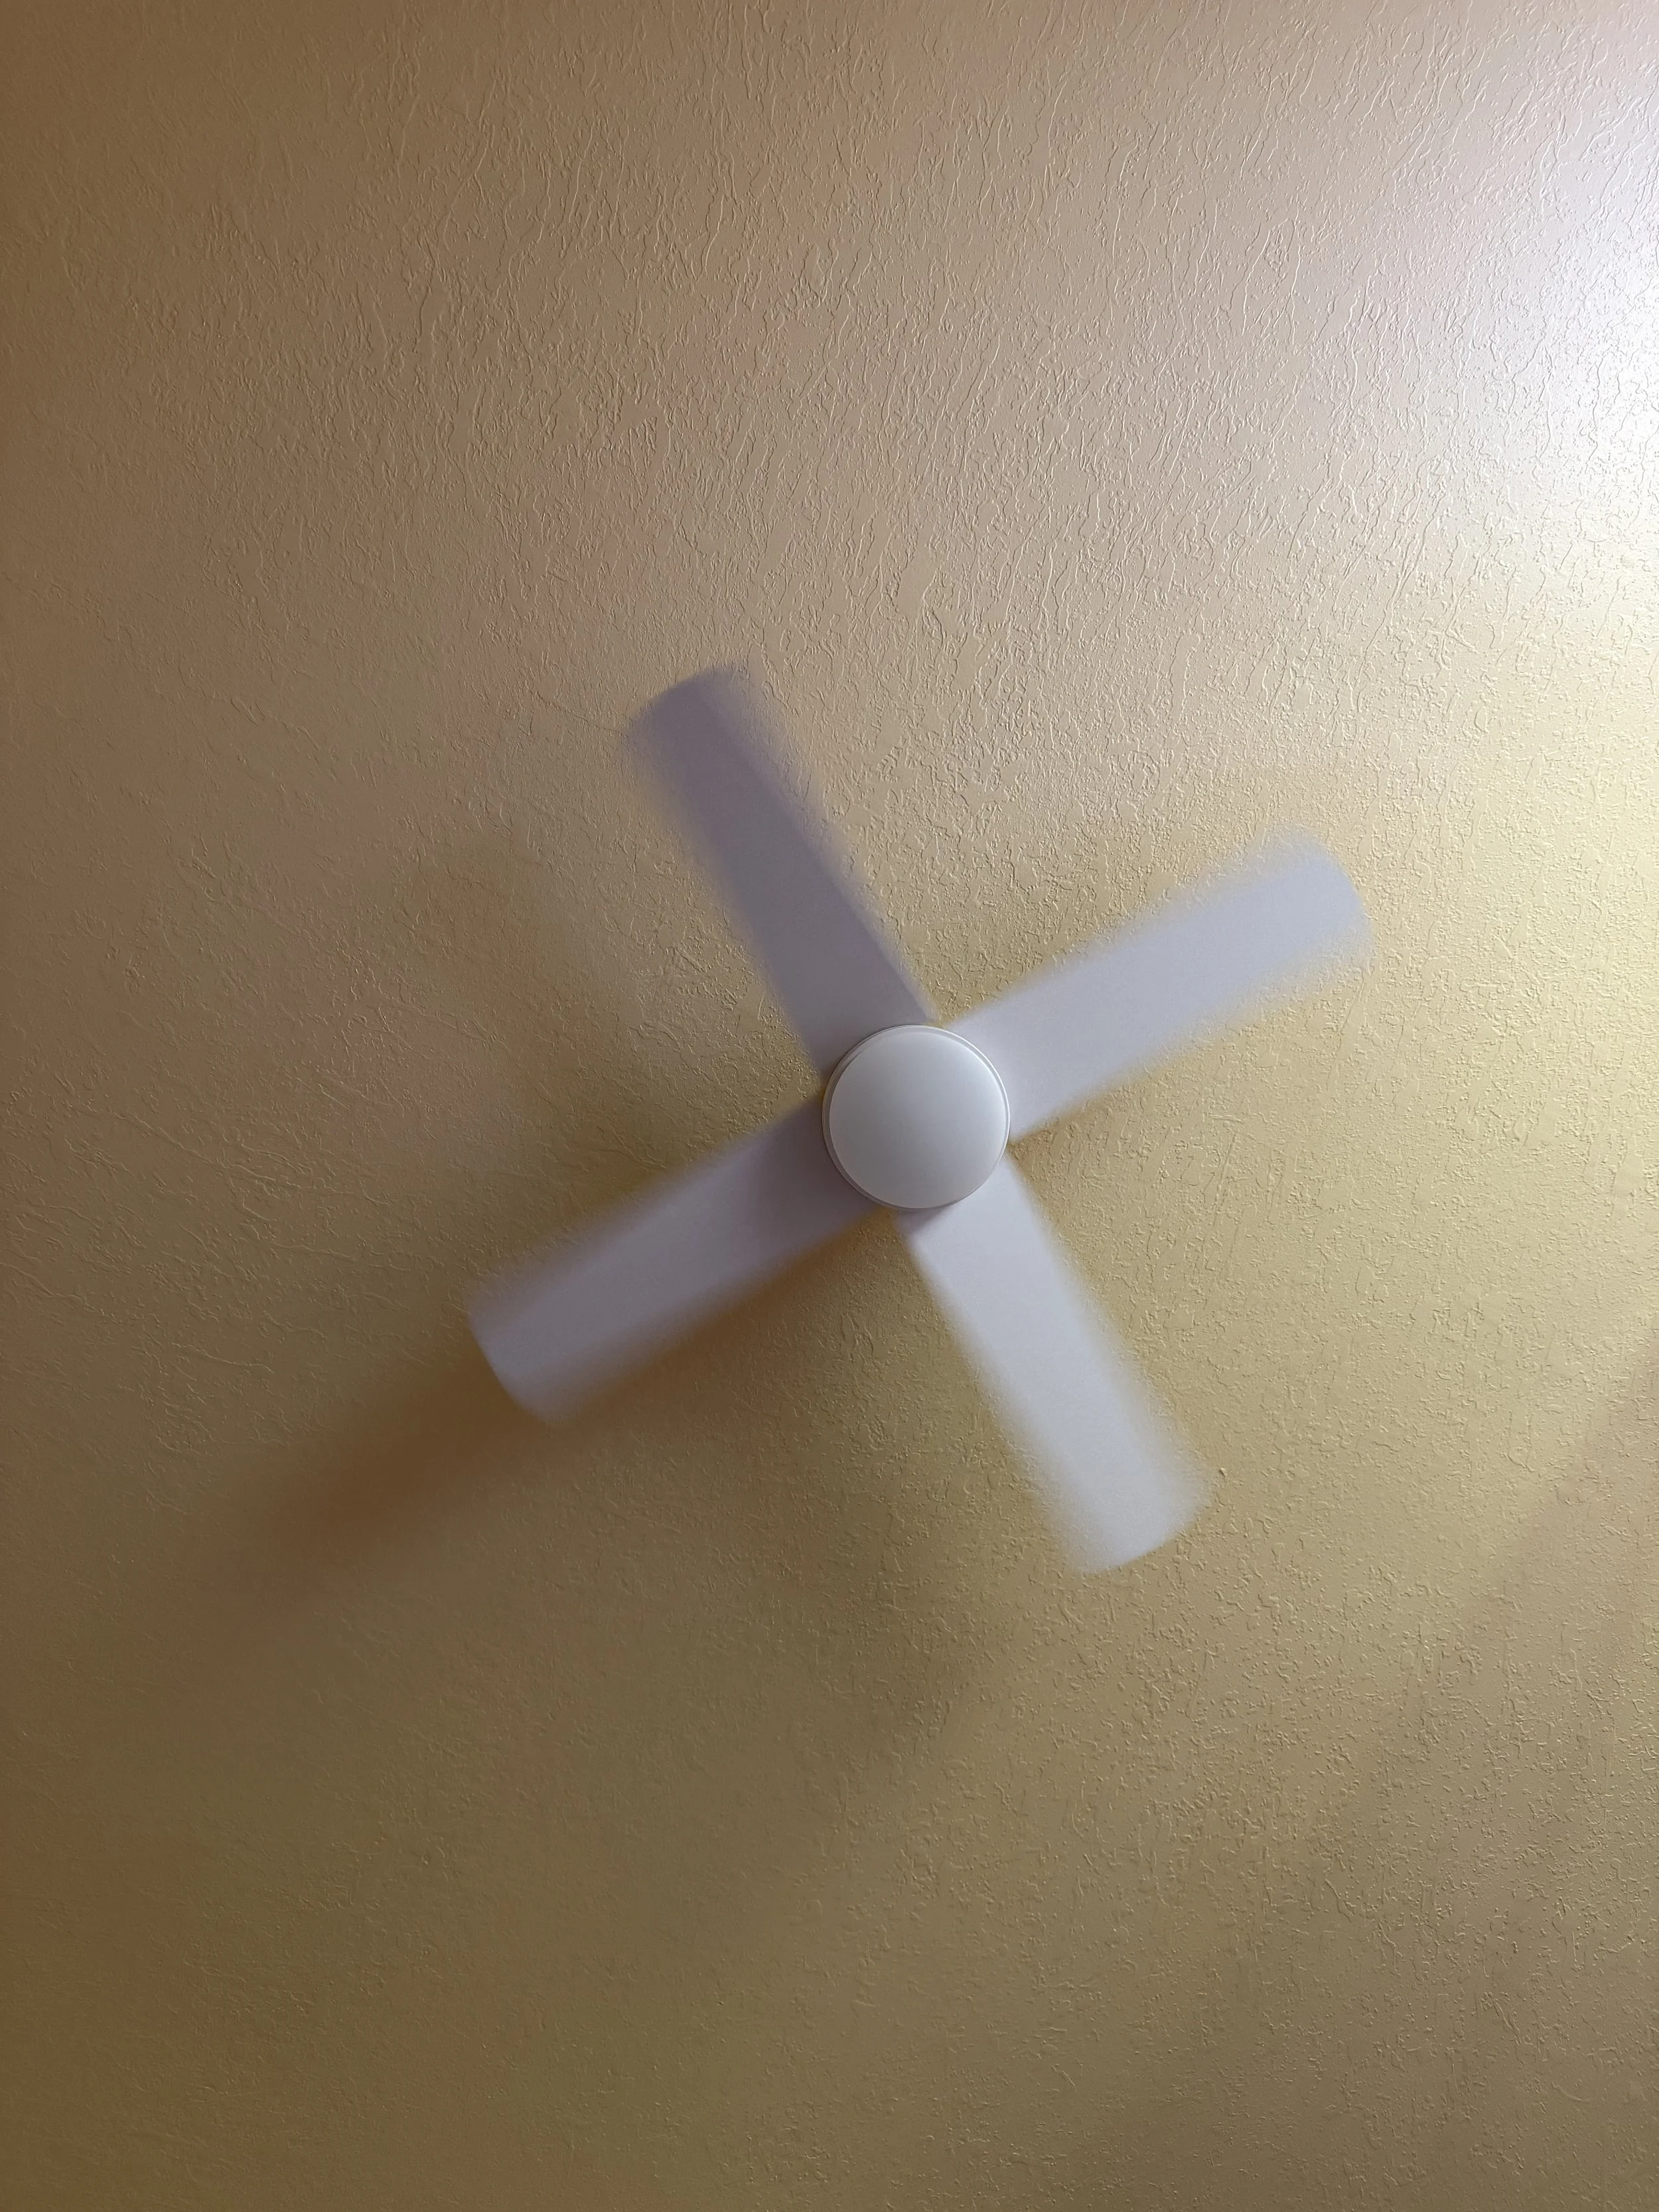
DIY Fan Replacement.
Most home electrical projects are totally DIY-able. Fans are actually really easy to install. Flip the breaker, make sure the switch is off, and if you want an extra layer of protection you can grab an outlet tester which will tell you if wires are live or not. Then it’s as simple as following the directions, most fans have a hook for you to hook the heavy part on while you are wiring it in so you don’t have to hold the heavy motor part up and wire at the same time. Boom, new fan, no electrician bill.
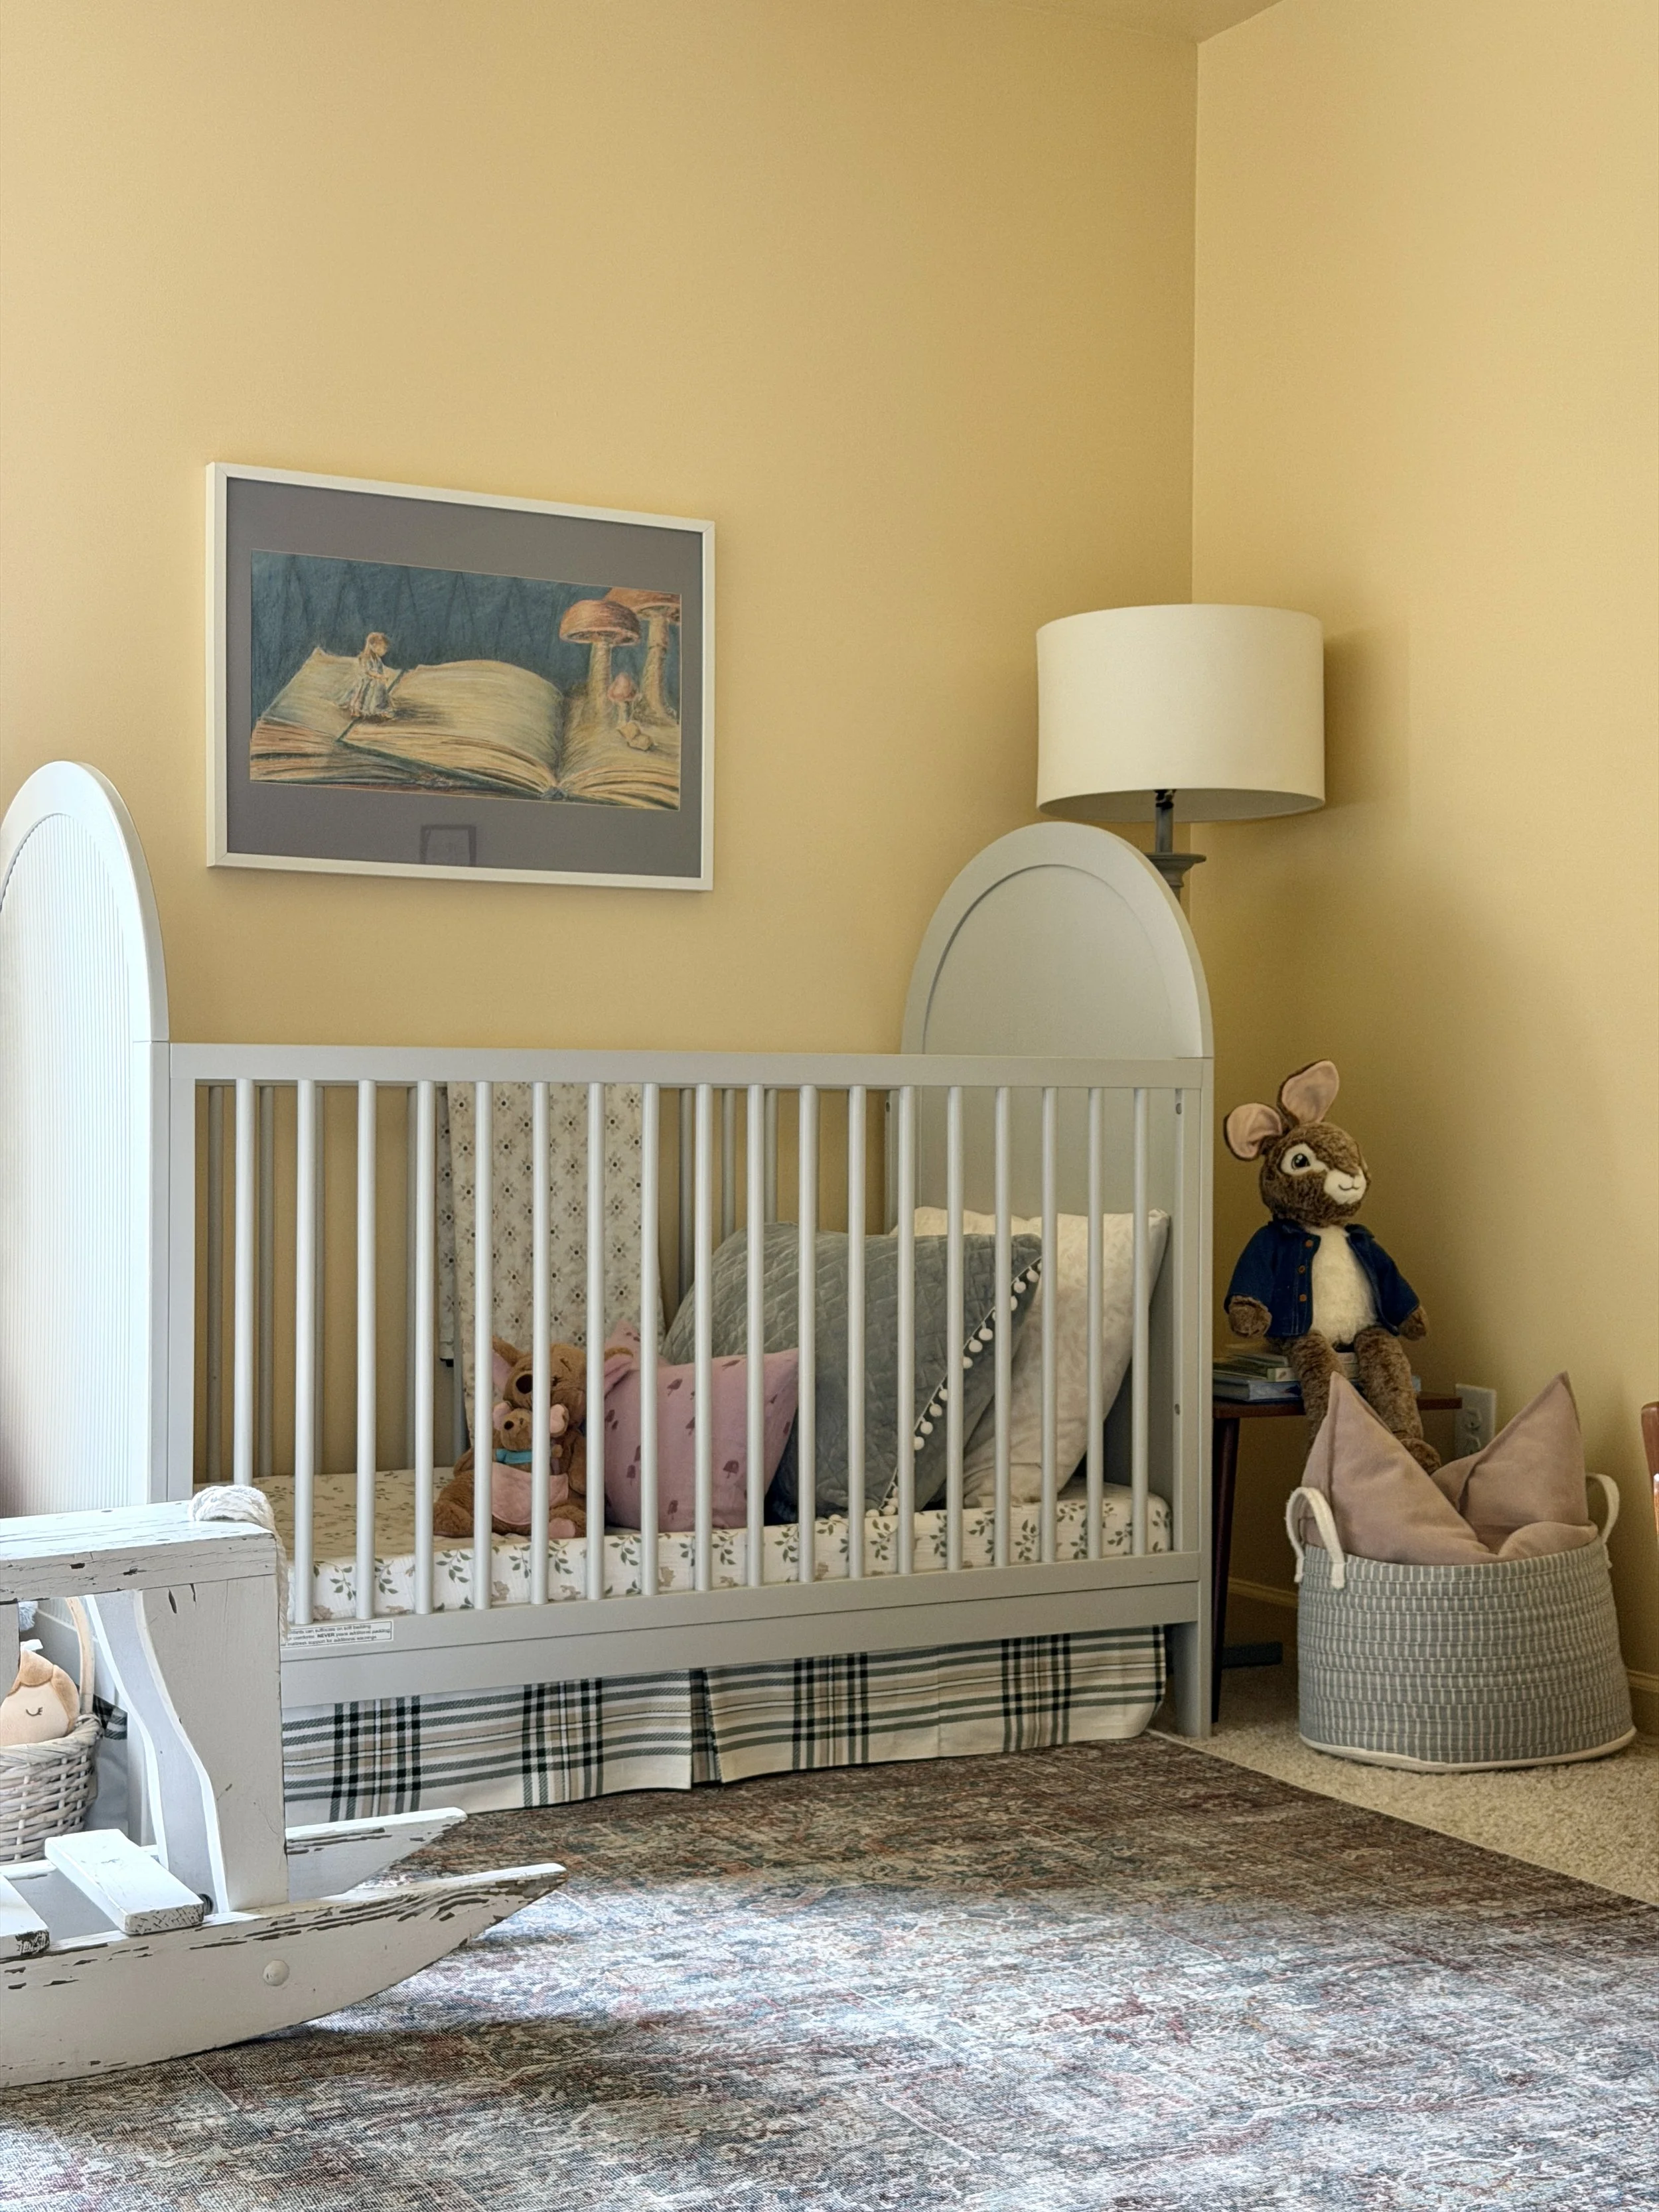
Artwork and Drawer Liners
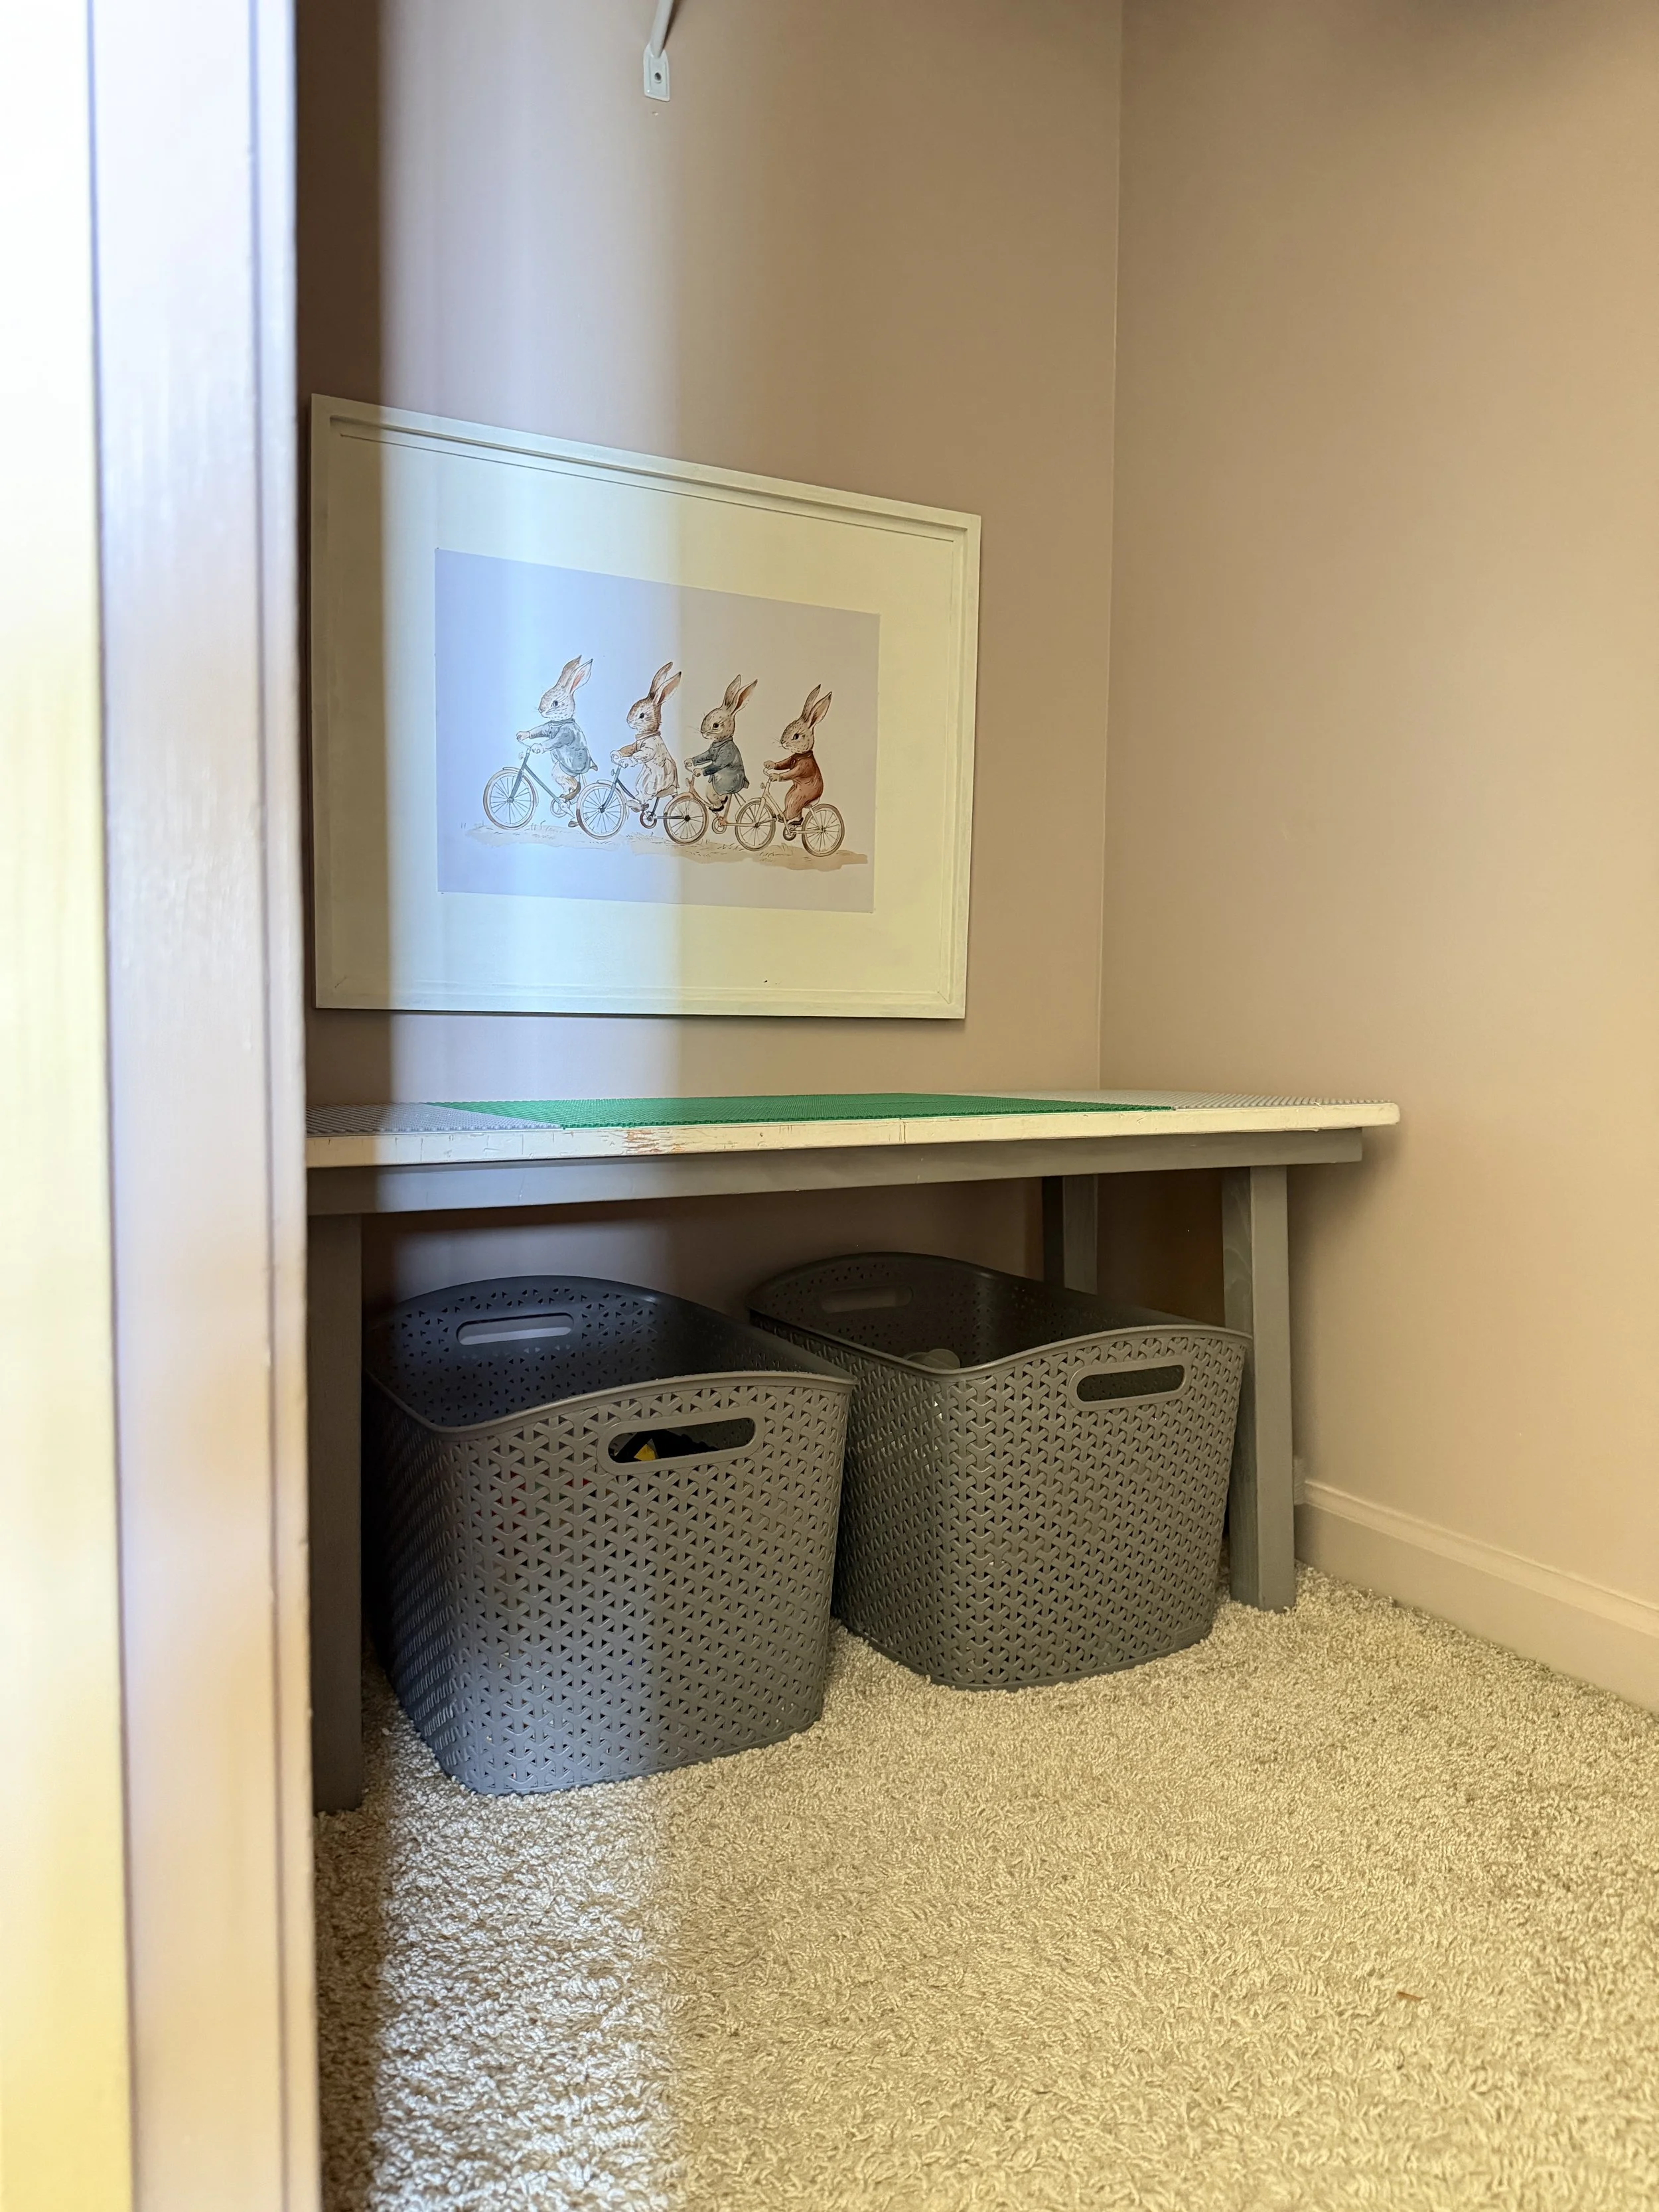
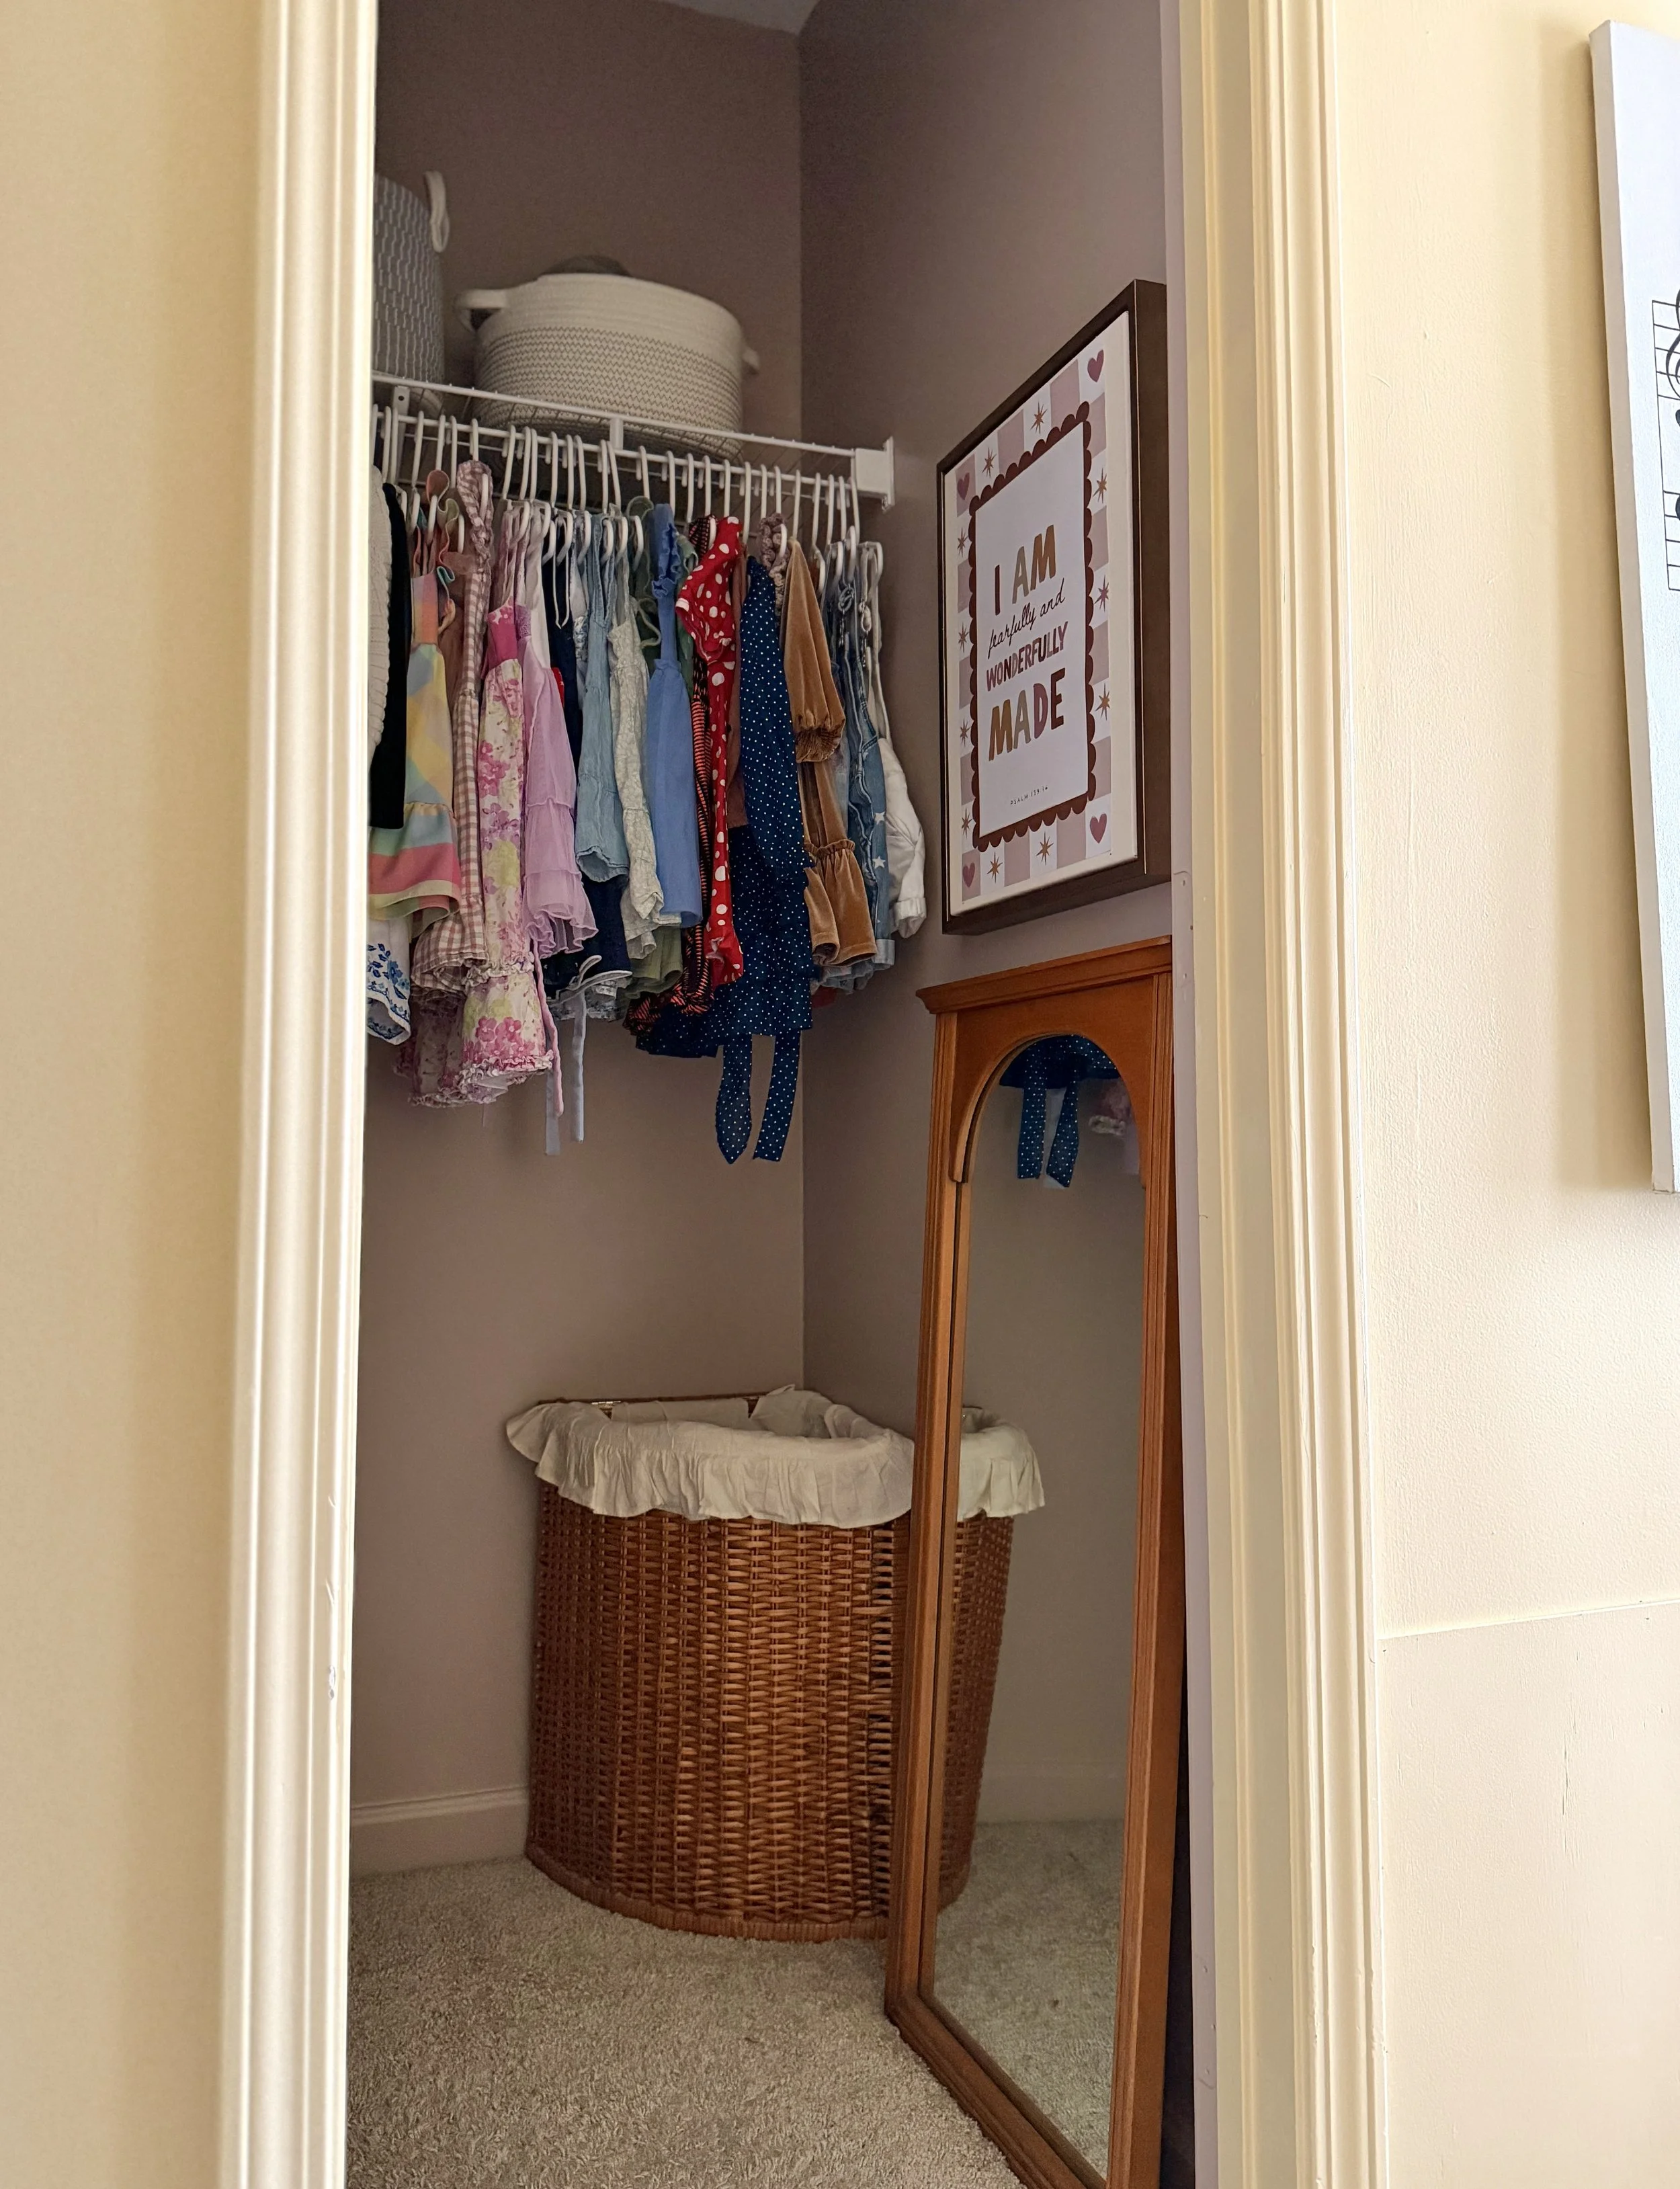
I purchased one new piece of art for this room, and one vintage needlework piece at the thrift store. The rest are DIY’s. The one over the crib is actually a piece my sister did in chalk (?) about twelve years ago. She was inspired by pictures of my older daughter I took outside of our home, in front of some woods, in a long white dress. This is definitely a family heirloom for the ages. The large canvas on the swing wall is a piece I commisioned a friend to do eight years ago for my eight year olds nursery. It has hung in all 3 nurseries for my younger children. The bunny print, hundred acre wood map, and the bible verse print over the mirror are all Etsy prints that I purchased and had printed at Staples. I then used spray adhesive to attach them to free Hobby Lobby artwork I found at the end of a neighbors driveway. The prints were not something I would use in my home as they were, but I knew with some craft paint and an etsy print I would be able to use them. I love how they turned out. Instagram post here to see the artwork project in action.
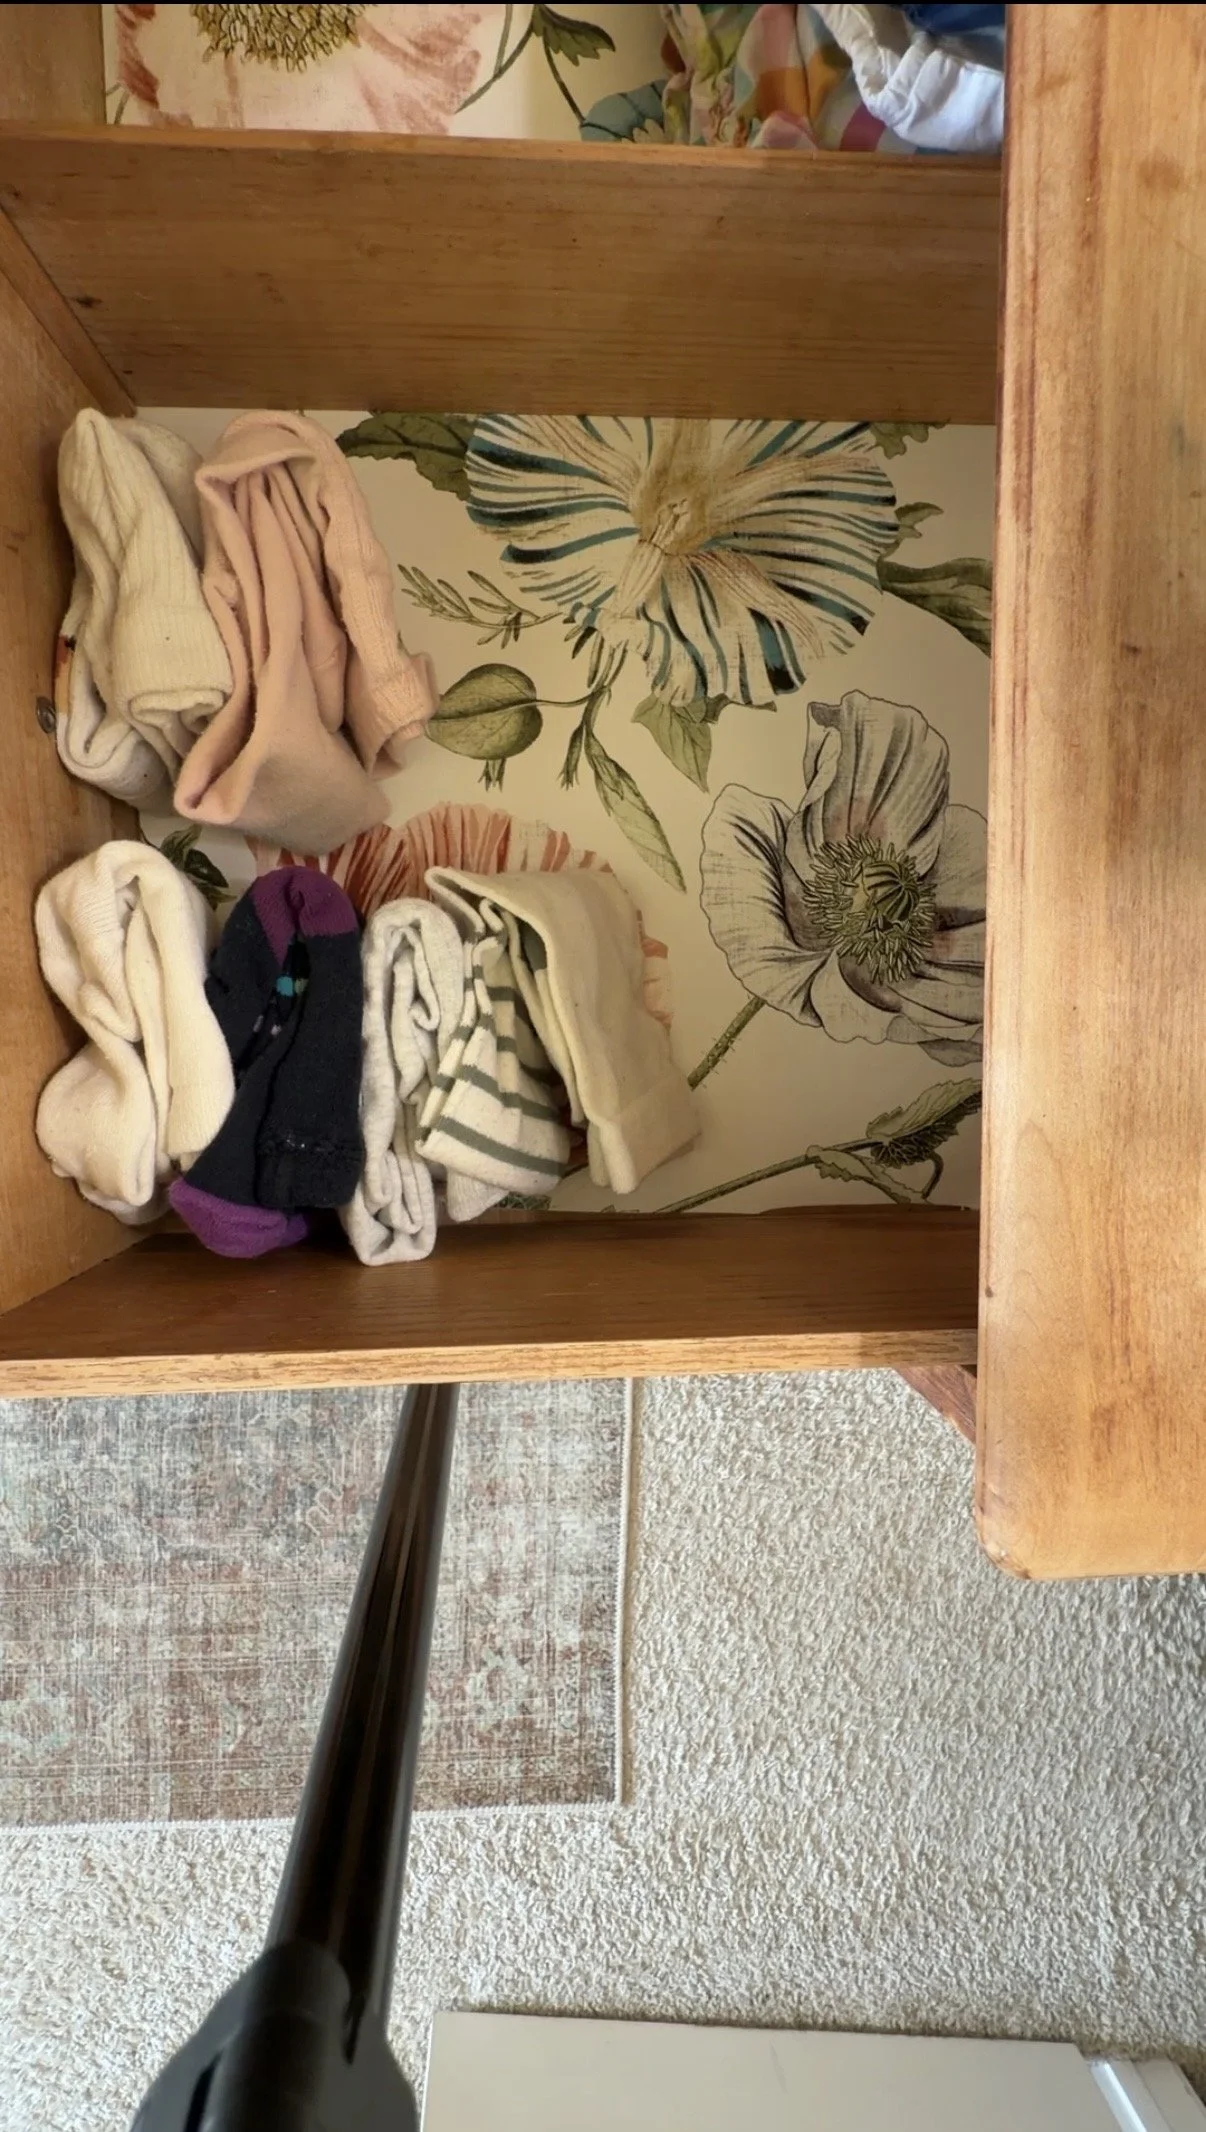
The dresser in this room is an antique piece I found on the side of the road. Gasp! We sanded it down but didn’t have time to stain/finish it before the room reveal. But I did grab some sweet peel and stick wallpaper to line to drawers with. I did not actually stick it to the bottom of the drawers. I just cut it to size and slid it in. The top two drawers have dividers that slide in so it holds it in well, and the bottom drawer is just blanket storage so it’s not used a lot. So it works. It is on my to do list to get that finished this fall though.
Let me know in the comment if you have any questions about any of the diy’s!
Melinda
Helpful Affiliate Links
Amazon list of things you can use to get the same feeling as what I’ve acheived. Here
Amazon list of our favorite, affordable wooden toys, Here
Note - Amazon will not let me link the cotton rope in my list, or here. Make sure if you are buying rope for the swing to get 100% COTTON rope. You want the soft rope for the swing handles.
This post contains affiliate links, which means I get a small commission from your purchase at no extra charge to you.
Categories
- Baking
- Bedroom Design
- Birthday Cakes
- Breakfast
- Cleaning
- Cooking
- DIY
- Did You Know?
- Food Prep
- Gluten Free
- Holiday Decorating
- In The Kitchen
- In the Backyard
- Kid & Baby Stuff
- Kids Birthday Parties
- Kitchen & Bath Design
- Kitchen Organization
- Kitchen Remodel
- Large Family Hacks
- Laundry
- Lifestyle
- Living Space Design
- Mom Hacks
- Organizing
- Sensory
- Toy Organizing