Simple and Inexpensive Bookshelves
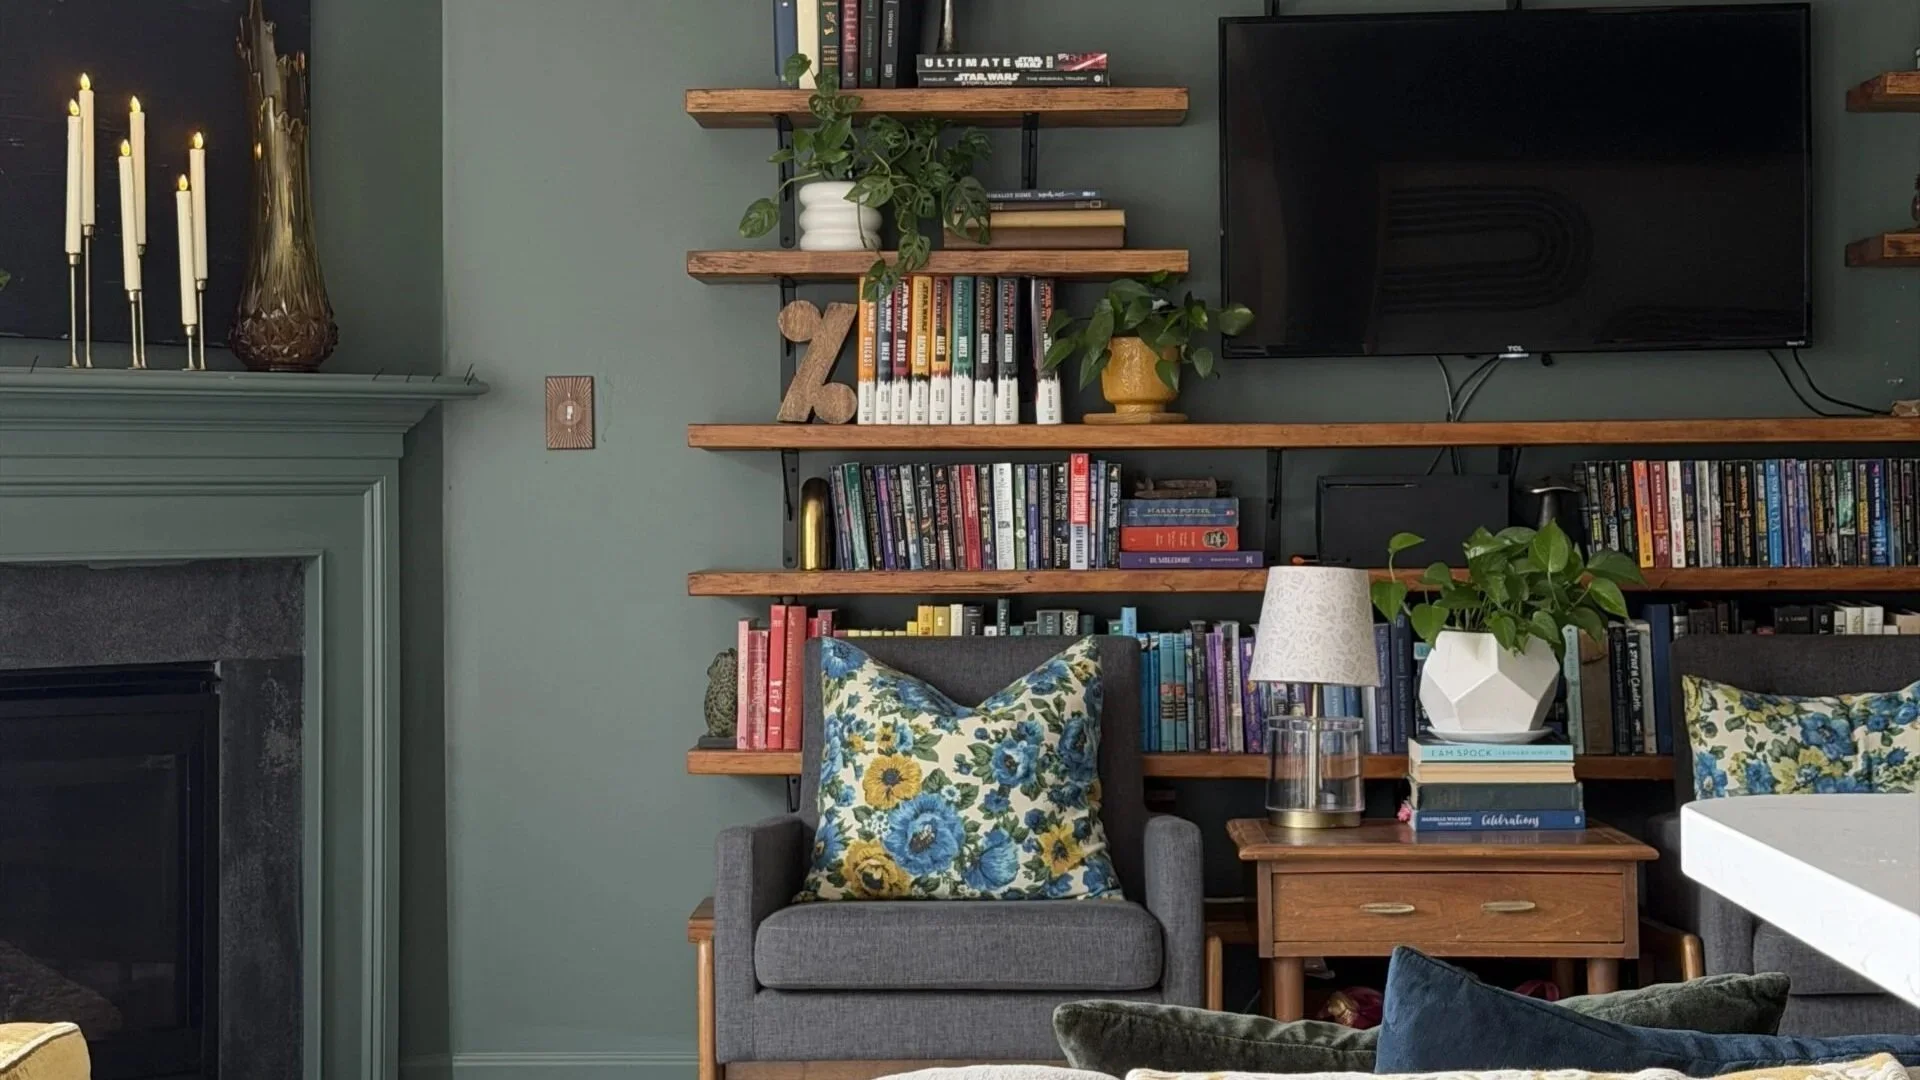
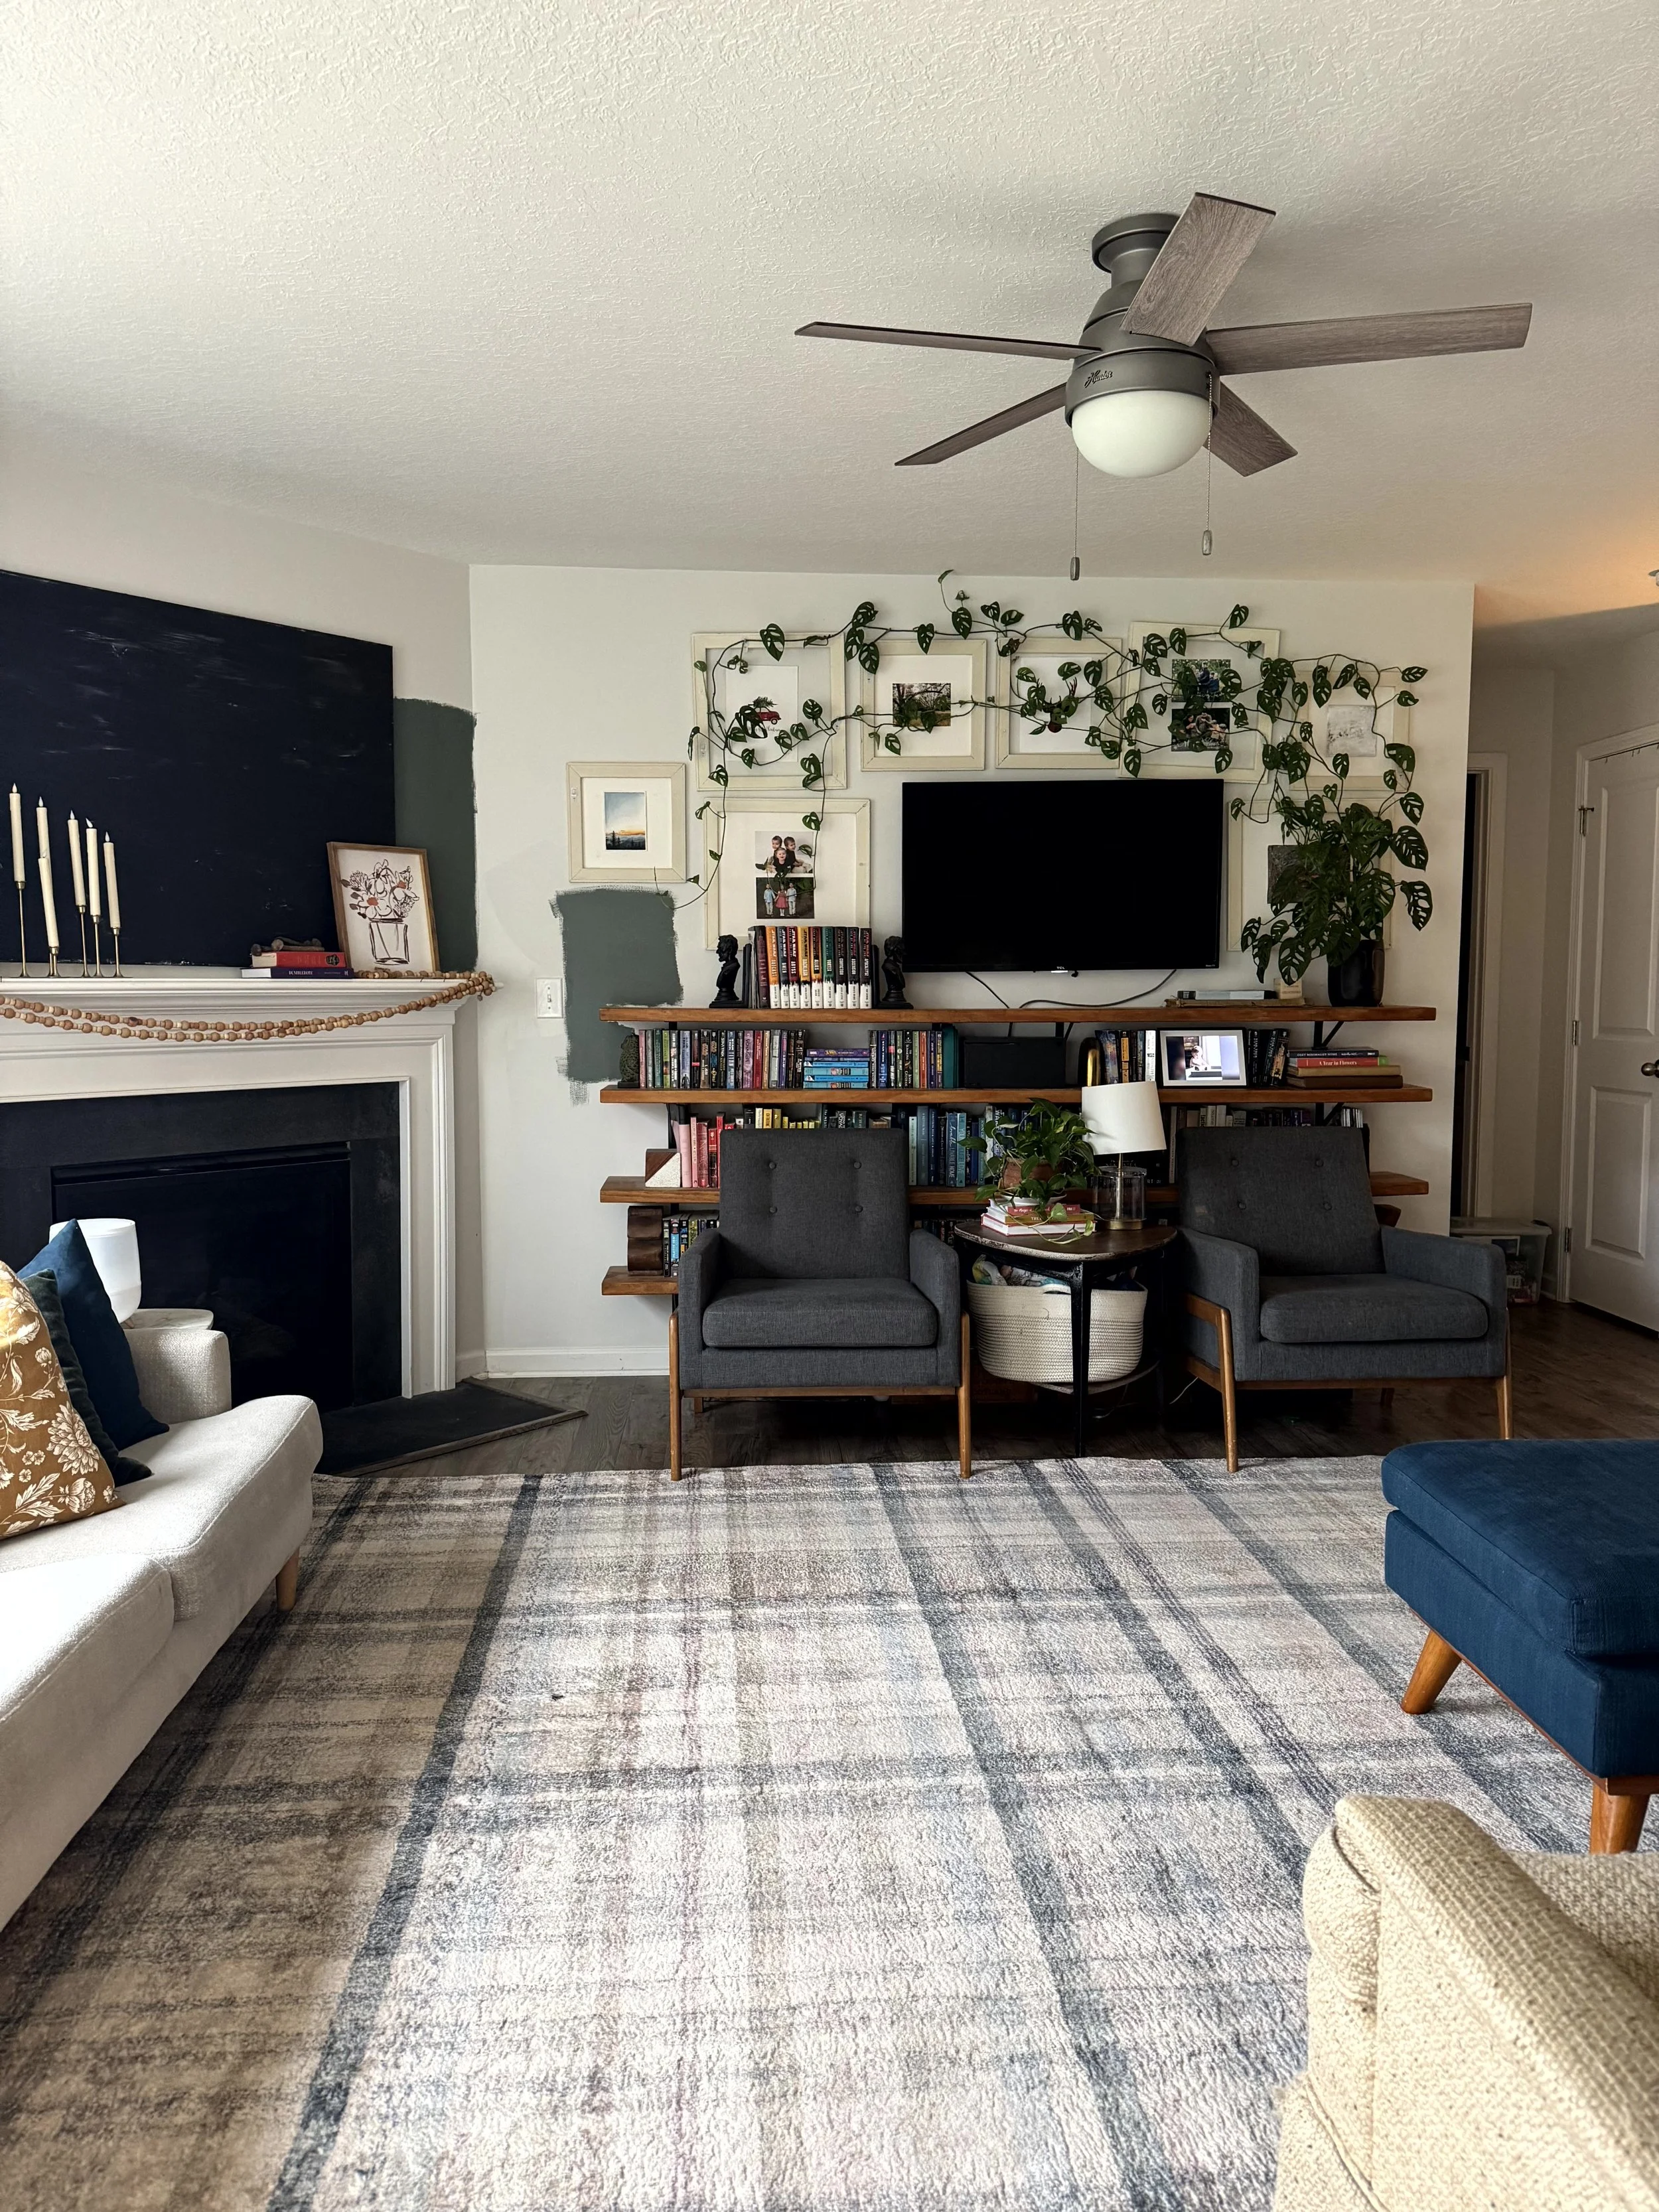
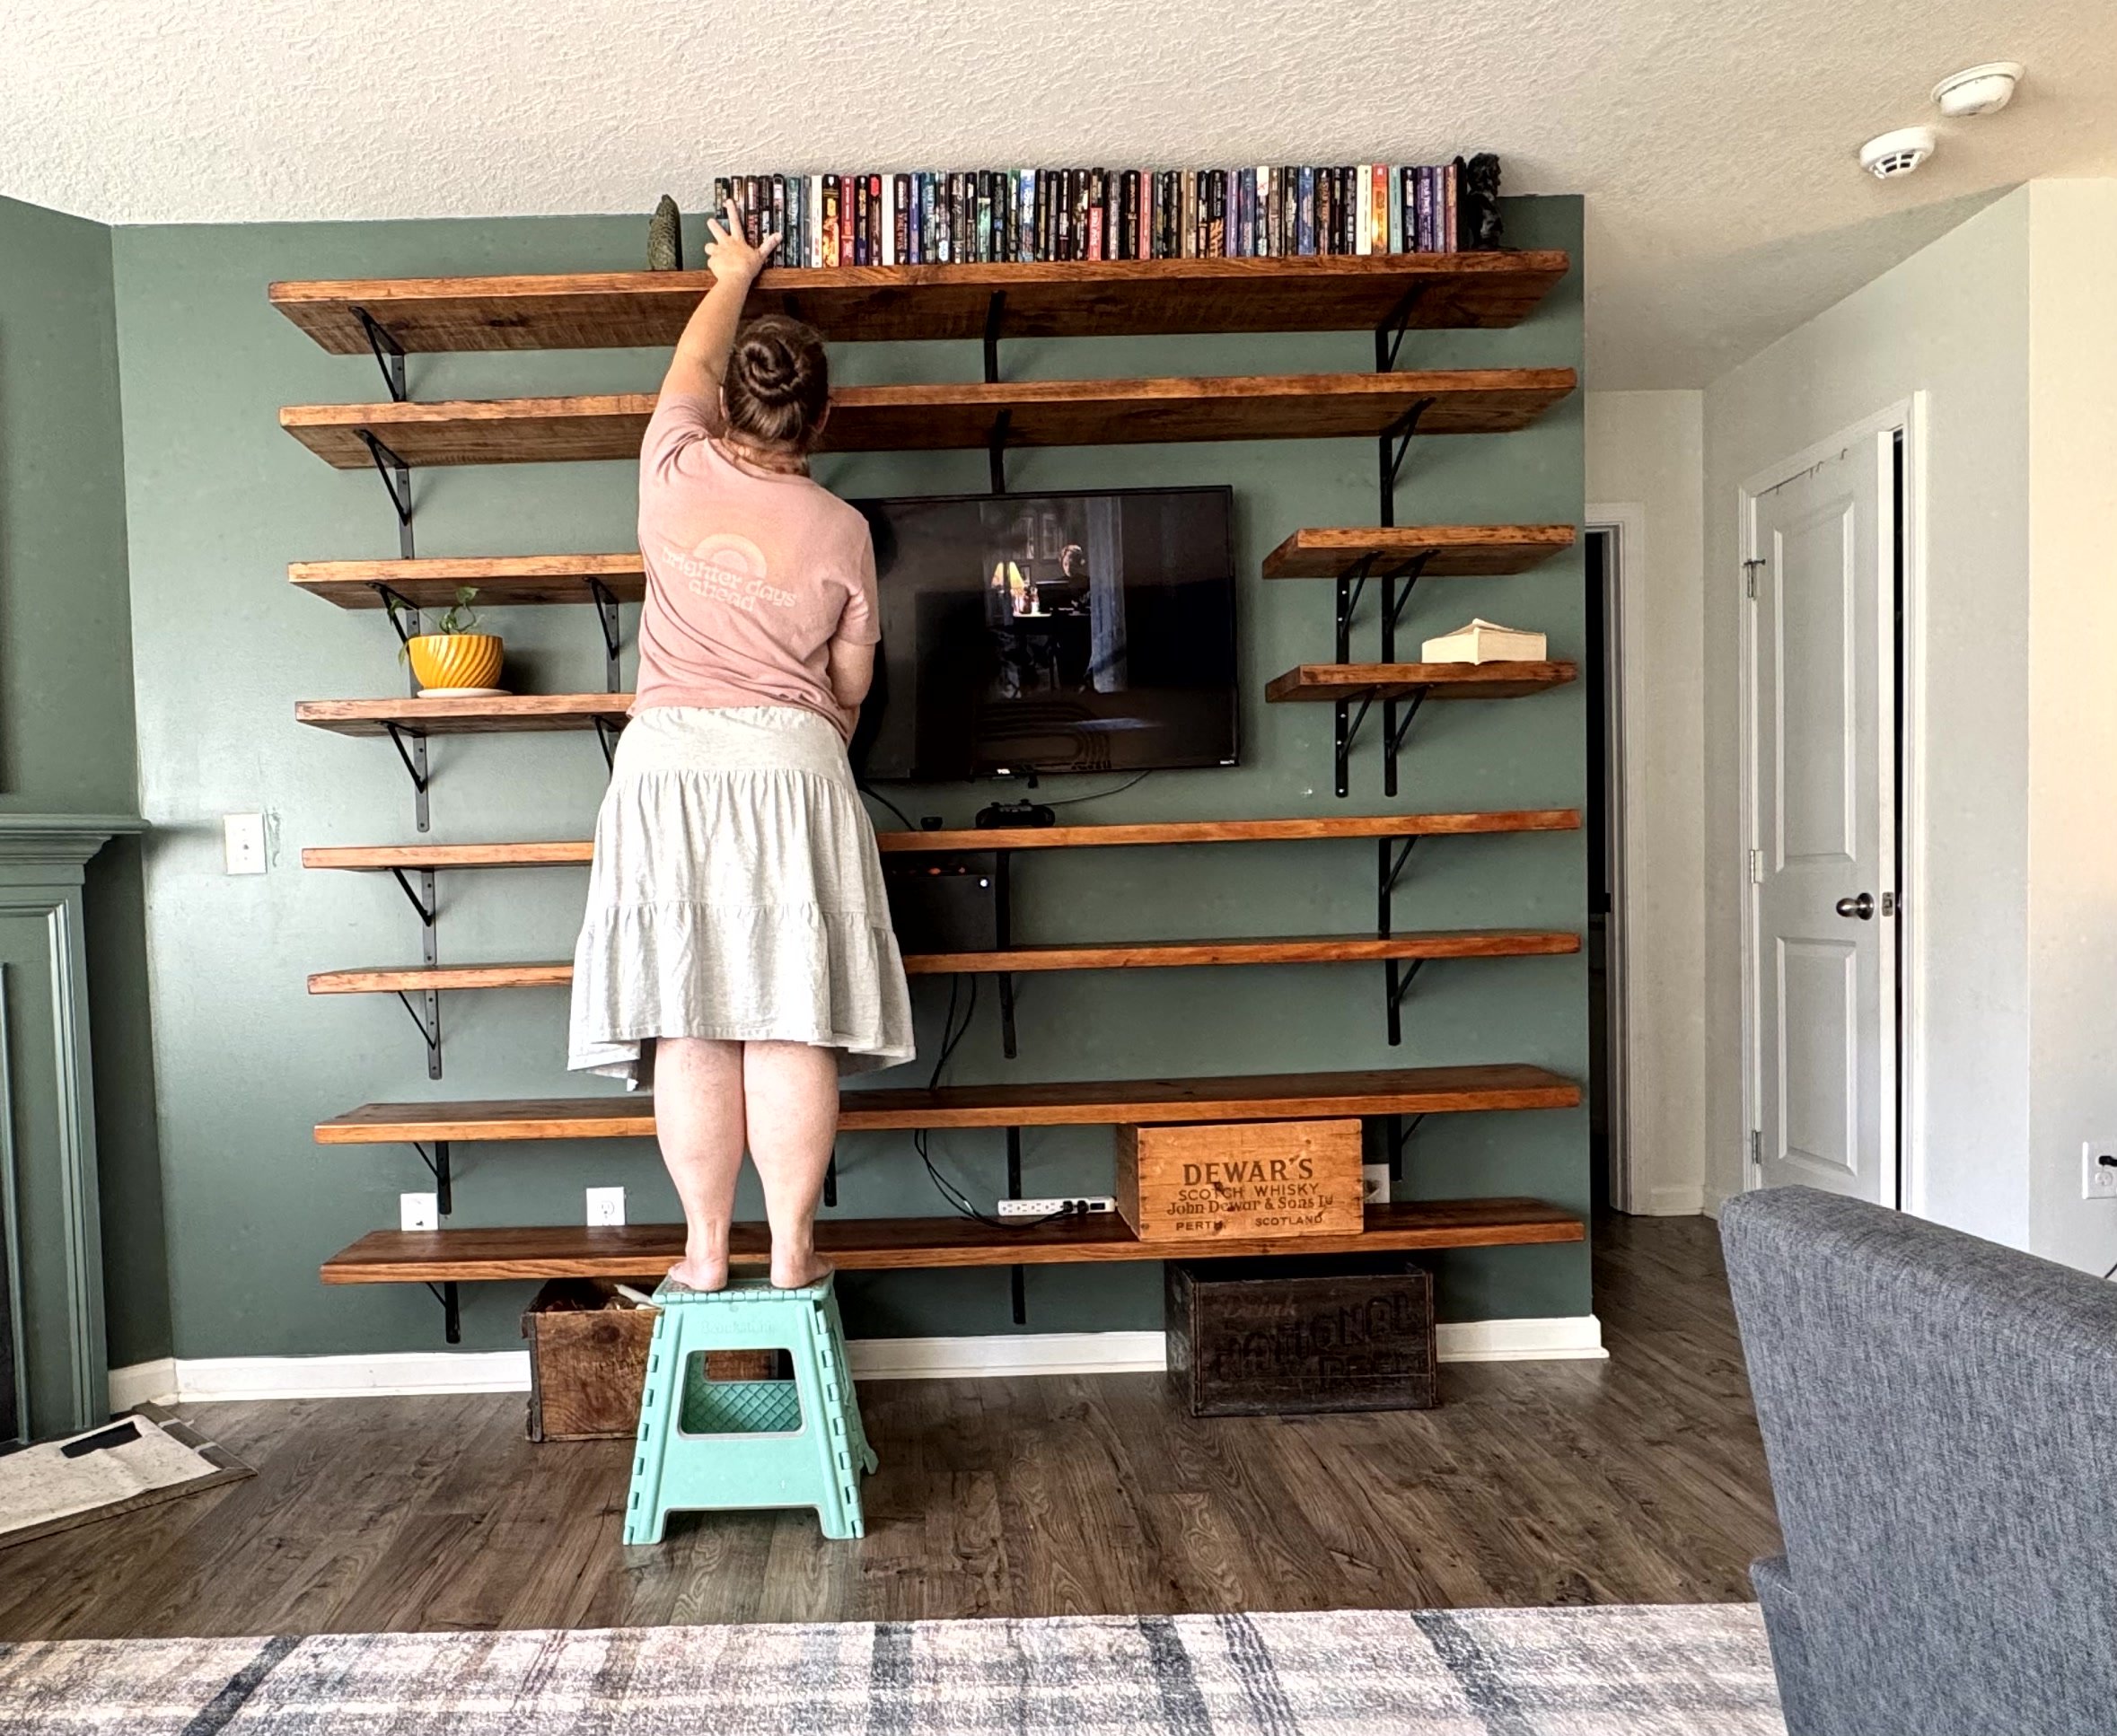
View of the living room wall with floor to ceiling shelves
This wall has come a long way.
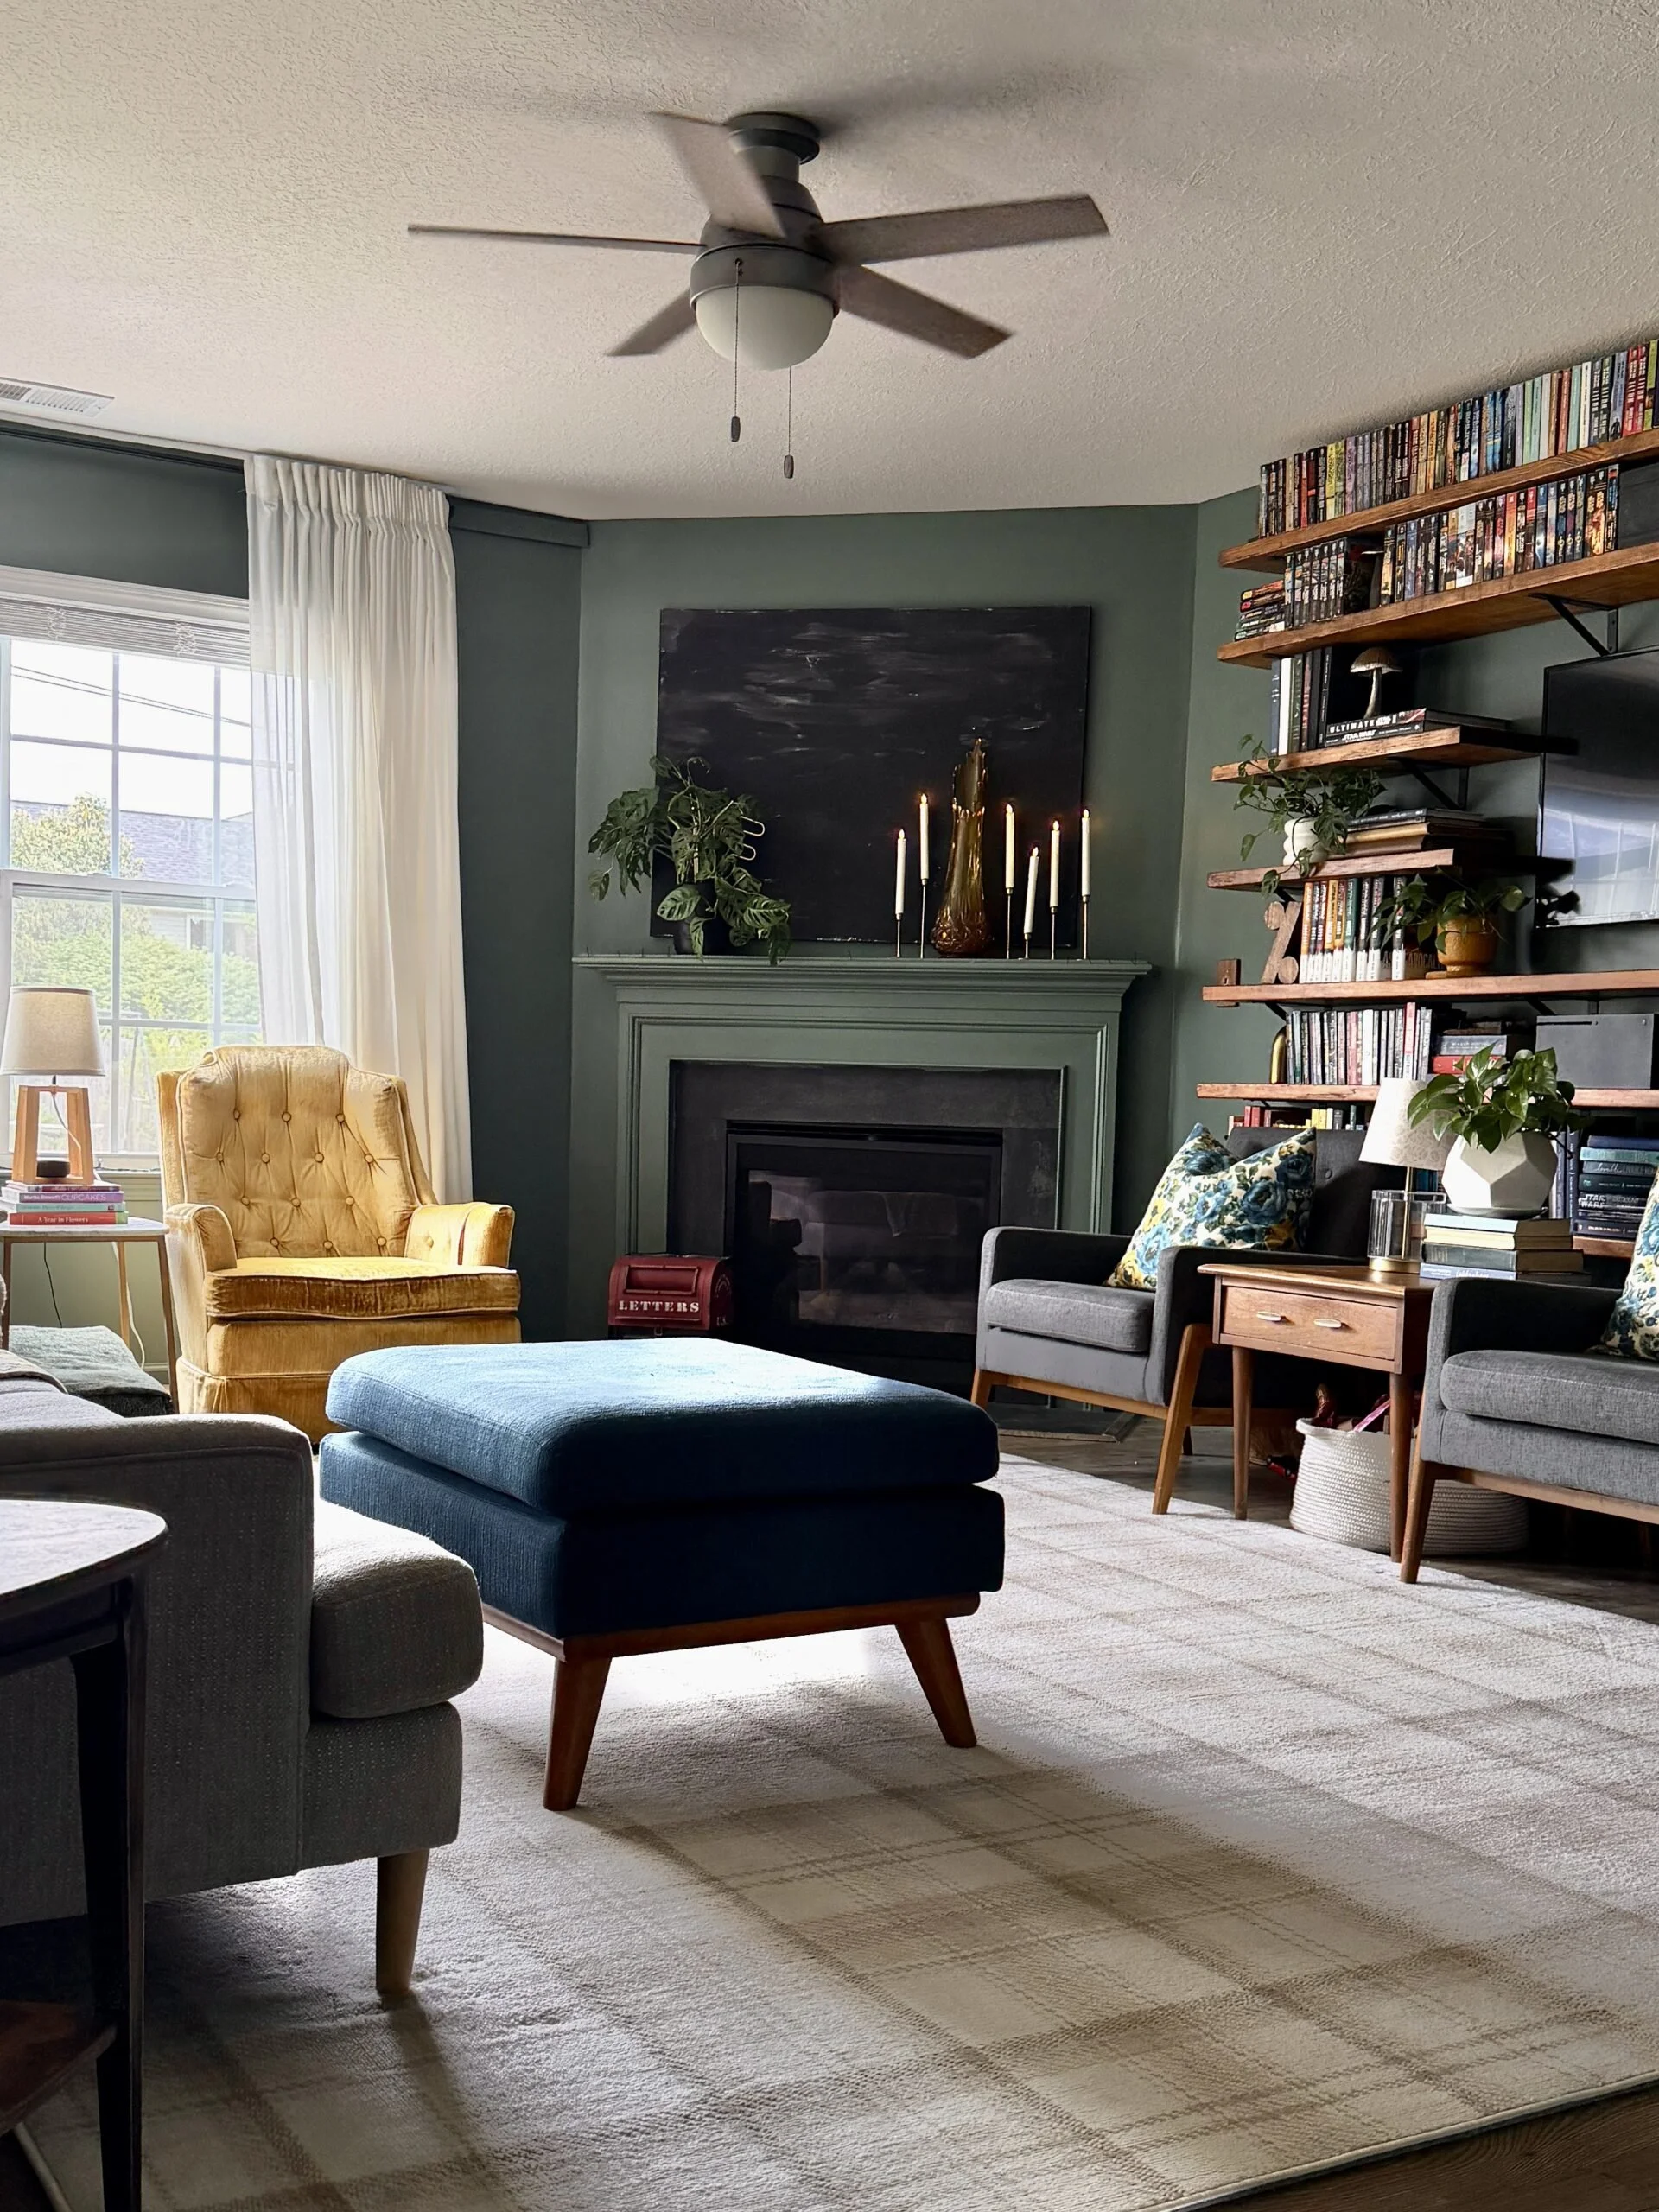
Our living room has been a work in progress for the entire time we have lived here. I recently decided to go dark with our paint color and started with this wall. I previously only had 4 bookshelves under the television but was inspired to go a little more 'library' and 'academia' feeling and take them all the way up the wall.
Absolutely no regrets. We have since color drenched the entire downstairs with this green, Heritage Park by Behr. Check out my other living space design posts to see. It's glorious.
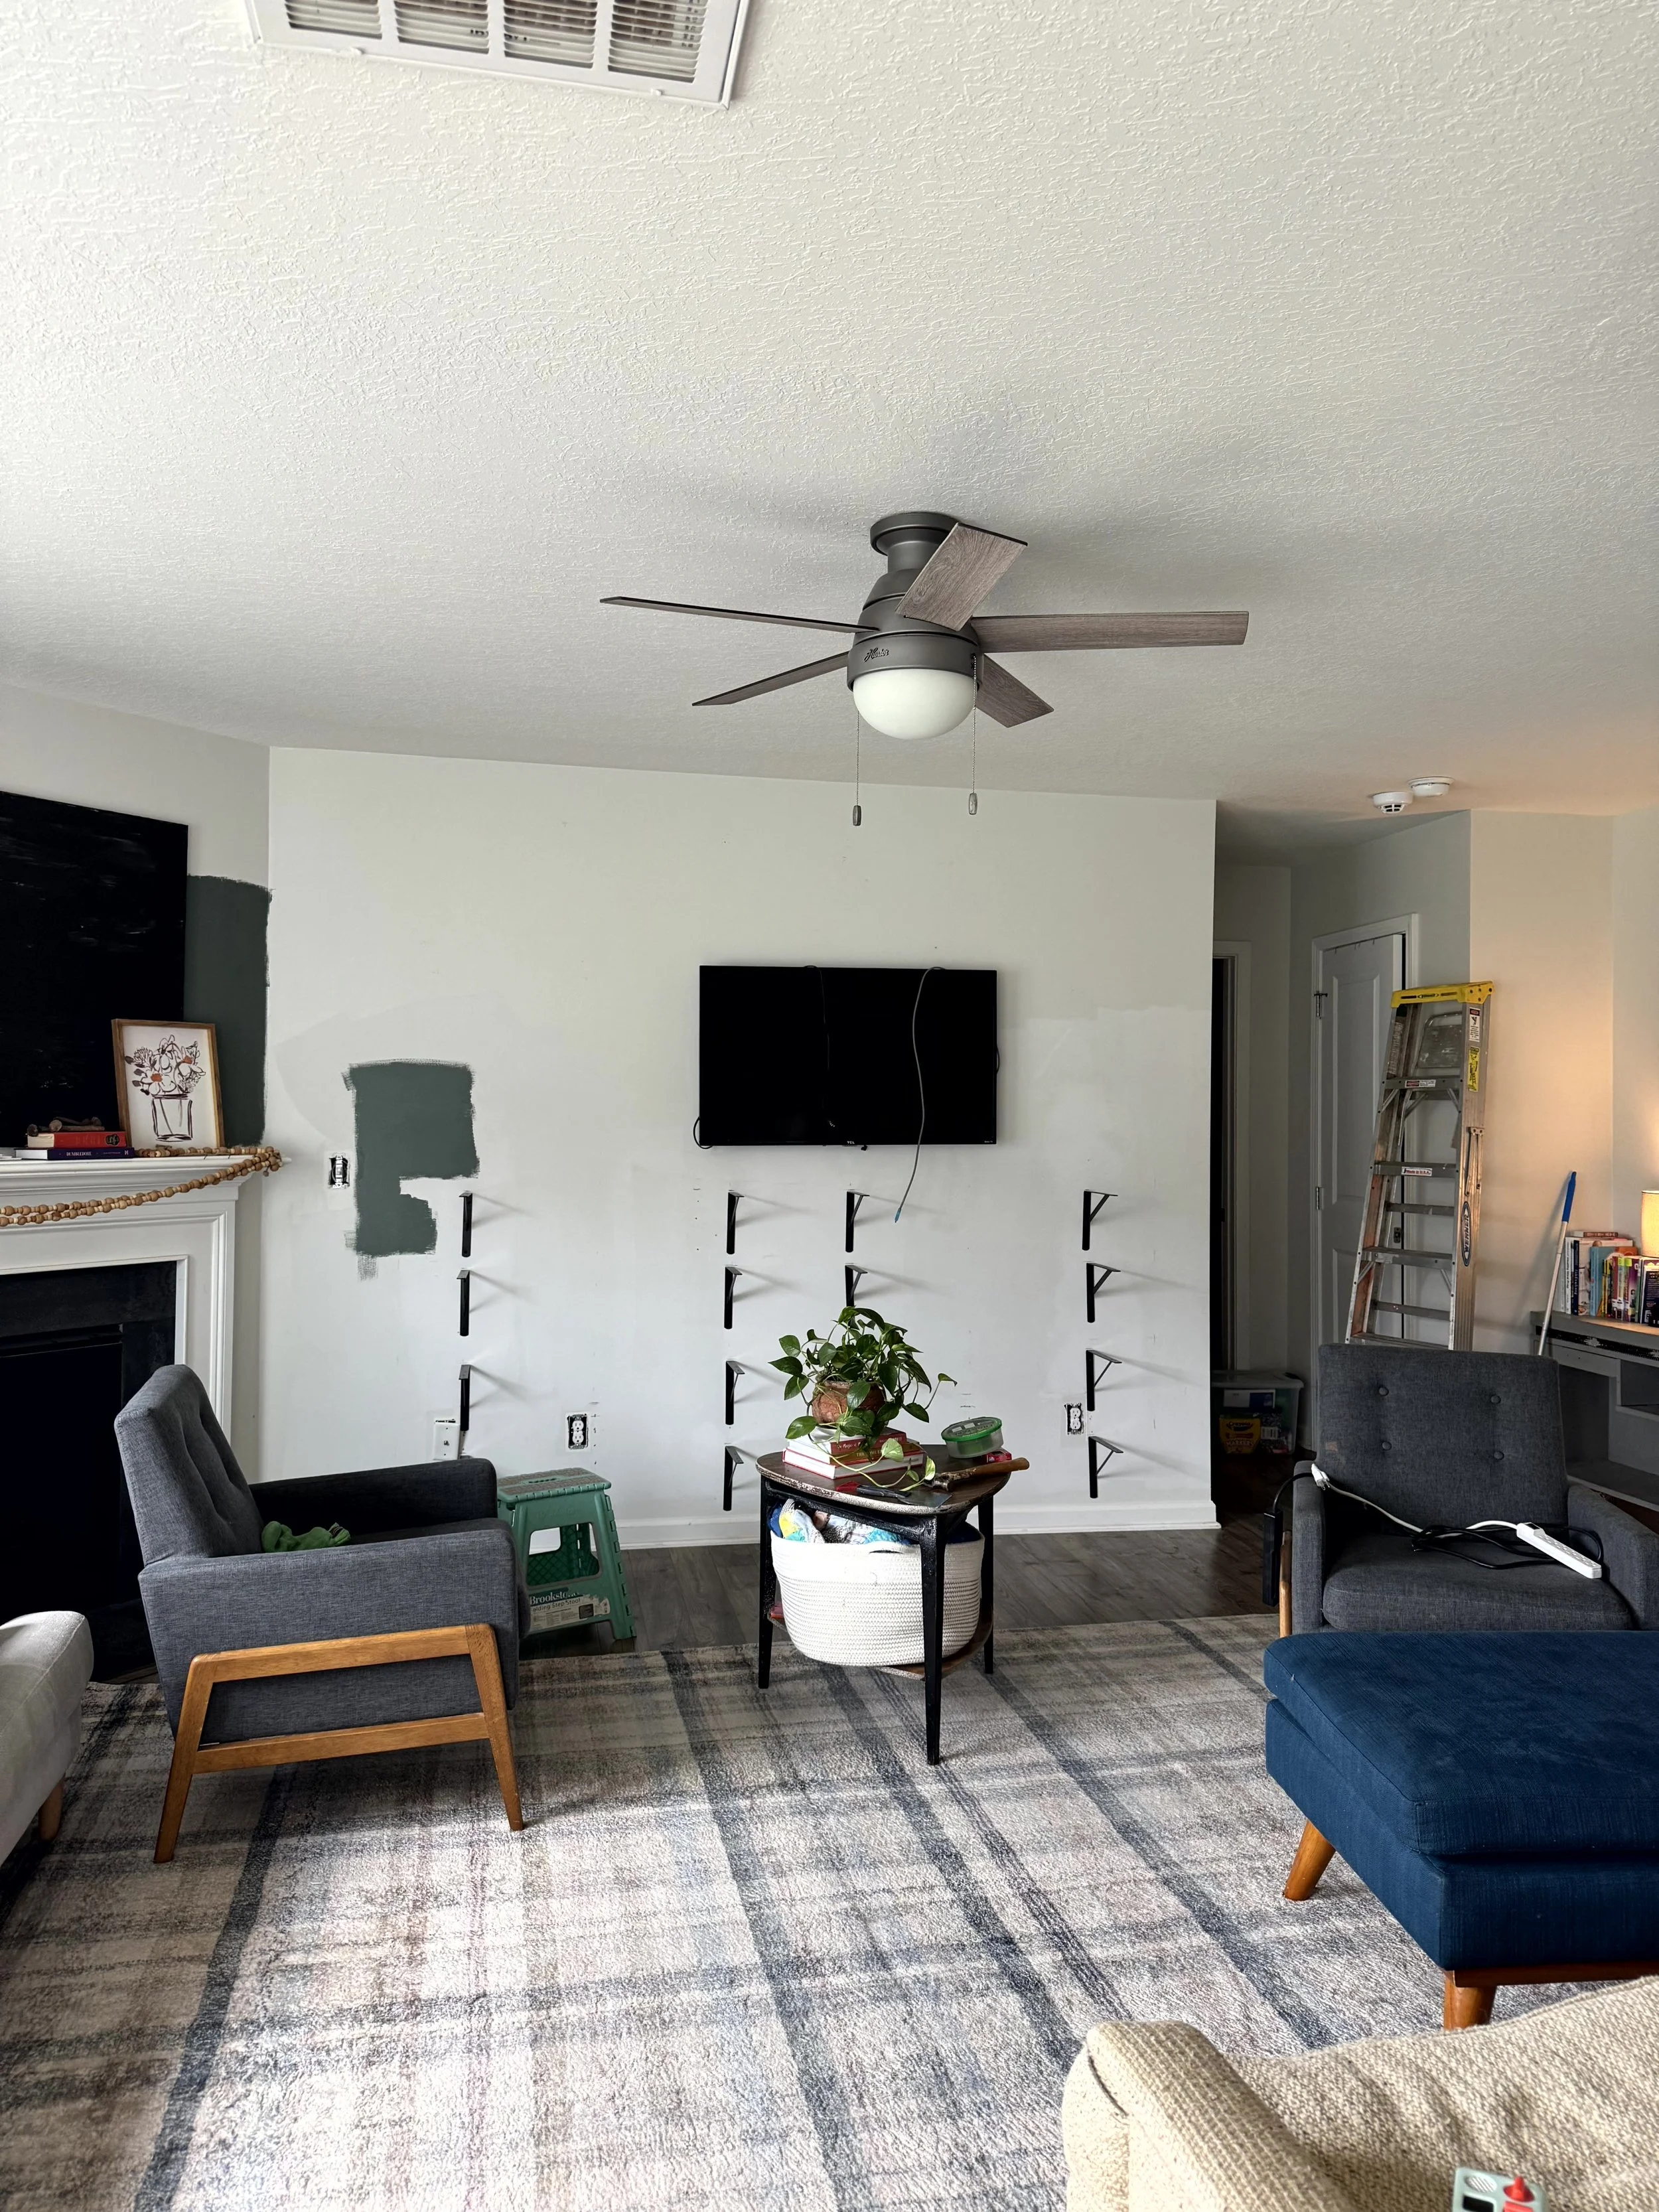
The shelves and the cost.
So when we did the first 4 bookshelves it was the year of our Lord 2020. The pieces of wood, which are just 2x12x8's were $10 each. So to say I was actually terrified to go price them now was an understatement. I actually didn't believe the app when it said one shelf was only $13. For sure it meant $13 per linear foot. I absolutely went into the store to double check it. They were actually only $13 per piece. And I only needed 3 more. I was delighted.
Staining oopsy!
We did end up having to sand and stain all of the shelves because there was a mix up in communication and the wrong stain was used, which was okay because I like this color better anyway!
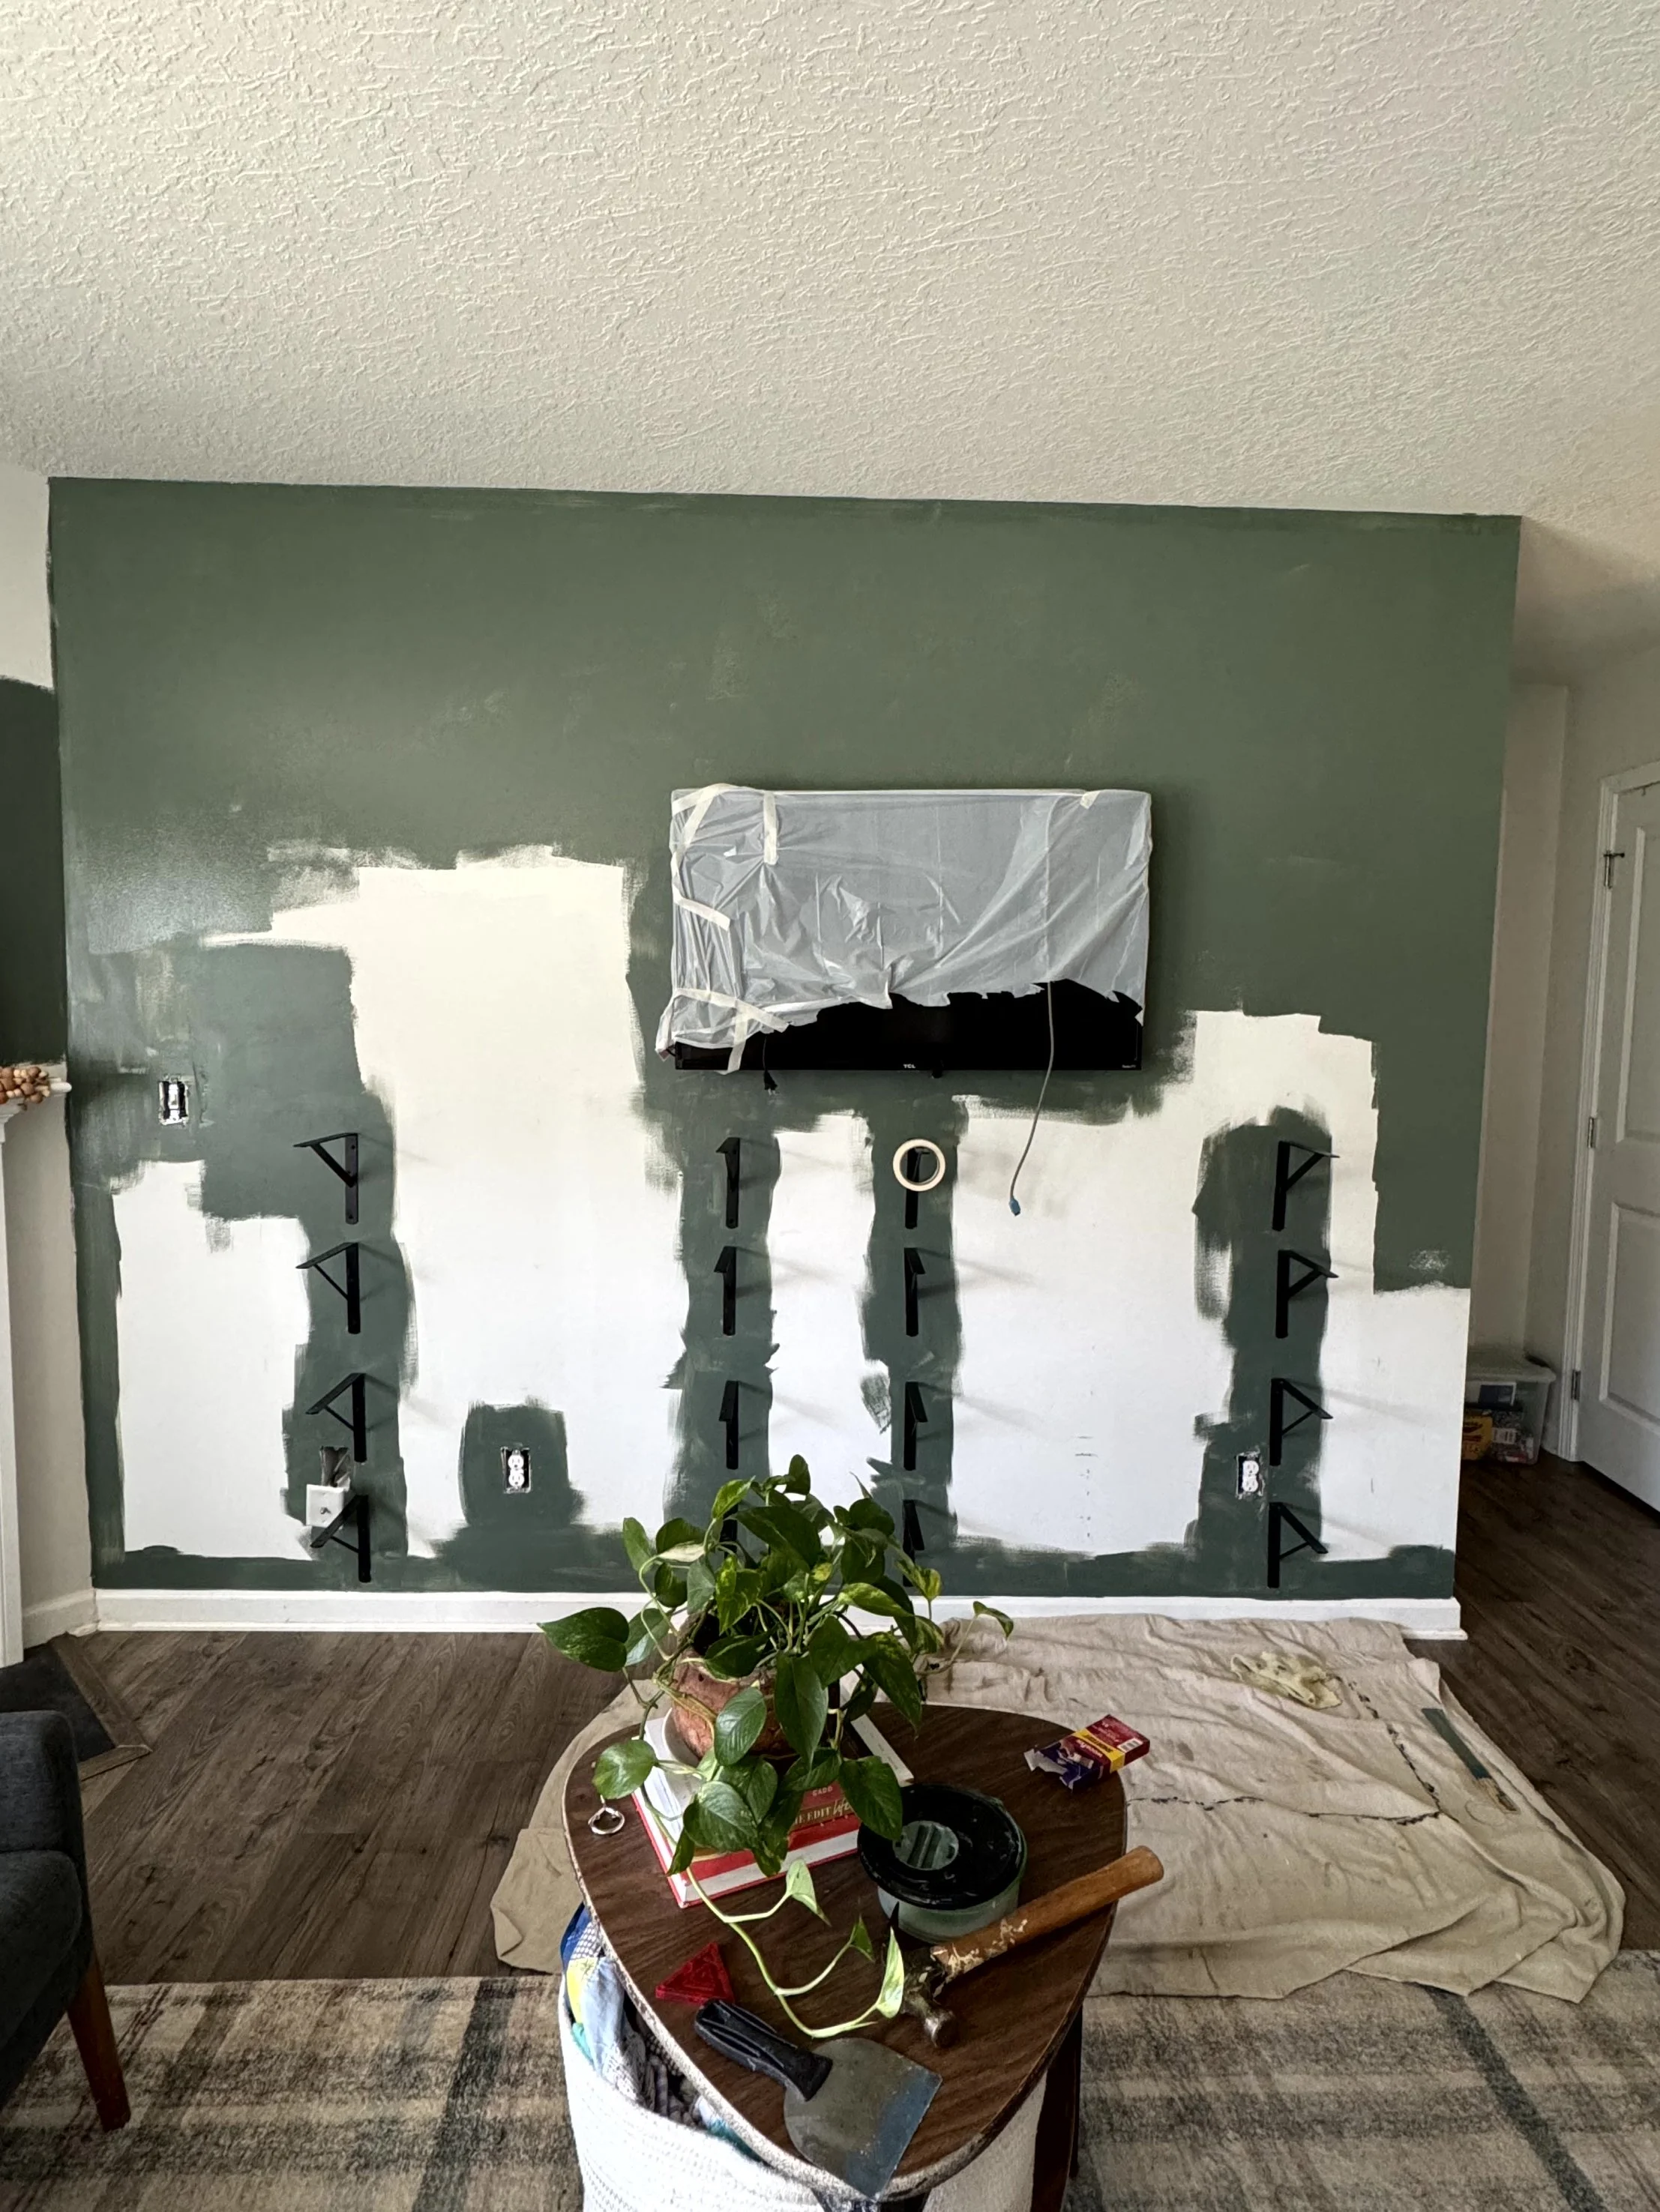
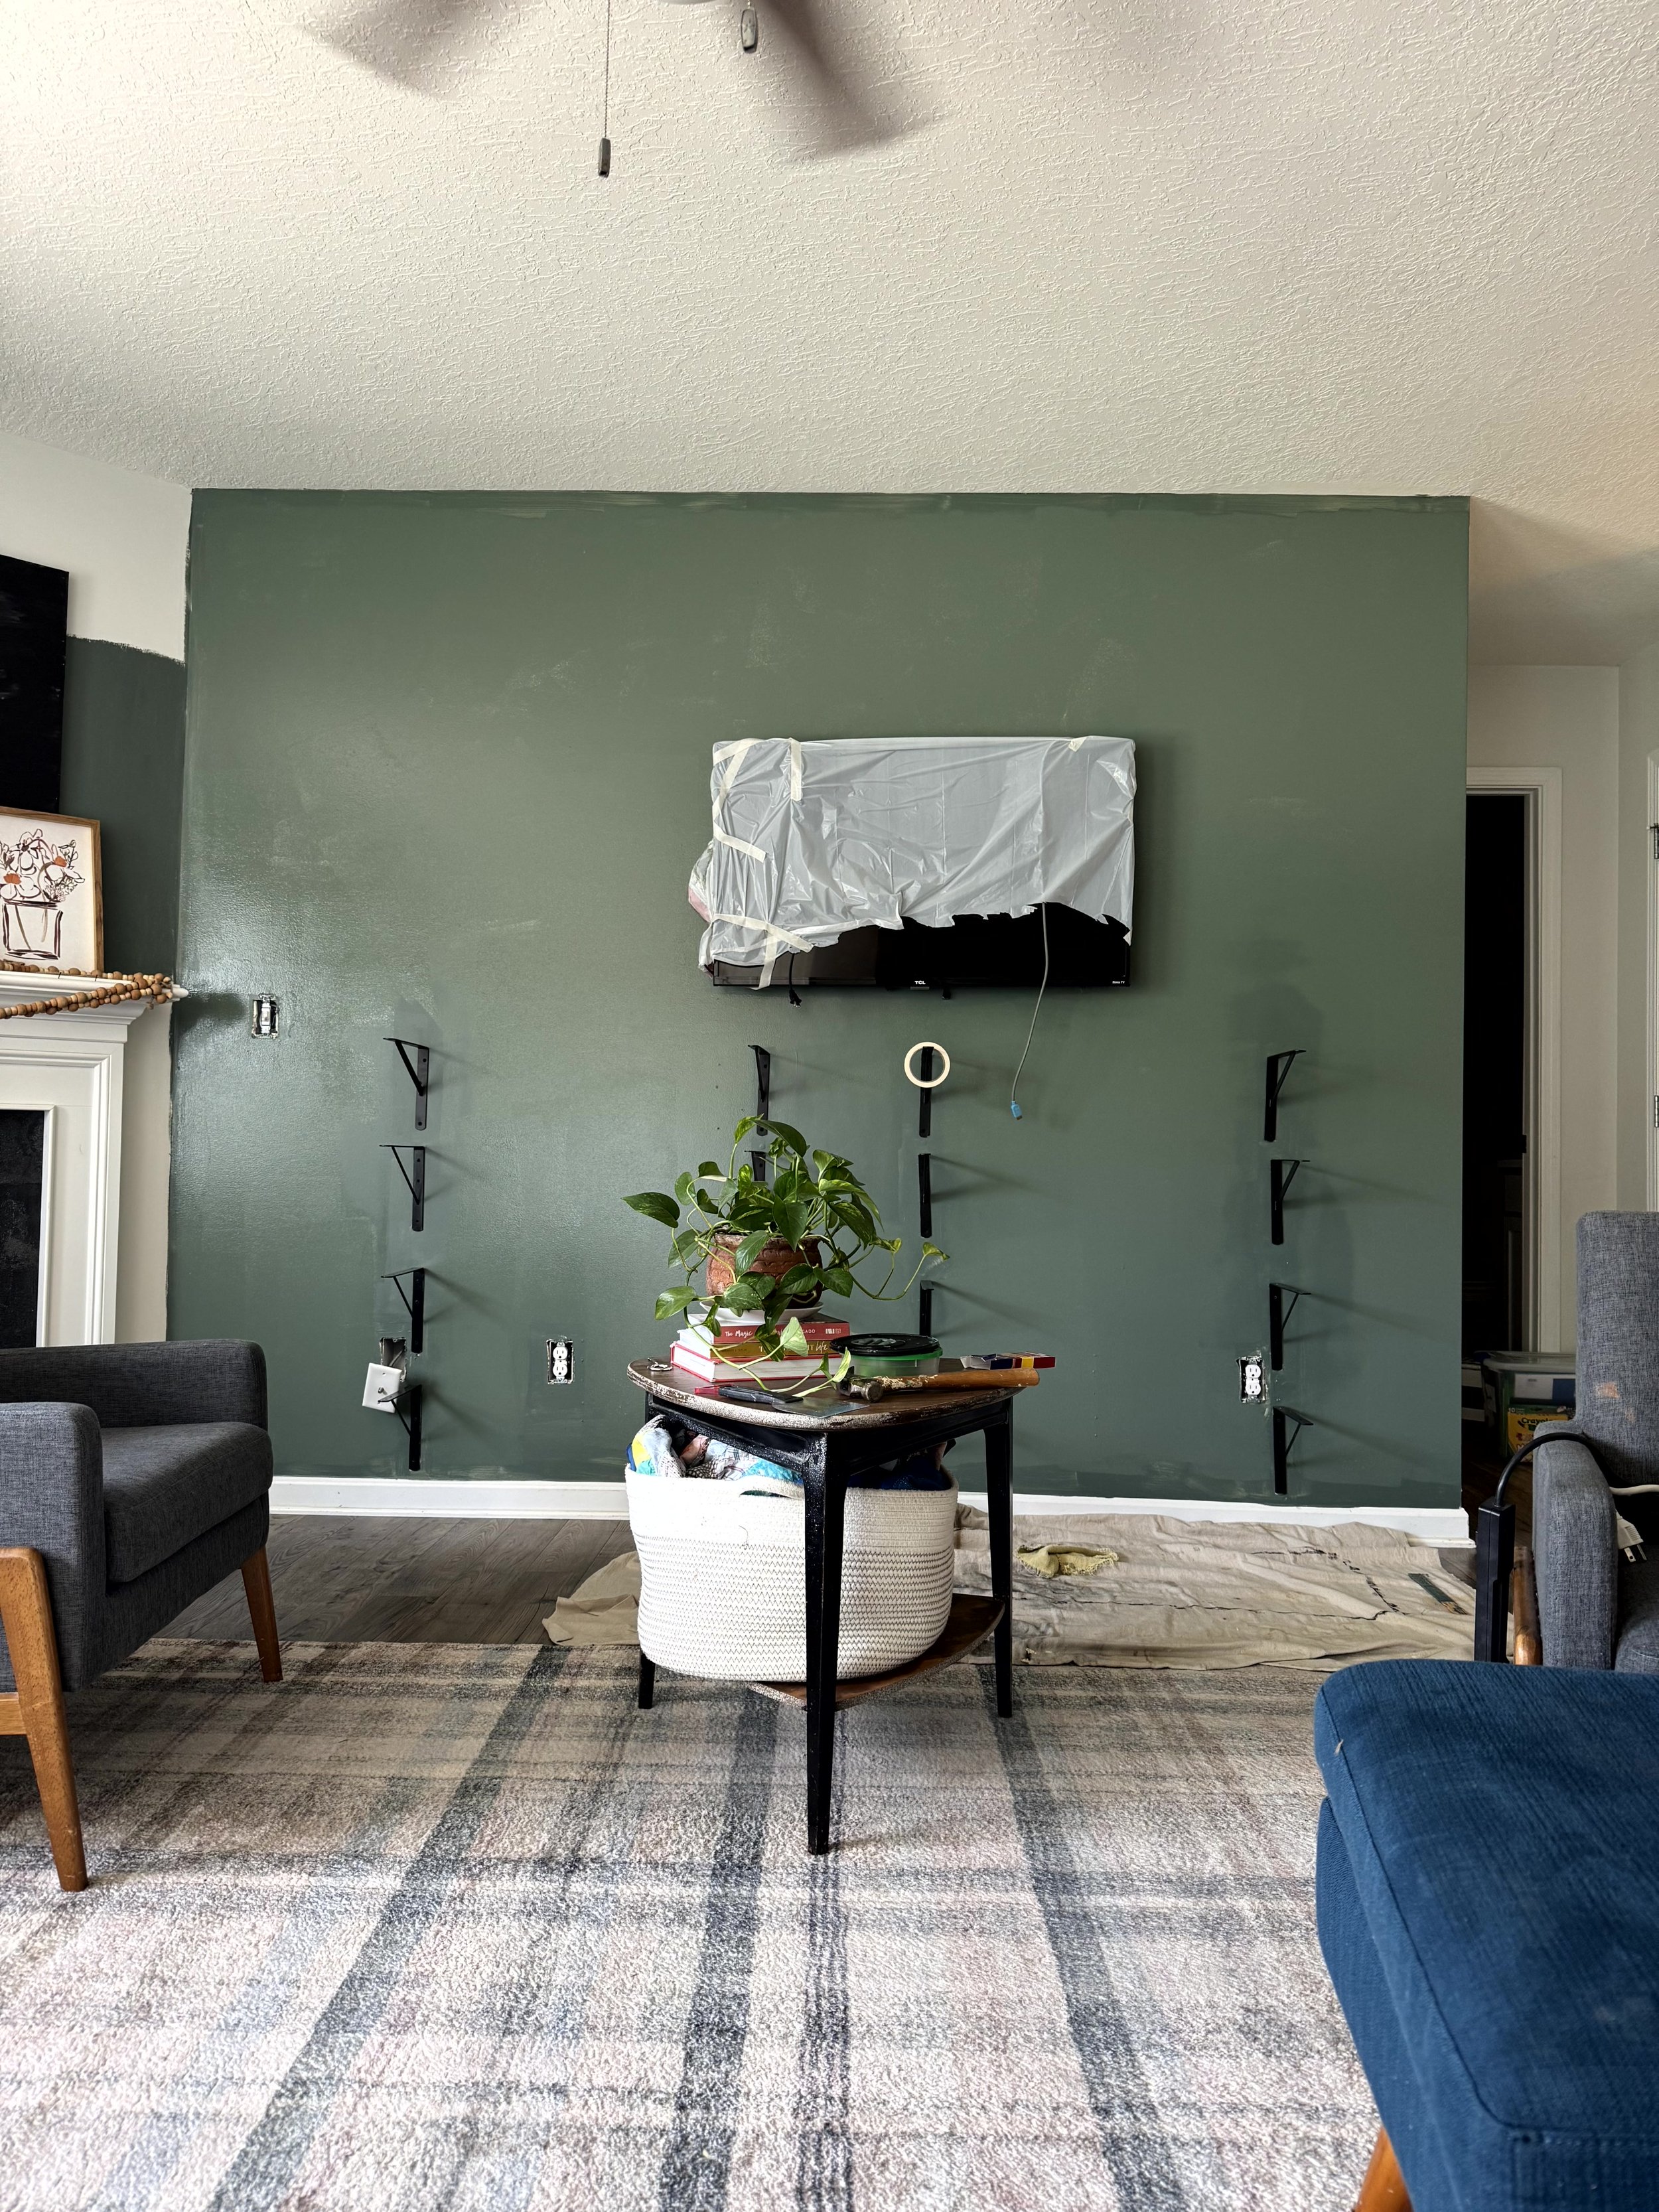
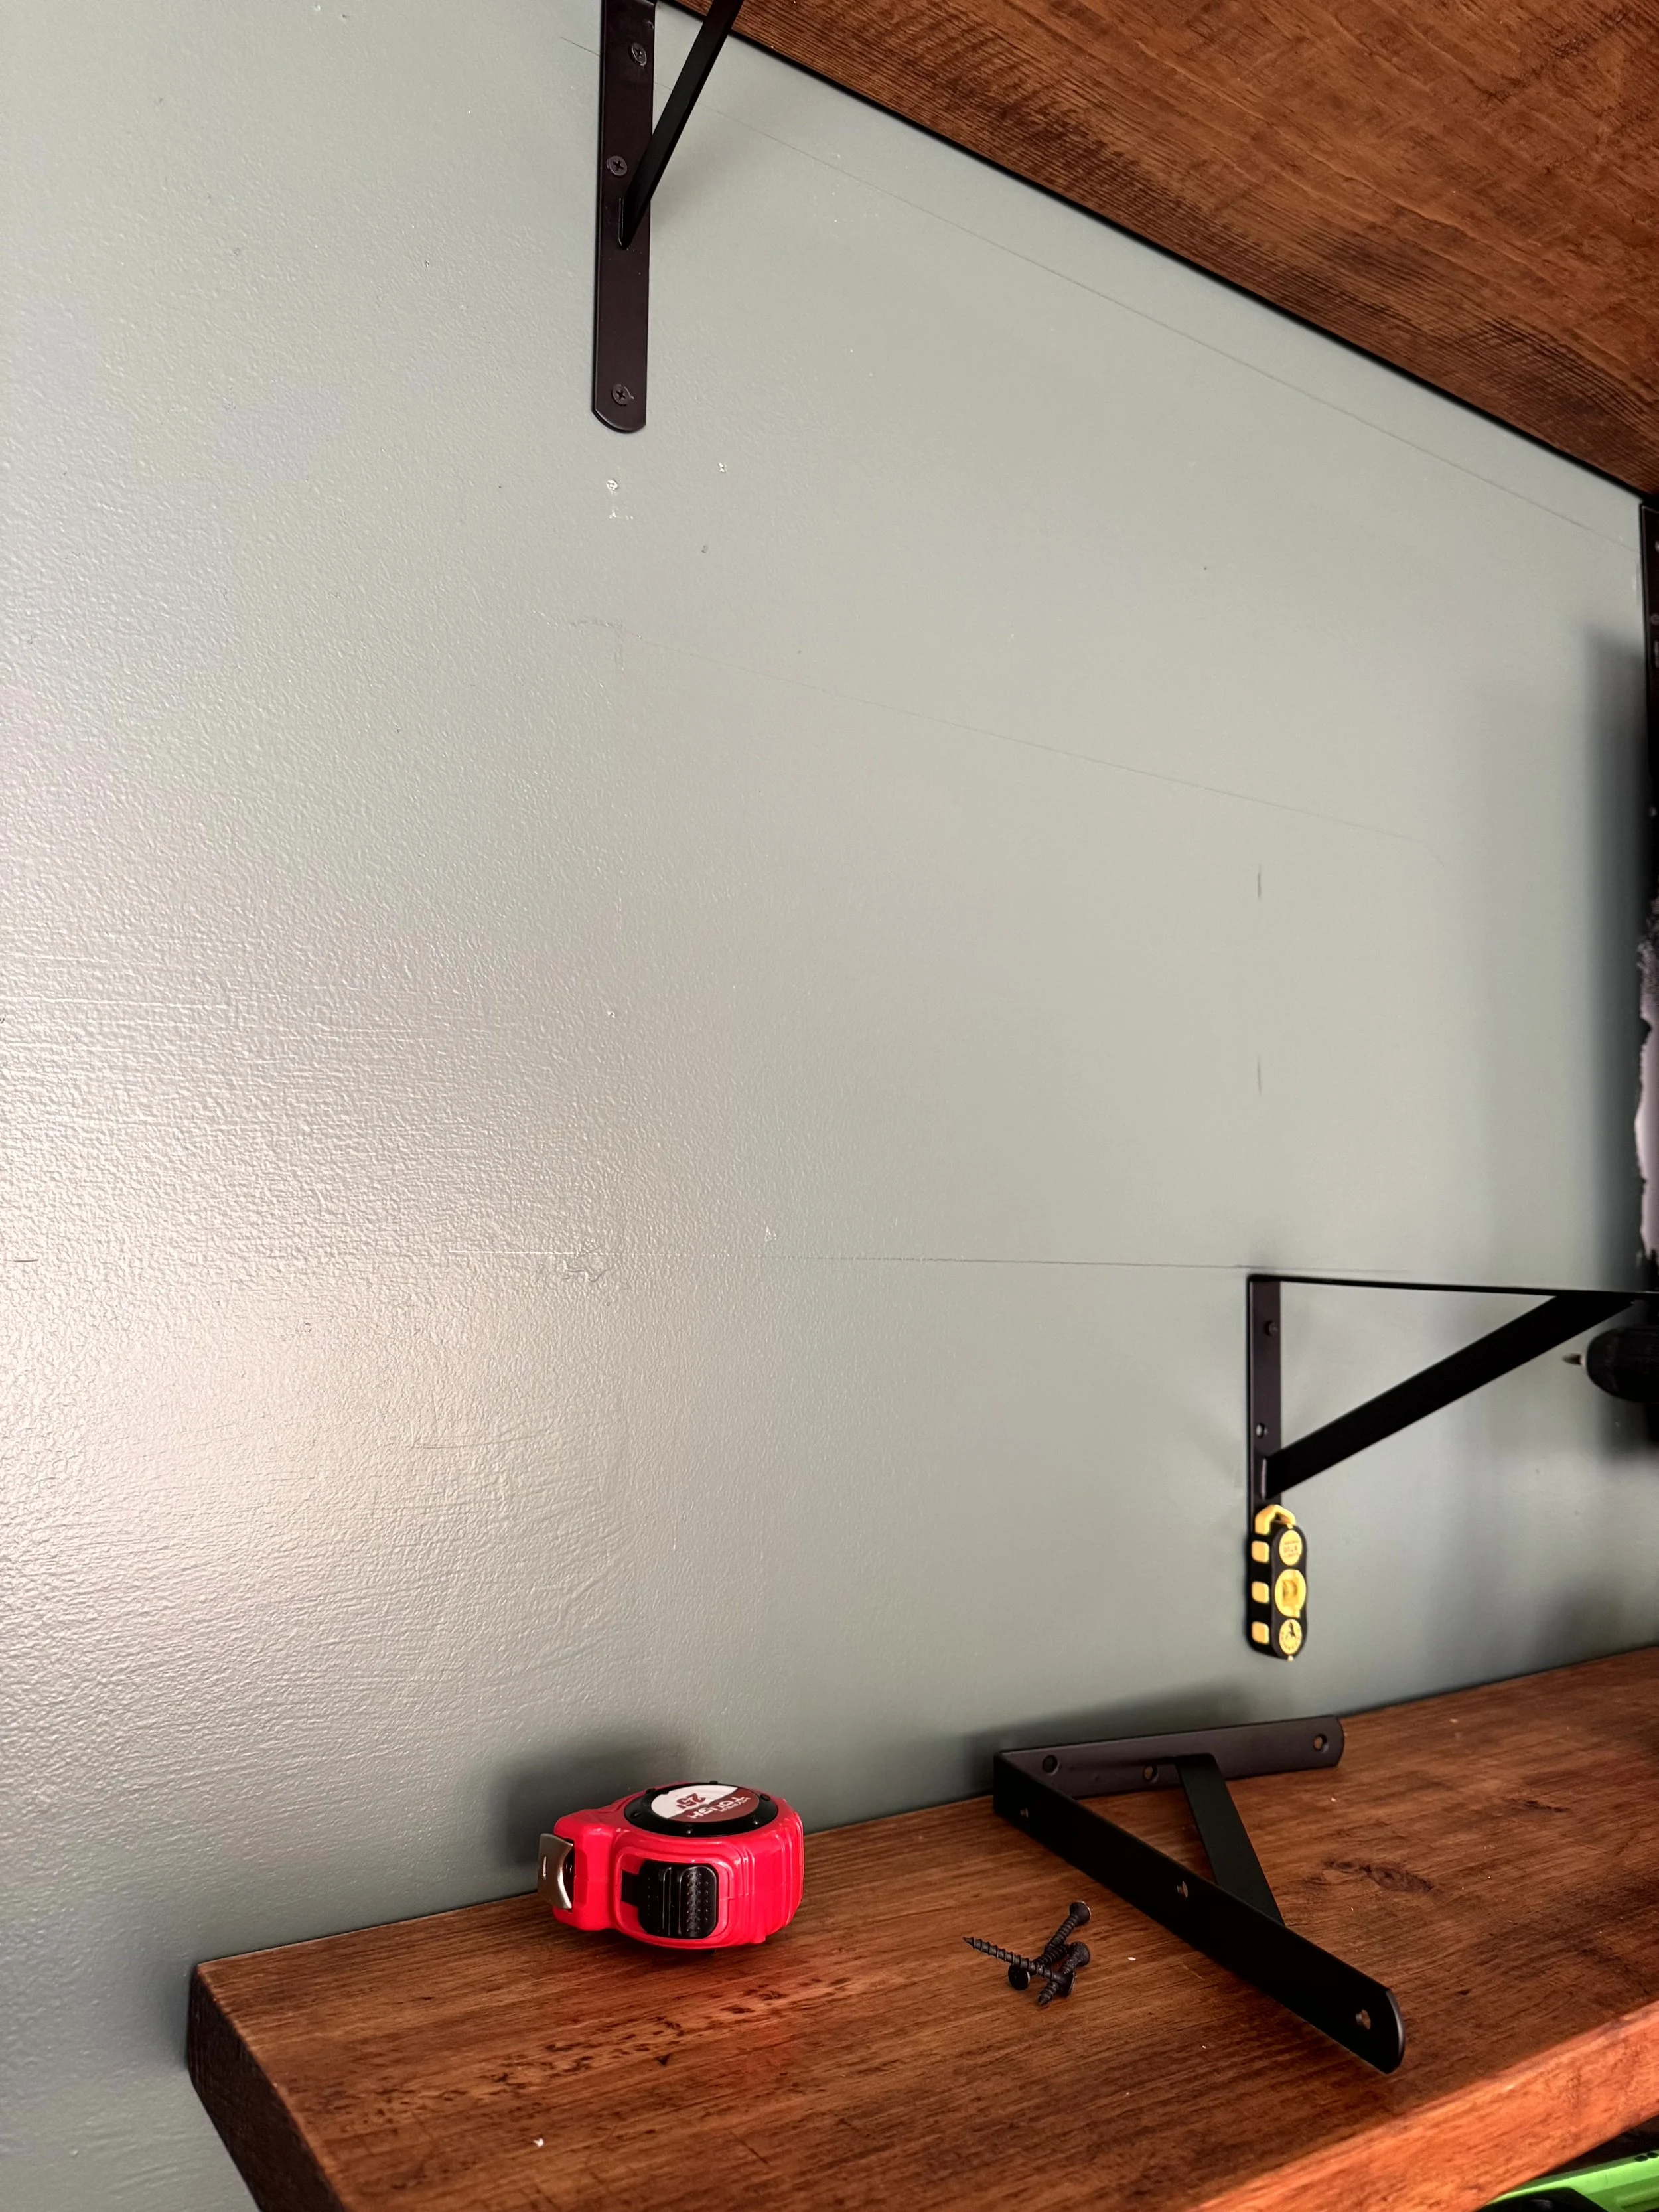
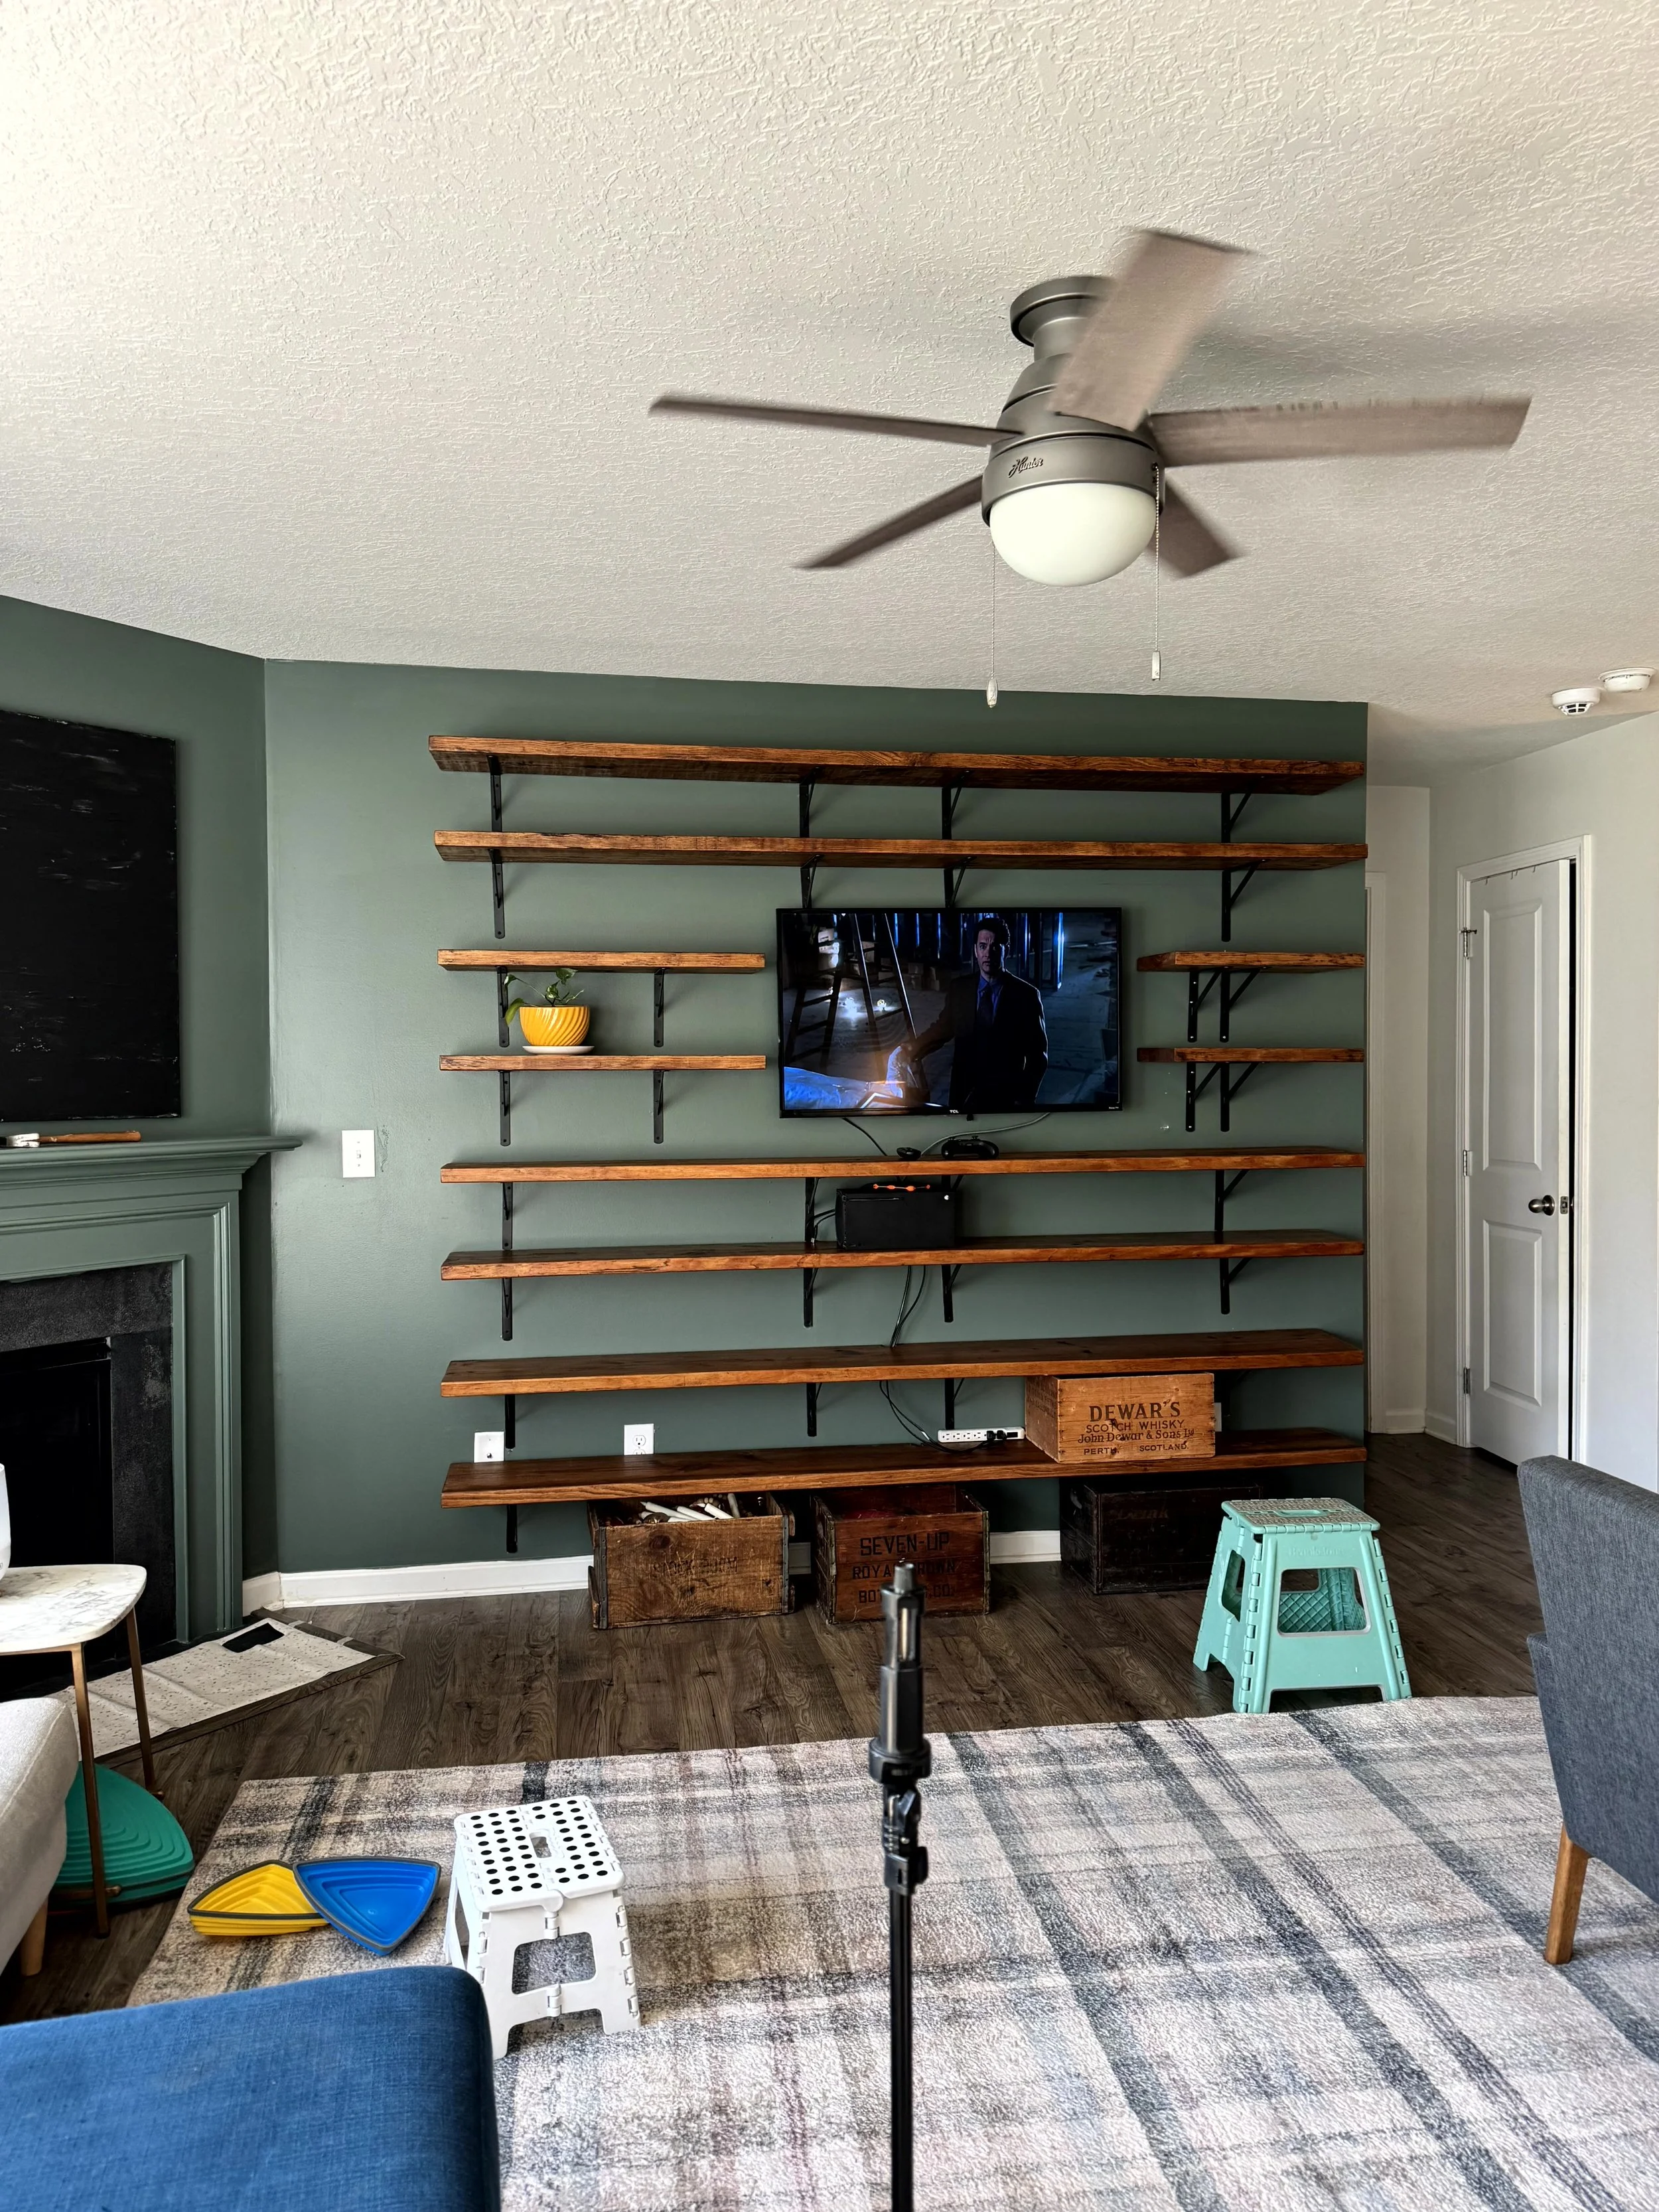
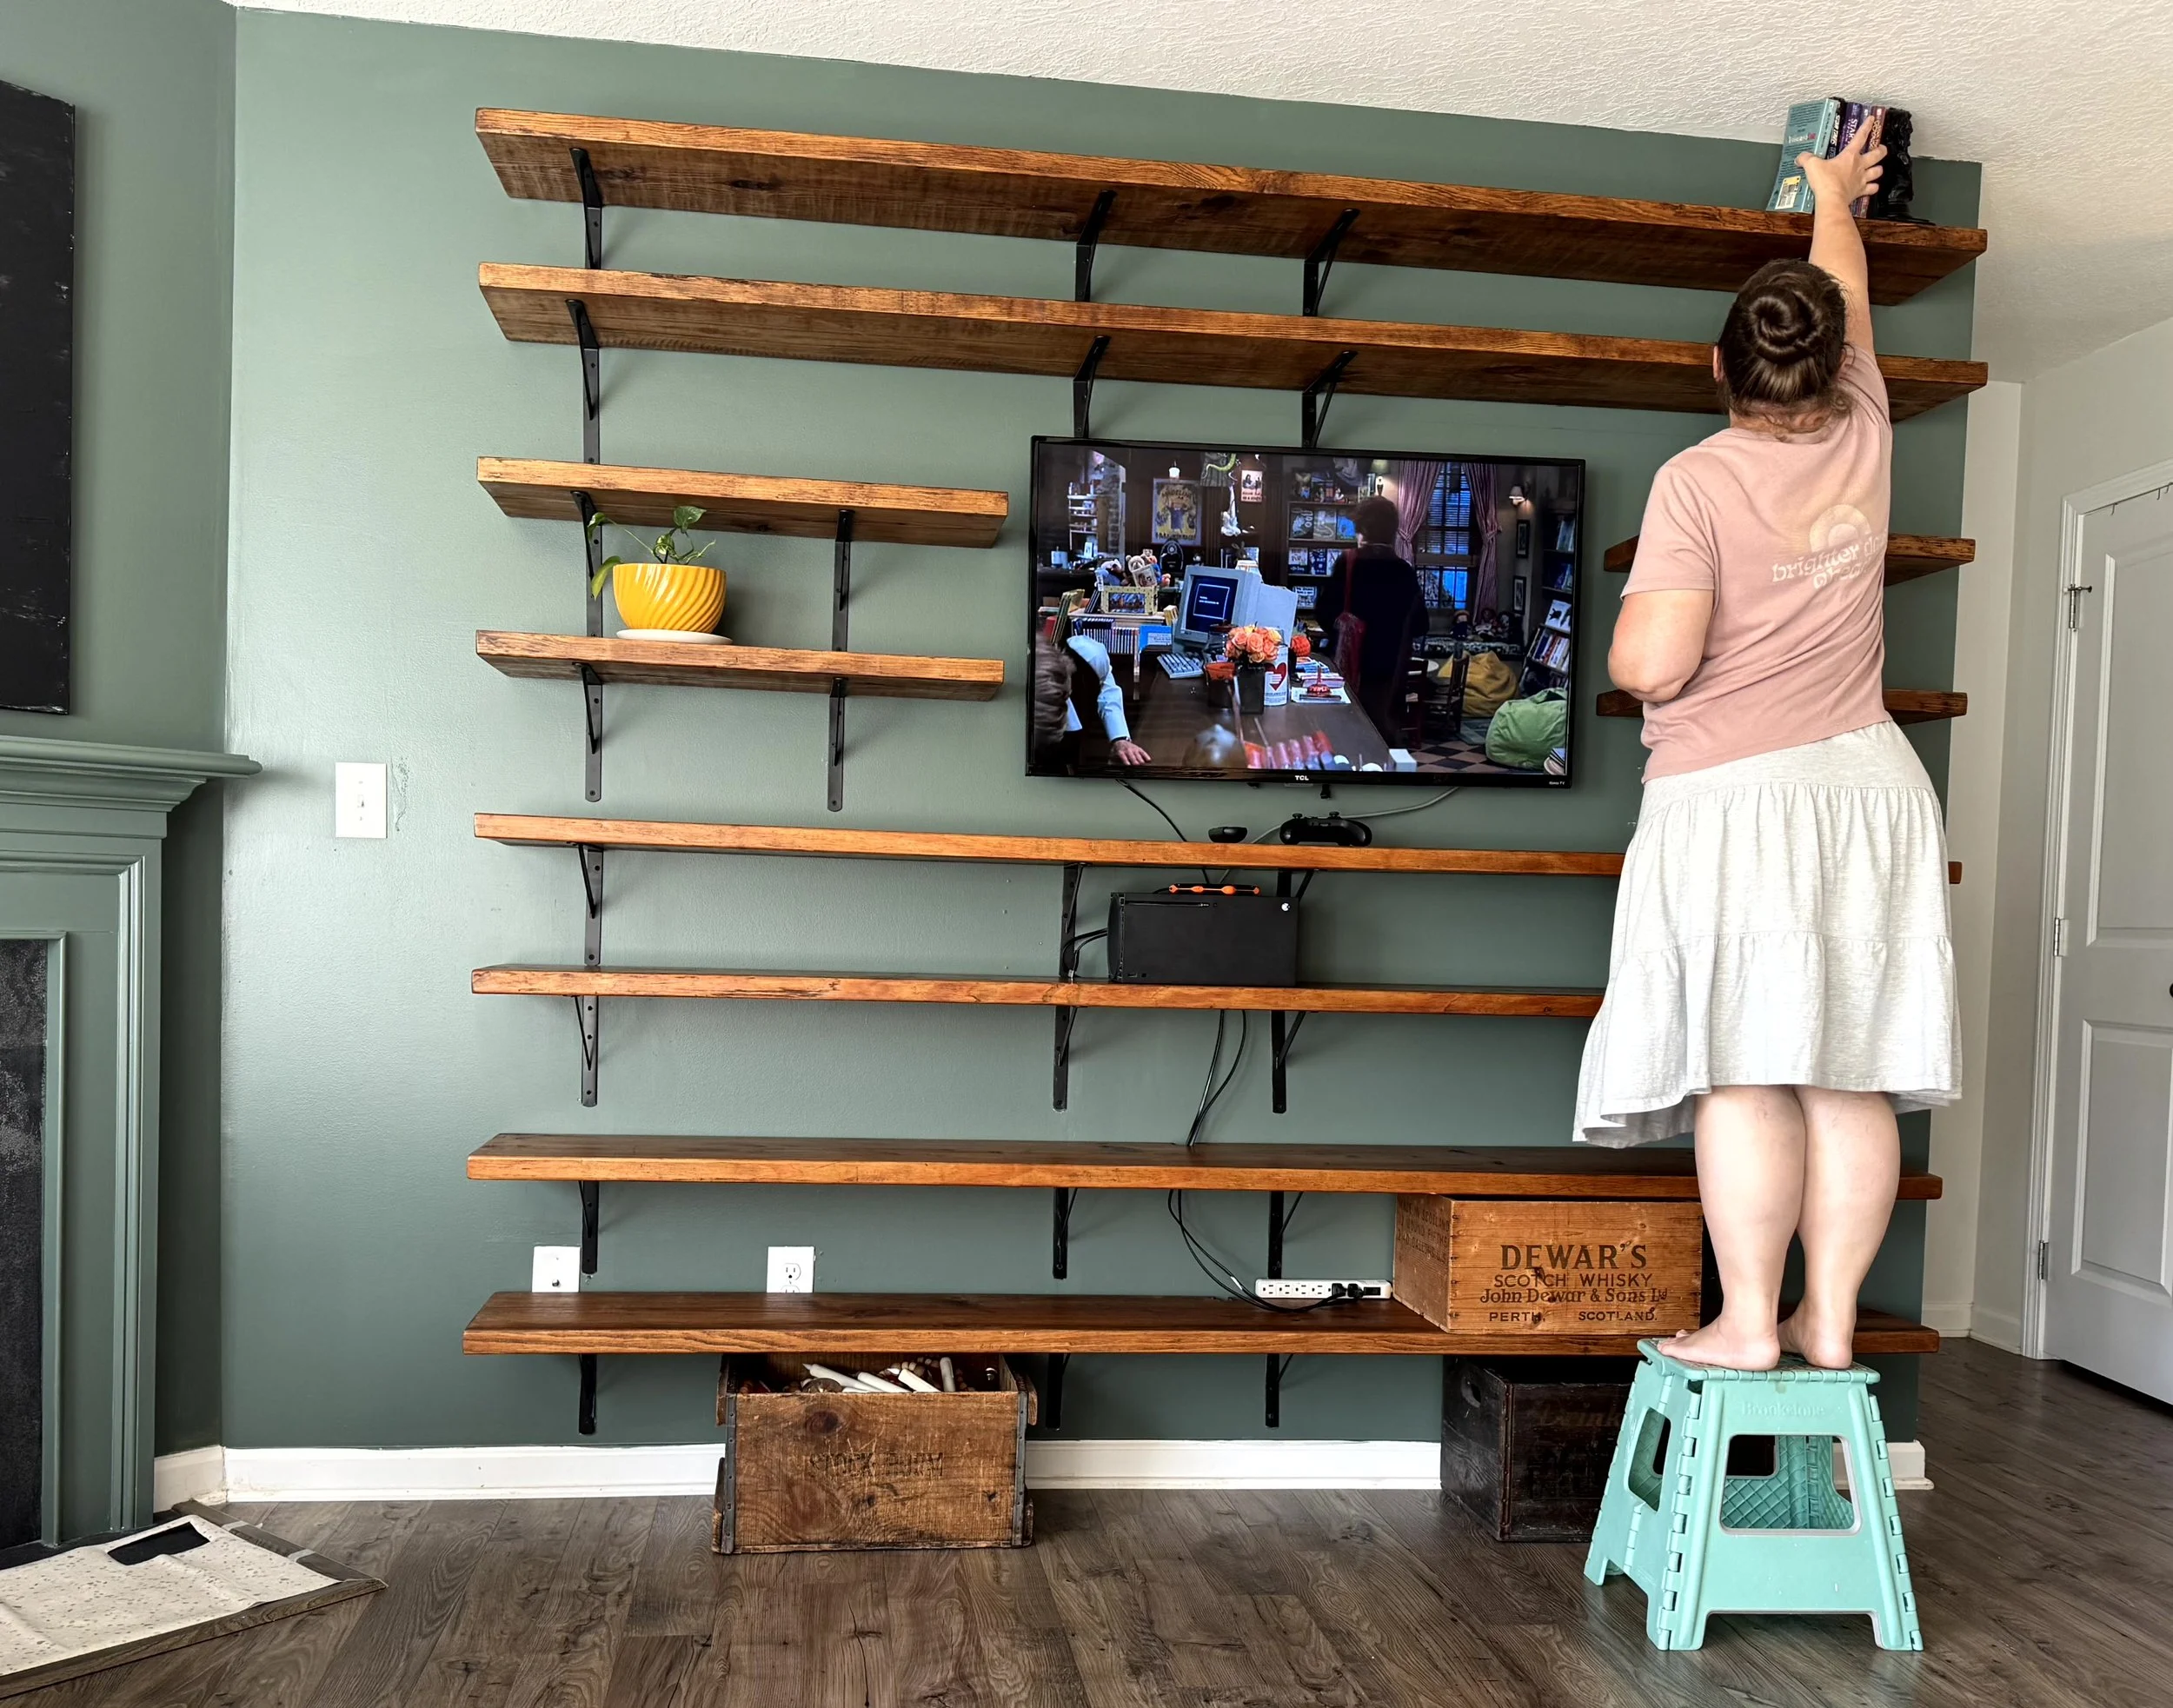
Hanging the new shelves:
I added the rest of the brackets for the top bookshelves, I always go for at least 2 studs when I'm hanging heavier stuff like shelves, even if that means my brackets are not exactly symmetrical. I've had too many anchors fail me no matter what the weight limit on them is. I had some help getting the shelves up there and got them all screwed in.
Give a mouse a cookie.
After it was put back together I decided to do a quick sand on the table between the chairs. It's been a work in progress ever since I picked it up at a yard sale covered in textured spray paint for $8 a few years ago. I took a piece of sandpaper and about 15 minutes and it's now way better than it was.
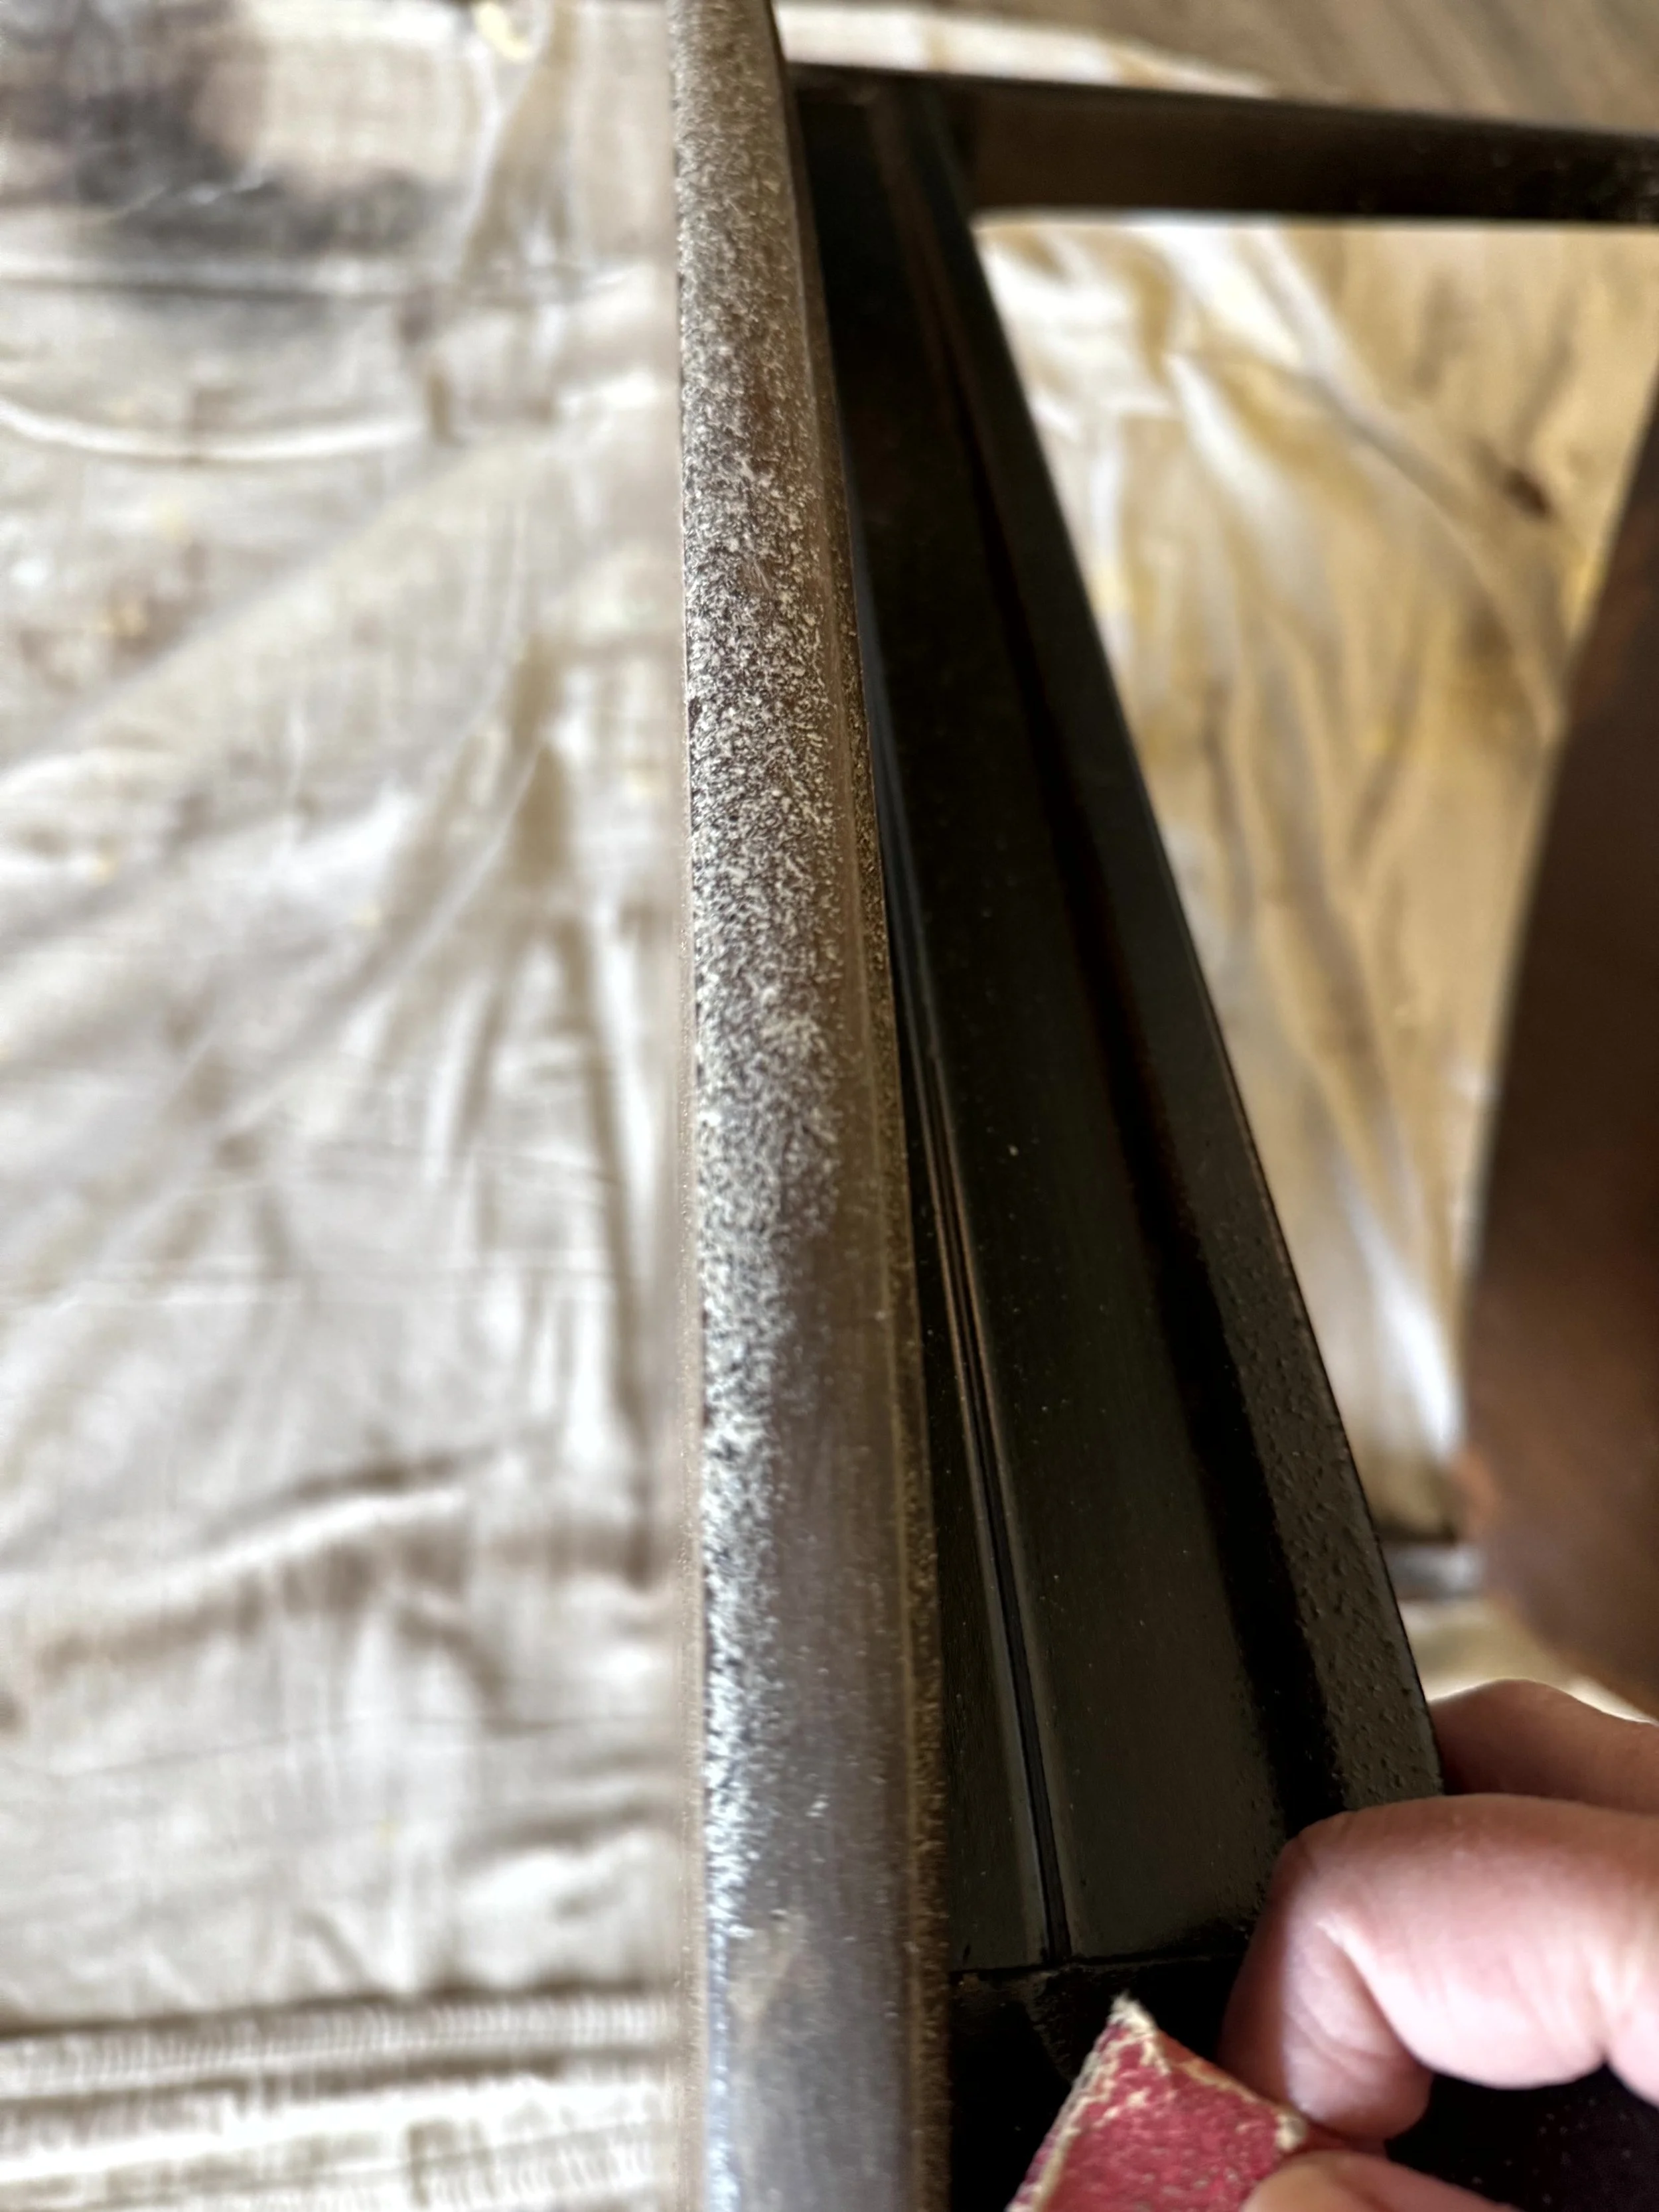

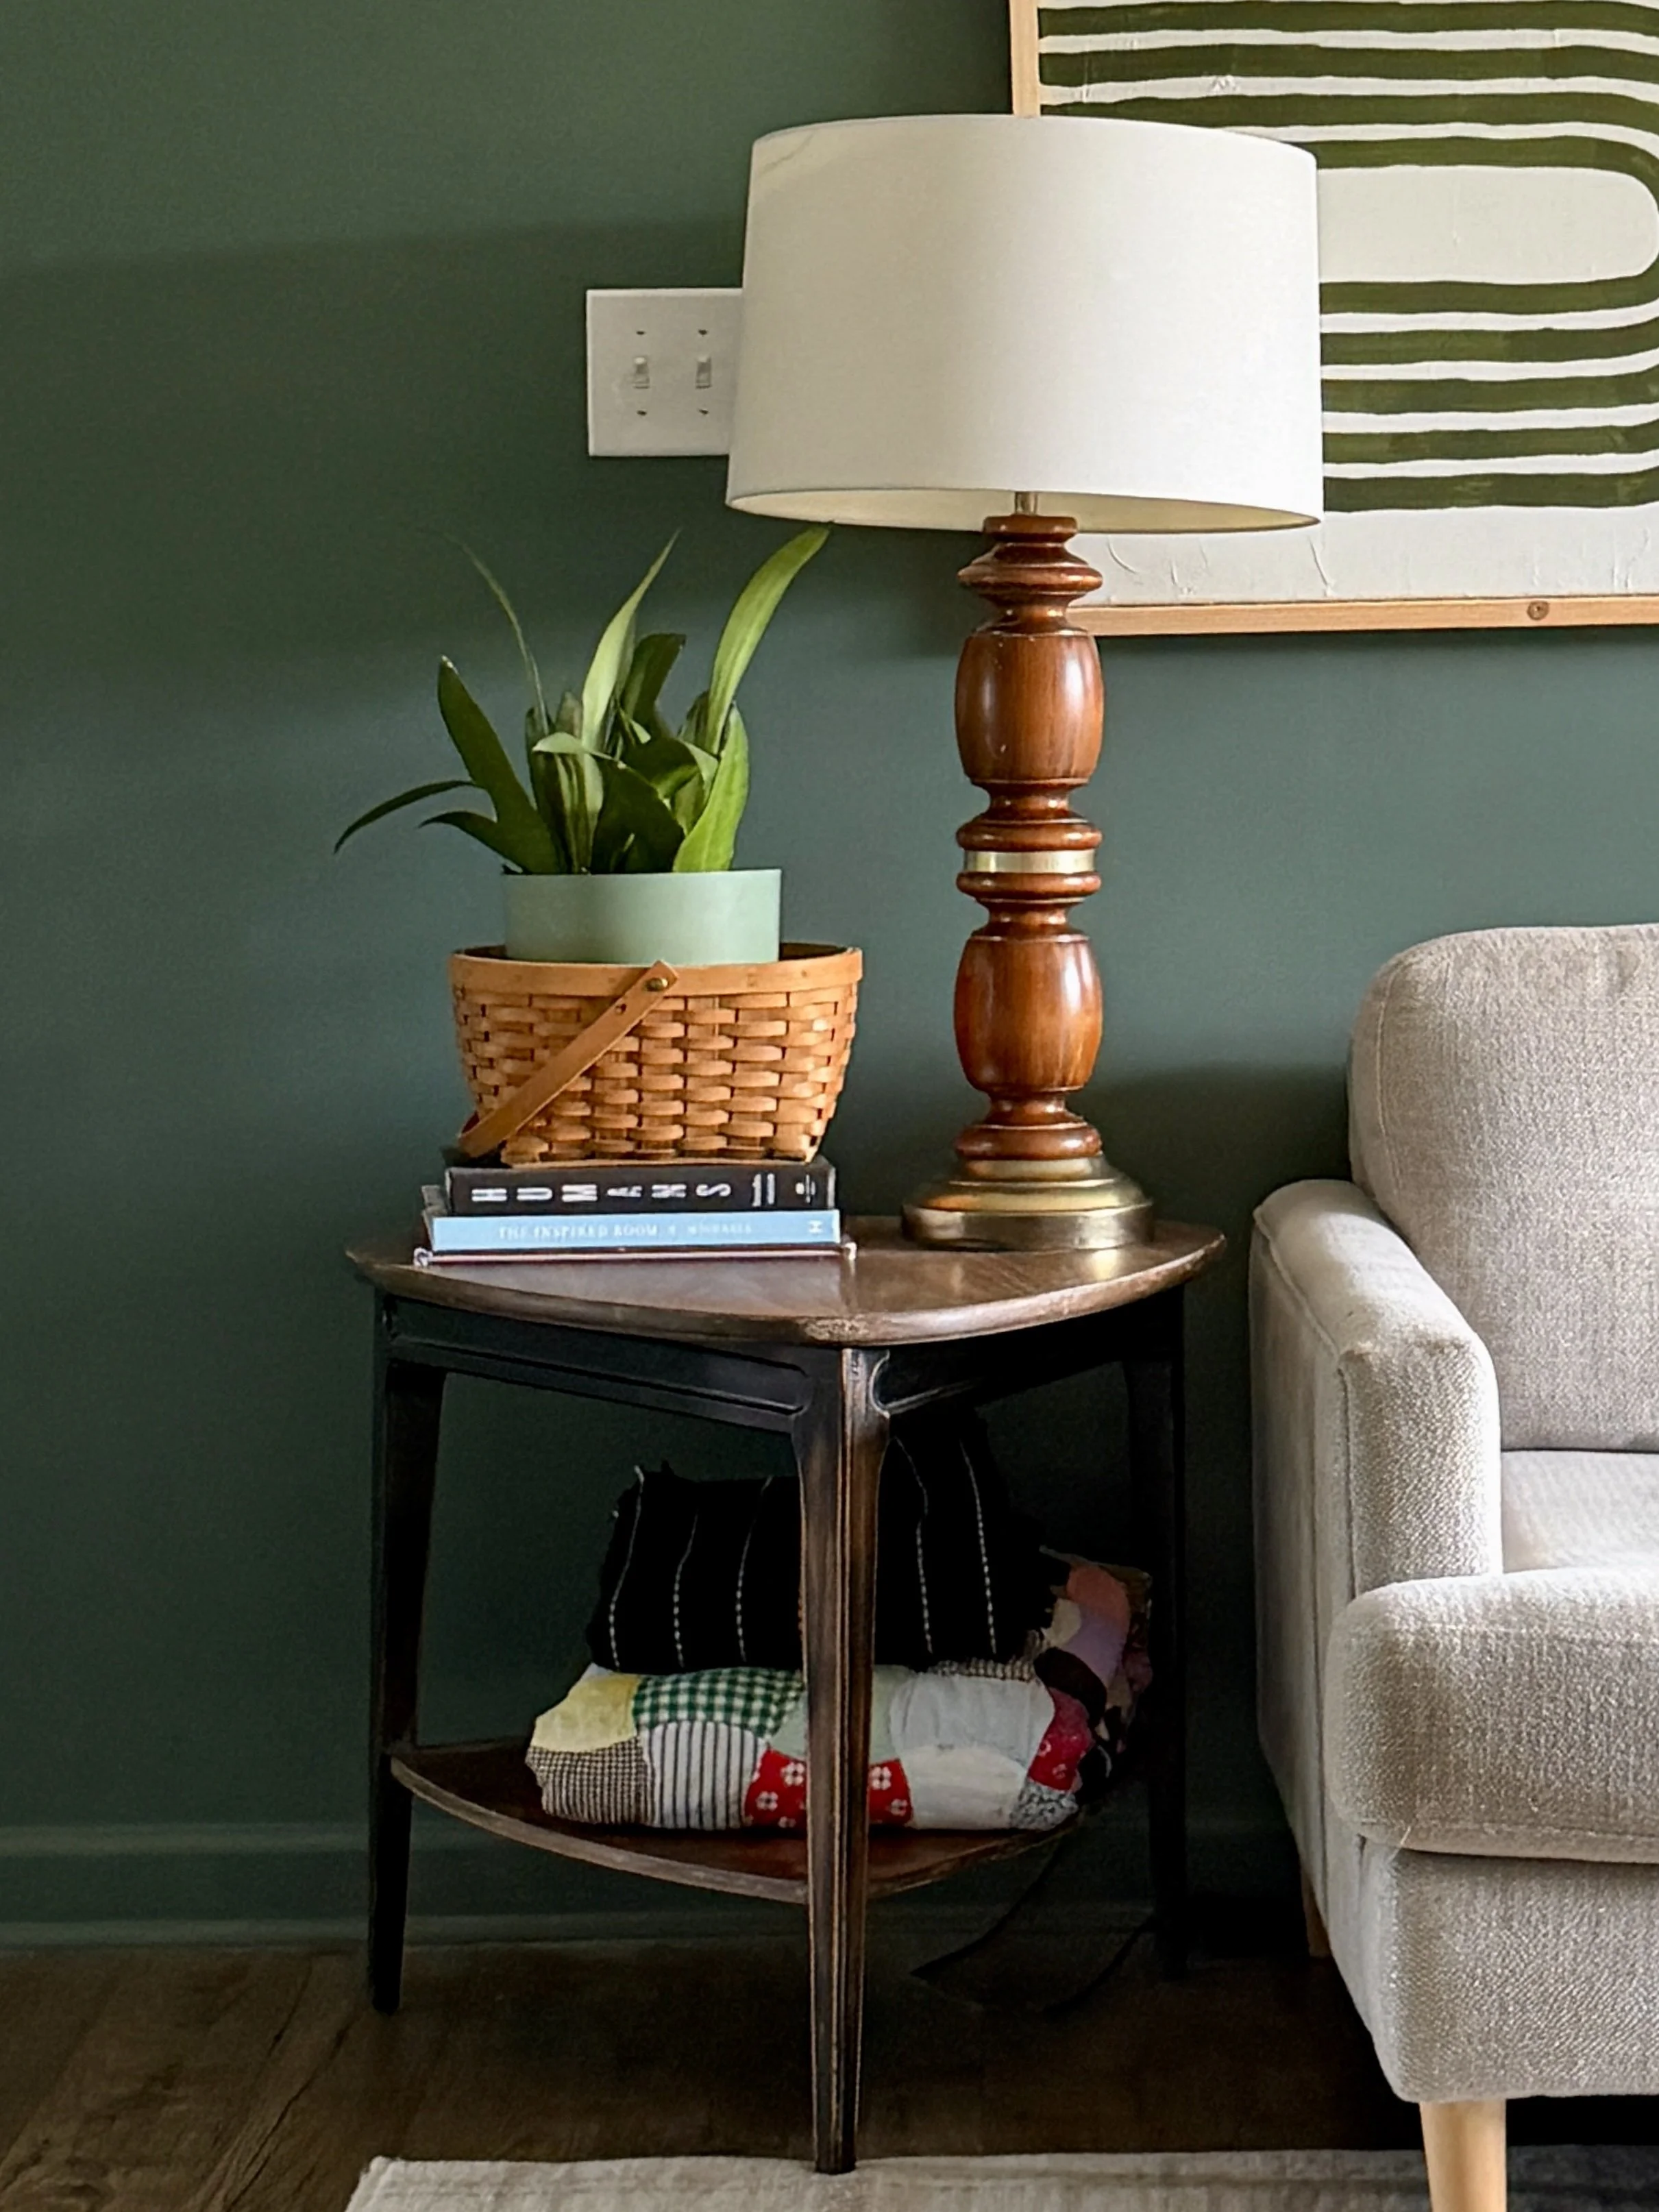
Ta-da!
And then I put things back together and finally decided to color drench the entire downstairs in the dark green.
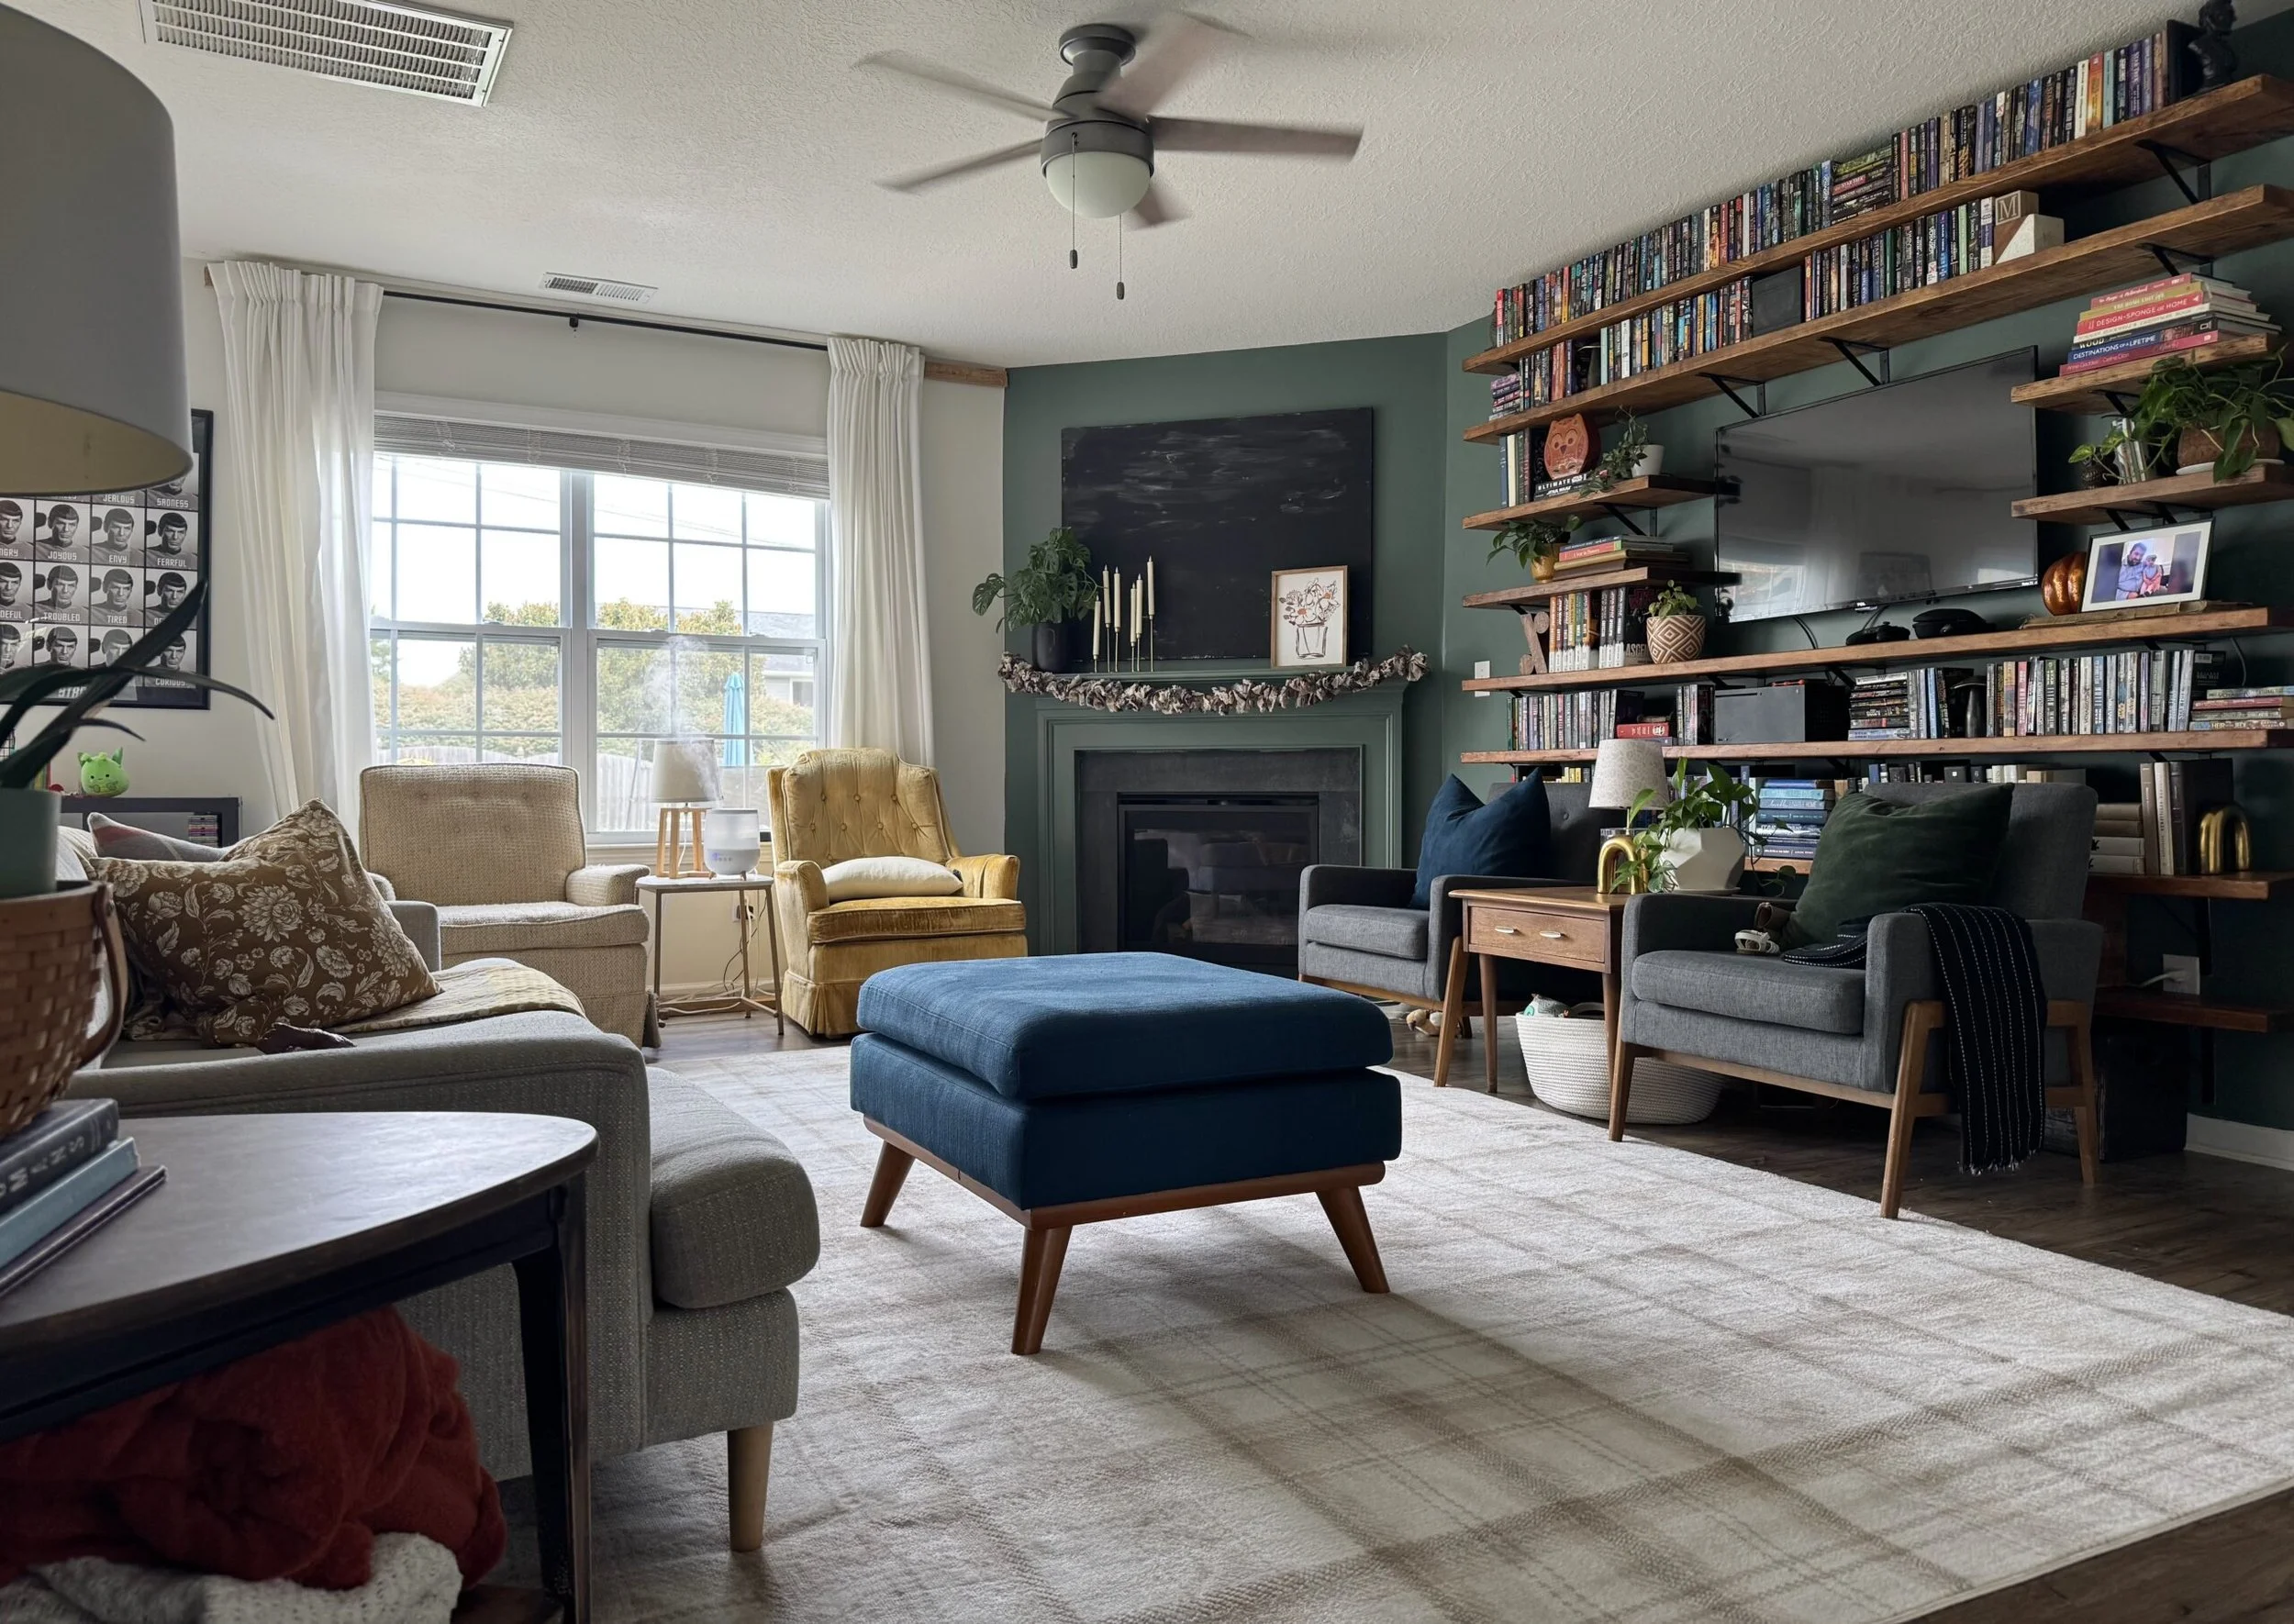
After the shelf install, and before I decided to color drench the entire living space in this green including the trim and doors.
Happy painting!
Melinda
PRODUCTS USED – some may be affiliate links
Behr paint - Heritage Park
Varathane stain - Special Walnut
Minwax wood conditioner - water based or oil based
Minwax matte water based sealer
Heavy Duty Shelf brackets here
Stain pads here
This post contains affiliate links which means I make a small commission from any purchases with no extra cost to you.

Blog Categories
- Baking
- Bedroom Design
- Birthday Cakes
- Breakfast
- Cleaning
- Cooking
- DIY
- Did You Know?
- Food Prep
- Gluten Free
- Holiday Decorating
- In The Kitchen
- In the Backyard
- Kid & Baby Stuff
- Kids Birthday Parties
- Kitchen & Bath Design
- Kitchen Organization
- Kitchen Remodel
- Large Family Hacks
- Laundry
- Lifestyle
- Living Space Design
- Mom Hacks
- Organizing
- Sensory
- Toy Organizing